How to Prototype Custom Aluminum Parts on Manual Mills (Tips)
I remember the first time I took on a paid project for a local inventor. I had a manual mill, a few blocks of 6061 aluminum, and a lot of confidence. I quoted the job based on what I thought was a fair hourly rate, but by the time I finished squaring the stock and machining the pockets, I realized I’d actually paid the customer for the privilege of doing the work. My mistake wasn’t in the craftsmanship; it was in the math. I didn’t account for the time spent tramming the head, the cost of the broken 1/4-inch end mill, or the electricity running my phase converter.
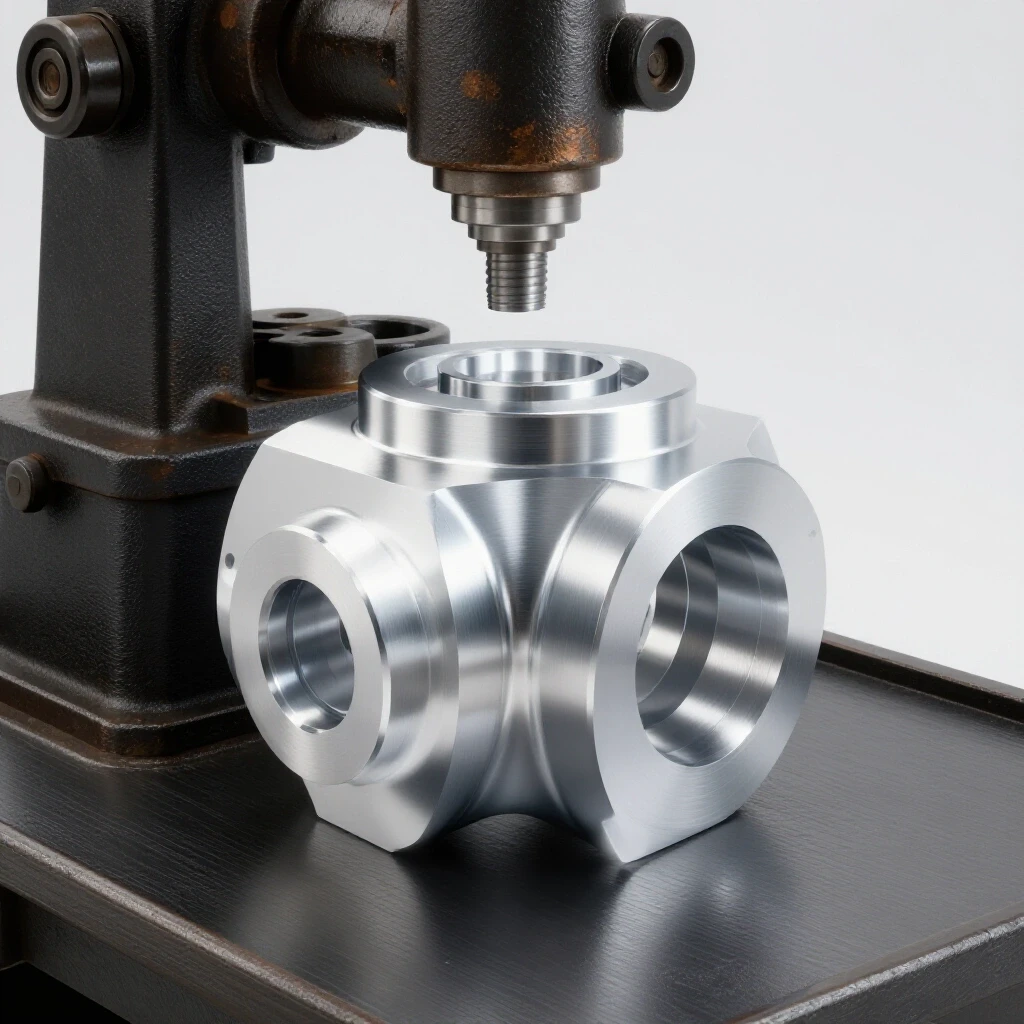
Transitioning from a hobbyist to a side-hustle metalworker requires a mental shift. You are no longer just making chips; you are managing a small manufacturing firm. To keep your shop’s doors open, you need to understand the financial reality of every handle turn on your mill. This means tracking every penny, from the cost of your cutting fluid to the long-term depreciation of your machinery. My goal is to help you bridge the gap between being a talented fabricator and a profitable business owner.
Establishing a Realistic Shop Rate for Manual Fabrication
A shop rate is the total dollar amount you must charge per hour to cover your labor, overhead, and desired profit. It is the foundation of side-hustle metalworking and prevents you from losing money on every job. Without a calculated rate, you are merely guessing at your value.
When I started, I picked a number out of the air—$40 an hour. I thought that was great money. Later, I sat down and looked at my actual expenses. Between the shop rent, the insurance, and the replacement cost of my tooling, my “profit” was almost zero. To find your true rate, you have to add up your annual fixed costs and divide them by the number of billable hours you actually work. Most part-time shops find that a rate between $65 and $120 per hour is necessary to remain viable.
Calculating Your Total Overhead Burden
Overhead burden is the sum of all indirect costs required to keep your shop running, regardless of whether you are currently cutting metal. This includes utilities, rent, insurance, and administrative software. Understanding this number allows you to see the “hidden” costs that eat into your take-home pay.
- Fixed Costs: These stay the same every month, like your shop insurance or a portion of your property tax.
- Variable Costs: These change based on how much you work, such as electricity or the heating bill during winter months.
- Administrative Costs: Don’t forget the cost of your invoicing software or the gas used to pick up material.
| Expense Category | Annual Estimated Cost | Monthly Impact |
|---|---|---|
| Shop Insurance | $1,200 | $100 |
| Utilities (Power/Heat) | $2,400 | $200 |
| Tooling Replacement Fund | $1,800 | $150 |
| Software & Marketing | $600 | $50 |
| Total Annual Overhead | $6,000 | $500 |
Determining Billable Hours vs. Shop Hours
Billable hours are the specific minutes you spend directly working on a customer’s part, while shop hours include cleaning, maintenance, and quoting. Many new owners fail because they try to pay their bills using a 40-hour work week, but they only spend 15 hours actually “making chips.”
If you spend 20 hours a week in the shop but only 10 hours are spent on a customer’s aluminum prototype, your shop rate must be high enough to cover the 10 hours of non-billable time. This is why side-hustle metalworking often requires a higher hourly rate than people expect. You aren’t just charging for the time the end mill is spinning; you’re charging for the time you spent cleaning the mill and ordering the material.
Mapping Machinery Amortization and Tool ROI
Machinery amortization is the process of spreading the cost of a large equipment purchase over its useful life. For a manual mill, this means calculating how much each hour of use “costs” you in terms of machine wear and tear. This ensures you have the funds to replace the machine when it eventually wears out.
When you buy a manual mill for $5,000, that money is gone. To get it back, you have to “charge” the machine’s time to your customers. If you expect the mill to last 10 years and you use it 500 hours a year, the machine costs you $1.00 for every hour it runs. This is a small but vital part of fabrication job costing that ensures your business stays capitalized for future upgrades.
Tracking the Lifespan of Manual Milling Equipment
Manual mills are durable, but they do have wearable parts like lead screws, nuts, and spindle bearings. Tracking the hours you put on the machine helps you predict when maintenance will be required. This proactive approach prevents unexpected downtime that can derail a customer’s deadline.
I keep a simple logbook next to my mill. Every time I finish a project, I note the hours the spindle was running. This data tells me when I need to grease the bearings or check the gib adjustment. In a small metal shop pricing model, these maintenance periods should be factored into your overhead so they don’t come out of your personal pocket.
Calculating Return on Investment for New Tooling
ROI is a measure used to evaluate the efficiency of an investment or compare the efficiency of several different investments. For a shop owner, it means asking, “Will this new boring head pay for itself in saved time or new capabilities?”
- Cost of Tool: The initial purchase price plus shipping and setup.
- Time Saved: How many minutes per part does this tool save compared to your old method?
- Payback Period: The number of jobs required to cover the tool’s cost through increased efficiency or higher billing.
| Tooling Investment | Initial Cost | Est. Time Saved/Year | Payback Period |
|---|---|---|---|
| High-Quality Vise | $600 | 10 Hours | 6 Months |
| Precision Boring Head | $450 | 5 Hours | 12 Months |
| Aluminum-Specific End Mills | $200 | 15 Hours | 3 Months |
Managing Consumables and Material Markups
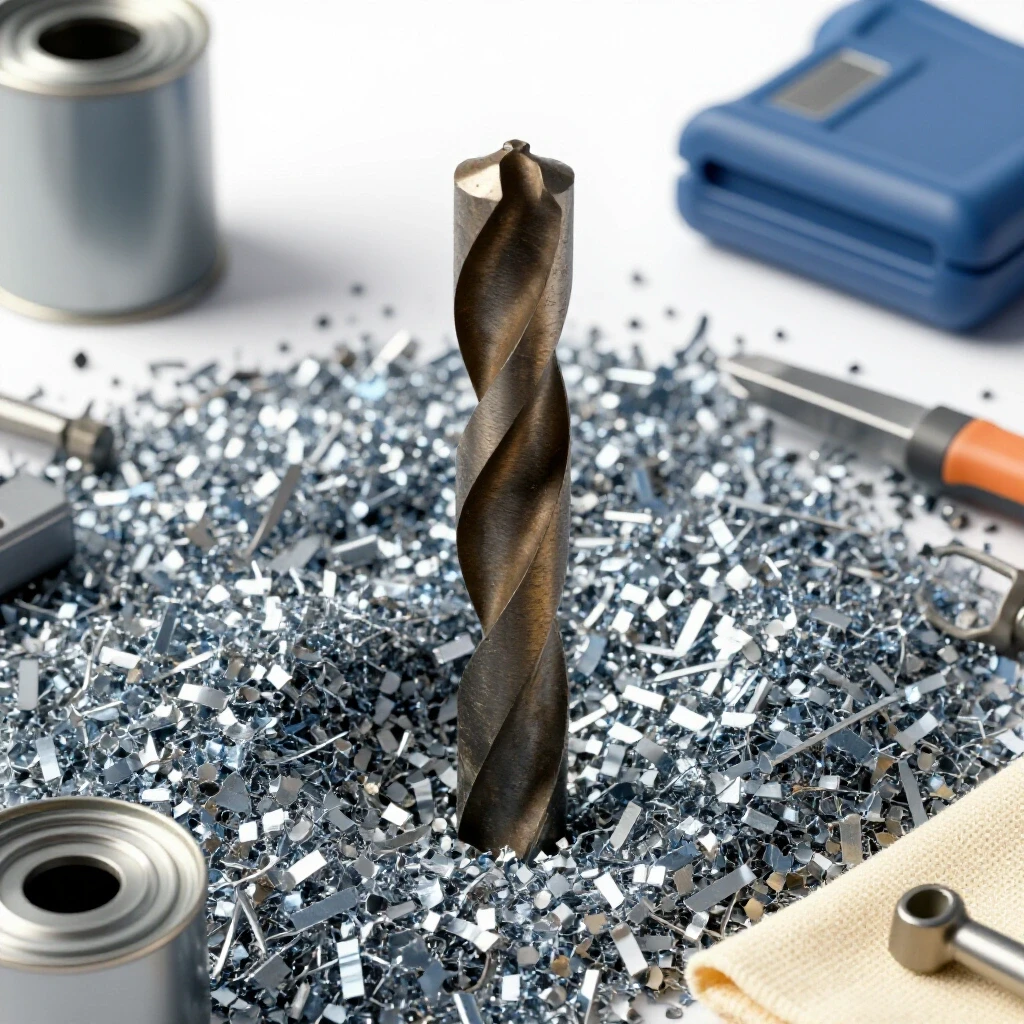
Consumables are the items that get used up or worn out during the fabrication process, such as end mills, coolants, and deburring tools. Tracking these expenses is critical because they are often the most underestimated part of a project quote. Aluminum, while soft, can be “gummy” and quickly ruin a dull cutter.
In my experience, many shop owners forget to charge for the small things. A spray can of lubricant might cost $12, and you might use a third of it on one prototype. If you don’t include that in your fabrication job costing, you are slowly chipping away at your profit margin. I recommend adding a “consumable burden” of 5% to 10% to every quote to cover these hidden costs.
Why Hidden Consumables Bleed Small Shop Profits
Small items like sandpaper, rags, and WD-40 add up over a year of shop work. When you are creating aluminum components, you might also go through several different grades of Scotch-Brite or polishing compounds to get the desired finish. These are direct costs of the job.
I once did a run of 20 small aluminum brackets. I factored in the material and the end mills, but I forgot about the deburring wheels. I went through two $15 wheels because the edges were particularly sharp. That $30 mistake represented about 10% of my total profit for that job. Now, I use a checklist for every quote to ensure every consumable is accounted for.
Formulating a Real Material Markup
Material markup is the percentage you add to the cost of raw metal to cover the time spent sourcing, transporting, and storing it. It is not just “extra profit”; it is a fee for the logistical work you perform. For small shops, a markup of 20% to 50% is standard for raw materials.
If a block of aluminum costs you $50, you should be charging the customer at least $60 to $75. You had to find the material, order it, wait for delivery or drive to pick it up, and then store it in your shop. Your time and shop space have value. Using a consistent material markup is a key part of small metal shop pricing that ensures you aren’t running errands for free.
Building a Custom Job Quote for Aluminum Prototypes
Building a quote is the process of estimating the total cost and time required to complete a specific task. For one-off aluminum parts on a manual mill, this requires a deep understanding of setup times and machining sequences. A good quote protects both you and the customer by setting clear expectations.
When quoting, I break the job down into phases: material prep, setup, roughing, finishing, and inspection. I always add a 15% “buffer” to my time estimates. On a manual mill, things happen—a tool might chip, or you might need to spend extra time dialing in a complex angle. This buffer ensures that a small delay doesn’t turn the job into a financial loss.
Estimating Setup and Squaring Time
Setup time is the period spent preparing the machine and workholding before any metal is actually cut. For manual work, this often includes tramming the vise, finding your offsets, and squaring the raw stock on all six sides. This is often the most time-consuming part of a prototype project.
- Tramming the Vise: 10–15 minutes to ensure the jaws are perfectly parallel to the table travel.
- Finding Edges: 5–10 minutes using an edge finder to establish your zero points.
- Squaring Stock: 30–60 minutes depending on the size of the block and the required precision.
Factoring in Feature Complexity and Tool Changes
Every hole, pocket, and chamfer adds time to the project. On a manual mill, tool changes are manual and require re-setting your Z-axis depth. If a part has five different hole sizes, that’s five tool changes and five opportunities for a mistake.
I use a simple formula: (Number of Tools x 3 minutes) + (Number of Features x 5 minutes). This gives me a baseline for the machining time. Aluminum is forgiving with speed, but you still have to be methodical. By breaking down the part into individual features, your fabrication job costing becomes much more accurate and less prone to “guesstimating.”
Strategic Execution and Manual Precision
Execution on a manual mill requires a blend of mechanical skill and constant measurement. Unlike automated processes, you are the feedback loop. This means you must be diligent about checking your dimensions after every major cut to ensure the prototype meets the customer’s specifications.
Aluminum is an excellent material for manual work because it machines easily, but its high thermal expansion means you have to be careful about heat. If a part gets too hot during a heavy roughing pass, your measurements will be off once it cools down. I always leave about 0.010 inches of material for a final “finish pass” after the part has returned to room temperature.
Workholding and Squaring Sequences
Proper workholding is the most important factor in both safety and accuracy. For aluminum plate or bar, a high-quality milling vise with parallels is the standard. Squaring the stock—ensuring all sides are 90 degrees to each other—is the first step in creating any precision prototype.
- Face the first large surface: This becomes your primary datum.
- Face the opposite side: Use parallels to ensure it is parallel to the first side.
- Square the ends: Use a square or a dialed-in vise jaw to ensure the ends are perpendicular.
- Final sizing: Once the block is square, you can machine it to the final dimensions required for the part features.
Cutter Selection and Feeds/Speeds for Aluminum
Choosing the right cutter can make a massive difference in your surface finish and tool life. For aluminum, I prefer 2-flute or 3-flute carbide end mills. These have more “gullet” space, which allows the large aluminum chips to escape without clogging the cutter.
Manual milling requires a “feel” for the machine. You want to hear a consistent hum, not a scream or a chatter. For a 1/2-inch end mill in 6061 aluminum, I typically run my spindle as fast as the mill allows (usually around 2,000 to 3,000 RPM) and move the handles at a steady pace. If the chips start to look like melted silver, you are moving too slowly or need more lubrication.
Analyzing Post-Job Profits and Cost Variance
Post-job reconciliation is the act of comparing your original quote to the actual time and money spent on the project. This is where you learn the most about your business. If you quoted 5 hours but it took 8, you need to know why so you can adjust your future small metal shop pricing.
I use a simple spreadsheet to track every job. I list the estimated hours versus actual hours, and the estimated material cost versus actual cost. This “variance” tells me if I’m getting better at my craft or if I’m consistently underestimating certain tasks. Over time, this data allows you to quote with much higher confidence.
Using Data to Refine Future Bids
Data-driven bidding is the practice of using past performance to predict future costs. If you notice that squaring blocks always takes you 20% longer than you think, you can start adding that time into your quotes automatically.
- Review your time logs: Look for patterns in where you “lost” time.
- Check consumable usage: Did you use more end mills than expected?
- Adjust your rate: If your overhead has gone up, your shop rate must follow.
Digital Tools for Tracking and Invoicing
Managing the paperwork is just as important as managing the mill. There are several digital tools that can help a side-hustler stay organized without spending a lot of money. These platforms help with calculating shop rates and keeping your finances transparent.
- QuickBooks or FreshBooks: Excellent for professional invoicing and tracking shop expenses for tax purposes.
- Evernote or Notion: Great for keeping a digital “shop diary” with photos of setups and notes on feeds and speeds.
- Excel or Google Sheets: The best tool for building your own custom fabrication job costing calculators.
- Wave Accounting: A free option for those just starting out who need basic bookkeeping and invoicing.
Practical Steps for Shop Growth
If you want to grow your side-hustle into something more substantial, you must be disciplined about your finances. Optimization isn’t just about cutting metal faster; it’s about reducing the friction in your business operations. Start by setting aside a portion of every check for “future shop growth.”
I recommend the “10-10-80” rule for every job payment. 10% goes into a tool replacement fund, 10% goes into a tax savings account, and 80% goes toward your shop’s operating costs and your own pay. This simple habit ensures you are never surprised by a tax bill or a broken machine. As you become more efficient on the manual mill, your profit margin will naturally grow, allowing you to invest in better tooling or more material stock.
Building a Reliable Supply Chain
Sourcing material is a skill in itself. Don’t just buy from the first online retailer you find. Local scrap yards often have “remnant” bins where you can find high-quality aluminum for a fraction of the retail price. Building a relationship with a local metal supplier can also lead to better pricing as your volume increases.
I always keep a small stock of common aluminum sizes on hand. This allows me to start a prototype project immediately rather than waiting for a shipment. When I see a good deal on 6061-T6 plate, I buy it even if I don’t have a specific job for it yet. This reduces my lead times and makes me more attractive to potential customers.
Frequently Asked Questions
How do I calculate my shop rate if I work out of my home garage?
Even if you don’t pay “rent” to a landlord, your shop occupies space that has value. You should calculate a portion of your mortgage, property tax, and homeowners insurance as part of your overhead. Additionally, track your electricity usage specifically for the shop. If you don’t account for these, you are subsidizing your business with your personal household budget.
Is a manual mill still profitable for prototyping in a CNC world?
Yes, absolutely. For one-off parts or simple modifications, the time it takes to program and set up a CNC machine often exceeds the time it takes to do it manually. Manual mills are excellent for “one-and-done” prototypes where the design might change mid-process. The key is to charge for your expertise and the speed of your service.
What is the best aluminum alloy for manual milling?
6061-T6 is the industry standard for a reason. It is strong, relatively inexpensive, and machines very well. For parts that need higher strength, 7075 is a great option, though it is more expensive. Avoid “hardware store” aluminum, which is often 3003 or 6063; these are very gummy and will clog your cutters and produce a poor surface finish.
How much should I markup my materials?
A standard markup is 20% to 50%. This covers the “hidden” time spent researching, ordering, and handling the material. If a job requires a very small amount of metal that you already have in your remnant bin, you should still charge the customer a “minimum material fee” to cover the cost of replacing that stock later.
Should I charge for the time I spend quoting a job?
Generally, no. Quoting is considered a “cost of doing business.” However, if a customer asks for a complex consultation or a full breakdown of how to manufacture their part, you can charge a “design and consulting fee.” For standard quotes, ensure your hourly shop rate is high enough to cover the time you spend on administrative tasks.
How do I handle a mistake that ruins a part?
If the mistake is your fault, you must eat the cost of the material and the time. This is why having a “buffer” in your pricing is so important. If you find yourself making frequent mistakes, it may be a sign that you are rushing or that your equipment needs maintenance. Use every mistake as a data point to improve your process.
What are the most important manual tools for inspecting aluminum prototypes?
At a minimum, you need a high-quality 6-inch dial or digital caliper, a set of 0-3 inch micrometers, and a small surface plate with a dial test indicator. For aluminum, a set of radius gauges and a thread pitch gauge are also very helpful. Precision is what separates a professional side-hustle from a hobby.
How often should I re-evaluate my shop rate?
You should review your finances at least once a year, or whenever you make a major equipment purchase. If you notice your cost of living or utility bills have increased significantly, your shop rate needs to reflect that. Don’t be afraid to raise your rates for new customers; your increasing skill level justifies the higher cost.
What is “consumable burden” and how do I calculate it?
Consumable burden is a small percentage (usually 5-10%) added to a quote to cover items like coolants, rags, and small drill bits that are difficult to track individually. To calculate yours, look at your total spending on these items over a year and divide it by your total billable hours. This gives you a “per hour” cost for consumables.
How do I price a job if I’m much slower than a professional machinist?
If you are still learning, you shouldn’t charge the customer for your “learning curve.” Estimate how long the job should take an experienced person and charge for those hours at a fair rate. As you get faster, you will eventually be able to complete the work in the estimated time, which increases your actual take-home pay per hour.
(This article was written by one of our staff writers, Michael Hargrove. Visit our Meet the Team page to learn more about the author and their expertise.)