How to Repair a Damaged Drill Press Table Slot Safely (Fix)
Walking into a workshop and seeing a vintage drill press with a “smile” of stray drill marks across its table is a bittersweet moment for any restorer. I have spent the better part of 18 years rescuing cast-iron machinery, from pre-war Buffalo Forge presses to heavy industrial Walker-Turners. There is a specific kind of patience required to look at a piece of equipment that has been neglected for fifty years and see the precision tool hidden beneath the rust. The table is the most abused part of any drill press, often bearing the scars of careless operators who didn’t use a sacrificial backing board. When the T-slots or through-slots are blown out or mushroomed, it isn’t just an eyesore; it’s a functional failure that prevents accurate clamping and safe operation.
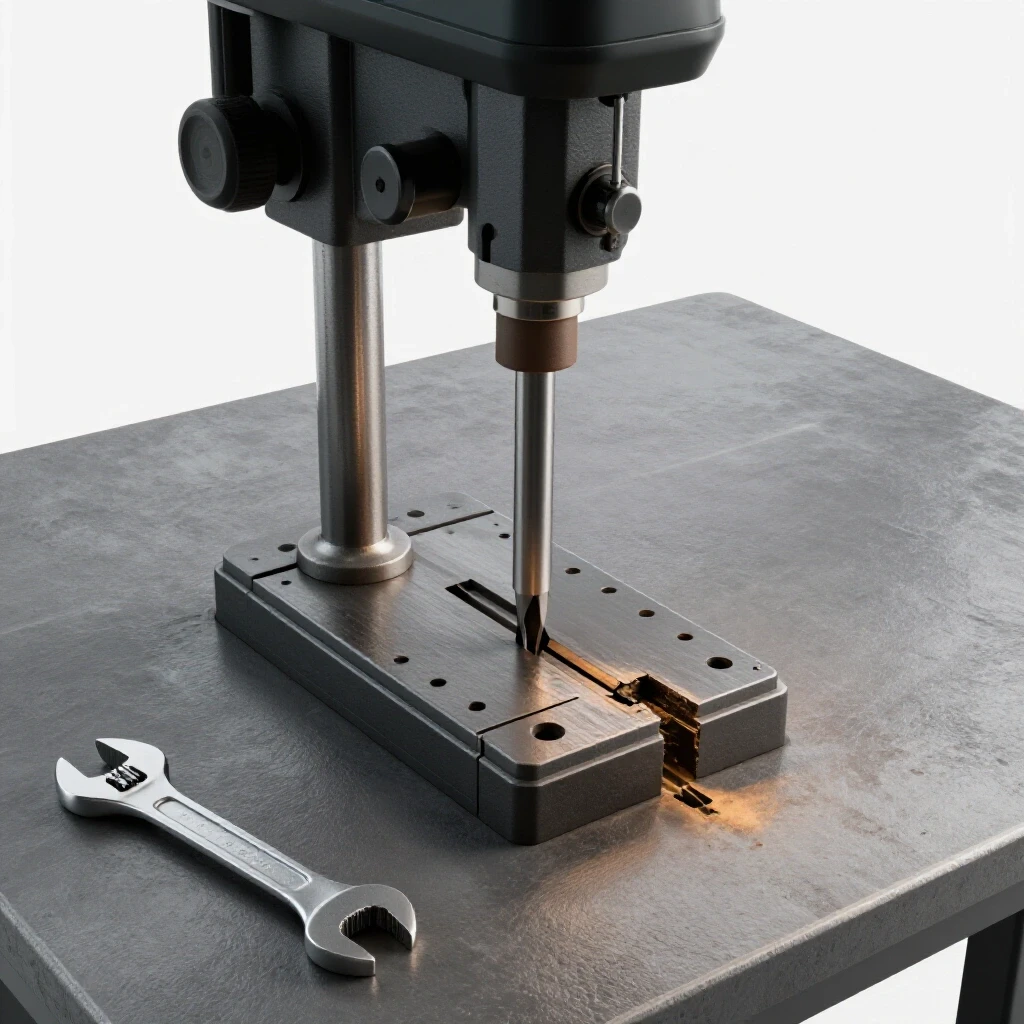
Restoring the integrity of these mounting channels requires a methodical approach that respects the metallurgy of the original casting. Vintage cast iron is a remarkable material—it is dampening, stable, and easy to machine—but it is also brittle. You cannot simply hammer a bent slot back into shape or expect a quick weld to hold without risking a structural crack that ruins the entire casting. My philosophy has always been “preservation first.” We want to bring the machine back to factory tolerances, or as close as possible, while ensuring every repair is mechanically sound and visually integrated.
Evaluating Table Damage and Structural Integrity
Before picking up a file or a wrench, you must determine if the table is a candidate for a successful recovery. This involves cleaning away decades of congealed oil and assessing the depth of the “driller’s marks” and the condition of the clamping channels.
Assessing the Severity of Casting Voids
This phase involves a close inspection of the cast iron to identify cracks, chips, or wallowed-out sections in the clamping grooves. We are looking for structural defects that might compromise the table’s ability to hold a workpiece under pressure.
I start by using a stiff wire brush and a degreaser to reveal the bare metal. I remember a 1947 Delta I pulled from a damp basement; the table looked like a topographical map of the moon. Once cleaned, I used a 0.001-inch feeler gauge and a precision straight edge to check for warping. If the table is bowed more than 0.005 inches across its width, the repair strategy must include surface leveling. For the slots themselves, I check for “mushrooming”—where the edges of the T-slot have been pulled upward by over-tightened bolts. This deformation is common and can usually be addressed through careful mechanical removal.
Identifying Obsolete Slot Geometries
Understanding the specific dimensions and profiles of vintage clamping channels is essential before attempting a repair. Many older machines used proprietary or non-standard widths that do not match modern T-bolts.
In the mid-20th century, manufacturers often had their own internal standards. You might find a slot that is nominally 1/2 inch but actually measures 0.515 inches. I keep a digital caliper and a set of radius gauges handy to map these dimensions. Documenting the exact width, depth, and “throat” of the T-slot allows you to decide if you can clean up the existing metal or if you need to fabricate a custom insert to replace a missing chunk of the casting wall.
Strategic Disassembly of Seized Table Components
A table restoration cannot happen while it is still attached to the column. You need the casting on a stable workbench where you can access every angle of the damaged mounting areas.
Breaking the Bond of Galvanic Corrosion
This process involves safely separating the cast-iron table from the steel column and the rack-and-pinion lift mechanism. Over decades, dissimilar metals in contact can “cold weld” due to oxidation, making disassembly a high-stakes task.
When a table is seized on the column, never reach for the sledgehammer. I have seen too many irreplaceable castings shattered by blunt force. Instead, I use a “thermal release” plan. I apply a 50/50 mix of acetone and automatic transmission fluid (ATF) to the junction. If it remains stuck, I use a heat gun to expand the outer casting of the table bracket. The goal is to reach about 150-200 degrees Fahrenheit—hot enough to expand the iron but not hot enough to change its crystalline structure. Once expanded, a gentle tap with a brass drift is usually enough to break the bond.
Documenting the Lift Mechanism
Carefully removing the worm gears, handles, and locking bolts ensures that the mechanical components of the table assembly are preserved. This step prevents the loss of obsolete fasteners that are often difficult to source.
I use a simple “tray and tag” system. Every bolt, woodruff key, and shim goes into a labeled bin. On older machines, you will often find “bastard” thread pitches—like 1/2-12 instead of the modern 1/2-13. If you lose a locking bolt from a 1930s press, you might find yourself spending hours on a lathe making a replacement. I photograph the orientation of the rack and the gear engagement before sliding the table off the top of the column.
Chemical Rust Removal and Surface Preparation
Once the table is free, the heavy corrosion must be removed without thinning the base metal. Mechanical grinding is too aggressive for precision surfaces; chemical chelators are the preferred choice for a seasoned restorer.
Comparing Rust Removal Techniques
Choosing the right method for stripping oxidation depends on the level of buildup and the size of the casting. We aim to reach “bright metal” without removing the original machining marks left by the factory.
| Method | Best For | Pros | Cons |
|---|---|---|---|
| Evapo-Rust (Chelation) | Deep rust in slots | Non-toxic, preserves base metal | Requires full submersion, can be slow |
| Electrolysis (12V DC) | Large, heavy castings | Very low cost, reaches every crevice | Requires setup, produces hydrogen gas |
| Wire Wheel/Abrasives | Light surface flash | Fast results | Can round over sharp edges of slots |
| Scraping (Manual) | Precision surfaces | Maintains flatness | High skill level required |
For a drill press table with damaged slots, I prefer an electrolysis bath. I use a large plastic tub, a manual battery charger set to 2 to 10 amps, and a piece of scrap steel as the sacrificial anode. The electrolyte is a simple solution of washing soda and water. After 12 to 24 hours, the rust is converted to a black slurry that wipes away with a Scotch-Brite pad, leaving the original casting surface perfectly intact.
Neutralizing and Protecting the Iron
After chemical cleaning, the “naked” iron is highly susceptible to flash rusting. This step involves stabilizing the metal surface to prepare it for the mechanical repair of the clamping channels.
The moment the table comes out of the bath, I rinse it with clean water and immediately dry it with compressed air. I then apply a light coat of WD-40 or a dedicated machine oil. If I am planning to use epoxies or fillers later, I skip the oil and use denatured alcohol to ensure the surface is chemically clean. It is vital to keep the table in a temperature-controlled environment during this phase to prevent condensation from forming in the porous cast iron.
Mechanical Repair of Deformed Slot Walls
With the table clean, the true extent of the damage to the clamping channels is visible. We generally deal with two types of issues: mushroomed edges and “blown-out” sections where a piece of the T-slot has snapped off.
Leveling Mushroomed T-Slot Shoulders
This repair focuses on removing the metal that has been pulled upward by excessive clamping force. The goal is to return the top surface of the slot to a state of perfect flatness relative to the rest of the table.
I use a large, fine-cut mill file for this. The trick is to “draw-file”—holding the file at both ends and pulling it toward you across the high spots. I use a 0.0005-inch precision square to ensure I am not creating a slope. You aren’t trying to remove the entire “smile” of drill marks yet; you are only removing the metal that sits above the plane of the table. If you don’t remove these burrs, your workpieces will never sit flat, and your drilling will always be out of square.
Fabricating and Installing Slot Inserts
When a section of the T-slot wall is missing, a mechanical insert is required. This involves machining a small block of steel or cast iron to fit the void and pinning it into place.
I once restored a heavy floor-standing press where a previous owner had broken a 3-inch section out of the T-slot. I milled a “pocket” into the damaged area to create a clean, square seat. I then shaped a piece of mild steel to match the T-slot profile. To secure it, I drilled and tapped two small holes through the insert and into the table, using countersunk screws. I set the screws 0.010 inches below the surface and filled the remaining gap with a steel-reinforced epoxy. Once cured and filed flush, the repair was nearly invisible and regained its full clamping strength.
Precision Leveling and Hand Scraping
The final stage of a high-end restoration is ensuring the table is actually flat. Factory tables were often “planed,” leaving subtle ridges. We can improve on this by hand-scraping the surface.
The Fundamentals of Hand Scraping for Flatness
Hand scraping is the process of removing minute amounts of metal (measured in ten-thousandths of an inch) using a carbide-tipped tool. This creates a surface that is both flat and capable of holding a thin film of oil.
I use a “surface plate” and “engineers’ blue” (Prussian blue) to identify the high spots. I apply a very thin layer of blue to the plate and lower the drill press table onto it. When I lift the table, the blue pigment transfers to the high spots. I then use a hand scraper to “flake” off those blue areas. My goal for a drill press table is about 10 to 20 points per inch (PPI). This isn’t just about aesthetics; a scraped surface prevents “stiction,” allowing your drill vise to glide smoothly over the table without sticking.
Verifying Parallelism and Squareness
After the surface is flat and the slots are repaired, the table must be aligned to the spindle. This ensures that every hole you drill is perfectly perpendicular to the workpiece.
I use a “co-ax” indicator or a simple dial indicator mounted in the drill chuck. I sweep the indicator in a 5-inch or 10-inch circle around the table. If the needle moves more than 0.002 inches, the table is out of alignment. This is often caused by wear in the table’s pivot pin or the mounting bracket. I use thin brass shim stock—often in the 0.001 to 0.005 inch range—to adjust the tilt of the table until the sweep is dead-on.
Essential Resources for the Machine Restorer
Restoring vintage iron is easier when you have the right data and tools. I keep a digital library of these resources to help navigate the quirks of obsolete machinery.
- VintageMachinery.org: The gold standard for locating PDF scans of original service manuals and parts lists.
- Machinery’s Handbook (Older Editions): I prefer the 10th or 12th editions for data on obsolete thread patterns and casting grades.
- McMaster-Carr: My primary source for “oversized” T-bolts and specialized shim stock.
- Precision Straight Edges: I recommend a Grade B cast iron straight edge for checking table flatness.
- Digital Inclinometer: Useful for a quick “rough-in” of table squareness before moving to dial indicators.
Tracking the Restoration Progress
I maintain a “Machine Log” for every project. This helps me track the time invested and ensures I don’t forget a critical measurement or a part that needs ordering.
- Initial Runout Check: Measure the spindle and table before disassembly.
- Cleaning Log: Record the time spent in the electrolysis bath and the concentration of the electrolyte.
- Fastener Inventory: List every screw and its thread pitch (e.g., 3/8-16, 1/2-12).
- Flatness Benchmarks: Record the initial warp (e.g., 0.008″) and the final result (e.g., 0.001″).
- Lubrication Schedule: Document which oils were used (Way oil vs. Spindle oil).
Frequently Asked Questions
Can I use a MIG welder to fill drill marks in a cast iron table? I generally advise against it. Cast iron has high carbon content, and the rapid heating/cooling of a weld often causes “white iron” to form, which is glass-hard and impossible to file. It also creates internal stresses that can crack the table. Cold repairs with steel-filled epoxies or mechanical inserts are much safer for the integrity of the casting.
How do I know if my T-slots are too worn to be safe? If the “ceiling” of the T-slot (the part the bolt head pulls against) is thinned to less than 75% of its original thickness, or if there are visible cracks radiating from the corners, the slot may fail under clamping pressure. In these cases, milling out the damaged section and installing a robust steel insert is the only safe path.
What is the best way to remove “mushroomed” metal without scratching the rest of the table? Use a fine-cut file with “safe edges” (edges with no teeth). This allows you to work right up to the shoulder of a slot without cutting into the vertical walls. Always work slowly and check your progress frequently with a straight edge.
Is it worth the effort to hand-scrape a drill press table? If you value precision and want your tools to feel like high-end instruments, yes. It takes time, but the result is a table that is flatter than it was when it left the factory. It also provides a superior surface for precision layout work.
What should I do if a T-bolt is stuck in the slot? Never use a hammer to drive it out. Use a penetrating oil like Kroil or a 50/50 ATF/Acetone mix. If it’s really stuck, you may need to carefully drill out the bolt, being extremely careful not to touch the cast iron walls of the slot.
Can I use a belt sander to flatten the table? Absolutely not. A belt sander will follow the contours of the dips and “dub” over the edges, making the table less flat than when you started. Flatness on a machine tool is achieved through rigid, controlled movements, not handheld abrasives.
Why does my table have “spots” after the electrolysis bath? Those are usually areas where the carbon in the cast iron has migrated to the surface. They aren’t harmful. A light scrub with a fine abrasive pad and some oil will even out the appearance.
How do I prevent the slots from getting damaged again? The best way is to use a “sub-table” or a simple piece of plywood as a backing board. Also, ensure you are using the correct size T-bolts. If the bolt head is too small, it concentrates all the pressure on a tiny area, which leads to mushrooming.
Restoring a drill press table is a slow, rewarding process. When you finally place a machinist’s square on that clean, flat iron and see no light passing through, you know you’ve preserved a piece of history. These machines were built to last multiple lifetimes; they just need a little bit of expert care to get back to work.
(This article was written by one of our staff writers, Richard Beaumont. Visit our Meet the Team page to learn more about the author and their expertise.)