How to Safely File Workshop Tool Insurance Claims (Tutorial)
When I first opened my own fabrication shop, I spent every waking hour thinking about the “big three”: getting customers, finishing welds, and making enough to cover the rent. I tracked every pound of welding wire and every grinding disc. But I realized early on that my tools weren’t just steel and electronics; they were the physical manifestation of my savings account. If a fire or a break-in took my Miller Multimatic or my Baileigh ironworker, my business wouldn’t just slow down—it would stop.
Many side-hustlers moving from hobbyist to professional overlook the administrative side of tool protection. They focus on the $85 per hour shop rate but forget that their equipment is the engine driving that revenue. If you don’t have a clear system for documenting your assets, you are essentially gambling with your workshop’s future. Managing a successful shop means being as precise with your paperwork as you are with a TIG torch.
Integrating Equipment Protection into Your Shop Math
Establishing a true shop rate requires accounting for every penny spent on overhead, including the premiums paid to protect your machinery from unforeseen loss.
In my sixteen years of running and consulting for small shops, I’ve seen many owners set their rates based on what the guy down the street charges. That is a recipe for failure. To survive a major equipment loss, your hourly rate must include a “replacement burden.” This is a small percentage of your hourly fee dedicated to insurance costs and a depreciation fund. If your shop rate is $75 per hour, and your annual insurance premium for tool coverage is $1,200, that cost must be distributed across your billable hours.
- Determine your total annual overhead: Include rent, utilities, and insurance.
- Calculate your billable hours: Be realistic; you likely only spend 60% of your time under the hood.
- Allocate the “Protection Burden”: Divide your tool insurance cost by your total annual billable hours.
Building a Digital Paper Trail for Your Assets
Maintaining a digital and physical ledger of every major asset allows a shop owner to prove ownership and value instantly during a formal loss assessment.
When you buy a piece of equipment, the transaction doesn’t end when the machine hits the floor. I learned this the hard way after a small electrical fire in my second year. I had the tools, but I couldn’t find the receipts for the specialized tooling I’d bought second-hand. Now, I tell my clients that a tool isn’t “real” until it is in the spreadsheet. This involves recording the make, model, serial number, and the exact price paid, including shipping and taxes.
| Asset Name | Serial Number | Purchase Date | Purchase Price | Replacement Value |
|---|---|---|---|---|
| CNC Plasma Table | 5589-XP2 | 05/12/2021 | $12,500 | $14,200 |
| 250A TIG Welder | TIG-9901-B | 11/03/2020 | $3,200 | $3,800 |
| Cold Saw | CS-442-M | 08/20/2022 | $2,100 | $2,450 |
| Magnetic Drill | MD-77 | 02/15/2023 | $950 | $1,100 |
The Role of Visual Evidence in Asset Verification
Visual records of your equipment in its working environment provide undeniable proof of condition and existence prior to any physical damage or theft.
I recommend a “Sunday Walkthrough” once every quarter. Take your smartphone and film a three-minute video of your entire shop. Open the drawers of your Vidmar cabinets. Zoom in on the serial number plates of your larger machines. This video acts as a time-stamped record of your shop’s status. If you ever need to report a loss, this video proves that the tools were not only in your possession but were also well-maintained and operational.
- Capture serial plates: Ensure the text is legible in the photo or video.
- Show the environment: Prove the tools were stored safely and used in a professional manner.
- Update after upgrades: If you add a power feeder to your saw or a digital readout to your mill, document those additions immediately.
Navigating the Initial Notification Window After a Loss
Contacting your provider within the established policy timeframe ensures that your request for reimbursement remains valid and follows standard procedural requirements.
If the unthinkable happens—a pipe bursts and floods your electronics or a thief clears out your hand tools—the clock starts ticking. Most policies have a specific window, often 24 to 72 hours, for initial notification. In the metalworking world, we are used to fixing things ourselves. Document the scene exactly as you found it.
- Secure the site: Prevent further damage (e.g., tarping a hole in the roof) but do not “clean up.”
- File a police report: This is mandatory for any theft or vandalism claim.
- Call your agent: Provide your policy number and a high-level summary of the damage.
- Request a claim number: Use this number on every piece of correspondence moving forward.
Calculating Depreciation and Amortization for Recovery
Understanding the difference between what you paid for a welder and what it costs to buy a new one today is critical for accurate financial planning.
In accounting, depreciation is the method of spreading the cost of a tangible asset over its useful life. For a side-hustle shop, this is vital. Most insurance adjusters will look at “Actual Cash Value” (ACV), which is the replacement cost minus depreciation. If your five-year-old bandsaw is destroyed, they won’t give you the price of a brand-new one unless you have a “Replacement Cost” rider on your policy. Knowing the age and expected lifespan of your tools helps you anticipate what the recovery check might actually look like.
- Amortization: This is the process of gradually writing off the initial cost of an asset.
- Useful Life: Most fabrication machinery is rated for 5 to 10 years for tax purposes, though we know they can last 30.
- Residual Value: The estimated value of the tool at the end of its useful life.
Organizing Proof of Loss for the Adjuster
Maintaining a meticulous log of every conversation and document submission keeps the recovery process on track and prevents administrative delays.
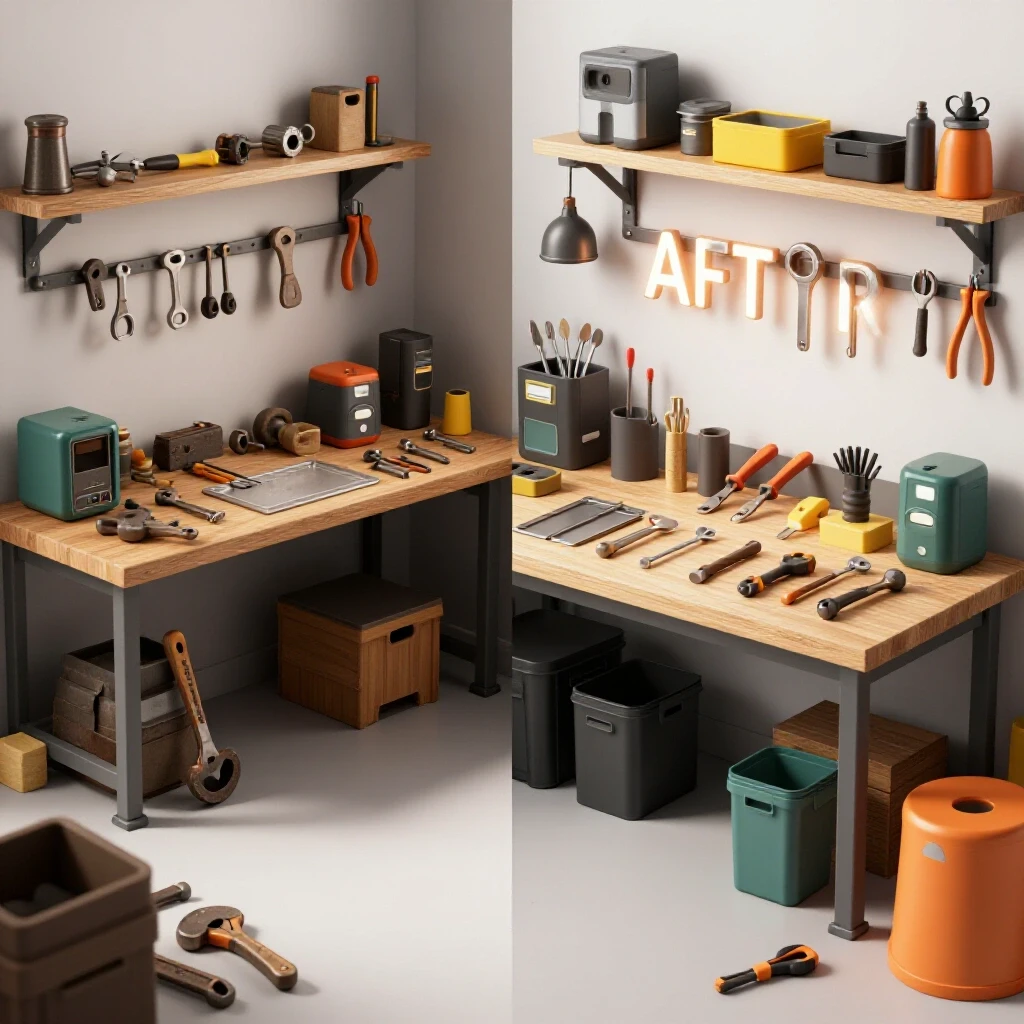
When the adjuster arrives, they are looking for facts, not stories. I always provide my clients with a “Proof of Loss” packet. This is a simple folder containing your asset spreadsheet, copies of receipts, and the “before and after” photos. By doing the work for the adjuster, you reduce the chances of errors in their report. If you can show that a specific welder was part of your “Consumable Burden” calculations and was vital for your $95/hour shop rate, it underscores the business impact of the loss.
- Keep a communication log: Record the date, time, and name of everyone you speak to at the insurance company.
- Submit documents digitally: Use email so there is a permanent, time-stamped record of your submission.
- Be specific on specs: A “welder” is not a “Synchrowave 250 with water cooler and foot pedal.” The details matter for valuation.
Why Hidden Consumables Impact Your Recovery Value
Tracking the small items like grinding wheels, shielding gas, and specialized bits ensures that your total shop loss is accurately represented to your provider.
When a shop is damaged, people remember the big machines but forget the $2,000 worth of flap discs, drill bits, and welding wire sitting on the shelves. In my consulting work, I use a “Consumable Burden Factor.” This is a percentage—usually 5% to 10%—added to the base material cost of every job. If your shop is a total loss, these consumables represent a significant financial hit. You should keep a running inventory of your consumables just as diligently as your heavy machinery.
- Track bulk purchases: Save receipts for large orders of abrasives or gas.
- Include tooling in machine value: If your mill has $3,000 worth of R8 collets and end mills, they should be documented as part of that machine’s ecosystem.
- Standardize your inventory: Use a simple app or spreadsheet to count your stock once a month.
Analyzing Post-Incident Profitability and Business Continuity
Reviewing your financial standing after an equipment loss helps you decide whether to repair, replace, or pivot your fabrication services.
Once the dust settles and the assessment is complete, you have to make a business decision. Sometimes, the payout for an older machine is better used as a down payment on a more efficient, modern version. This is where your ROI (Return on Investment) calculations come back into play. If a new CNC plasma cutter costs $15,000 but saves you 10 hours of labor per week at your $85/hour shop rate, the payback period is roughly 18 months. An insurance recovery can sometimes be the catalyst for a necessary shop upgrade.
- Evaluate the payout: Does it cover the debt on the old machine?
- Compare new tech: Would a modern replacement increase your hourly output?
- Review your shop rate: Does your new equipment require a higher rate to cover increased premiums or power needs?
Common Pitfalls in Documenting Workshop Losses
Avoiding simple administrative mistakes can be the difference between a smooth recovery and a financial nightmare for a small shop owner.
The biggest mistake I see is “lumping.” This is when an owner tells the adjuster, “I had about ten grand in hand tools.” The adjuster will almost always value that “lump” at the lowest possible denominator. Instead, you need to list “Ten (10) 4.5-inch Milwaukee Angle Grinders at $120 each.” Specificity is your best friend. Another mistake is failing to update the policy as the shop grows. If you started as a hobbyist with $5,000 in gear but now have $50,000, your old policy won’t protect your new reality.
- Don’t guess on dates: If you don’t know the purchase date, look through your bank statements or email confirmations.
- Avoid over-valuing: Be honest about the condition of the tools. Credibility is key during an assessment.
- Never skip the police report: Even for minor thefts, the lack of a report is an automatic red flag for carriers.
Establishing a “Recovery Ready” Workshop Culture
Building the habit of documentation into your daily workflow ensures that you are always prepared for an unexpected disruption.
I tell my clients that shop management is 80% fabrication and 20% administration. If you can’t find 15 minutes a week to update your tool log, you aren’t running a business; you have an expensive hobby. Set a recurring calendar invite for the first Monday of every month. Use that time to scan new receipts, take a few photos of new tooling, and verify that your backup files are synced to the cloud. This small habit provides a level of financial security that no amount of extra welding can match.
- Use a dedicated email: Send all tool-related receipts to a specific “shop-admin” email address.
- Cloud backups: Store your asset spreadsheet and shop photos on a service like Google Drive or Dropbox.
- Physical backup: Keep one printed copy of your major asset list in a fireproof safe or off-site.
Frequently Asked Questions
How do I prove the value of a tool I bought at a garage sale or on Craigslist? For used purchases without a formal receipt, take a photo of the tool and the serial number immediately. Find a current “sold” listing on eBay or a used machinery site for the same model in similar condition. Save a PDF of that listing as your “valuation benchmark.” You can also use a signed bill of sale from the seller, even if it’s handwritten, as long as it includes the date and price.
Will my homeowners insurance cover my side-hustle tools? Generally, no. Most homeowners policies have very low limits (often $500 to $2,500) for “business property.” If you are taking money for your fabrication work, you are a business. You need a dedicated commercial policy or a specific “in-home business” endorsement to ensure your professional tools are protected.
What is the “Replacement Cost” vs. “Actual Cash Value” (ACV)? Replacement Cost covers what it would cost to buy the same tool brand-new today. Actual Cash Value pays you what the tool was worth at the time of the loss (its depreciated value). Replacement Cost premiums are higher, but for a shop owner, it is often worth it to avoid the “gap” between a payout and the cost of getting back to work.
Do I need to list every single screwdriver and wrench in my inventory? No. For small hand tools, it is better to group them by category and value. For example: “Set of 20 assorted Proto wrenches – $400” or “Box of 50 assorted welding clamps – $600.” Save the individual line items for any tool worth more than $100 or any tool with a serial number.
How often should I update my tool inventory? I recommend a major update once a year, with “mini-updates” every time you make a purchase over $500. This ensures that your coverage limits stay in line with your actual shop value. If you buy a $10,000 CNC machine mid-year, you should notify your agent immediately rather than waiting for the annual renewal.
What should I do if the insurance company’s offer is lower than the cost of a replacement? You have the right to provide “comparables.” If the adjuster says your welder is worth $1,000, but you can prove the cheapest one on the market is $1,800, submit that evidence. Use quotes from local machinery dealers or screenshots from reputable online retailers to support your case.
Does insurance cover the time I lose while the shop is down? Standard tool insurance usually only covers the physical items. To protect your income, you need “Business Interruption Insurance.” This covers your lost profits and ongoing expenses (like rent) while your tools are being repaired or replaced.
Should I keep my receipts in the shop? Never keep your only copies of documentation in the shop itself. If there is a fire, the receipts go up with the tools. Always keep digital copies in the cloud and, if possible, a physical backup at your home or in a safe deposit box.
How do I document tools that I built myself, like a custom hydraulic press? Document the cost of the raw materials (steel, cylinders, valves) and keep those receipts. Take detailed photos of the finished build. While you often can’t “bill” for your own labor in a claim, you can certainly claim the value of the components that make up the machine.
What is a “deductible,” and how does it affect my shop math? The deductible is the amount you pay out of pocket before the insurance kicks in. If you have a $1,000 deductible and lose a $1,200 grinder, you’ll only get $200. I recommend keeping a “Shop Emergency Fund” in a high-yield savings account that matches your deductible amount so a small loss doesn’t derail your cash flow.
(This article was written by one of our staff writers, Michael Hargrove. Visit our Meet the Team page to learn more about the author and their expertise.)