How to Safely Repair and Fix Misdrilled Holes in Steel (Fix)
I have spent over fourteen years standing on shop floors, staring at pieces of steel that were nearly perfect, except for one glaring error. A drill bit wandered, a measurement was read from the wrong end of the tape, or a template shifted during a pilot hole. In my early days as a mechanical engineer and fabricator, those misplaced holes felt like a death sentence for the project. I remember a specific instance involving a heavy-duty mounting bracket for a shop crane. I had spent six hours machining the plate, only to realize I had placed a one-inch hole exactly two inches from where it needed to be. The panic was real, but it taught me my first lesson in structural remediation: steel is forgiving if you understand the physics of the fix.
The anxiety many of us feel in the garage or a small workshop comes from a lack of predictability. We worry that if we fill a hole incorrectly, the metal will crack, warp, or fail when we least expect it. My goal is to remove that uncertainty. By looking at material stress, heat management, and proper filler techniques, we can turn a scrap piece back into a structural asset. This guide focuses on mild steel, the backbone of most home projects, and how to restore its integrity when a drilling mistake occurs.
Understanding Material Stress and Hole Placement Errors
Material stress refers to the internal forces that steel molecules exert on each other when a load is applied. When we drill a hole, we create a “stress riser,” which is a point where those forces concentrate and can lead to cracks.
In my experience, the biggest risk of an erroneous hole isn’t just the missing metal; it is how that hole disrupts the path of the load. Think of a piece of steel like a highway for force. A hole is a roadblock. The force has to “drive” around the hole, crowding into the narrow sections of metal on either side. If those sections are too thin, they will yield or snap.
When we decide to fill a misplaced hole, we are trying to rebuild that highway. However, we must be aware of the “yield strength” of the steel. For common A36 mild steel, this is typically around 36,000 PSI (pounds per square inch). If our repair doesn’t bond perfectly with the original material, or if we introduce defects like porosity, the repaired area will never reach that original strength.
- Stress risers: Sharp corners or holes that concentrate force.
- Yield strength: The point where metal deforms and won’t return to its original shape.
- Tensile strength: The maximum stress a material can handle before it breaks.
- Load paths: The direction through which force travels through a structure.
Assessing Structural Integrity Before Attempting a Repair
Structural integrity is the ability of a component to hold together under a load without failing. Before you pick up a welder or a drill, you must determine if the part can actually be saved.
I once saw a builder try to fill five holes that were drilled in a tight cluster on a trailer tongue. By the time he was done welding, the steel had become so brittle from the repeated heat that it cracked during a simple bounce test. This is why a “scrap or save” analysis is your first step. If the misdrilled hole is too close to an edge (less than 1.5 times the hole diameter), the “edge distance” is compromised. In these cases, filling the hole might not be enough to restore the safety margin.
When to Scrap the Part
- If the hole removes more than 25% of a structural flange or web.
- If the hole is located in a high-tension zone of a beam.
- If the steel shows signs of “blue brittleness” from previous overheating.
- If the repair would require more weld volume than the original base metal can support.
When to Proceed with a Fix
- The hole is in a “neutral axis” where stress is minimal.
- The error is purely cosmetic or for a non-load-bearing part.
- There is enough surrounding material to handle the heat of a weld.
- The part is thick enough (usually 1/8 inch or more) to allow for full weld penetration.
| Factor | Repairable Scenario | Replacement Required |
|---|---|---|
| Edge Distance | > 1.5x hole diameter | < 1.0x hole diameter |
| Material Thickness | 3/16″ or thicker | Very thin sheet metal (< 20 gauge) |
| Load Type | Static / Compression | Dynamic / High Vibration |
| Hole Density | Single isolated error | “Swiss cheese” pattern |
Mechanical Fastener Solutions for Non-Critical Errors
Mechanical remediation involves using hardware or physical inserts to plug a hole without using heat. This is often the safest route for risk-averse fabricators because it avoids changing the metal’s internal structure.
If I am working on a project where I cannot afford any distortion from heat, I look toward mechanical fixes. Using a “slug” or a grade-rated bolt can effectively fill the void. For example, if you drill a 1/2-inch hole in the wrong spot, you can tap that hole and thread in a high-strength bolt. Once tightened, you can cut the head and tail off the bolt and grind it flush. This doesn’t restore the original grain structure of the steel, but it does fill the void and prevent the hole from collapsing or catching debris.
- Tapped Plugs: Threading the hole and inserting a matching bolt.
- Press-fit Slugs: Using a hydraulic press to force a slightly oversized pin into the hole.
- Structural Washers: Using oversized washers to bridge a hole that was drilled too large.
Steps for a Tapped Bolt Repair
- Clean the hole of all burrs and oils.
- Tap the hole using a standard thread pitch (e.g., 1/2-13).
- Apply a high-strength thread locker to a Grade 5 or Grade 8 bolt.
- Thread the bolt in until it is tight.
- Cut the excess bolt material using a reciprocating saw or cutoff wheel.
- Grind the surface flush with a 40-grit flap disc.
The Plug Welding Method for Permanent Steel Remediation
Plug welding is the process of filling a hole entirely with weld metal to create a solid, unified piece of steel. This is the most common way to fix a drilling error when a seamless finish is required.
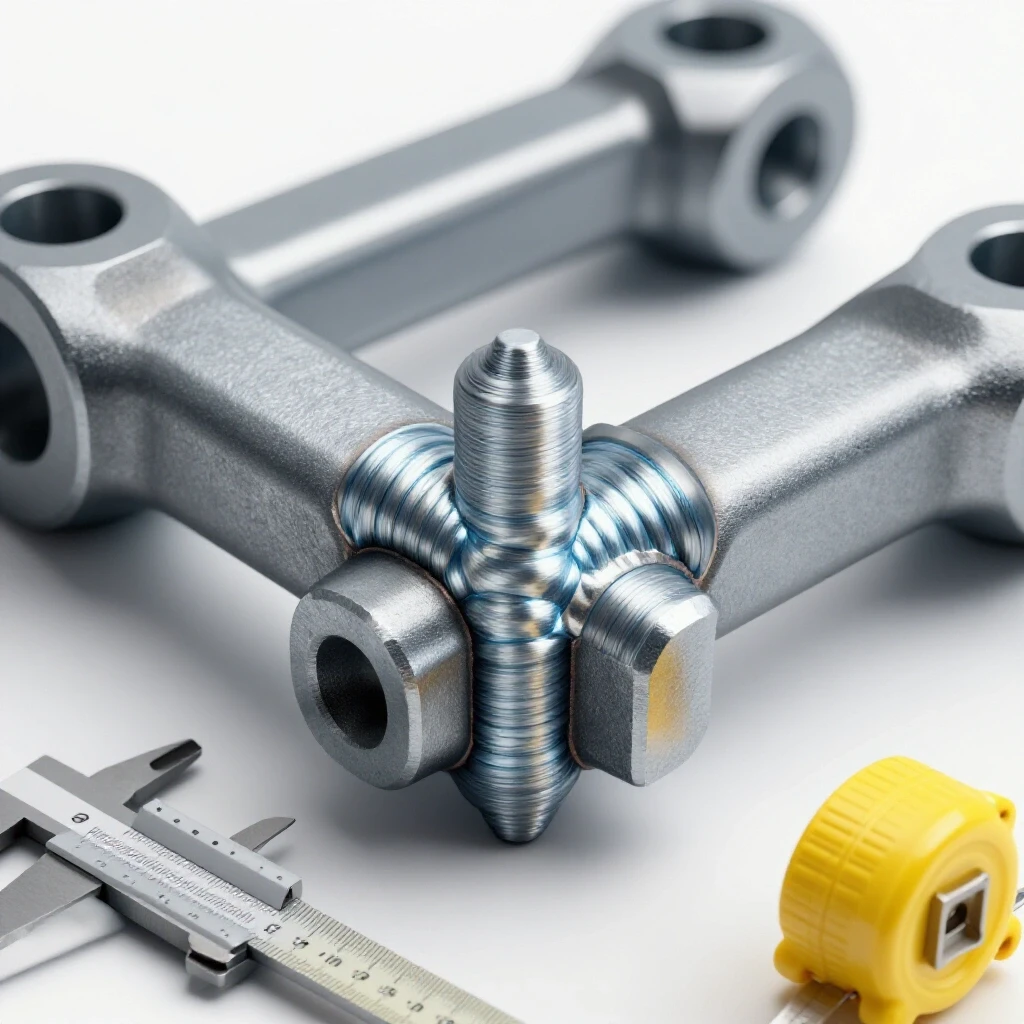
In my workshop, I use plug welding when the part needs to be painted or powder-coated afterward. The key is ensuring “root penetration.” If you just “scab” over the top of the hole, you leave a hollow pocket inside. This pocket can trap moisture, leading to internal corrosion, or it can act as a hidden crack-starter. I always use a copper or brass backing bar when plug welding. The weld won’t stick to the copper, but the copper will hold the molten steel in place until it solidifies.
Plug Welding Process Checklist
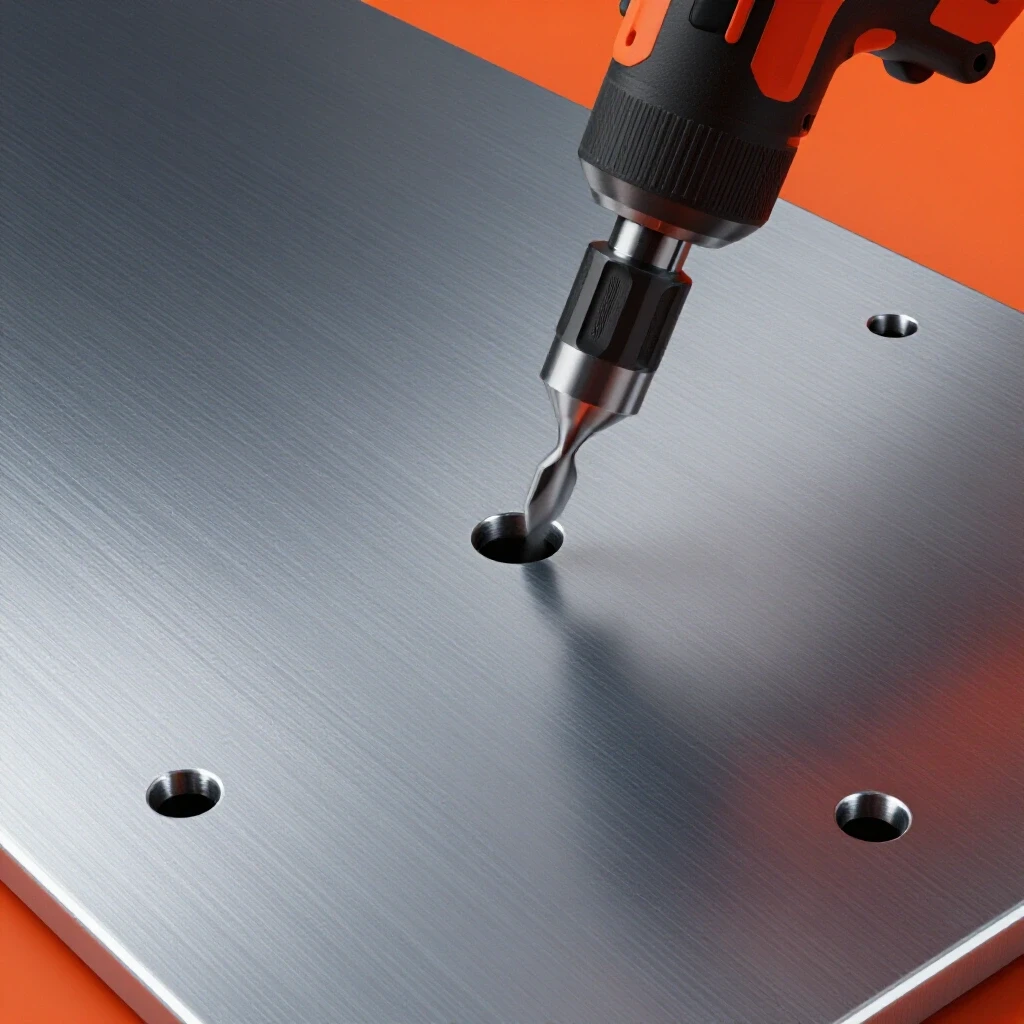
- Bevel the edges: Use a countersink bit to create a 45-degree chamfer on both sides of the hole. This allows the weld to reach the center of the plate.
- Clean to bright metal: Use a wire brush or acetone to remove all mill scale and oils.
- Clamp a backing bar: Place a thick piece of copper behind the hole.
- Set the heat high: You need more heat than a standard joint because the surrounding metal acts as a “heat sink,” pulling warmth away from the weld.
- Spiral technique: Start your arc on the edge of the hole, move to the center, and spiral back out to the edges to ensure the walls are fully fused.
Managing the Heat Affected Zone During Thermal Fixes
The Heat Affected Zone (HAZ) is the area of base metal that did not melt but underwent a change in its microstructure due to the intense heat of welding. This area is often the weakest point of a repair.
When I inspect failures in the field, they almost never happen in the center of the weld. They happen in the HAZ. When you fill a hole, you are dumping a massive amount of heat into a small area. This can cause the steel to become “quench-hardened” if it cools too fast, making it as brittle as glass. To prevent this, I use a “pre-heat” and “slow-cool” strategy. By warming the steel to about 250 degrees Fahrenheit before welding, you reduce the thermal shock.
- Thermal Shock: Rapid temperature changes that cause cracking.
- Grain Growth: When heat causes the metal’s internal “grains” to get too large, weakening the part.
- Distortion: When the steel warps or twists as the weld cools and shrinks.
How to Control Heat and Distortion
- Use a “stitch” approach: Weld for a few seconds, let it cool slightly, then continue.
- Use a heat-sink: Clamping the part to a thick steel table helps draw excess heat away.
- Avoid water quenching: Never throw a hot repair into a bucket of water; let it air cool slowly.
- Monitor interpass temperature: If the metal starts glowing dull red and stays that way, stop and let it cool.
Workshop Safety and PPE for Steel Restoration
Workshop safety involves using the correct protective gear and environment to prevent injury during cutting, grinding, and welding. Filling holes often involves more grinding and “out of position” welding than standard projects.
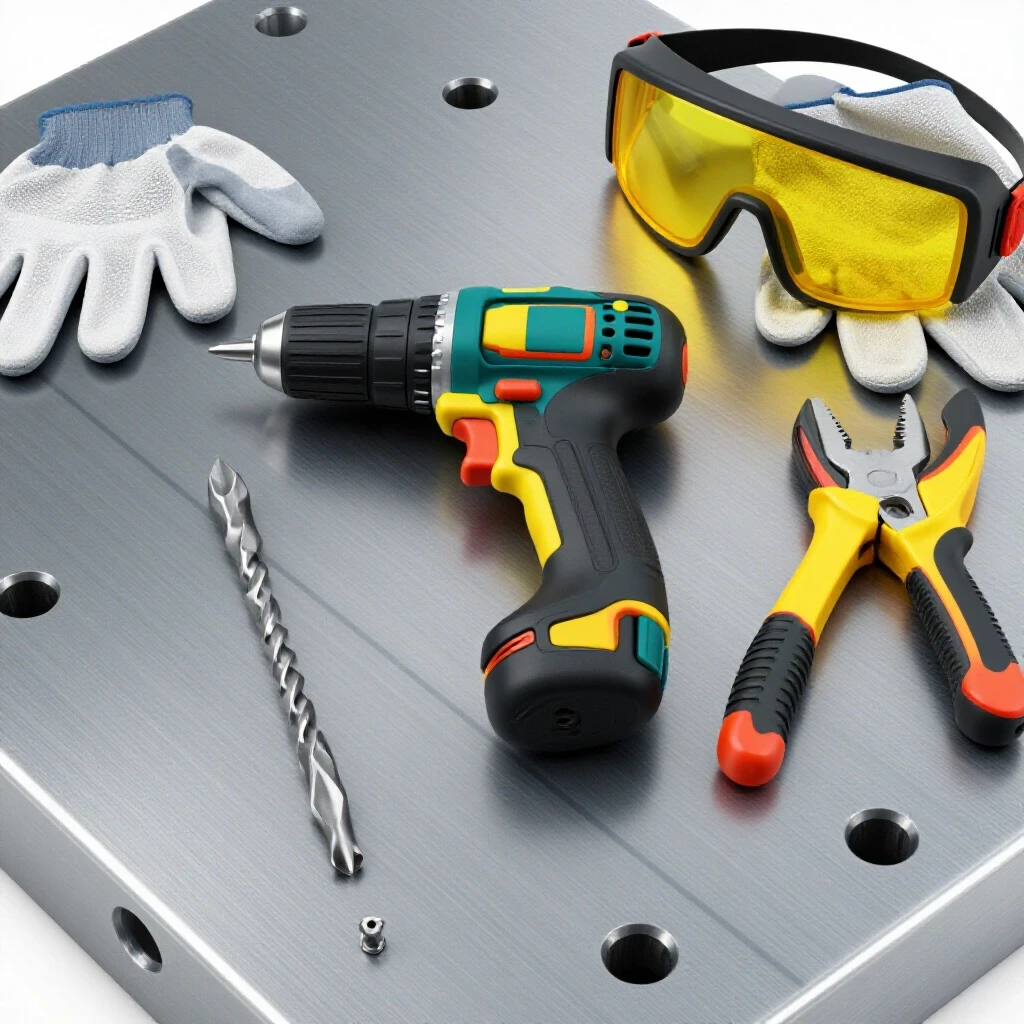
I have seen more “near-miss” incidents during repair work than during new builds. Why? Because we tend to rush the fixes. When grinding a weld flush, the sparks are intense and directional. I always wear a full face shield over my safety glasses. For the welding portion, a Shade 10 to 13 lens is mandatory to prevent “arc eye,” which is essentially a sunburn on your retina.
Essential Safety Gear for Repairs
- Welding Helmet: Auto-darkening with a fast reaction time (1/25,000 sec).
- Respirator: A P100 rated mask to filter out zinc oxide and metal dust.
- Leather Apron: To protect against the heavy spark load of flush grinding.
- Fire Extinguisher: An ABC-rated unit kept within ten feet of the work area.
Welding Gas Flow and Ventilation
When using MIG (Metal Inert Gas) welding for a repair, your gas flow rate should be between 15 and 20 CFH (Cubic Feet per Hour). If you are working in a garage with the door open, a slight breeze can blow away your shielding gas. This causes “porosity,” which looks like tiny bubbles in the weld. Porosity is a structural failure. If you see bubbles, you must grind the weld out and start over. Ensure your ventilation pulls fumes away from your face but doesn’t create a draft across the weld puddle.
Verifying the Strength of Your Steel Repair
Verification is the process of testing a repair to ensure it meets the required safety standards and will not fail under load. You don’t need an industrial lab to do this, but you do need a systematic approach.
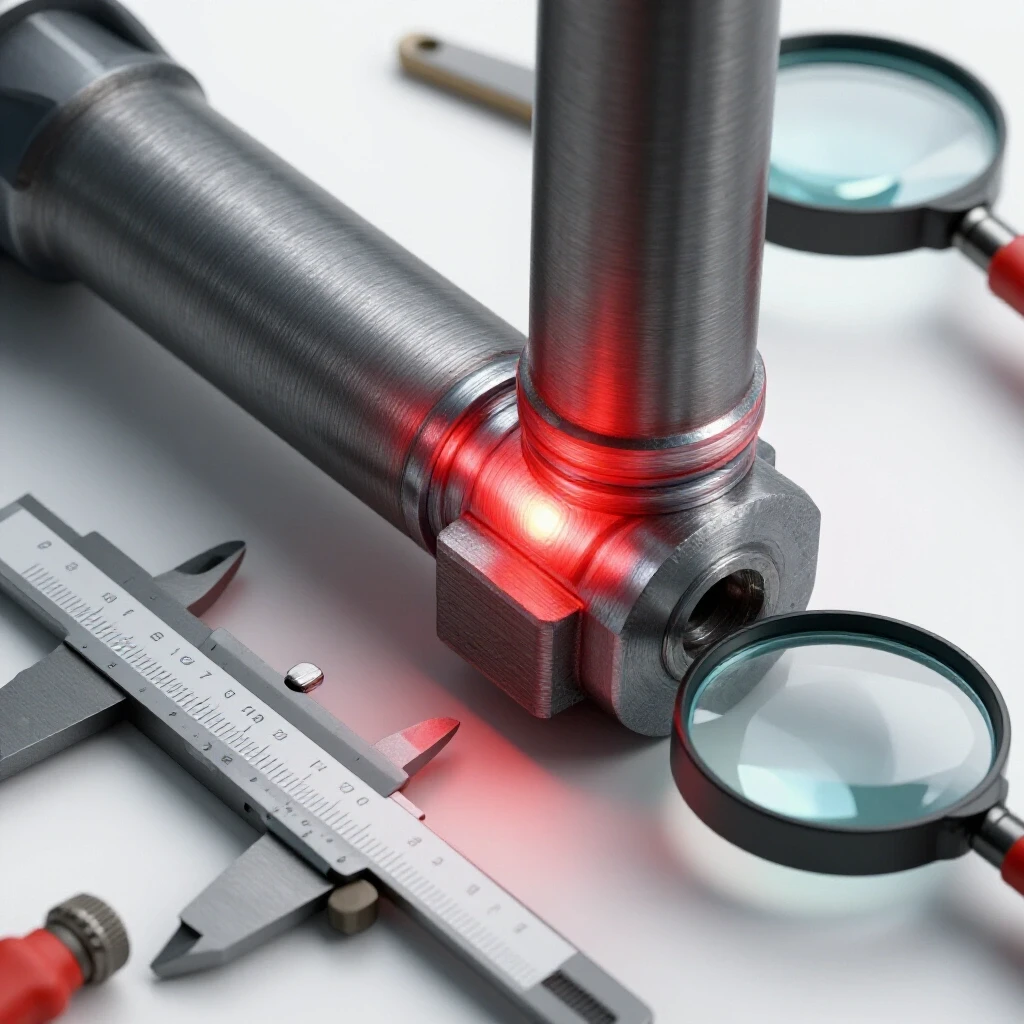
After I finish a repair, I never just take it for granted. I use a “visual inspection” first, looking for undercuts (grooves melted into the base metal) or cracks. Then, I use a “dye penetrant kit.” This is a simple two-part spray. You spray a red dye on the repair, wipe it off, and then spray a white developer. If there is even a microscopic crack, the red dye will bleed through the white developer. It’s a cheap way to have professional-level confidence in your work.
The Post-Repair Inspection Checklist
- Visual Check: Is the weld flush? Are there any visible holes or “craters” at the end of the weld?
- Sound Test: Tap the metal with a hammer. A solid repair will “ring.” A failed or hollow repair will “thud.”
- Flatness Check: Use a machinist’s square to ensure the heat didn’t warp the plate.
- Dye Penetrant: Check for surface-reaching cracks that the eye can’t see.
| Defect | Cause | Solution |
|---|---|---|
| Porosity | Low gas flow or dirty metal | Increase CFH to 20; clean with acetone |
| Undercut | Voltage too high or travel too fast | Lower voltage; slow down the spiral |
| Cracking | Rapid cooling (Quenching) | Pre-heat metal; let air cool |
| Lack of Fusion | Voltage too low | Increase amperage/voltage for better “dig” |
Strategic Recommendations for Preventing Future Errors
The best way to fix a hole is to not drill it in the wrong place to begin with. Over my 14 years, I have developed a “measure thrice” system that has saved me countless hours of rework.
One trick I use is “optical center punching.” Instead of just marking a line with a Sharpie, I use a magnifying glass to place a tiny dimple exactly at the intersection of my layout lines. Then, I use a 1/8-inch pilot bit. Large bits tend to “walk” across the steel, even if you have a center punch mark. A small pilot bit stays on target. If the pilot is wrong, it is much easier to fill a 1/8-inch hole than a 1/2-inch one.
My “No-Error” Layout Workflow
- Layout Dye: Use blue layout fluid (Dykem) so your scribe lines are razor-sharp.
- Transfer Punches: If you are matching holes from another part, use a transfer punch set rather than measuring.
- Clamping: Never drill a part that isn’t clamped. The torque of the drill can shift the metal mid-hole.
- Template Verification: Tape your paper template to the metal and “dry fit” the components before the first bit touches the surface.
Summary of Corrective Actions
When you find a misplaced hole, don’t panic. Stop, take a breath, and evaluate. If the part is structural and the hole is in a high-stress area, consider starting over. If it is salvageable, decide between a mechanical plug or a thermal weld. If you weld, use a copper backing bar, manage your heat to protect the HAZ, and always grind it flush for a clean finish. Finally, verify your work with a dye test or a simple stress test.
Steel is a remarkably resilient material. It wants to stay together. By following these industrial standards and safety protocols, you can ensure that your “fix” is just as strong as the original metal. Every mistake is just a data point that makes you a better fabricator.
FAQ: Frequently Asked Questions
Is a welded-shut hole as strong as the original steel?
If done correctly with full penetration and proper heat management, a plug weld can match the strength of the base metal. However, because the grain structure is changed by the heat, it is often recommended to use a 2:1 safety factor. This means the part should only be loaded to half of its theoretical maximum strength to account for any minor internal defects.
Can I use a regular bolt to fill a hole and then weld over it?
This is a common practice, but you must be careful. If you use a zinc-plated (galvanized) bolt, the welding heat will release toxic zinc fumes. Always use “plain finish” or “black oxide” bolts. Also, ensure the bolt is a tight fit. If there is air trapped behind the bolt, the heat will cause the air to expand, which can “blow out” your weld puddle and create a dangerous mess.
What is the best welding process for filling holes in a home shop?
MIG (GMAW) is generally the best for hobbyists because it is easy to control and produces very little slag. However, TIG (GTAW) offers the most control over heat and produces the cleanest results if you have the skill. Stick welding (SMAW) is great for thick plates (1/4 inch+) but can be difficult on thinner material because the slag can get trapped inside the hole.
How do I prevent the metal from warping when I fill a hole?
Warpage is caused by the uneven shrinking of the weld as it cools. To prevent this, clamp the part firmly to a thick steel workbench. You can also “over-bend” the part slightly in the opposite direction before welding, so that as the weld shrinks, it pulls the part back into a straight position. This is called “pre-cambering.”
Why did my weld crack right down the middle after it cooled?
This is usually a “shrinkage crack” or “hot crack.” It happens when the weld metal shrinks faster than the surrounding base metal can move. This is common if you fill a large hole too quickly with one massive blob of weld. To fix this, use multiple small passes and allow the metal to remain warm (but not glowing) between passes.
Should I grind the weld flush on both sides?
For cosmetic reasons, yes. Structurally, leaving a slight “reinforcement” (a small hump of weld) actually makes the joint stronger. However, in many mechanical applications, the part needs to sit flat against another surface. If you grind it flush, ensure you didn’t “undercut” the edges, which would make the metal thinner than it was originally.
Can I use “Liquid Solder” or “Cold Weld” epoxies to fix a hole?
No, not for anything structural. Epoxies and “liquid steels” are essentially glue mixed with metal dust. They have almost zero tensile strength compared to real steel. They are fine for filling a hole in a birdhouse or a decorative sign, but they should never be used on a tool, a vehicle, or a piece of furniture that holds weight.
What do I do if I drill a hole too large?
If the hole is just slightly oversized, you can use a “bushings” or a “reducer.” If it needs to be the original size, your best bet is to plug weld the entire hole solid and then re-drill it using the correct size bit. This ensures the bolt or fastener has 100% surface contact with the metal.
(This article was written by one of our staff writers, James Harlan. Visit our Meet the Team page to learn more about the author and their expertise.)