How to Safely Troubleshoot Hydraulic Press Leaks (DIY Fix)
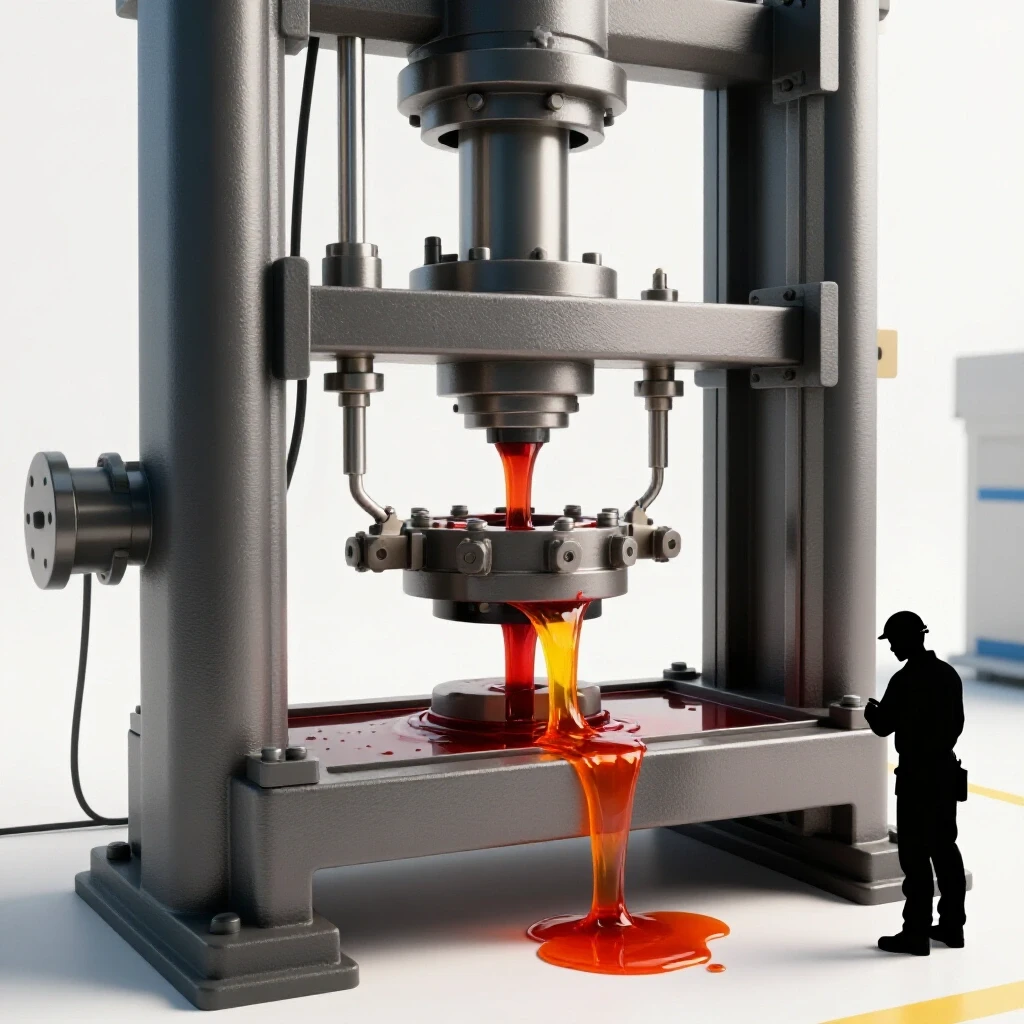
After 15 years in a small-scale fabrication shop, I have learned that the smell of hydraulic fluid is usually the first sign of an afternoon gone wrong. You are in the middle of pressing a set of bearings or forming a bracket, and you notice a shimmering pool of oil forming around the base of your 20-ton shop press. It is a frustrating moment that many tool owners face, especially when marketing brochures promise “maintenance-free” operation for years. The reality is that any piece of equipment under high pressure will eventually find a way to vent that energy.
My maintenance journals show that even mid-tier shop presses often develop their first weep within the first 300 to 500 hours of actual use. These aren’t catastrophic failures, but they are signals that the seals or fittings are reaching their limit. In this guide, I want to walk you through the systematic process I use to identify and resolve fluid loss in small shop machinery. We will focus on tools under 50 tons, using logs from my own equipment to show what actually breaks and how to fix it without calling in an expensive technician.
Establishing a Foundation for Hydraulic System Inspection
Systematic inspection is the process of visually and physically checking every connection point, seal, and hose in a hydraulic circuit to find the exact origin of a fluid escape. Before turning a single wrench, you must understand where the system is most likely to fail under the stress of daily fabrication tasks.
Most of us buy a press based on the ton rating, but we rarely look at the quality of the seals or the type of fittings used. In my experience, a “20-ton” press from a budget brand often uses lower-grade O-rings compared to an industrial unit. When I track the performance of my shop equipment, I look for “weeping,” which is a slow dampness, versus “spraying,” which indicates a structural failure. Identifying these early allows for a controlled repair rather than an emergency shutdown during a critical project.
Differentiating Between External Seepage and Internal Bypassing
Internal bypassing occurs when fluid moves past a seal inside the cylinder, causing the ram to lose pressure or “creep” downward even when the valve is closed. External seepage is when the fluid actually leaves the system and creates a visible mess on the floor or the tool frame.
If your press ram slowly retracts or fails to hold a load, but you don’t see oil on the floor, you are likely dealing with an internal seal failure. I once spent three hours tightening fittings on a 12-ton press only to realize the piston seal inside the jack was scarred. Understanding this distinction saves you from wasting time on external components when the problem is buried deep inside the hydraulic power unit.
Safe Depressurization Protocols for Shop Equipment
Depressurization is the act of releasing all stored energy within a hydraulic system by opening the release valve and ensuring the ram is fully retracted. This is the most critical safety step because even a small amount of trapped pressure can turn a loose fitting into a dangerous projectile or cause high-pressure injection injuries.
In my shop, I follow a strict “zero-energy” rule. Before I touch a hose or a fitting, I verify that the ram is at its lowest point and the release valve has been open for at least thirty seconds. I have seen hobbyists try to “crack” a line while the ram was still under a slight load, resulting in a face full of oil. Always remember that the pressure in these small jacks can exceed 8,000 PSI; that is more than enough to pierce skin and cause permanent damage.
Essential Safety Gear for Fluid Power Repairs
Personal Protective Equipment (PPE) for hydraulic work must include impact-resistant safety glasses, chemical-resistant gloves, and heavy shop rags to catch residual fluid. Standard mechanics’ gloves often soak up oil, which can lead to skin irritation or chemical burns over long periods of exposure.
I prefer nitrile gloves under a pair of thin work gloves for grip. The nitrile provides a barrier against the additives in hydraulic oil, while the outer glove protects against sharp edges on the press frame. When you are working on a piece of machinery that has been in service for years, expect the fluid to be hot if the tool was recently used. Heat increases the fluidity of the oil, making leaks more apparent but also more dangerous to handle.
Evaluating Common Failure Points in Small Presses
The most frequent sources of fluid loss in shop-floor machinery are the ram seals, the hose crimps, and the threaded fittings connecting the pump to the cylinder. By tracking these points in a maintenance log, you can predict when a tool might need a refresh based on the number of cycles it has performed.
- Ram Seals: These are the primary gaskets that keep oil inside the main cylinder. They wear out due to dirt on the ram or heat from heavy use.
- Hose Crimps: The junction where the flexible hose meets the metal fitting is a high-stress area. Vibrations and repeated pressure spikes eventually weaken the crimp.
- Valve Block Fittings: These threaded connections can vibrate loose over time, especially on air-over-hydraulic models that create consistent micro-vibrations during operation.
| Component | Expected Lifespan (Cycles) | Common Failure Sign | Repair Difficulty |
|---|---|---|---|
| Main Ram Seal | 1,000 – 3,000 | Oil ring on the ram | Moderate |
| Hydraulic Hose | 5,000+ | Weeping at the crimp | Easy (Replace) |
| Pump Piston Seal | 2,000 – 4,000 | Loss of pressure/Oil at handle | Moderate |
| Threaded Fittings | Variable | Visible drip at threads | Easy (Tighten/Reseal) |
The Toolkit for Basic Hydraulic Maintenance
Repairing a standard shop press does not require specialized industrial tools, but it does require high-quality wrenches that won’t round off the soft metal of hydraulic fittings. You will primarily need a set of flare nut wrenches, a clean workspace, and a variety of replacement O-rings and seals.
I always recommend using flare nut wrenches (also called line wrenches) rather than standard open-end wrenches. Hydraulic fittings are often made of brass or soft steel, and they can be incredibly tight. A standard wrench only grips two sides of the nut, whereas a flare nut wrench grips five, significantly reducing the risk of stripping the fitting. In my 12 years of maintaining shop tools, I have found that a $50 set of line wrenches has saved me hundreds of dollars in replacement parts.
Selecting the Right Replacement Seals and O-Rings
O-rings are measured by their inside diameter (ID) and their cross-section (thickness), and they are typically made of Nitrile (Buna-N) or Viton. For most shop presses under 50 tons, standard Buna-N O-rings are the factory specification because they are compatible with hydraulic oil and are cost-effective.
When I pull a damaged seal, I use a digital caliper to measure it exactly. Never guess on the size; an O-ring that is 1mm too small will fail the moment you put the system under load. I keep a dedicated “Hydraulic Repair Kit” in my shop that contains a variety of sizes, but I always cross-reference the manufacturer’s parts list if it is available. Buying a generic kit is fine for emergencies, but for a long-term fix, the exact spec matters.
Step-by-Step Replacement of Damaged Fittings
Once you have identified a leaking fitting, the repair involves cleaning the area, removing the old component, and installing a new seal or re-applying thread sealant. This is a common task for anyone managing a fleet of shop tools, as vibration is the enemy of a tight seal.
- Clean the Area: Use a degreaser to remove all oil from the fitting. You cannot see the true source of a leak if the entire pump is covered in residue.
- Unscrew the Connection: Use your flare nut wrenches to break the fitting loose. Have a rag ready to catch the small amount of oil that will inevitably drain out.
- Inspect the Threads and Seat: Look for cracks in the flare or stripped threads. If the metal itself is damaged, no amount of tightening will stop the leak.
- Replace the Seal: If the fitting uses an O-ring, discard the old one and lubricate the new one with a drop of clean hydraulic oil before installing.
- Reassemble and Snug: Tighten the fitting by hand first to avoid cross-threading, then use your wrench to firm it up.
The Danger of Over-Tightening Hydraulic Connections
One of the biggest mistakes I see in DIY tool maintenance is the “tighter is better” mentality. Over-tightening a hydraulic fitting can crush the O-ring or crack the flare, creating a much larger leak than you started with.
In my shop logs, I have noted several instances where a simple weep turned into a cracked manifold because I applied too much leverage. Most small press fittings only need to be “snug plus a quarter turn.” If it still leaks at that point, the problem is likely a damaged surface or a dirty seal, not a lack of torque. Learning the “feel” of a proper seal is a skill that comes with time, but starting light is always the safer path.
Tracking Tool Performance and Maintenance Intervals
To make informed purchasing decisions, you must track how often your tools require attention. I use a simple digital spreadsheet to log every hour of runtime and every maintenance action I perform on my shop equipment.
By keeping these records, I noticed that one particular brand of 20-ton press required seal replacements every 18 months, while another more expensive model has gone five years without a single drop of oil escaping. This data is far more valuable than any marketing claim about “heavy-duty construction.” It tells me the true cost of ownership over the life of the tool.
Creating a Preventative Maintenance Schedule
A preventative maintenance schedule is a set of planned tasks performed at specific intervals to prevent equipment failure. For a shop press, this includes cleaning the ram, checking fluid levels, and inspecting hoses for signs of wear or cracking.
- Daily (Before Use): Wipe down the ram to prevent dust from being pulled into the seals.
- Monthly: Inspect all hose connections for dampness.
- Annually: Check the fluid level and inspect the frame for any structural stress cracks.
- Every 2 Years: Consider replacing high-wear O-rings even if they aren’t leaking yet, especially if the tool is used daily.
Evaluating Brand Reliability Through Maintenance Data
When you are looking to upgrade your shop, your maintenance logs become your most powerful tool. You can see exactly which brands use standard, easy-to-find fittings and which ones use proprietary parts that are impossible to source when a leak occurs.
I have found that the “prosumer” brands often provide the best balance of cost and repairability. They use standard NPT (National Pipe Thread) or JIC (Joint Industry Council) fittings that you can buy at any local hydraulic shop. Budget brands often use unique thread pitches that force you to buy an entire new pump if a single fitting fails. As an active tool buyer, always check the parts manual before you buy to see if the seals are listed with standard dimensions.
Long-Term Ownership: Costs and Realities
The true cost of a hydraulic press isn’t the price on the tag; it is the price of the tool plus the cost of downtime and repairs over ten years. A $300 press that leaks every six months is significantly more expensive than a $700 press that runs for a decade with only basic cleaning.
In my experience, spending an extra 20% upfront for a unit with a chrome-plated ram and replaceable seals pays for itself within the first three years. Chrome plating resists the pitting and rusting that shreds seals, which is the number one cause of fluid loss in humid shop environments. When I evaluate a new piece of machinery, I look at the finish of the moving parts first, as that is the best indicator of how long the internal seals will last.
Practical Steps for Moving Forward
If you are currently dealing with a weeping press, start by cleaning the unit and identifying the exact source. Don’t rush into a repair without the right wrenches and a clean workspace. If you are in the market for a new tool, use the criteria we discussed—standard fittings, chrome-plated rams, and available parts lists—to make your choice.
- Audit your current equipment: Check for dampness at every connection.
- Start a maintenance log: Record the date and the nature of any “weeps” you find.
- Build a seal kit: Identify the O-ring sizes for your most-used tools and keep them on hand.
- Research before you buy: Look for brands that offer rebuild kits rather than just replacement assemblies.
By taking a data-driven approach to your workshop, you move away from the frustration of unexpected breakdowns and toward a professional environment where tools are managed, maintained, and reliable.
Frequently Asked Questions
Why does my press ram slowly sink when it is under a load?
This is typically caused by internal bypassing. The fluid is leaking past the piston seal inside the cylinder and returning to the reservoir. It is not an external leak, so you won’t see oil on the floor, but it indicates the internal seals are worn or the cylinder wall is scratched.
Can I use Teflon tape on hydraulic fittings?
Generally, no. In high-pressure hydraulic systems, bits of Teflon tape can shear off and clog the small orifices in the valve block, leading to total system failure. Use a dedicated hydraulic thread sealant or rely on the O-ring/flare design of the fitting itself.
How do I know if a hydraulic hose needs to be replaced?
Look for “weeping” at the metal crimp, any signs of the outer rubber cracking, or “bubbles” forming under the outer skin. If you see the wire reinforcement through the rubber, the hose is a safety hazard and must be replaced immediately.
What is the most common cause of seal failure in shop presses?
Contamination is the primary killer. Dust and metal shavings stick to the oily ram; when the ram retracts, those particles are pulled through the seal, creating tiny scratches that eventually allow oil to escape under pressure.
Is it safe to tighten a fitting while the press is under load?
Never. You should always release the pressure and retract the ram before attempting to tighten any connection. Tightening under pressure can cause the fitting to fail catastrophically or strip the threads instantly.
How often should I check the fluid level in my shop press?
I check mine every three months or after any major project involving high-cycle use. If you notice the ram isn’t reaching its full extension, it is often a sign that the fluid level is low due to a slow, unnoticed leak.
What should I do if I find a pinhole leak in a hose?
Do not attempt to patch it or put your hand near it to find the source. A pinhole leak under high pressure can cause a fluid injection injury, which is a medical emergency. Replace the hose entirely; there is no safe DIY “patch” for a high-pressure line.
Why are flare nut wrenches better than standard wrenches for this work?
Hydraulic fittings are often made of softer metals to allow them to seat properly. A standard wrench only contacts the corners of the nut, which can easily round them off. A flare nut wrench wraps around most of the nut, distributing the force and preventing damage.
Can I use regular motor oil if I am low on hydraulic fluid?
No. Motor oil has different viscosity characteristics and additives that can cause seals to swell or degrade. Always use the specific hydraulic oil weight recommended by the manufacturer, typically AW32 or AW46 for small shop presses.
How can I tell if my cylinder is worth rebuilding or if I should buy a new one?
Inspect the inner wall of the cylinder and the surface of the ram. If you see deep vertical scratches (scoring) that you can feel with a fingernail, a new seal will not fix the problem. In that case, the metal itself is damaged, and replacement is usually more cost-effective than machining.
Does the “ton” rating of a press affect how often it leaks?
Not necessarily, but higher-rated presses operate at higher pressures. A 50-ton press pushed to its limit will stress its seals much more than a 20-ton press doing light work. It is the operating pressure relative to the seal quality that determines the leak interval.
What is the best way to clean a hydraulic leak on a concrete floor?
Use an oil-absorbent clay (like kitty litter) to soak up the bulk of the fluid. Follow up with a dedicated heavy-duty degreaser and a stiff brush. Keeping the floor clean is vital for safety, as hydraulic fluid is incredibly slippery.
(This article was written by one of our staff writers, David Reynolds. Visit our Meet the Team page to learn more about the author and their expertise.)