How to Secure Metal Safely for Grinding and Welding (Fix)
Setting up a metalworking shop in a standard garage is a balancing act between ambition and reality. In 2013, I stood in my own empty garage with exactly $2,000 and a goal to build a space that could handle real fabrication. I quickly learned that the most expensive tool in the shop isn’t the welder or the grinder; it is the piece of steel that gets ruined because it wasn’t held steady. Financial anxiety is common when you are staring at a long list of equipment, but the secret to a functional space is prioritizing how you control your workpiece. If you cannot keep a piece of metal from moving while you work on it, your expensive tools are essentially useless.
I spent years in industrial maintenance seeing how the pros do it, and I’ve spent the last decade scaling those lessons down for the home hobbyist. When you are on a strict budget, you have to make choices. Do you buy the fancy digital welder or a set of high-quality clamps and a sturdy table? My data shows that beginners who invest in stabilizing their work early on have a much higher success rate. They produce cleaner welds, straighter cuts, and they stay safer. This guide is built on twelve years of tracking what works and what ends up in the scrap bin.
Assessing Your Starter Metal Workshop Layout for Stability
A starter metal workshop layout is the physical arrangement of your tools and benches designed to maximize workflow and safety. It involves planning where you will stand, where sparks will fly, and how you will anchor your workpieces to prevent movement.
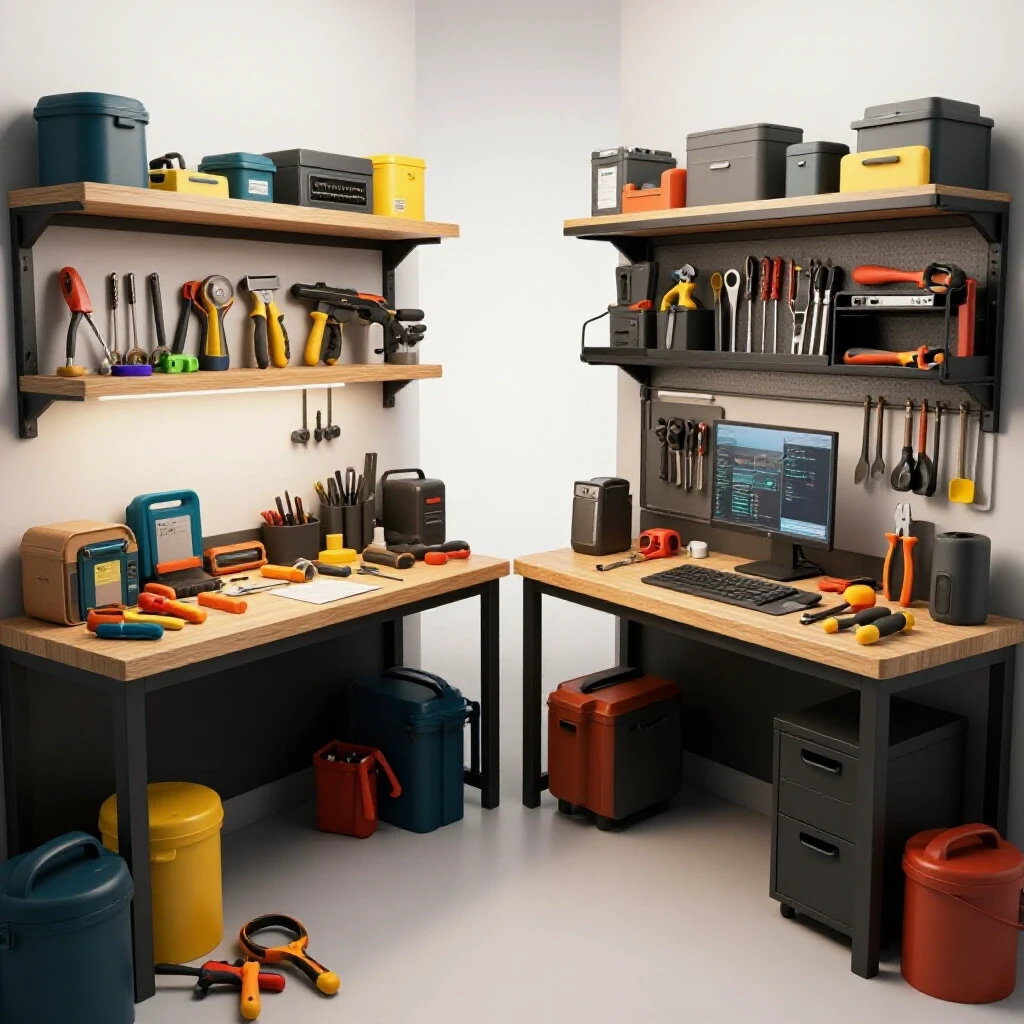
When I planned my first 400-square-foot space, I didn’t realize how much room a single piece of 20-foot square tubing takes up. You need a “swing zone”—a clear area around your primary workbench where you can rotate long pieces of metal without hitting your water heater or your car. I recommend a minimum of three feet of clearance on all sides of your main work table. This isn’t just for comfort; it’s so you can reach around the metal to apply clamps from any angle.
I tracked my movement in the shop for a month and found that a “U-shaped” or “L-shaped” configuration works best for small garages. This keeps your stabilizing tools, like your vise and heavy clamps, within arm’s reach of your central work area. If you have to walk across the room to find a clamp, you are more likely to try and “hand-hold” a piece of metal while grinding, which is a leading cause of workshop injuries.
| Feature | Minimum Requirement | Ideal for Beginners |
|---|---|---|
| Work Surface Height | 34 inches | 36-38 inches (prevents back strain) |
| Clear Floor Space | 3′ around table | 5′ around table |
| Table Top Thickness | 3/16 inch steel | 3/8 inch steel (prevents warping) |
| Vise Size | 4-inch jaw | 6-inch heavy-duty jaw |
Budget Metalworking Tools: The Cost of Stability
Budget metalworking tools are the essential, lower-cost items that form the foundation of a fabrication shop, including clamps, magnets, and pliers. These tools are responsible for keeping your metal immobile, which is the most critical factor in achieving professional results on a hobbyist budget.
One of the biggest mistakes I see beginners make is spending 90% of their budget on a welding machine and 0% on workholding. In my 2013 shop build, I allocated 15% of my funds specifically to clamps and magnets. It felt like a lot at the time, but those tools are still in use today, while that first cheap welder was replaced years ago. You don’t need fifty clamps to start, but you do need the right ones.
I categorize workholding tools into “Primary” and “Secondary.” Primary tools are your heavy hitters, like C-clamps and a bench vise. Secondary tools are things like magnetic squares that help you position parts but don’t provide the high pressure needed for heavy grinding. When you are tracking your startup costs, aim for a “Tooling-to-Machine Ratio” of about 1:3. For every $300 you spend on a machine, expect to spend $100 on the accessories that make that machine usable.
The Essential Starter Tool Sequencing
Choosing what to buy first can be overwhelming. I’ve developed a sequence based on the most common tasks a beginner faces. This list ensures you have the mechanical advantage needed to keep steel from shifting under the pressure of a grinding wheel or the heat of a welding arc.
- Bench Vise: This is your shop’s anchor. A 6-inch vise can hold parts for cutting, filing, and heavy grinding.
- C-Clamps (4-6 units): These provide the highest clamping force. I recommend 4-inch and 6-inch sizes.
- Locking C-Clamps (4 units): Also known as “vise-grip” style clamps. These are for fast, one-handed operation.
- Magnetic Squares: These act as a “third hand” to hold pieces at 90-degree angles before you apply permanent clamps.
- F-Clamps (2 units): These have a long reach and are perfect for securing metal to the middle of a large table.
Beginner Welder Power Requirements and Layout
Beginner welder power requirements refer to the electrical draw a machine puts on your home’s circuits, usually measured in Amps (A). Understanding these limits is vital for placing your workholding station in a spot that won’t trip breakers or create a fire hazard.
Most home garages have 15A or 20A circuits. A standard 110v welder can easily pull 20A when you are working on thicker steel. If your workbench is at the end of a long extension cord, you will experience “voltage drop,” which makes the arc unstable and can cause your metal to warp more easily because you have to linger longer to get a good bead. I recommend placing your primary work-securing station within 10 feet of your electrical panel if possible.
When metal gets hot, it moves. This is called thermal expansion. If your power supply is weak, you might find yourself fighting the metal more than necessary. A solid electrical setup allows you to use the machine’s full potential, which in turn means your clamps don’t have to work as hard to keep the piece from twisting.
| Tool Class | Typical Amp Draw (110V) | Recommended Circuit |
|---|---|---|
| Small Angle Grinder | 5A – 7A | 15A Standard |
| Entry-Level MIG Welder | 15A – 20A | 20A Dedicated |
| Heavy Bench Grinder | 4A – 8A | 15A Standard |
| Chop Saw | 15A | 20A Dedicated |
Garage Workshop Ventilation and Spark Control
Garage workshop ventilation is the system of fans and openings used to move air and remove dangerous fumes and dust. In a metal shop, where you secure your metal determines where the sparks go, making airflow a key part of your workholding strategy.
When you secure a piece of steel for grinding, you are creating a stream of hot sparks that can travel 15 feet or more. In a confined garage, this is a major fire risk. I always position my workbench so that the “spark path” points toward the open garage door or a non-flammable wall. OSHA guidelines for industrial spaces suggest high-volume air exchanges, but for a home shop, you can achieve a lot with a simple high-velocity floor fan and a dedicated “clean zone.”
I use a metric called CFM (Cubic Feet per Minute) to measure airflow. For a standard two-car garage, you want a fan capable of moving at least 2,000 CFM to keep the air clear during heavy grinding. Remember, if you are clamping metal to a wooden bench, you must use a sacrificial metal sheet or a welding blanket to prevent the wood from catching fire.
- Spark Path: Always point the grinder so sparks fly away from your body and flammable materials.
- Airflow Direction: Place the fan behind you so it blows fumes and dust away from your face toward the exit.
- Clean Zone: Keep a 5-foot radius around your workholding area free of sawdust, oily rags, or gasoline cans.
Workshop Electrical Setup Checklists for Stability
A workshop electrical setup checklist is a formal way to verify that your power layout supports your tools safely. This ensures that when you are using heavy force to secure or modify metal, your environment remains stable and your tools operate at peak performance.
I’ve found that “analysis paralysis” often stems from a lack of a clear plan. Use this checklist to audit your space before you start anchoring equipment. I keep a version of this log in my shop to track any changes or upgrades I make over time.
- Identify Dedicated Circuits: Label which outlets are on which breaker. Never run your welder and a vacuum on the same circuit.
- Verify Grounding: Use a simple outlet tester to ensure your garage wiring is properly grounded.
- Lighting Check: Ensure you have at least 100 lumens per square foot over your clamping area. You cannot secure what you cannot see.
- Cord Management: Use heavy-duty 12-gauge extension cords if necessary, but keep them short to avoid trip hazards around your workpiece.
- Emergency Shutoff: Know exactly where your breaker panel is and ensure it is not blocked by scrap metal or tool boxes.
Why Quality Abrasives and Clamps Save Money
It is tempting to buy the cheapest abrasives and clamps available. However, my records show that low-quality “bargain” tools actually increase your cost per project. A cheap C-clamp made of brittle cast iron can snap under pressure, potentially causing the metal to fly off the table. Similarly, a low-grade grinding wheel wears down faster and requires more physical force from the operator to remove material.
In my third year of shop ownership, I did a cost-tracking exercise. I compared a $5 name-brand grinding wheel to a $1 “no-name” wheel. The $5 wheel lasted through four projects, while the $1 wheel was gone before the first project was finished. More importantly, the high-quality wheel cut smoother, which meant I didn’t have to clamp my workpiece as aggressively to keep it from vibrating.
- Clamping Force: High-quality forged steel clamps can exert over 1,000 pounds of pressure without bending.
- Vibration Reduction: Securely held metal reduces “chatter,” which extends the life of your grinding discs.
- Safety Factor: Professional-grade tools are built to meet ANSI standards, reducing the risk of mechanical failure during a task.
Hands-On Execution: Securing Your First Joint
Once the layout is set and the tools are bought, it’s time to actually hold some metal. The goal is to create a “rigid setup.” This means the metal, the clamp, and the table act as one single, solid object. If you can wiggle the metal with your hand, it isn’t ready for the grinder.
When I’m teaching beginners, I use the “Rule of Three.” For any significant grinding or welding task, try to have at least three points of contact or three separate clamps holding the piece. This prevents the metal from pivoting. For example, if you are welding two pieces of square tubing at a 90-degree angle, use a magnetic square to find the angle, then use two C-clamps to lock each piece to the table, and a third clamp to hold them together.
Step-by-Step Workholding Workflow
- Clean the Contact Points: Wipe down the metal and the table. Dirt or oil can make the metal slide even under high pressure.
- Position the Workpiece: Place the metal so the area you are working on is supported by the table, rather than hanging off the edge.
- Apply Primary Clamps: Use C-clamps to anchor the main piece of steel to your heavy workbench.
- Check for “Spring”: Tap the metal with a hammer. If it rings clearly and doesn’t move, it’s secure. If it thuds or vibrates, add another clamp.
- Final Angle Check: Use a square to ensure the pressure of the clamps hasn’t pulled your parts out of alignment.
Managing Heat and Movement During Fusion
One thing that surprises most hobbyists is how much metal moves when it gets hot. When you weld, the liquid metal shrinks as it cools, which can pull your perfectly squared frame into a diamond shape. This is where “fixturing” becomes an art form. You aren’t just holding the metal still; you are fighting the laws of physics.
I recommend “tack welding” as your first line of defense. A tack weld is a tiny, temporary spot weld that holds the parts in place. You apply your clamps, check your angles, and then place small tacks at every corner. Once the tacks are set, you can often remove some of the clamps to get better access for the final weld. However, keep the main anchor clamps in place until the metal has cooled to the touch.
- Heat Soaking: If you leave a piece clamped too tightly while it cools, it can actually crack the weld. I usually “snug” my clamps rather than “crush” them during the final welding pass.
- Copper Backing: For thin metal, I sometimes clamp a piece of copper behind the joint. The steel won’t stick to the copper, but the copper helps pull heat away, reducing warping.
Common Planning Mistakes to Avoid
In my journey helping hundreds of beginners, I’ve seen the same three mistakes over and over. They all stem from a desire to save time or money, but they always end up costing both.
First is the “one-clamp wonder.” This is trying to hold a long piece of metal with a single clamp in the middle. The ends will vibrate, the cut will be crooked, and the noise will be deafening. Always use at least two points of contact.
Second is ignoring the “pinch point.” When you are applying heavy-duty clamps, always be aware of where your fingers are. If a clamp slips while you are tightening it, it can cause a serious injury. I always wear leather work gloves when setup is happening, even before the sparks start flying.
Third is the “cluttered table.” A workbench covered in offcuts, tools, and soda cans is a hazard. If a piece of metal slips, it will knock everything off the table. I follow a strict “one project, one table” rule. Clear everything off except the piece you are securing and the tools you need for that specific step.
Tracking Your Shop Evolution and Costs
I am a firm believer in keeping a shop log. Every time I buy a tool or finish a project, I write down what worked. This data-backed approach helped me grow my $2,000 shop into a professional-grade space over ten years without ever taking on debt.
For a beginner, I suggest a simple spreadsheet. Track the cost of your clamps, the brand of your grinding discs, and how many hours you get out of them. Over time, you will see patterns. You might find that the “expensive” $15 locking pliers actually save you $50 in ruined material over a year. This is how you move from being a “hobbyist” to a “craftsman.”
- Tool Inventory: List every tool, its purchase price, and its warranty status.
- Project Logs: Note which clamping setups worked for specific joints.
- Safety Audits: Every six months, check your clamps for bent screws or cracked frames.
- Budget Forecasts: Plan your next purchase based on what you actually need, not what looks cool in a catalog.
Conclusion: Building Confidence Through Stability
Setting up your first fabrication space doesn’t have to be a source of stress. By focusing on the fundamentals of workholding and space planning, you create an environment where you can learn safely. My first shop was far from “perfect,” but it was functional because I respected the forces involved in metalworking.
Start small, buy quality clamps, and always ensure your workpiece is immobile before you pull the trigger on your grinder or welder. The confidence you gain from knowing your metal isn’t going to move is what will allow you to focus on improving your technique. Take it one clamp at a time, and remember that the most important tool in the shop is your own methodical approach to safety and organization.
FAQ
What is the best type of clamp for a beginner on a budget?
The 4-inch C-clamp is the most versatile and cost-effective tool for a starter shop. It provides immense pressure and is made of durable materials that can withstand heat and sparks. I recommend starting with at least four of these. They are perfect for securing metal to a table for both grinding and welding.
Can I use wood clamps for metalworking?
No, wood clamps usually have plastic or rubber pads that will melt or catch fire from sparks and heat. Furthermore, they often lack the clamping force required to keep heavy steel from vibrating during grinding. Always use all-metal clamps designed for fabrication.
How do I stop my metal from warping when I weld it?
Warping is caused by the metal shrinking as it cools. To minimize this, use a combination of strong mechanical clamps and “tack welds.” Secure the metal firmly to a thick steel table and allow it to cool completely before removing the clamps. This forces the metal to stay in alignment as the internal stresses settle.
Are magnetic squares strong enough to hold metal for grinding?
Generally, no. Magnetic squares are excellent for “positioning”—holding the metal at the correct angle so you can apply a clamp or a tack weld. However, they do not have the mechanical “bite” to hold metal against the high-torque forces of an angle grinder. Always follow up a magnet with a mechanical clamp.
How thick should my welding table be?
For a budget-conscious beginner, a 3/16-inch or 1/4-inch steel top is a good start. However, if you can afford it, a 3/8-inch top is much better because it resists warping from heat and provides a flatter surface for precision clamping. Anything thinner than 3/16-inch will likely bow under the pressure of heavy C-clamps.
Is a bench vise really necessary for a home shop?
Yes, a bench vise is arguably the most important workholding tool you will own. It allows you to secure small parts that are too difficult to clamp to a flat table. It also provides a solid “anvil” surface for minor hammering and adjustments. Look for a 4-inch to 6-inch vise with a swivel base.
What is the “spark path” and why does it matter?
The spark path is the trajectory of hot metal dust thrown by a grinder. When you secure your metal, you must ensure this path is clear of flammable materials and directed away from your body. In a garage, this usually means aiming the sparks toward the floor or a dedicated metal spark shield.
How many clamps do I actually need to start?
I recommend a “Starter Set” of ten items: four 4-inch C-clamps, two 6-inch C-clamps, two locking C-clamp pliers, and two magnetic squares. This set will handle about 90% of the projects a beginner will encounter and can usually be purchased for under $150 total.
Should I clamp my metal directly to my workbench?
Yes, if your workbench has a metal top. If you have a wooden workbench, you should place a “sacrificial” piece of sheet metal (at least 1/8-inch thick) on top of the wood before clamping. This protects the wood from heat and provides a conductive surface for your welder’s ground clamp.
How do I know if my metal is secure enough to grind?
Use the “Hand-Pressure Test.” Once clamped, try to move the metal with all your strength. If it shifts even a fraction of an inch, it is not secure. Then, tap it with a metal object; a secure piece will produce a high-pitched “ping,” while a loose piece will produce a dull “thud” or rattle.
(This article was written by one of our staff writers, Michael Thompson. Visit our Meet the Team page to learn more about the author and their expertise.)