How to Sequence Complex Frame Cuts to Stop Warp (DIY Guide)
Managing a shop that is moving from basic projects to high-output fabrication requires a shift in how you think about metal. In my 20 years of running production floors, I have learned that the most expensive mistakes do not happen during the final assembly. They happen at the very beginning, during the first few cuts on a frame. When you are scaling up, a warped frame base can ruin hours of work and waste hundreds of dollars in material.
I remember a specific job where I was building a heavy-duty equipment stand for a local shop. I rushed the material prep and cut all my tubular steel members in one go without a plan. By the time I was ready to join them, the internal stresses in the steel had caused the long rails to bow by nearly a quarter of an inch. I had to scrap the whole pile. That was the day I realized that sequencing your manual cuts is a foundational skill for any professional-grade workspace.
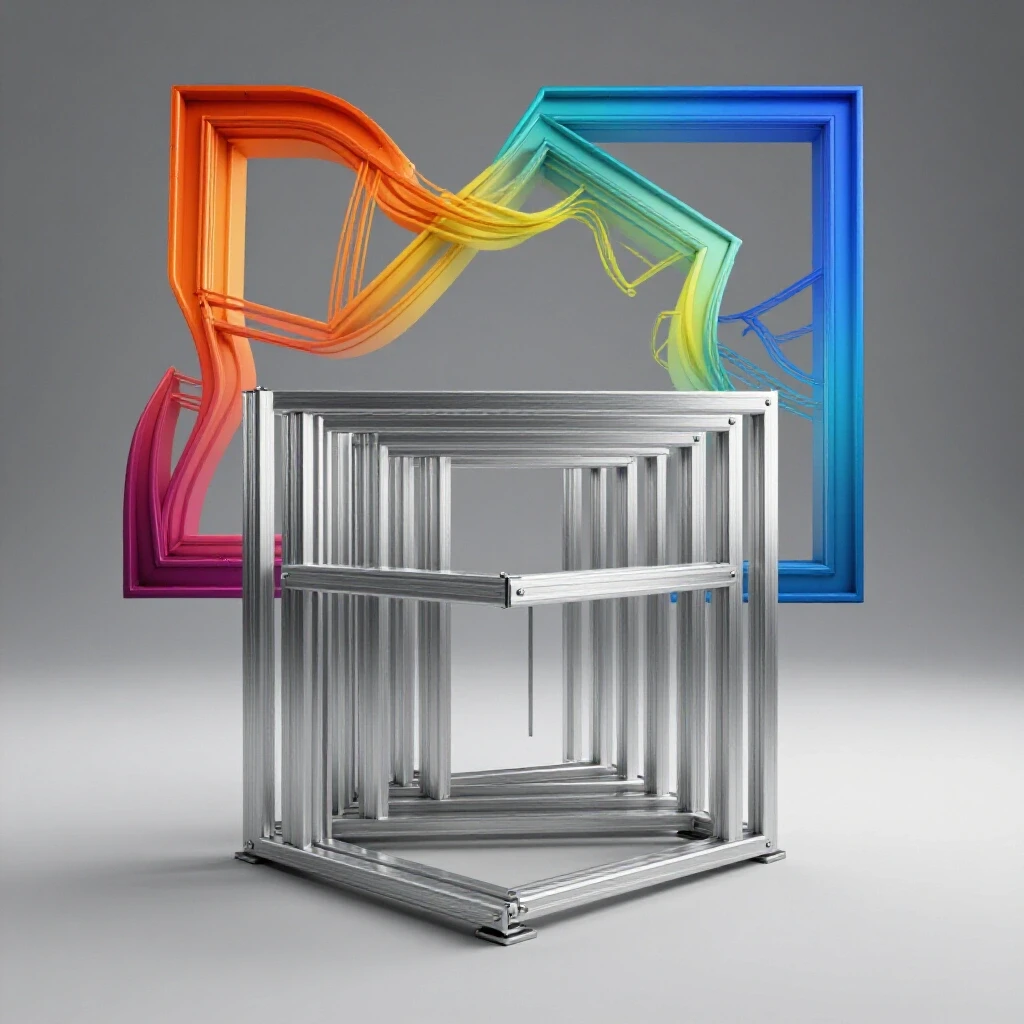
To grow your shop, you need to treat your cutting station like a precision cell. This guide focuses on the manual methods to keep your frames straight and true. We will look at how to manage the hidden forces inside your metal using bandsaws, grinders, and strategic clamping.
Mapping the Material-Flow Loop for Precise Frame Prep
Material flow is the physical path your steel takes from the storage rack to the final inspection area. In a professional shop, every foot of movement costs time and introduces a chance for error. You want a linear or U-shaped flow where raw stock enters one end and emerges as a prepped, square component at the other.
When you are dealing with complex frame cuts, your layout must support the material. If your saw table is not level with your outfeed support, the weight of the hanging steel will create mechanical tension. This tension causes the blade to wander, which leads to a cut that is not square. A frame that starts with out-of-square cuts will always warp when you try to pull it together.
- Zone 1: Raw Storage. Keep your long bars supported at least every four feet to prevent natural sagging.
- Zone 2: The Cutting Station. This should be a dedicated space with at least six feet of clearance on both sides of the saw.
- Zone 3: Deburring and Inspection. A flat table where you can check every cut for squareness before it moves to the assembly area.
Building a solid workflow means you spend less time fighting the material and more time making progress. If your shop layout forces you to flip 20-foot sticks of tubing in a tight space, you will get tired. When you get tired, you skip the small checks that prevent warp.
Why Internal Stress Causes Frame Distortion During Manual Cutting
Internal stress is the energy trapped inside the metal during the manufacturing process at the mill. When you buy cold-rolled or extruded steel, it looks straight, but it is under tension. As you remove material with a bandsaw or a grinder, you break that tension. The metal then moves to find a new balance.
Think of a piece of steel like a stretched rubber band held in a shape. If you cut one side of the band, the whole thing snaps in the other direction. This is exactly what happens when you make a deep cut into one side of a square tube. The remaining metal pulls toward the uncut side, creating a bow.
| Material Type | Stress Level | Common Warp Pattern |
|---|---|---|
| Cold-Rolled Tubing | High | Bowing along the length |
| Hot-Rolled Angle Iron | Medium | Twisting or “corkscrewing” |
| Thick-Wall Pipe | Low | Minimal movement |
| Thin-Wall Square Tube | Very High | “Oil-canning” or collapsing walls |
Understanding this “spring-back” is the first step to stopping it. You cannot stop the stress from existing, but you can control how it is released. By sequencing your cuts, you release the stress in small, manageable amounts rather than all at once.
The Strategic Order of Operations for Tubular Steel
The order in which you make your cuts determines how much the final part will move. Most people make the mistake of cutting a part to length in one pass. For complex frames, I use an incremental approach. This means I do not finish one cut before starting the next on the opposite side of the member.
Start by making shallow “relief cuts” on all four sides of your tube before you go all the way through. This allows the surface tension of the steel to equalize. If you are cutting a 45-degree miter, do not cut from the top down. Instead, score the outer “skin” of the metal first. This keeps the core of the material stable for as long as possible.
- Mark all components. Use a scribe rather than a marker for better precision.
- Make relief scores. Cut roughly 1/16th of an inch into each face of the tube.
- Sequence the main cuts. If you have four identical rails, cut the first side of all four, then rotate them and cut the second side.
- Check for “creep.” Measure the length after the first major cut to see if the metal expanded or contracted.
By rotating the work and cutting in stages, you prevent heat from building up in one spot. Heat is the enemy of a straight frame. Even a manual bandsaw generates enough friction to expand the metal, which leads to a cut that closes up on the blade.
Implementing Temporary Supports and Bracing
Temporary supports are sacrificial pieces of wood or steel used to hold a workpiece in its natural shape while you cut it. When you remove a large section of a frame member, the remaining part becomes weak. Without support, gravity and internal stress will cause it to sag or twist immediately.
I often use “tack-bracing” for complex sequences. This involves clamping a straight piece of heavy angle iron to the back of the tube I am cutting. The angle iron acts as a spine. It holds the tube straight even as the saw blade removes the structural integrity of the tube itself.
- Outfeed Rollers. Ensure these are exactly the same height as the saw bed to prevent “levering” the cut.
- Bridge Clamps. These span across the cut line to hold both pieces of metal in alignment until the final sliver of metal is severed.
- V-Blocks. Use these for round stock to prevent the material from spinning or shifting mid-cut.
Using these supports might feel like it takes more time, but it saves time in the long run. It is much faster to set up a brace than it is to try and grind a warped miter back into square.
Advanced Workholding and Clamping Metrics
Clamping is not just about holding the metal still; it is about resisting the forces that want to warp it. However, over-clamping can be just as bad as under-clamping. If you use a high-pressure hydraulic clamp on thin-wall tubing, you can actually crush the grain of the metal, creating new stresses.
In my shop, I follow the “neutral-hold” rule. The goal is to hold the metal firmly enough that it cannot vibrate or shift, but not so tight that you are forcing it into a shape it doesn’t want to be in. If you have to use a five-foot cheater pipe on your clamp to get a frame square, your cuts are wrong.
| Clamp Type | Best Use Case | Risk Factor |
|---|---|---|
| C-Clamp | Heavy plate and structural steel | Can mar the surface |
| F-Style Bar Clamp | General frame assembly | Flexes under high load |
| Locking Pliers | Quick tacks and light bracing | Low holding power |
| Toggle Clamps | Repeatable production cuts | Requires a fixed jig |
Check your clamps every few minutes. As you remove metal, the pressure balance changes. A clamp that was tight at the start of a cut might become loose as the metal moves. Keeping a consistent, moderate pressure is the key to a predictable result.
Why Back-and-Forth Foot Traffic Kills Shop Throughput
Efficiency in a scaling shop is measured by how few steps you take. If your saw is on one side of the room and your measurement table is on the other, you are losing money. More importantly, you are losing focus. Every time you walk across the shop, you are distracted from the precision of your sequencing.
I recommend a “cell” layout for frame prep. This means your saw, your deburring station, and your square-check table are all within arm’s reach. This layout allows you to stay “in the zone.” You can feel the heat of the metal and hear the change in the saw blade’s pitch. These sensory cues tell you if the metal is starting to warp.
- Minimize travel. Keep your most-used hand tools on a mobile cart that follows you.
- Clear the floor. Cords and scrap metal are trip hazards that break your workflow.
- Standardize heights. If all your work surfaces are 36 inches high, you can easily move long pieces of steel between them without lifting.
A clean, tight workflow reduces the physical stress on you. When you are less tired, you make better decisions about how to sequence your cuts. This leads to higher quality frames and less wasted material.
Measuring and Correcting Mid-Sequence
You should never assume a cut is staying straight just because you clamped it. Professional fabricators measure at every stage of the sequence. I use a “cut-measure-cut” loop. After the first relief cut, I check the piece for any signs of bowing.
If you notice a piece is starting to pull to the left, you can often compensate by changing the direction of your next cut. This is called “counter-sequencing.” By cutting from the opposite side, you release the opposing stress, which can pull the part back into alignment.
- The Straightedge Test. Lay a known straightedge along the length of your tube after every major operation.
- The Square Check. Use a machinist’s square to check the face of the cut.
- The Gap Analysis. If you are cutting miters, dry-fit the pieces frequently to see if the gaps are opening or closing.
If a piece warps beyond a certain point, stop. Do not try to “force” it back during welding. It is better to make a small relief cut on the “tight” side of the warp to let it relax than to fight it later.
Workflow Optimization for High-Output Manual Prep
As you scale your shop, you need to move away from “one-off” thinking. Instead of cutting one part at a time, think in batches. However, batching can lead to massive warp issues if you aren’t careful. If you cut 50 identical parts the wrong way, you have 50 pieces of scrap.
The best way to handle high-volume manual prep is to create a “master sequence” for your frames. This is a written list of which cuts to make and in what order. By following the same sequence every time, you get a predictable result. This predictability is what allows a small shop to compete with larger manufacturers.
- Create a Cut List. Group your parts by size and material type.
- Use Stop Blocks. Once you have your sequence set, use physical stops on your saw to ensure every part is identical.
- Document the Sequence. Write down which side you cut first and how many rotations you used.
This systematic approach turns a difficult task into a repeatable process. It removes the guesswork and ensures that your frames are always within tolerance.
Key Takeaways for Shop Evolution
- Control the release of stress. Use relief cuts and rotation to prevent the metal from bowing during manual cutting.
- Optimize your layout. A tight, linear workflow reduces fatigue and keeps your focus on precision.
- Use neutral workholding. Clamp firmly but avoid forcing the metal, which can introduce new distortions.
- Measure constantly. Use a cut-measure-cut loop to catch warp before it becomes unmanageable.
- Standardize your process. Create a written sequence for complex frames to ensure repeatable, high-quality results.
Frequently Asked Questions
How does cold-rolled steel differ from hot-rolled steel when sequencing cuts?
Cold-rolled steel is processed at room temperature, which packs a lot of internal tension into the surface. When you cut it, it tends to “spring” or bow much more aggressively than hot-rolled steel. Hot-rolled steel is processed at high temperatures, so the internal stresses are more relaxed. If you are working with cold-rolled tubing, you must use more frequent relief cuts and more robust bracing to keep the frame straight.
Can I use a standard angle grinder for precision frame sequencing?
Yes, but it requires a very steady hand and a clear sequence. Angle grinders generate more heat than bandsaws because they use friction to remove metal. To stop warp with a grinder, never cut through the whole thickness in one pass. Move the grinder back and forth along the cut line, taking thin layers off at a time. This distributes the heat more evenly and prevents the metal from warping in one direction.
Why does my square tubing always “close up” on the saw blade?
This is a classic sign of internal stress. The outer skin of the tube is under tension. As the saw blade cuts through, that tension is released, and the two sides of the cut try to move toward each other. To prevent this, you can drive a small wedge or a flat-head screwdriver into the start of the cut to keep it open. Also, try cutting from the open side of the tension rather than the side that is pulling.
How often should I check my saw for squareness?
In a high-output shop, you should check your saw’s alignment at the start of every workday. Even a small bump can knock a bandsaw out of square by half a degree. Over a long frame rail, that half-degree becomes a massive gap. Use a machinist’s square to check the blade’s relationship to the table and the fence.
What is the best way to support long sticks of steel in a small shop?
The best solution is a set of adjustable-height roller stands. If you don’t have space for permanent outfeed tables, these stands can be tucked away when not in use. The key is to ensure the roller is perfectly level with the saw bed. If it is too high or too low, the weight of the steel will pull the cut out of square.
Should I deburr my cuts immediately or wait until the end?
You should deburr immediately after each cut. Burrs can prevent your square or measuring tape from sitting flat against the metal. If your measurements are off by even 1/32nd of an inch because of a burr, your entire sequencing plan will fail. A quick pass with a file or a deburring tool is essential for accuracy.
How do I know if I am over-clamping my workpiece?
If you see the walls of your tubing start to deflect or “dent” under the clamp, you are using too much pressure. Another sign is if the metal “pops” or jumps when you release the clamp after the cut. This means the clamp was holding the metal in a forced position. You want the metal to stay in the same place when the clamp is removed.
What is “creep” and how do I measure it?
Creep is the slight change in the length of a part as its internal stresses are released. A 48-inch rail might grow or shrink by a tiny fraction after the main cuts are made. To manage this, I always cut my parts about 1/16th of an inch long, then do a final trim once the metal has “settled.” This ensures the final dimensions are exactly what the plan requires.
(This article was written by one of our staff writers, Edward Sinclair. Visit our Meet the Team page to learn more about the author and their expertise.)