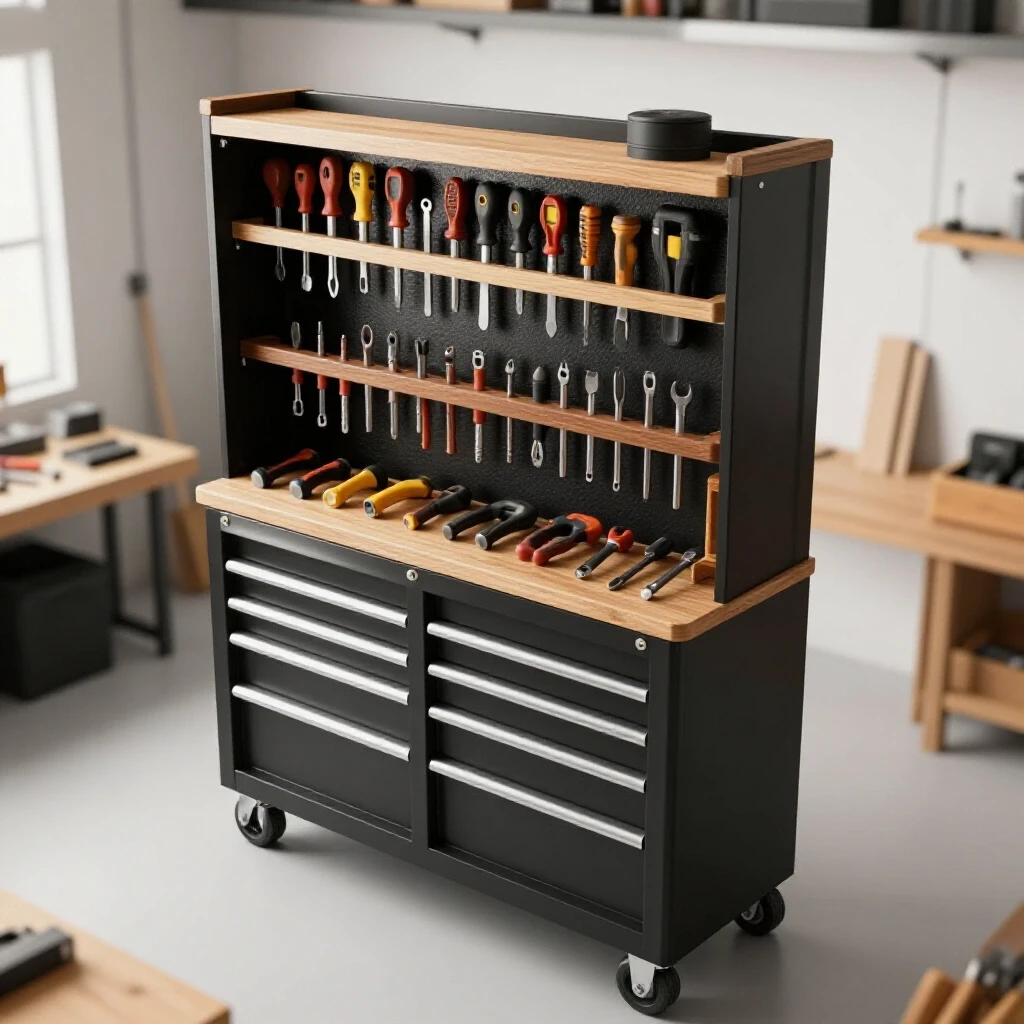
How to Build a Custom Workshop Wall Tool Shadow Board (Plan)
I have spent two decades refining the way metal moves through my shop. In the early years, I operated like many of you: a collection of manual machines, a scattered set of wrenches, and a constant, low-grade frustration born from searching for the one tool I needed to finish a weldment. As I transitioned from a hobbyist to a micro-manufacturer, I realized that my biggest bottleneck wasn’t my welding speed or the horsepower of my mill. It was the “search and rescue” missions I conducted every hour to find a misplaced scribe or a specific set of calipers.
When you scale a fabrication business, every second spent walking across the floor is a direct hit to your bottom line. I began looking at my workshop through the lens of industrial process engineering. I stopped seeing a collection of tools and started seeing a manufacturing cell. The most impactful change I made wasn’t buying a faster CNC—it was the decision to engineer a custom, wall-mounted tool indexing system. This wasn’t just about tidiness; it was about creating a visual control system that eliminated the mental load of tool management.
Designing the Workflow for Visual Tool Indexing
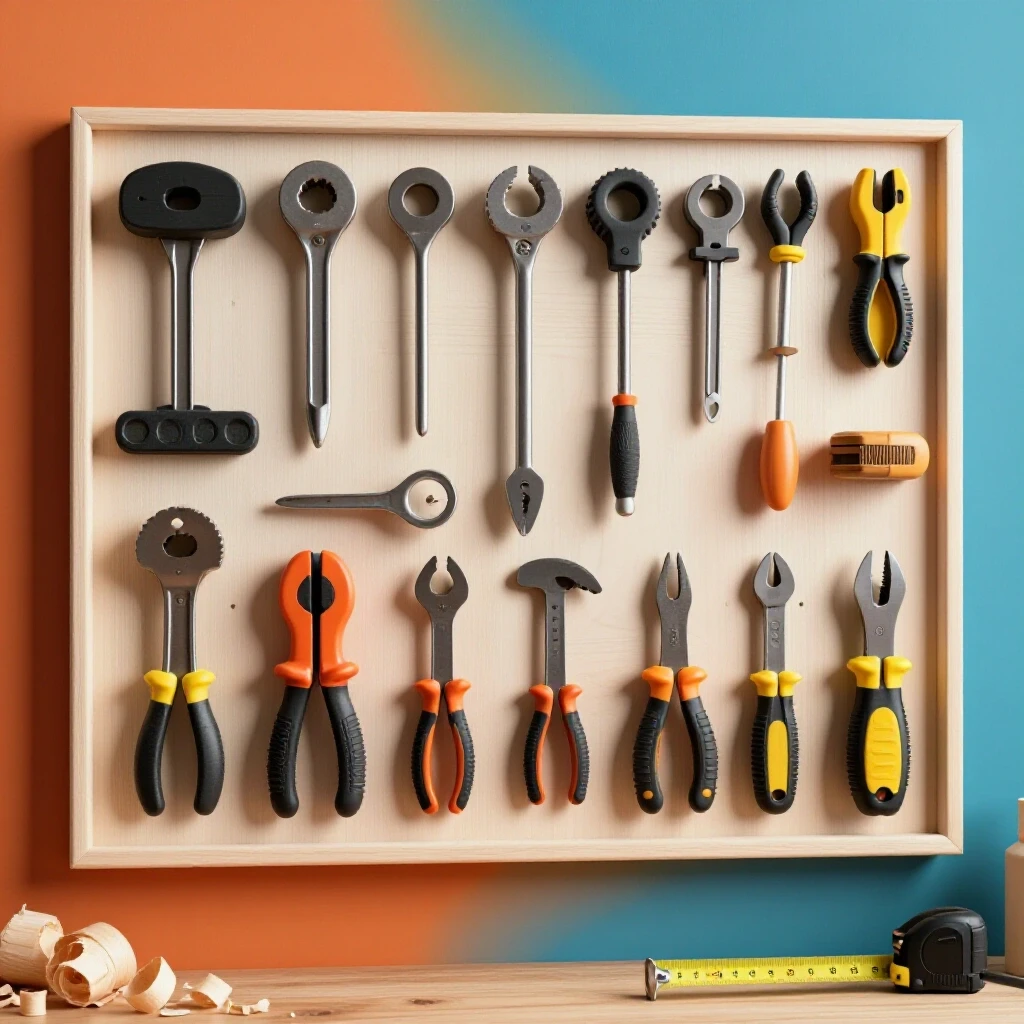
Visual tool indexing is a lean manufacturing strategy that uses custom-fabricated panels to store tools in a way that makes their absence immediately obvious. By creating a dedicated, outlined home for every implement, you eliminate the time wasted digging through drawers and reduce the risk of leaving a tool inside a finished assembly.
In a high-output environment, the goal is to minimize the “motion” waste. In lean terms, motion refers to any movement of the operator that does not add value to the product. If you have to walk six feet to get a hammer, that is waste. If you have to move three other hammers to find the one you want, that is also waste. I started by mapping my most frequent tool paths. I noticed that my CNC plasma table was a hub of activity, yet my measuring tools were stored across the room.
To fix this, I planned a series of custom-cut metal panels located at each workstation. Each panel is designed specifically for the tools used at that station. This “point-of-use” storage ensures that the tools are within arm’s reach of the operator. By using my CNC plasma system to cut these panels, I was able to create precise silhouettes that only fit the correct tool. This is a form of “poka-yoke,” or mistake-proofing, ensuring that even a new employee or an apprentice can return tools to the correct location without instruction.
Engineering the Foundation: Material Selection and Load Ratings
Choosing the substrate for your organizational panels requires a balance between structural rigidity, weight, and the ability to accept custom-fabricated mounting hardware. While wood composites are common in hobby shops, a professional fabrication environment demands materials that can withstand sparks, oils, and heavy mechanical loads.
I prefer using 14-gauge cold-rolled steel or 1/8-inch aluminum for these panels. Steel offers the advantage of being magnetic, which allows for temporary placement of small parts, and it is easily weldable if you need to attach heavy-duty brackets. Aluminum is lighter and corrosion-resistant, making it ideal if you are mounting panels to non-structural partition walls.
| Material Type | Thickness (Gauge/Inch) | Weight per Sq. Ft. | Best Use Case |
|---|---|---|---|
| Cold Rolled Steel | 14 Gauge (0.075″) | 3.125 lbs | Heavy hammers, large pipe wrenches, welding jigs |
| Aluminum (6061) | 1/8″ (0.125″) | 1.80 lbs | Precision measuring tools, calipers, lightweight hand tools |
| MDF / Hardboard | 1/4″ (0.250″) | 1.20 lbs | Light-duty assembly areas, non-sparking zones |
| Stainless Steel | 16 Gauge (0.060″) | 2.50 lbs | Clean rooms, food-grade fab, high-moisture areas |
When planning the layout, consider the “dead load” on your walls. A 4×8 foot sheet of 14-gauge steel weighs roughly 100 pounds before you add a single tool. If you are mounting this to a standard stud wall, you must ensure you are hitting the centers of the studs with heavy-duty lag bolts. In my shop, I use a French cleat system fabricated from 10-gauge steel. This allows me to lift the entire panel off the wall if I need to reorganize the shop layout or move the workstation entirely.
Digital Layout Strategy: CAD-Based Silhouettes for Precision
The transition from a basic tool board to a professional indexing system involves moving from “hanging things where they fit” to “engineering a layout.” Using CAD software allows you to optimize the density of your tools while ensuring there is enough “finger clearance” to grab each item safely.
I start by laying my tools out on a large piece of cardboard or a sheet of plywood. I group them by frequency of use. The tools I touch every ten minutes go in the “strike zone”—the area between my waist and my shoulders. Tools I use once a day go higher or lower. Once I have a rough layout, I take a top-down photograph of the tools with a scale (like a ruler) in the frame.
I import this photo into my CAD software (like Fusion 360 or VCarve). I scale the image to the ruler and then trace the outlines of the tools. This gives me a 1:1 digital map. I then add a 0.25-inch offset around the perimeter of each tool. This offset provides the necessary clearance so your knuckles don’t hit the neighboring tool when you reach for a wrench.
- Step 1: Group tools by function (e.g., layout, cutting, fastening).
- Step 2: Arrange tools on a flat surface to minimize gaps.
- Step 3: Capture a high-resolution image for CAD tracing.
- Step 4: Trace silhouettes and add mounting hole patterns.
- Step 5: Export the DXF file for your CNC plasma or laser cutter.
Integrating CNC Plasma and Laser Workflows
Fabricating the main panel using CNC machinery transforms a tedious manual task into a high-precision manufacturing process. This is where your investment in automation pays off, allowing you to create complex internal cutouts that would be nearly impossible to do by hand with a drill and a jigsaw.
When I run these panels on my CNC plasma table, I pay close attention to heat management. Large sheets of thin metal can warp if you cut too many holes in a small area too quickly. I use a “water table” to keep the material cool and minimize dross. If you are using a dry table, I recommend “path hopping”—programming the machine to cut in different quadrants of the sheet rather than finishing one corner and moving to the next.
For those of you integrating newer CNC systems, this project is an excellent way to dial in your “kerf compensation.” Kerf is the width of the material removed by the cutting process. If your kerf isn’t set correctly, your tool silhouettes will be too small, and the tools won’t fit. I always run a test cut of a 2-inch square first. If the square measures 1.95 inches, I know I need to adjust my offset by 0.025 inches in the CAM software.
Custom Hardware Fabrication: Brackets and Retention Pins
A professional indexing panel is only as good as the hardware that holds the tools. Standard pegboard hooks are notoriously flimsy and often fall out when you pull a tool. By fabricating your own mounting hardware, you can ensure a “positive lock” that keeps the tool secure but accessible.
I design my mounting pins to be welded or bolted directly through the laser-cut holes in the main panel. For heavy items like 4-pound sledges or large adjustable wrenches, I fabricate “cradles” from 1/8-inch flat bar. I use a manual finger brake or a CNC press brake to create 90-degree bends that support the weight of the tool without deforming.
For precision tools like digital calipers, a simple hook isn’t enough. I fabricate “pocket” style holders from thin-gauge aluminum. These pockets protect the delicate electronics and prevent the tool from being bumped off the board. Interestingly, using a CNC plasma to cut the blanks for these pockets allows you to include “fold lines”—small slits or perforations in the metal that make it easy to bend the piece by hand or with a simple bench vise.
Surface Finishing and Visual Indexing
The final stage of the process is creating the “shadow” effect that gives the system its name. This is the visual cue that tells you a tool is missing. In an industrial setting, this is often done with high-contrast colors.
After I’ve finished all the welding and grinding on the main panel, I send it out for powder coating. I usually choose a dark, textured finish like “Hammered Grey” for the main panel because it hides fingerprints and oil. For the silhouettes themselves, I have a few options. One method is to paint the wall behind the panel a bright, safety orange. When a tool is removed, the orange “shadow” shines through the CNC-cut hole.
Another professional approach is to use a secondary backing sheet. I often use a thin sheet of 1/16-inch HDPE (plastic) or a second, thinner sheet of aluminum painted in a contrasting color. I sandwich this backing sheet behind the main panel. This creates a durable, high-visibility “shadow” that won’t wear off over time.
- Contrast: Use colors like Safety Yellow, Bright Red, or Neon Green for the background.
- Durability: Powder coating is superior to spray paint for panels that see daily tool contact.
- Labeling: Use a laser engraver or a vinyl cutter to add tool names or sizes above each silhouette.
- Protection: Apply a thin layer of clear coat over any painted surfaces to prevent oil staining.
Case Study: Reducing Setup Time in a Fabrication Cell
Last year, I redesigned the layout of my welding station. Previously, my grinders, wire brushes, and chipping hammers were kept in a rolling cabinet. I tracked my movement for a week and found that I was opening and closing drawers over 40 times a day. Each time, I had to stop my work, move to the cabinet, find the tool, and return to the table.
I fabricated a 36-inch by 48-inch steel panel and mounted it directly to the side of my welding table’s frame. I moved all my primary welding hand tools to this panel. By using the CAD-tracing method, I was able to fit three different grinders (each with a different wheel), two wire brushes, three sets of locking pliers, and my TIG torch.
The result was a 15% increase in my daily throughput on small-batch production runs. Because I no longer had to search for tools, my “arc-on” time increased. Furthermore, at the end of the day, a single glance at the wall told me if everything was put away. If I saw a patch of bright red metal, I knew a grinder was still sitting on the floor or under a workpiece. This simple visual check saved me from losing tools and improved the overall safety of the shop by keeping the floor clear of trip hazards.
Benchmarks for Effective Shop Organization
To ensure your indexing system is actually improving your efficiency, you need to measure the results. I use a few simple metrics to evaluate whether a layout change is successful.
- The Two-Second Rule: You should be able to identify if any tool is missing from the panel in less than two seconds from any point in the workstation.
- The One-Hand Rule: You should be able to retrieve and return any tool using only one hand, without looking directly at the board. If you have to use two hands to wiggle a tool onto a hook, the mounting hardware needs to be redesigned.
- The Strike Zone Percentage: At least 80% of your most-used tools should be located within the “strike zone” (waist to shoulder height).
| Metric | Goal | Why It Matters |
|---|---|---|
| Retrieval Time | < 3 Seconds | Minimizes interruption of the “flow state” during fabrication. |
| Tool Density | 70% of Panel Surface | Maximizes wall space without making the board feel cluttered. |
| Missing Tool Visibility | Instant | Prevents tools from being lost or left in customer projects. |
| Mounting Integrity | Zero Deflection | Prevents tools from falling due to vibration from nearby machinery. |
Avoiding Common Pitfalls in Advanced Shop Layouts
One of the biggest mistakes I see shop owners make is over-complicating the initial design. It is tempting to try and put every single tool you own on a single giant wall. This often leads to a “wall of clutter” that is just as confusing as a messy drawer.
Start small. Build one panel for one specific machine or task—like your CNC plasma table or your assembly bench. Learn what works and what doesn’t before you commit to doing the entire shop. Another common error is failing to account for future tool upgrades. If you buy a new set of wrenches that are slightly larger than your old ones, your precision-cut silhouettes will be useless.
To mitigate this, I design my panels in “modular blocks.” Instead of one massive 4×8 sheet, I use 2×2 foot sections. If I change my wrench set, I only have to re-cut one small panel rather than the entire wall. This modularity also makes the panels easier to handle during the fabrication and painting process.
Final Steps for Implementation
Once you have your plan in place, the execution should follow a logical sequence. Start with the “5S” process: Sort, Set in order, Shine, Standardize, and Sustain. Clear out the tools you don’t use. Group the ones you do.
- Audit your tools: Identify the top 20 tools you use every day.
- Prototype the layout: Use cardboard to test the spacing before you cut any metal.
- Fabricate the cleats: Install your wall mounting system first so you can test-fit the panels as you make them.
- Cut the master panels: Use your CNC system to ensure precision and professional aesthetics.
- Refine the hardware: Spend the extra time to weld or bolt secure hangers. A tool that falls off the wall is a safety hazard.
By approaching your workshop organization as a fabrication project rather than a cleaning task, you apply your professional skills to improve your own productivity. The transition from a hobby-level shop to a semi-professional operation is defined by this shift in mindset. You are no longer just making parts; you are engineering a system that makes parts.
FAQ: Professional Workshop Tool Indexing
What is the best material for a tool indexing panel in a welding shop? For environments with high heat and sparks, 14-gauge cold-rolled steel is the gold standard. It won’t melt or warp like plastic or wood, and you can weld custom brackets directly to the surface for heavy tools.
How do I handle tools that are odd-shaped and don’t lay flat? For items like circular saws or large clamps, you should fabricate “stand-off” brackets. These are small metal extensions that hold the tool away from the wall, allowing the bulky parts to clear the panel while the handle or base remains secure.
Can I use a manual plasma cutter if I don’t have a CNC table? Yes, though it requires more finishing work. You can print your CAD silhouettes on paper, glue them to the metal, and trace them with a manual torch. You will likely need to spend more time with a flap disc to clean up the edges.
How do I prevent the metal panels from rusting? Powder coating is the most durable option. If that is outside your budget, a high-quality epoxy appliance paint or a dedicated metal primer followed by a topcoat will work, provided you degrease the metal thoroughly before painting.
What is “finger clearance” and why is it important? Finger clearance is the empty space around a tool’s handle on the board. You need at least 1 to 1.5 inches of space so you can wrap your hand around the tool without hitting the tools next to it or scraping your knuckles on the panel.
How do I mount these panels to a concrete or cinder block wall? Use a “hat channel” or Z-channel made of galvanized steel. Bolt the channels to the masonry using Tapcon screws or wedge anchors, then mount your metal panels to the channels. This creates an air gap that prevents moisture from the concrete from rusting the back of your panels.
Should I organize tools by size or by frequency of use? In a professional shop, frequency of use always takes priority. Place your most-used tools in the “strike zone.” Within that zone, you can then organize them by size (e.g., smallest to largest wrenches) to make finding the right size more intuitive.
How do I update the panel if I buy a new tool? This is why modularity is key. By building your system in smaller sections (like 24″ x 24″), you only need to replace one small panel when your toolset changes, rather than discarding a massive, expensive sheet of steel.
Is it worth the time to cut out the actual shapes of the tools? Absolutely. The “shadow” or silhouette provides immediate visual feedback. Without the shape, you might see an empty hook and know something is missing, but you won’t know what is missing until you need it. The silhouette tells you exactly what to look for.
What thickness of aluminum should I use if I want to save weight? 1/8-inch (0.125″) aluminum is generally strong enough for most hand tools. If you are hanging very heavy items like 24-inch pipe wrenches, you may want to move up to 3/16-inch or stick with 14-gauge steel.
(This article was written by one of our staff writers, Edward Sinclair. Visit our Meet the Team page to learn more about the author and their expertise.)