How to Track Tool Performance and Know When to Upgrade (Fix)
Setting up a metalworking shop in a garage often starts with a mix of excitement and a very real fear of wasting money. When I built my first fabrication space in 2013, I had less than $2,000 and a lot of questions about whether the entry-level tools I was buying would actually hold up to real work. As a former industrial maintenance technician, I knew how to fix massive factory machines, but applying those same principles to a benchtop drill press or a small inverter welder was a learning curve.
The biggest challenge for any beginner is distinguishing between a tool that is limited by its design and one that is physically failing. You don’t want to replace a machine just because you haven’t mastered its nuances, but you also shouldn’t struggle with equipment that is no longer safe or accurate. Over the years, I have learned that the key to a functional shop isn’t just buying the right gear; it is about establishing a baseline for how that gear should perform and keeping a log of when its physical behavior starts to change.
Assessing the Physical Health of Primary Metalworking Machines
Monitoring the mechanical condition of your equipment involves observing physical changes in how a tool interacts with metal. By measuring specific indicators like spindle runout, vibration intensity, and the quality of the finished surface, you can determine if a machine requires a simple adjustment or a complete overhaul.
Identifying Dimensional Accuracy Drift in Drill Presses and Lathes
Accuracy drift refers to the gradual loss of precision in a tool’s movement, often caused by worn bearings or loose mechanical tolerances. In metalworking, even a tiny deviation can ruin a part, making it essential to measure “runout”—the degree to which a rotating tool deviates from its center axis—using a dial indicator.
When I first started, I noticed my holes were slightly oval rather than perfectly round. I realized that the spindle on my budget drill press had developed nearly 0.010 inches of play. For hobbyist work, you generally want to stay under 0.003 to 0.005 inches of runout. If you start seeing your drill bits “walk” across the metal surface or your lathe parts coming out tapered rather than cylindrical, it is time to check your machine’s alignment. These physical metrics are your first warning signs that the internal components are reaching their limit.
Monitoring Vibration Patterns and Surface Finish Quality
Vibration is a clear indicator of a machine’s internal health, often signaling issues with motor balance, belt tension, or bearing wear. In metal fabrication, excessive vibration leads to “chatter,” which leaves a wavy, rough texture on the surface of your workpiece instead of a smooth, clean finish.
- Check for rhythmic thumping or high-pitched whining during operation.
- Inspect the “finish” of a cut; a healthy machine produces consistent chips and a smooth surface.
- Observe the machine’s stand; if the tool is causing the entire workbench to move, the internal balance is likely compromised.
- Touch the motor housing (when off) to check for excessive heat after short runs, which suggests friction issues.
Tooling-to-Machine Performance Ratios
| Tool Type | Acceptable Accuracy Limit | Primary Failure Symptom | Maintenance Frequency |
|---|---|---|---|
| Drill Press | 0.005″ Spindle Runout | Oval holes/Bit walking | Every 50 hours |
| Metal Lathe | 0.002″ Bed Alignment | Tapered cuts/Chatter | Every 20 hours |
| Bench Grinder | 0.010″ Wheel Wobble | Heavy vibration/Heating | Before every use |
| Band Saw | 0.015″ Blade Deflection | Crooked cuts/Blade snapping | Every 10 hours |
Establishing an Electrical and Power Draw Baseline for Safety
Understanding the electrical limits of your garage is vital for maintaining tool longevity and ensuring your workspace remains safe. Most home shops run on standard 15A or 20A circuits, and pushing a welder or a large grinder past these limits can cause voltage drops that damage internal circuitry over time.
Understanding Duty Cycles and Thermal Limits in Starter Welders
A duty cycle is the percentage of a ten-minute period that a welder can operate at a specific amperage before it needs to cool down. For example, a 20% duty cycle means you can weld for two minutes but must let the machine idle for eight minutes to prevent the internal transformer or inverter from overheating.
I once pushed a small flux-core welder too hard on a trailer project, ignoring the thermal overload light. The machine didn’t die immediately, but its performance became erratic afterward, with the arc stuttering even on thin material. Tracking how often your machine hits its thermal limit is a measurable way to know when your projects have outgrown your current equipment’s capacity. If you find yourself waiting for the machine to cool down more than you are actually welding, you have reached a clear functional plateau.
Tracking Amp Draw Changes to Prevent Motor Failure
As motors age or bearings begin to seize, they often require more electrical current to maintain the same speed, a phenomenon that can be measured with a simple clamp meter. If a tool that normally draws 8 amps starts consistently pulling 12 amps under the same load, the motor is working too hard and is likely nearing the end of its life.
In a starter metal workshop layout, you should always be aware of what else is running on your circuit. I recommend a dedicated 20A circuit for your primary welder and another for your compressor or grinder. This prevents the “voltage sag” that occurs when two high-draw tools compete for power. If you notice your shop lights dimming every time you start your grinder, your electrical setup is struggling, which will eventually degrade the performance of your tools.
- 15A Circuit: Suitable for small hand tools, LED lighting, and light-duty drills.
- 20A Circuit: Recommended for 110V welders, 2HP compressors, and large bench grinders.
- 80% Rule: Never plan to use more than 80% of a circuit’s rated capacity for continuous loads (e.g., 16A on a 20A breaker).
Maintaining Abrasive Efficiency and Grinding Tool Integrity
Abrasive tools like angle grinders and bench grinders are the workhorses of a metal shop, but they are also the most prone to performance degradation. Monitoring the wear of your grinding wheels and sanding discs is not just about efficiency; it is a critical safety practice that aligns with AWS and OSHA-adjacent safety standards.
Recognizing Wheel Wear and Rotational Balance Issues
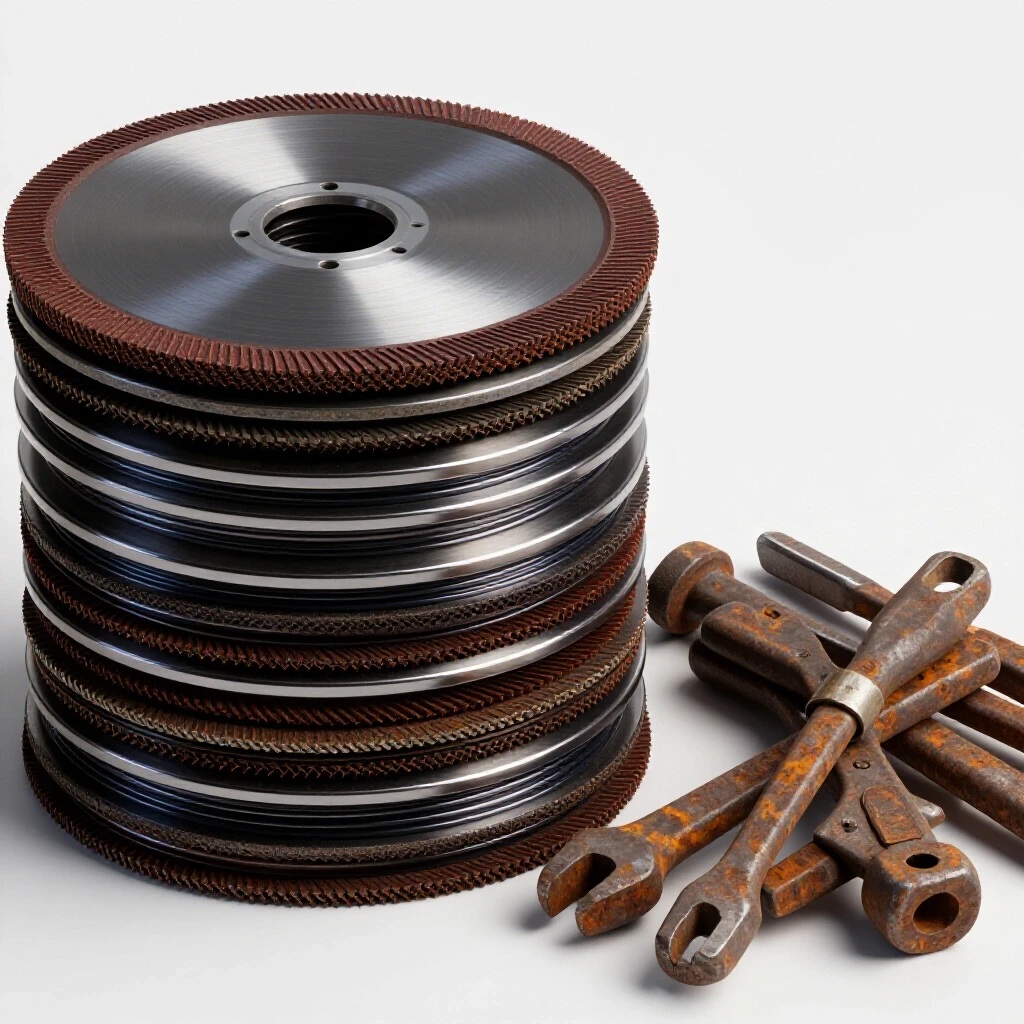
Grinding wheels don’t just get smaller; they can become “loaded” with metal particles or develop flat spots that cause dangerous imbalances. A balanced wheel should spin without causing the grinder to jump or vibrate excessively, while a worn-out wheel will require more pressure to remove the same amount of material.
I use a simple “ring test” on my bench grinder wheels—tapping them lightly with a plastic screwdriver handle to listen for a clear, metallic ring. A dull thud indicates a crack, meaning the wheel must be replaced immediately. For angle grinders, I track how many linear inches of steel a single flap disc can clean before it starts burning the metal instead of cutting it. If you are applying heavy body weight to get a tool to cut, the abrasive is spent, and you are putting unnecessary strain on the tool’s motor.
Ventilation and Air Quality Metrics
| Tool Activity | Required Ventilation (CFM) | Minimum Clearance | Safety Gear Needed |
|---|---|---|---|
| Grinding/Sanding | 500 – 800 CFM | 3 Feet | Face Shield + Respirator |
| MIG/Stick Welding | 1,000+ CFM | 5 Feet | Welding Helmet + Fan |
| Plasma Cutting | 1,200+ CFM | 6 Feet | Shade 5 Glasses + Extraction |
| Solvent Cleaning | 400 CFM | 2 Feet | Nitrile Gloves + Mask |
Shop Layout and Workflow Efficiency Metrics
The physical arrangement of your workshop directly impacts how well your tools perform and how safely you can operate them. A cramped layout leads to “tool crowding,” where you might accidentally strike one machine while working on another, or worse, allow sparks from a grinder to reach flammable materials or sensitive electronics.
Measuring Footprint and Clearance Boundaries for Safe Operation
Every stationary tool in your shop has a “functional footprint,” which includes the machine itself plus the space required for the operator and the material being worked. For a budget metalworking tools setup, you must account for the “swing” of long metal bars. If your saw is tucked into a corner, you might find you can only cut pieces shorter than three feet.
In my current shop, I mark “safety zones” on the floor with high-visibility tape. This reminds me to keep a 36-inch clear path around the welder and the drill press. By measuring the time it takes to move from the cutting station to the welding bench, you can identify “workflow friction.” If you spend more time moving tools out of the way than you do fabricating, your layout needs a redesign.
- Map the Power: Place high-draw tools closest to the electrical panel to minimize voltage drop.
- Define the Hot Zone: Group welding and grinding tasks in one area with fire-resistant surfaces.
- Establish a Clean Zone: Keep precision measuring tools and electronics away from metal dust.
- Track Material Flow: Ensure there is a straight path from your metal storage rack to your primary cutting tool.
When to Repair Versus When to Replace
Knowing when to invest in a repair or move to a higher-grade machine is a decision that should be based on data rather than frustration. I use a simple rule: if the cost of parts and the time required for a repair exceed 50% of the tool’s original value, or if the tool can no longer hold the tolerances required for your projects, it is time to upgrade.
Analyzing the Cost of Maintenance Work vs. Machine Reliability
Maintenance is a normal part of shop life, but chronic failure is a sign of a deeper issue. I keep a small notebook—my “Shop Log”—where I record every time I have to fix a tool. If I see that I’ve replaced the drive belt on a band saw three times in six months, I know the pulleys are likely misaligned or the motor is underpowered for the thickness of steel I am cutting.
Reliability is a physical metric. If a tool fails in the middle of a project, it costs you time and potentially ruins expensive material. When your logged data shows that a tool’s “uptime” is dropping below 80%, it is no longer a budget-friendly asset; it is a liability. Upgrading isn’t about buying the shiniest new model; it’s about moving to a machine with a higher duty cycle, better bearings, or a more rigid frame that can handle your increasing skill level.
- Repair if: The issue is a standard wear item (belts, brushes, or bearings).
- Repair if: The machine is a high-quality vintage model with a solid cast-iron base.
- Replace if: The frame is cracked or the main casting is warped.
- Replace if: The motor regularly smokes or smells of ozone despite proper maintenance.
Actionable Tracking Framework for Your First Shop
To avoid the analysis paralysis that many beginners face, I recommend a structured approach to monitoring your workshop’s evolution. By keeping consistent records, you can see exactly where your money and time are going.
- The Tool Health Log: Create a spreadsheet or notebook page for every major tool. Record the date of purchase, the initial runout measurement, and any unusual noises you hear during the first month.
- The Project Time Study: For your first five projects, track how much time is spent on “actual work” versus “tool setup and troubleshooting.”
- The Consumable Tracker: Note how long your drill bits stay sharp and how many grinding wheels you use per project. Rapid wear often indicates you are using the wrong speed (RPM) or too much pressure.
- The Circuit Load Map: Label every outlet in your garage with its corresponding breaker number and amperage. This prevents accidental overloads before they happen.
- The Precision Audit: Every six months, use a machinist’s square and a dial indicator to check that your saws are cutting square and your spindles are still true.
Building a workshop is a marathon, not a sprint. My first shop was far from perfect, but because I tracked how my tools performed, I was able to make smart, incremental upgrades that eventually led to a highly capable fabrication space. By focusing on physical metrics—vibration, heat, accuracy, and power—you can take the guesswork out of maintenance and build a shop that grows with your skills.
FAQ: Managing Tool Performance and Shop Logistics
How do I know if my drill press spindle is actually bent or if it’s just a cheap bit? The best way to tell is by using a dial indicator. Remove the drill bit and place the indicator tip against the inside of the spindle taper or the outside of the chuck. Rotate it by hand. If the needle moves more than 0.005 inches, the spindle or chuck is the problem. If it stays still, your drill bits are likely the issue.
Why does my angle grinder get hot after only five minutes of use? Excessive heat in a grinder usually stems from three things: pushing too hard (overloading the motor), clogged air vents, or worn-out carbon brushes. If the vents are clear and you are using light pressure, check the brushes. If they are shorter than 1/4 inch, replace them to restore performance and reduce heat.
What is the most common sign that a welder is being pushed past its limits? Beyond the thermal shutdown light, you will notice the arc becoming “unstable.” It might pop, spatter excessively, or fail to penetrate the metal even at high settings. This often happens when the internal components are heat-soaked and can no longer provide a steady flow of current.
How often should I check the alignment of my metal-cutting band saw? I recommend a quick check before every major project and a deep alignment every 10 hours of cutting time. Metal saws deal with a lot of vibration, which can vibrate the guide bearings loose. A saw that isn’t square will “drift,” causing the blade to heat up and eventually snap.
Is a 15-amp circuit enough for a home metal shop? It is enough for basic hand tools and small drills, but it is the bare minimum. Most 110V welders and large grinders will frequently trip a 15A breaker. If you are serious about fabrication, installing at least one 20A dedicated circuit is one of the best “performance upgrades” you can give your tools.
What does it mean when my bench grinder starts vibrating more than usual? Vibration in a grinder is almost always due to the wheels being “out of round” or “out of balance.” This can happen if the wheel is dressed unevenly or if the mounting washers aren’t centered. Stop using it immediately, as heavy vibration can lead to wheel disintegration.
How can I tell if my shop ventilation is actually working? A simple “smoke test” works well. Use a small incense stick or a specialized smoke pen near your work area. If the smoke is pulled away from your face and toward the exhaust fan within a few seconds, your airflow is likely sufficient. If it lingers or swirls around your head, you need a higher CFM fan.
When should I stop repairing a budget tool and just buy a better one? Follow the “Two-Fix Rule.” If a tool requires two major repairs for the same issue within a year, the machine’s design is likely insufficient for your workload. At that point, the time spent fixing it is worth more than the cost of a higher-quality replacement.
(This article was written by one of our staff writers, Michael Thompson. Visit our Meet the Team page to learn more about the author and their expertise.)