How to Track Workshop Tool Performance and Wear (Tutorial)
I have spent more than 15 years at a fabrication bench, and if there is one thing I have learned, it is that tools do not usually fail in a single moment. Instead, they die a slow, quiet death. Most fabricators realize a drill bit is dull only when it starts smoking or a lathe bit is shot when the finish looks like tree bark. By that time, you have already wasted material and put unnecessary strain on your machines.
In my early years running a small manufacturing shop, I relied on “feel.” I thought I could just sense when a tool was performing poorly. I was wrong. After keeping detailed maintenance journals for over a decade, I found that my “feel” was often off by 20%. I was either pushing tools too hard or tossing them out while they still had life. To get the most out of your equipment, you need a systematic way to observe physical indicators and track how your tools change over time.
This guide focuses on the practical, low-cost methods I use daily to monitor the health of manual and benchtop metalworking tools. We will look at how to spot edge degradation, interpret vibration patterns, and use dimensional accuracy to know exactly when a tool needs service.
Establishing a Baseline for Workshop Tool Health
A baseline is a record of how a tool performs when it is brand new or perfectly sharpened. Without this starting point, you have nothing to compare your future observations against, making it impossible to gauge true wear.
When I bring a new end mill or a freshly ground lathe bit to the machine, I perform a “first cut” test. I use a standard piece of material, usually 6061 aluminum or 1018 mild steel, and run it at a specific speed and feed rate. I record the sound, the temperature of the workpiece, and the appearance of the chips. This data goes into my shop log. This simple act turns a subjective feeling into an objective metric.
To establish your own baseline, follow these steps: 1. Select a control material: Use the same grade of metal for every baseline test. 2. Record the parameters: Note the RPM and the depth of cut. 3. Document the results: Take a photo of the surface finish and save a sample of the metal chips.
By doing this, you create a “health profile” for your tooling. When you notice the tool struggling three months later, you can refer back to these notes to see exactly how much performance has drifted.
Monitoring Edge Degradation through Visual and Physical Cues
Edge degradation refers to the physical breakdown of a tool’s cutting surface, including micro-chipping, rounding of the sharp tip, or “built-up edge” where material fuses to the tool.
I use a 10x jeweler’s loupe to inspect my cutting edges every few hours of runtime. To the naked eye, a drill bit might look sharp, but under magnification, you might see tiny fractures along the flute. These fractures act as stress concentrators. If you keep cutting, those tiny cracks will eventually lead to a total tool failure.
Another reliable method is the “light reflection test.” A perfectly sharp edge is so thin that it does not reflect light. If you hold a tool under a bright shop light and see a shiny line along the very tip of the edge, that is a sign of rounding. The wider the shiny line, the more the edge has worn down.
- Micro-chipping: Small notches along the edge, often caused by interrupted cuts or excessive vibration.
- Rounding: The sharp point becomes a radius, increasing the force required to cut.
- Built-Up Edge (BUE): When heat causes the workpiece material to weld itself to the tool, ruining the cutting geometry.
| Feature | Healthy State | Warning Sign | Critical Failure |
|---|---|---|---|
| Edge Geometry | Razor sharp, no light reflection | Dull “glint” on the edge | Visible chips or flat spots |
| Surface Color | Original metal finish | Straw or light brown (heat) | Blue or black (tempering lost) |
| Physical Texture | Smooth and consistent | Rough or “draggy” feel | Material welded to the tip |
Using Chip Morphology to Gauge Cutting Efficiency
Chip morphology is the study of the shape, size, and color of the metal shavings produced during a cut. These shavings are the best storytellers in your workshop.
When a tool is sharp and the settings are correct, the chips should be consistent. In steel, you generally want “6-shaped” or “C-shaped” chips. If your chips start coming out as long, stringy ribbons, your tool’s chip breaker may be worn, or the edge is no longer crisp enough to snap the metal.
Color is equally important. If I am cutting mild steel and my chips turn a deep blue, I know the heat is not being carried away by the chip. Instead, the heat is staying in the tool. This is a clear indicator that friction has increased because the edge is dull. On the other hand, if the chips are straw-colored, the tool is likely operating in its sweet spot.
- Consistent C-shapes: Indicates a sharp edge and proper feed rate.
- Fine Dust or Powder: Suggests the tool is rubbing rather than cutting.
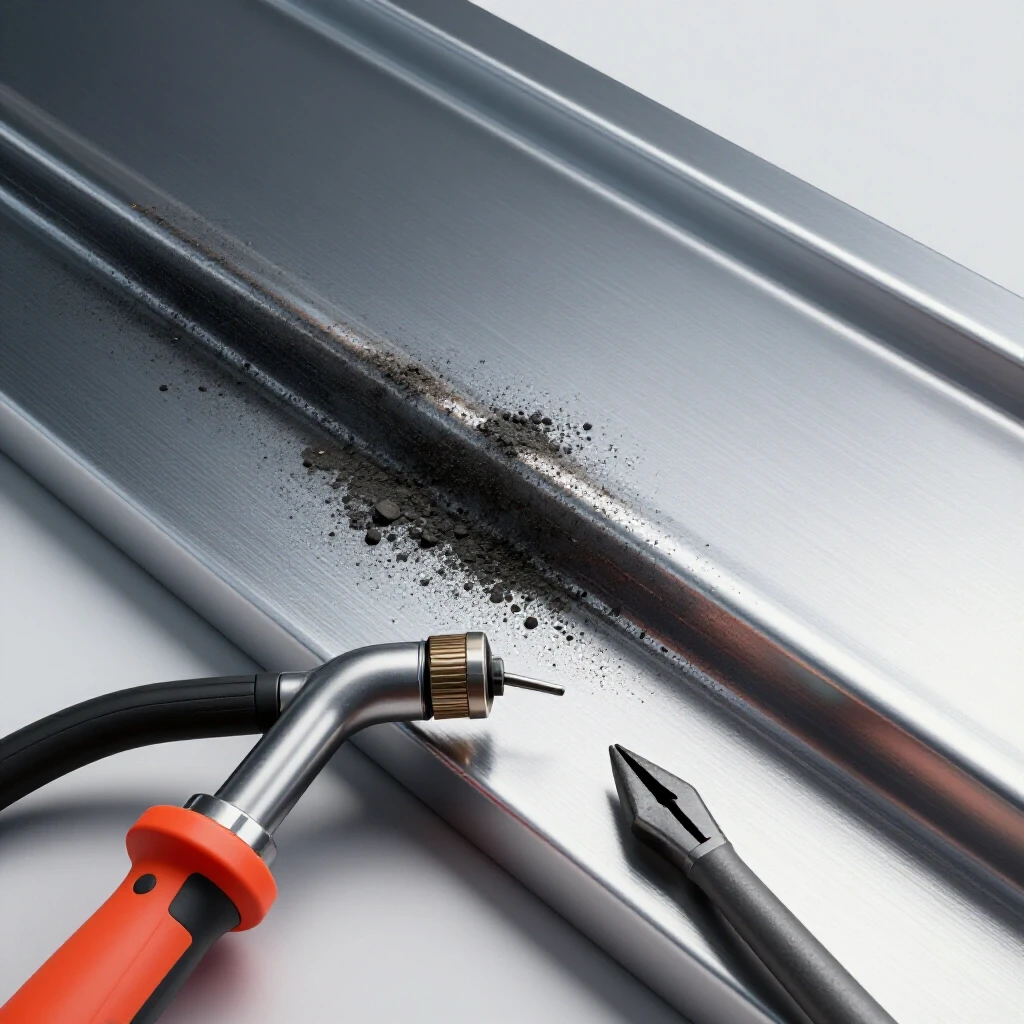
- Discoloration: Blue chips in steel mean high heat; in aluminum, any discoloration is a sign of extreme friction.
Identifying Vibration Patterns and Harmonic Shifts
Vibration patterns are the rhythmic movements or “chatter” felt through the machine handles or heard in the air during operation.
Every tool has a natural frequency. When it is sharp, it cuts through metal with a consistent, predictable hum. As the tool loses its edge, the resistance increases. This resistance changes the harmonics of the machine. I often describe it as a “growl” that replaces a “sing.”
I track this by paying attention to “chatter marks” on the workpiece. Chatter marks are wavy patterns on the surface of the metal. If I start seeing these marks on a setup that was previously smooth, I know the tool’s geometry has changed. The tool is no longer slicing; it is “bouncing” off the material.
To monitor this without expensive sensors: 1. The Touch Test: Place a hand on the non-moving part of the machine (like the tailstock or the vise). Feel for a change from a smooth hum to a jagged vibration. 2. The Sound Log: Record the sound of a “good” cut on your phone. Compare it to the sound the machine makes a week later. 3. Surface Inspection: Use a flashlight held at a low angle to the workpiece to reveal hidden chatter patterns.
Measuring Dimensional Drift to Predict Tool Failure
Dimensional drift is the gradual change in the size of the parts you are making, caused by the tool wearing down or deflecting under pressure.
In my shop, I track “tool deflection.” As an end mill gets dull, it takes more force to push it through the metal. This force causes the tool to bend slightly away from the cut. If I am aiming for a 1.000-inch slot and it consistently comes out at 0.998 inches, the tool is likely deflecting because it is dull.
I use a simple log to track these measurements over a production run. If I see a steady trend where the parts are getting “larger” (for external cuts) or “smaller” (for internal cuts), I know the tool is losing its dimensional integrity.
| Measurement Type | Indicator of Wear | Practical Tool |
|---|---|---|
| Part Diameter | Tool is wearing thin or “pushing” away | Micrometer |
| Hole Roundness | Drill bit is walking or flutes are uneven | Bore Gauge |
| Surface Flatness | Tool is “diving” or “climbing” | Machinist’s Square |
Implementing a Manual Logging System for Workshop Consumables
A manual logging system is a simple, paper-based or digital record where you track the hours of use and the performance of your tools.
I keep a clipboard next to my primary machines. Every time I use a specific tool, I mark down the approximate “arc time” or “contact time.” For example, I might track how many linear inches a bandsaw blade has cut. After 500 inches, I know to look for specific wear patterns.
This data is invaluable when you are trying to decide if a tool is worth the maintenance time. If one type of drill bit consistently lasts 50 holes before needing a sharpen, and another only lasts 20, your logs will show you that clearly.
My Logbook Template: 1. Date and Tool ID: Identify the specific tool. 2. Material Type: What was being cut? 3. Run Time/Units: How many inches or minutes? 4. Observations: Any changes in sound, heat, or chip shape? 5. Action Taken: Did I sharpen it, clean it, or keep running?
Heat Management and Thermal Indicators of Wear
Thermal load is the amount of heat generated during the cutting process. Excessive heat is the primary enemy of tool longevity.
I use a basic infrared thermometer to check the temperature of my tools immediately after a cut. If a lathe bit usually runs at 120 degrees Fahrenheit during a standard pass but suddenly jumps to 180 degrees, something is wrong. The increased friction from a dull edge converts more mechanical energy into heat.
You can also look for “heat tint” on the tool itself. If the tip of a high-speed steel (HSS) drill bit turns blue, it has reached a temperature where the temper of the steel is compromised. Once the temper is gone, the tool will never hold an edge again, no matter how many times you sharpen it.
- Straw Color (approx. 400°F): Normal for many heavy cutting operations.
- Brown/Purple (approx. 500°F): Getting dangerously hot for HSS.
- Blue (approx. 600°F): The tool has likely “softened” and lost its hardness.
Tracking the Performance of Manual Files and Abrasives
We often forget to track the simplest tools, like files or sanding belts. However, these are often the most abused tools in a workshop.
To monitor a file, I use the “glaze test.” A sharp file will bite into the metal and produce small, needle-like shavings. A dull file will “glaze” over the surface, producing a shiny spot on the workpiece but removing very little material. I track how many strokes it takes to remove a specific amount of material from a test piece. When that stroke count doubles, the file is moved to the “rough work only” bin.
For abrasives, I watch the “loading” of the belt. If the spaces between the abrasive grains are filled with metal dust, the tool can no longer cut. Cleaning the belt can restore performance, but eventually, the grains themselves round over. You can feel this by running a gloved finger (with the machine off) over the belt. It should feel like sharp sand, not smooth pebbles.
The Role of Lubrication in Performance Monitoring
Lubrication reduces friction, but it also serves as a diagnostic tool. I monitor the “smoke point” of my cutting fluid.
If I am using a consistent amount of oil and it suddenly starts smoking during a cut that used to stay cool, the tool is generating more heat than it should. This is a “canary in the coal mine” for tool wear. I also look at the color of the used lubricant. If it is full of fine “glitter,” that is a sign that either the tool or the workpiece is being ground away in an uncontrolled manner.
- Check fluid clarity: Dark, opaque fluid suggests heavy metal particle suspension.
- Monitor consumption: If you find yourself needing more fluid to keep the tool cool, the tool is likely dulling.
- Smell: Burnt or “acrid” smells indicate the lubricant is breaking down due to excessive tool-tip heat.
Summary of Key Monitoring Benchmarks
To keep your workshop running efficiently, you should aim for these specific benchmarks in your monitoring routine:
- Daily: Visual inspection of edges with a loupe before starting work.
- Weekly: Review logbook entries for any trends in dimensional drift.
- Monthly: Perform a “baseline” test on a control material for your most-used tools.
- Per Project: Save a sample of chips to compare against the next project.
By focusing on these physical indicators, you move away from guesswork. You start treating your tools like the precision instruments they are. This doesn’t just save money on consumables; it improves the quality of every single piece of metal that leaves your bench.
Frequently Asked Questions
How can I tell if a drill bit is dull without drilling a hole? You can use the light reflection test. Hold the bit under a single, bright overhead light. Look at the cutting lips. If you see a bright, shiny reflection along the edge, the bit is rounded and dull. A sharp bit will have an edge so thin that it does not reflect light back at you. You can also carefully feel the edge with your thumbnail; a sharp bit should “grab” the nail with almost no pressure.
What does it mean when my metal chips start changing color? Chip color is a direct indicator of heat. In steel, straw-colored chips mean the heat is being managed well. Blue chips mean the temperature at the cutting edge is very high. If your chips were straw-colored yesterday but are blue today using the same settings, your tool has likely dulled, causing increased friction.
Why do I see wavy lines on my finished parts? These are chatter marks, caused by vibration. This often happens when a tool loses its sharp edge and starts “rubbing” or “bouncing” against the metal instead of slicing through it. It can also mean the tool is not held securely or the machine’s bearings are wearing, but a dull tool is the most common culprit in a DIY shop.
Can I still use a tool if it has “built-up edge” (BUE)? You should stop and clean it. BUE happens when the workpiece material welds itself to the tool tip. This changes the shape of the cutting edge and will lead to poor surface finishes and increased heat. You can often remove BUE with a small scraper or by using a chemical cleaner designed for the specific metal (like a lye solution for aluminum on steel tools), but the tool should be inspected for damage afterward.
Is there a way to track tool wear on manual files? Yes. The best way is to monitor the “bite.” A sharp file will pull itself into the metal. A dull file will slide across the surface like it is on ice. If you have to push significantly harder to get the file to remove metal, the teeth are rounded. You can also look at the file under a magnifying glass to see if the teeth are clogged with metal (pinned) or if the tips are flattened.
How do I know if my bandsaw blade is wearing out? Watch for “wandering” cuts. If you are cutting a straight line but the blade starts to curve to one side, it usually means the teeth on one side of the blade are duller than the other. Also, listen for a rhythmic “click” or “thump,” which can indicate a cracked blade or a tooth that has been ripped off.
Does tool wear affect the accuracy of my measurements? Absolutely. If you are using a dull tool on a lathe or mill, the tool will “deflect” or bend away from the workpiece. This means your machine might say you are cutting at a certain depth, but the actual part will be larger because the tool was pushed away. Tracking this “dimensional drift” is a key way to know when to sharpen your bits.
What is the simplest way to start a tool maintenance log? Start with a simple notebook kept at your main workbench. Every time you finish a project or a long session, write down the tool you used, the material, and how it felt. Note if it started to get loud, hot, or if the chips changed. Over time, these notes will show you exactly how long a tool lasts before it needs attention.
Can I use a smartphone to track tool performance? While I don’t recommend complex software, you can use your phone’s camera and voice recorder. Take photos of your “first cut” chips and surface finishes to use as a visual baseline. You can also record the sound of the machine when it is running perfectly. If the machine starts sounding “rougher” later on, play back the recording to confirm the change in harmonics.
How often should I inspect my tools for wear? I recommend a “quick check” every time you change a part or every hour of continuous use. A deep inspection with a magnifying loupe should happen at the end of every work day. Catching a small chip early can often be fixed with a light honing, whereas waiting until the tool fails might mean it is ruined forever.
(This article was written by one of our staff writers, David Reynolds. Visit our Meet the Team page to learn more about the author and their expertise.)