How to Troubleshoot and Fix Old Welding Transformers (Fix)
I have spent nearly two decades pulling heavy, rusted machinery out of damp basements and forgotten barns. There is a specific kind of satisfaction in finding a piece of equipment that looks like a lost cause and bringing it back to factory tolerances. Among the lathes and drill presses, the old AC transformer welder—often called a “buzz box”—stands as a monument to mid-century engineering. These machines are essentially heavy blocks of iron and copper wrapped in sheet metal. They were built to last a century, but time, moisture, and neglect can make them temperamental or even dangerous.
When I approach a vintage machinery restoration involving an old welder, I treat it with the same respect as a pre-war lathe. These units are heavy, often exceeding 100 pounds for even basic models, and their internal components are sensitive to rough handling. My goal is always to preserve the original copper windings while ensuring the mechanical adjustments and electrical connections are as clean as the day they left the factory. Restoring classic cast iron and heavy steel equipment requires a methodical approach, starting with a cold assessment before ever plugging the unit into a wall socket.
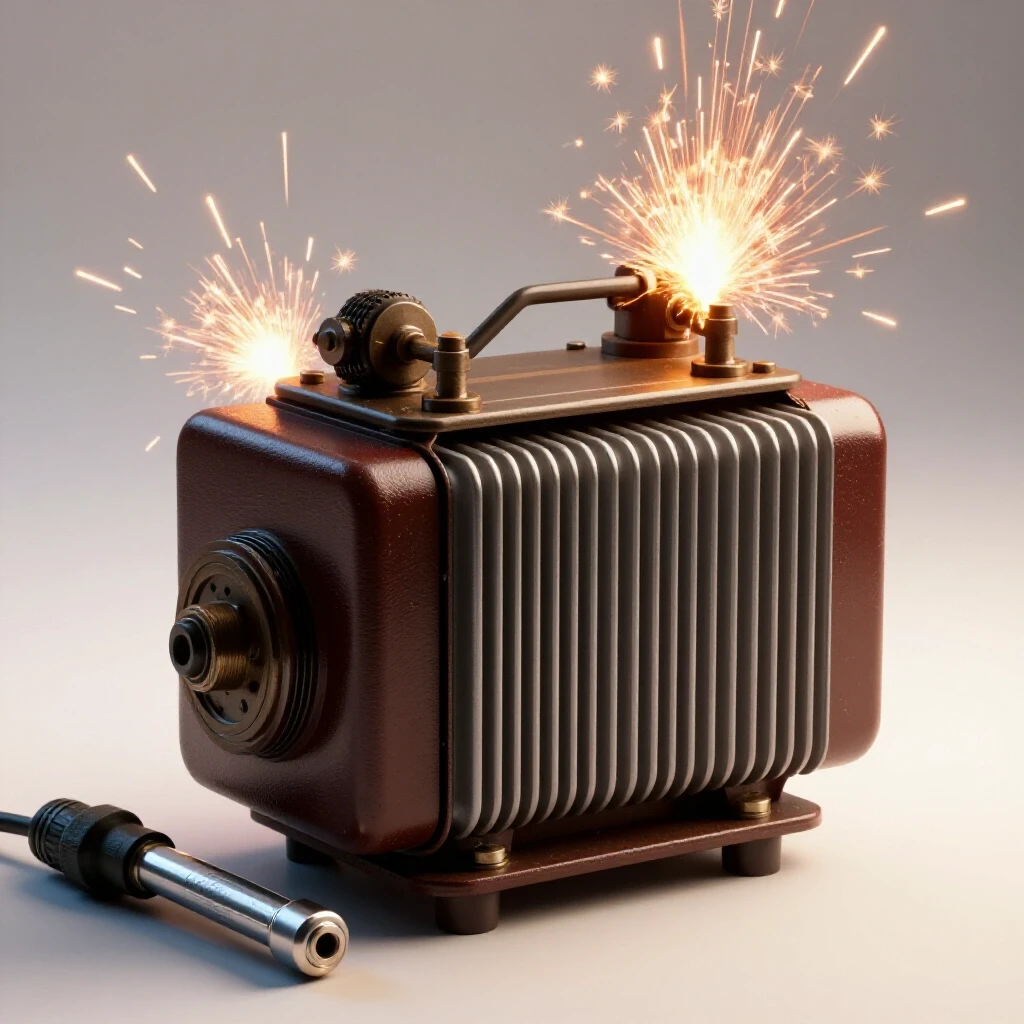
Assessing the Integrity of Vintage Welding Transformers
Evaluating the physical and electrical potential of a found welder involves checking for structural damage, copper health, and mechanical movement. This phase determines if the unit is a candidate for restoration or merely a donor for parts, focusing on heavy iron and copper components.
Before I even think about power, I look at the “bones” of the machine. Most vintage machinery restoration projects fail because the restorer rushes to see if it works. With a transformer, a “quick test” on a shorted internal wire can turn a repairable tool into a boat anchor in seconds. I start by removing machinery rust from the exterior casing to see the fasteners. If the case is crushed or the cooling vents are packed with rodent nests, I know I have a deep cleaning job ahead.
I look for signs of “cooking.” If the paint on the cabinet is blistered near the top, the transformer may have been overheated by a previous owner who ignored the duty cycle. I also check the smell. A burnt, acrid odor usually indicates that the lacquer insulation on the copper windings has failed. If the windings look bright and the insulation is intact, the machine is likely a survivor.
Navigating the Mechanical Disassembly of Heavy-Duty Cases
Disassembling old welding cabinets requires managing heavy sheet metal, rusted fasteners, and internal supports. Success depends on using penetrants and heat to free seized bolts without damaging the fragile insulation on the transformer windings or the structural integrity of the frame.
Most old welders use standard fasteners, but they are often seized by decades of shop grime and oxidation. When restoring classic cast iron or heavy steel housings, I use a high-quality penetrating oil and let it sit for at least 24 hours. If a bolt refuses to budge, I use a localized heat source like a small butane torch, being extremely careful not to let the heat migrate toward the transformer coils.
Once the shell is off, I document everything. I use a digital camera to take high-resolution photos of every wire routing and terminal location. In my experience, these machines often have simple circuits, but the way the heavy-gauge wires are tucked to avoid vibration is critical. I use a numbered inventory sheet for all fasteners, noting where I encounter obsolete thread patterns that might require careful cleaning rather than replacement.
Restoring Electrical Continuity and Contact Integrity
Cleaning and tightening electrical connections is the core of reviving an old welder. This process involves removing oxidation from terminals, switches, and lugs to ensure low-resistance paths, which are vital for the high-amperage output required for stable arc welding.
The heart of troubleshooting these units is identifying high resistance. Over time, the copper-to-brass or copper-to-steel connections inside the machine oxidize. This oxidation creates heat. I have seen machines where the output lugs were so corroded they actually melted the surrounding bakelite insulation. I use a fine-grit abrasive or a dedicated wire brush to bring every contact point back to a mirror shine.
I pay close attention to the primary power cord. These are often cracked or brittle. If the insulation flakes off when you bend the wire, it must be replaced. I always use a heavy-duty SOOW cable of the same or larger gauge as the original. For the internal connections, I ensure that every nut is torqued down firmly. A loose connection in a high-amperage circuit is a fire hazard.
Troubleshooting the Current Adjustment Mechanism
The mechanical shunt or crank system controls the welder’s output by moving internal components. Over decades, grease hardens and threads seize, requiring careful cleaning and specialized lubrication to restore the smooth, precise movement needed for accurate amperage settings.
There are generally two ways these old machines adjust current: a sliding iron shunt or a tapped transformer with a large selector switch. If you have a crank-style machine, the “lead screw” that moves the shunt often gets gummed up with a mixture of sawdust and old grease. I clean these threads using a stiff brush and a mild solvent.
For machines with a large rotary selector switch, the problem is usually “arcing” on the contacts. As the switch is moved under load (which should never be done, but often is), small pits form on the copper pads. I use a fine file to level these pads and ensure they make full contact. A switch that only makes partial contact will heat up and eventually fail.
Comparison of Rust Removal and Cleaning Methods
| Method | Best Use Case | Risk Level | Time Investment |
|---|---|---|---|
| Manual Wire Brushing | Heavy external scale | Low | High |
| Chemical Chelators | Intricate steel parts | Very Low | 12-24 Hours |
| Electrolysis Bath | Heavily rusted frames | Moderate | 6-12 Hours |
| Abrasive Blasting | Exterior cabinets only | High (Dust) | Low |
Evaluating and Replacing External Leads and Clamps
Welding cables and ground clamps are high-wear items that often suffer from insulation rot or internal copper fatigue. Inspecting these components ensures the machine can deliver its full power safely, preventing overheating and ensuring a stable, predictable welding arc.
The cables are the “tires” of the welding machine. If they are bald or cracked, the machine won’t perform. I look for “soft spots” in the cable, which usually indicate that the internal copper strands have snapped from repeated bending. When replacing leads, I look for high-strand-count copper cable, which offers better flexibility.
The ground clamp is the most neglected part of the setup. If the spring is weak or the jaws are covered in slag, you will have a “cold” arc that is difficult to start. I often replace old, stamped-steel clamps with heavy-duty brass versions. This simple upgrade can significantly improve the machine’s performance.
Testing and Precision Alignment of Internal Components
Once the machine is clean and the connections are tight, I perform a series of tests using a standard multimeter. I check for continuity between the plug’s ground pin and the machine’s chassis. The resistance should be near zero. If it isn’t, the machine is a shock hazard.
I also check the resistance of the primary and secondary coils. While I don’t get into complex math, I look for “open” circuits. If the multimeter shows infinite resistance on a coil, there is a break in the wire, which usually means the machine is a parts donor. Finally, I check for “shorts to ground” by testing the resistance between the coil windings and the iron core. This should show infinite resistance.
Standard Benchmarks for Vintage Welder Restoration
- Ground Continuity: Less than 0.5 Ohms from chassis to ground pin.
- Insulation Resistance: Visual check for no bare wires touching the core.
- Mechanical Movement: Shunt should move with less than 5 lbs of force on the crank.
- Contact Cleanliness: All copper mating surfaces must be bright and shiny.
- Fastener Torque: All high-current lugs should be “snug plus a quarter turn.”
Dealing with Vibration and Loose Laminations
Older transformers are notorious for “humming.” While some noise is normal, a loud, violent vibration often indicates that the iron laminations in the core have vibrated loose over the years. These laminations are thin sheets of steel stacked together to form the core.
When these sheets loosen, they slap against each other at 60 cycles per second. In my shop, I have found that tightening the through-bolts that hold the core together often solves 80% of the noise issues. If the noise persists, it may be a sign of the original varnish failing. While I don’t rewind coils, ensuring the core is physically tight is a vital part of classic tool alignment.
Final Assembly and Finishing
After the internals are serviced, I turn my attention to the cabinet. Removing machinery rust from the sheet metal and applying a fresh coat of high-quality enamel paint preserves the machine for the next generation. I avoid “rattle can” fixes for machines I intend to keep; I prefer a brush-on or HVLP-sprayed machinery enamel that can withstand the heat and sparks of a working shop.
I also replace any missing or damaged labels. Many enthusiasts overlook the importance of the amperage scale. If the pointer is bent or the scale is unreadable, you are welding blind. I recalibrate the pointer by checking the physical position of the shunt against the marks on the case.
Troubleshooting Common Faults in Legacy Welders
Even after a thorough cleaning, you might encounter specific operational issues. Use the following table to diagnose common symptoms found in machines that have been sitting for several decades.
Common Fault Diagnostics for Vintage Transformers
| Symptom | Likely Cause | Recommended Action |
|---|---|---|
| Machine hums but no arc | Corroded output lugs | Clean and polish all secondary terminals. |
| Arc is weak or “stutters” | Loose primary connection | Check plug and main switch for tightness. |
| Crank is hard to turn | Dried grease on lead screw | Degrease and apply high-temp lithium grease. |
| Circuit breaker trips | Shorted power cord | Replace the primary input cable immediately. |
| Excessive “buzzing” noise | Loose core laminations | Tighten the main transformer mounting bolts. |
My Framework for a Successful Restoration
To keep my projects organized, I follow a strict sequence. This ensures that no safety step is missed and that the machine is returned to service in a predictable manner.
- Isolation: Cut the old plug off immediately if it’s damaged to prevent accidental power-up.
- De-nesting: Use compressed air and a vacuum to remove all dust, debris, and “shop fur” from the coils.
- Mechanical Liberation: Use penetrants on the current adjustment threads before applying any force.
- Electrical Polishing: Use a Scotch-Brite pad to clean every terminal, nut, and washer.
- Continuity Mapping: Verify that the ground circuit is 100% intact.
- Lubrication: Use a dry film lubricant on sliding parts to avoid attracting grinding dust.
- Testing: Perform a “smoke test” by powering the unit on a fused circuit without welding first.
Conclusion and Next Steps
Restoring an old welding transformer is a rewarding way to gain a high-quality tool for a fraction of the cost of a modern machine. These “buzz boxes” are the workhorses of the metalworking world. By focusing on mechanical cleanliness, electrical continuity, and physical safety, you can preserve a piece of industrial history that will likely outlast most modern electronics.
If you have a machine sitting in the corner of your shop, start by simply taking the cover off. Clean out the dust, look for charred wires, and see if the adjustment crank moves. Often, these machines only need a few hours of patient cleaning to return to their former glory. Your next step should be to source a high-quality multimeter and a set of wire brushes. Once the connections are bright and the mechanical parts move freely, you’ll be surprised at how well these old giants can weld.
Frequently Asked Questions
Is it safe to use a welder that has been sitting in a damp barn for 20 years? It can be safe, but only after a thorough inspection. Moisture can degrade the insulation on the windings. You must check for “shorts to ground” using a multimeter and ensure the case is properly grounded before plugging it in. If the coils look green with corrosion or smell musty, they need an extended drying period in a warm, dry area before testing.
Can I replace the old two-prong plug with a modern three-prong grounded plug? Yes, and you should. Safety is paramount in vintage machinery restoration. Ensure the green ground wire is securely fastened to the metal chassis of the welder. This ensures that if an internal short occurs, the circuit breaker will trip rather than the machine’s case becoming “live.”
Why does my old welder smell like burnt toast when I use it? A slight smell can be old dust burning off the coils, which is common. However, a strong, acrid smell indicates the transformer is overheating. This could be due to a cooling fan failure (if equipped), blocked vents, or exceeding the duty cycle. Stop immediately and check for internal obstructions.
What kind of grease should I use on the amperage adjustment screw? Avoid heavy chassis grease, as it attracts dust and becomes a grinding paste. I recommend a light coating of high-temperature lithium grease or a dry graphite lubricant. These will keep the threads moving smoothly without “clumping” over time.
Are these old machines better than the new lightweight inverters? “Better” is subjective. Old transformers are incredibly durable and can handle dirty power and harsh environments. They are, however, very heavy and less “smart” than inverters. For a restorer, the appeal lies in their simplicity and the fact that they can be repaired with basic tools.
How do I clean the copper windings without damaging them? Use only compressed air and a soft brush. Never use harsh liquid solvents or wire brushes on the windings themselves, as you can strip the thin layer of insulating lacquer. If the windings are very dirty, a gentle wipe with a cloth dampened with denatured alcohol is usually sufficient.
My welder “hums” but won’t start an arc. What is wrong? This is usually a sign of a break in the secondary circuit. Check your welding leads, the ground clamp, and the electrode holder. Often, the copper wire inside the insulation has snapped or the connection at the terminal has vibrated loose.
Can I paint the transformer coils to protect them? No. The coils need to dissipate heat. Painting them can act as an insulator, causing the transformer to overheat. If you must protect them, use a dedicated electrical-grade clear insulating varnish, but only if the original coating is visibly flaking.
What should I do if the main power switch is seized? Do not force it. These switches are often made of brittle plastics or bakelite. Use a dedicated electrical contact cleaner to dissolve old grease. If it remains stuck, you may need to replace it with a modern industrial toggle switch of the appropriate amperage rating.
How can I tell if the duty cycle of my old welder is still accurate? Duty cycles are based on heat. If you have cleaned the machine and ensured all connections are tight, the original duty cycle should still be a safe guideline. However, always err on the side of caution with old gear—give the machine more “rest” time than the manual suggests.
(This article was written by one of our staff writers, Richard Beaumont. Visit our Meet the Team page to learn more about the author and their expertise.)