How to Use Welding Magnets Without Losing Accuracy (Guide)
For more than 15 years, I have spent my mornings in a small-scale manufacturing shop, surrounded by the smell of ozone and the hum of industrial machinery. My workbench is a testament to thousands of hours of fabrication, and my maintenance journals are filled with data points that most marketing brochures ignore. I have tracked the lifespan of every tool I own, from high-end inverter welders to the simplest magnetic squares. What I have learned is that the most frustrating failures in a project rarely come from a total machine breakdown. Instead, they stem from subtle inaccuracies during the initial setup that compound as the project progresses.
In my early years, I relied heavily on the promises made on tool packaging. I assumed that if a magnetic holder was rated for a specific weight, it would automatically hold my work at a perfect 90-degree angle. I was wrong. After several projects resulted in twisted frames and wasted material, I began logging exactly why these setups failed. I discovered that maintaining precision while using magnetic aids requires more than just sticking them to the metal. It demands an understanding of magnetic pull force, surface physics, and the inevitable reality of thermal expansion.
Understanding the Fundamentals of Magnetic Workholding
Magnetic workholding involves using permanent or switchable magnets to secure ferrous metal components at specific angles, such as 45, 90, or 135 degrees, before they are joined. This method allows for a faster workflow compared to traditional mechanical methods, but it introduces variables that can easily throw a joint out of square.
Precision in this context is defined by the ability of the magnet to maintain the exact intended geometry under the weight of the workpiece and the stresses of the welding process. If the magnet shifts even a fraction of a millimeter, the resulting gap can lead to structural weakness or a finished product that does not fit its intended space. In my shop, I categorize these tools by their “breakaway force”—the amount of weight required to pull the magnet directly off the surface—and their “sliding force,” which is often significantly lower and more critical for maintaining accuracy.
Evaluating Pull Force and Material Thickness Requirements
The effectiveness of a magnetic setup is directly tied to the thickness and composition of the metal you are working with. A magnet rated for 50 pounds of pull force will not achieve that rating on thin-gauge sheet metal. This is because the magnetic flux, or the invisible lines of force, needs a certain amount of material “mass” to flow through. When the material is too thin, the flux saturates the metal and leaks out the other side, resulting in a weak grip.
In my experience, using a magnet on material thinner than 1/8 inch requires extra caution. Interestingly, the surface finish of the metal also plays a massive role. A piece of hot-rolled steel with heavy mill scale will offer less grip than a piece of cold-rolled steel that has been cleaned to a bright finish. Building on this, I have developed a baseline for how much pull force is actually needed to maintain accuracy based on material weight.
| Material Thickness | Recommended Magnet Pull Force | Real-World Accuracy Risk |
|---|---|---|
| 16 Gauge to 11 Gauge | 25 – 30 lbs | High: Magnet may slide during tacking |
| 1/8″ to 1/4″ | 50 – 75 lbs | Medium: Flux saturation is usually optimal |
| 3/8″ and thicker | 100+ lbs | Low: Heavy mass provides excellent grip |
The Impact of Surface Contaminants on Positional Precision
Surface contaminants are the primary enemy of accuracy when using magnetic setup tools. Any layer of material between the magnet and the workpiece—be it oil, dust, metal shavings, or mill scale—creates an air gap. In the world of magnetism, even a microscopic air gap causes a significant drop in holding power.
I have logged instances where a single stray metal filing trapped under a magnetic square caused a 2-degree deviation over a three-foot span. While that sounds small, it results in a gap of nearly an inch at the end of the workpiece. As a result, I have made it a mandatory shop protocol to wipe both the workpiece and the magnetic tool with a clean rag before every setup. This simple habit has reduced my rework rate by nearly 15% over the last three years.
Why Clean Contact Surfaces are Non-Negotiable
A clean contact surface ensures that the magnetic flux is concentrated exactly where it needs to be. When you are positioning two pieces of square tubing at a 90-degree angle, the magnet must sit perfectly flush against both surfaces. If there is a burr on the edge of the tube, the magnet will “rock” on that high point.
To avoid this, I always deburr the edges of my cuts with a file or a flap disc before bringing the magnets into play. I also avoid using magnets on surfaces that have been heavily coated in anti-spatter spray, as the oily film can cause the magnet to slide under the weight of the metal. If you want to maintain a true angle, the metal-to-magnet connection must be dry and debris-free.
Verifying Alignment Before the First Arc
One of the biggest mistakes I see in fabrication is the “set it and forget it” mentality. Just because a magnet is holding the metal doesn’t mean the metal is square. Magnets are setup aids, not precision measuring instruments. I always treat the magnetic setup as a “rough-in” and then use a secondary tool to verify the angle.
I use a high-quality machinist square or a digital protractor to check the joint once the magnets are in place. If the angle is off, I tap the workpiece into position with a dead-blow hammer. The magnet provides the friction to hold it while I make these micro-adjustments. This “verify and adjust” phase is what separates a professional build from a hobbyist project.
- Always check the internal and external angles of the joint.
- Use a level if the project is being built on a known level surface.
- Account for the thickness of the magnet itself if you are working in tight corners.
Managing Thermal Expansion and Magnetic Shift
Welding generates intense heat, and heat causes metal to expand. This expansion creates internal stresses that want to pull the joint out of alignment. If you rely solely on magnets to hold the piece during a long, continuous weld bead, the metal will almost certainly move as it heats up.
Building on this, magnets themselves are sensitive to heat. Most standard magnets begin to lose their permanent magnetic properties if they get too hot—a point known as the Curie temperature. While you likely won’t hit that point during a quick tack weld, leaving a magnet inches away from a heavy, multi-pass weld can permanently weaken it. This leads to a tool that no longer meets its original specifications, making future setups less reliable.
Strategic Tack Welding for Maximum Stability
To maintain accuracy, I use magnets only for the “tacking” phase. Tacks are small, temporary welds that hold the structure together while the final welds are performed. My process involves placing small tacks at the corners furthest from the magnet, then removing the magnet entirely before finishing the seam.
Interestingly, the order in which you place your tacks can counteract the “pull” of the cooling weld metal. I typically tack the “open” side of a joint first, then check for square again. If the cooling tack has pulled the joint slightly, I can still adjust it before placing the second tack. By the time I am ready for the full weld, the magnets are back on the tool rack, safe from the heat and no longer needed for stability.
The Problem of Arc Blow in Magnetic Setups
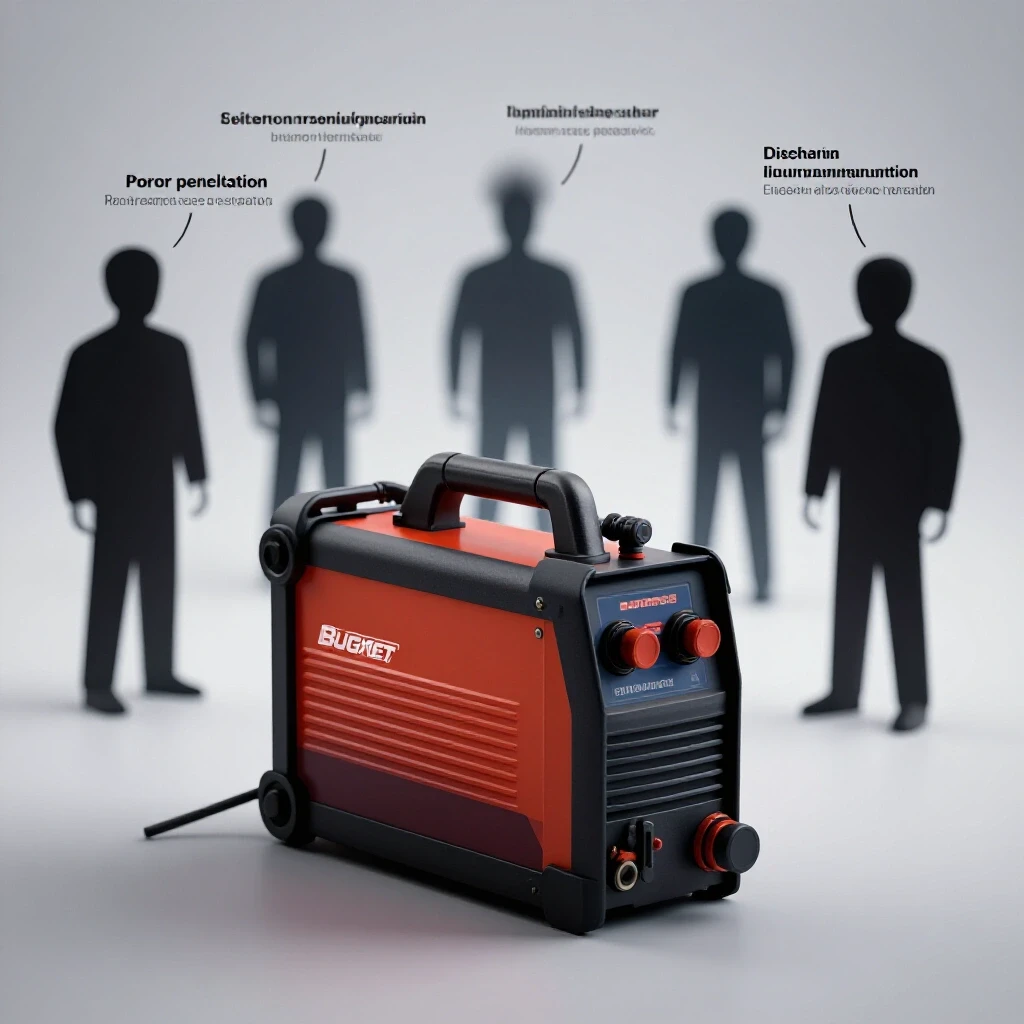
A technical phenomenon known as “arc blow” can occur when welding near strong magnets. The magnetic field from the tool can deflect the welding arc, pushing it away from the joint or causing it to wander. This results in poor penetration and a messy bead, which can ultimately compromise the accuracy and strength of the joint.
In my shop logs, I’ve noted that arc blow is most prevalent when using high-amperage DC welding. To mitigate this, I try to keep my tacks at least two to three inches away from the magnet whenever possible. If the arc starts to wander, I know I’m too close to the magnetic field. Removing the magnet immediately after the first two tacks usually solves the problem and allows for a clean, centered arc for the rest of the project.
Long-Term Maintenance and Reliability Metrics
A tool is only as good as its condition. Over hundreds of hours of use, magnetic squares can collect fine metallic “fuzz” that is difficult to remove. They can also suffer from “rounding” of the edges if they are dropped or mistreated. I treat my magnets like precision gauges. I store them in a dedicated drawer, away from the floor where they might pick up grinding dust.
I also track the “accuracy lifespan” of my tools. Every six months, I check my magnetic squares against a certified reference square. If a magnet has become warped or if the plastic casing (on some models) has melted slightly from heat exposure, I retire it from precision work.
| Maintenance Task | Frequency | Purpose |
|---|---|---|
| Surface Cleaning | Every Use | Prevents air gaps and sliding |
| De-fuzzing (Compressed Air) | Daily | Removes fine metallic particles |
| Accuracy Verification | Every 6 Months | Ensures the tool is still square |
| Heat Damage Inspection | After Heavy Use | Checks for weakened magnetic pull |
Building a Shop Log for Equipment Performance
If you are serious about the longevity of your tools, you should keep a maintenance log. I use a simple digital spreadsheet to track my major equipment, but for smaller tools like magnets and squares, a notebook in the top drawer of the toolbox works best. I record when a tool was purchased, any significant drops or heat exposures, and when it fails to meet accuracy checks.
This data-driven approach helps me avoid the “marketing hype” when it’s time to buy replacements. If a certain style of magnet consistently loses its squareness after 50 hours of shop use, I won’t buy that style again, regardless of how many stars it has on a retail website. I look for tools that show a flat performance curve over hundreds of hours.
Common Mistakes That Lead to Misalignment
Even with the best tools, human error can creep in. One of the most frequent mistakes is using a magnet that is too small for the job. If the weight of a long steel beam is levering against a small magnet, the magnet will act as a pivot point rather than a solid anchor. This causes the far end of the beam to sag, throwing the entire structure off.
Another error is failing to account for the “grounding” path. If your ground clamp is on the table and you are welding a piece held by a magnet, the current might travel through the magnet itself. This can cause internal sparking or “arcing” inside the magnetic tool, which can ruin its internal structure or even weld the magnet to the workpiece. Always ensure your ground clamp is as close to the weld zone as possible, ideally on the workpiece itself.
- Don’t use magnets as a substitute for structural support on heavy beams.
- Avoid placing magnets where they will be directly hit by weld spatter.
- Never use a magnet as a ground path for your welder.
A Systematic Approach to Tool Evaluation
When I am looking to add new setup tools to my inventory, I don’t look at the price tag first. I look at the construction. For magnetic aids, I prefer those with a “switchable” function. These allow you to turn the magnetic field off, making it much easier to clean off metal shavings and position the tool without it “snapping” onto the metal prematurely.
I also evaluate the housing material. Aluminum or stainless steel housings tend to resist weld spatter better than plastic or cheap plated steel. While these might cost more upfront, my logs show that they last three to four times longer in a high-volume shop environment. This lower “cost per hour of use” is the metric that truly matters for a sustainable workshop.
Implementing a Precision Setup Workflow
To achieve consistent results, I follow a specific checklist for every joint I set up. This removes the guesswork and ensures that I am not relying on luck to get a square frame.
- Clean the workpiece and the magnet surfaces with a dry rag.
- Deburr all cut edges to ensure flush contact.
- Position the magnet and the workpieces on a flat table.
- Verify the angle using a secondary manual square.
- Adjust the position using a dead-blow hammer if necessary.
- Place small tacks at the corners furthest from the magnet.
- Check for square again after the tacks have cooled.
- Remove the magnets and perform the final welds.
Frequently Asked Questions
Why does my welding arc jump or flicker when I get close to a magnet? This is caused by arc blow. The magnetic field from your setup tool interferes with the path of the ionized gas in your welding arc. The arc is essentially a stream of electricity, and electricity is moved by magnetic fields. To fix this, move the magnet further from the weld site or switch to an AC welding process if your equipment allows it.
Can heat permanently damage my magnetic setup tools? Yes. Permanent magnets have a specific temperature limit. If they are heated beyond this point, the internal magnetic domains become disordered, and the tool will lose its holding power. Always remove magnets as soon as your tack welds are secure to prevent them from soaking up heat from the workpiece.
How do I remove the fine metal dust that sticks to my magnets? For permanent magnets, using a high-pressure air nozzle is often the best way to blow the dust off. For switchable magnets, simply turn the magnet to the “off” position, and the dust should fall off or be easily wiped away. Never use a wire brush, as this can scratch the precision surfaces.
Are switchable magnets more accurate than permanent ones? The accuracy usually depends on the machining of the housing rather than the type of magnet. However, switchable magnets are often more precise in practice because you can position them perfectly before engaging the magnetic force, whereas permanent magnets often “snap” into place, potentially shifting your alignment.
How much weight can a 50lb-rated magnet actually hold in a vertical position? In a vertical “shear” position, a magnet typically holds only about 15% to 20% of its rated breakaway pull force. If a magnet is rated for 50 lbs, it might only hold 7 to 10 lbs vertically before it starts to slide down the metal. Always use mechanical supports for heavy vertical pieces.
Does the type of metal I am welding affect the magnet’s accuracy? Absolutely. Magnets only work on ferrous metals like steel and cast iron. They will not hold aluminum, copper, or most stainless steels (though some 400-series stainless is magnetic). If the metal has a high alloy content, the magnetic grip will be weaker, increasing the risk of the joint shifting.
Should I store my magnets attached to a steel rack? It is generally better to store them with “keepers” (a piece of flat iron across the poles) or in a non-magnetic drawer. Storing them stuck to a large steel object can slowly weaken the magnetic field over many years, though for modern high-quality magnets, this is less of a concern than it was in the past.
Can I use these magnets for overhead welding setups? I strongly advise against relying solely on magnets for overhead work. The risk of a magnet sliding or failing due to heat is too high when a heavy piece of steel is hanging over you. Use magnets to help position the piece, but always use a mechanical backup or a helper to ensure the piece cannot fall.
How do I know if my magnet is “worn out”? If you notice that it no longer holds pieces as firmly as it used to, or if you can see visible gaps between the magnet and a known flat surface, it is time to replace it. You can test the pull force by hanging a known weight from it, but usually, the loss of “snap” is a clear enough indicator for most fabricators.
Does mill scale really matter that much? In my testing, heavy mill scale can reduce magnetic pull by up to 30%. It acts as an insulator and an uneven spacer. For the highest accuracy, I always grind a small “landing zone” for the magnet to ensure it sits on bright, flat metal.
By focusing on these data-driven methods and maintaining a strict shop protocol, you can turn a simple magnetic aid into a high-precision fixturing system. The key is to stop trusting the tool to do the work for you and start using it as a part of a verified, repeatable process. This approach has saved me thousands of dollars in wasted material and countless hours of frustration over the last 15 years.
(This article was written by one of our staff writers, David Reynolds. Visit our Meet the Team page to learn more about the author and their expertise.)