How to Weld a Handheld Heavy-Duty Steel Tool Box (DIY Plan)
I’ve spent thirteen years in fabrication shops and backyard garages, and if there is one thing I’ve learned, it’s that steel has a mind of its own. You can spend three hours measuring and marking your lines with a scribe, but the moment you strike an arc, the heat starts pulling that metal in directions you never intended. I remember building a heavy-duty storage chest early in my career; I welded the long seams first, and by the time I was done, the lid wouldn’t even sit flat. It was a 1/4-inch out of square because I didn’t respect the physics of weld shrinkage.
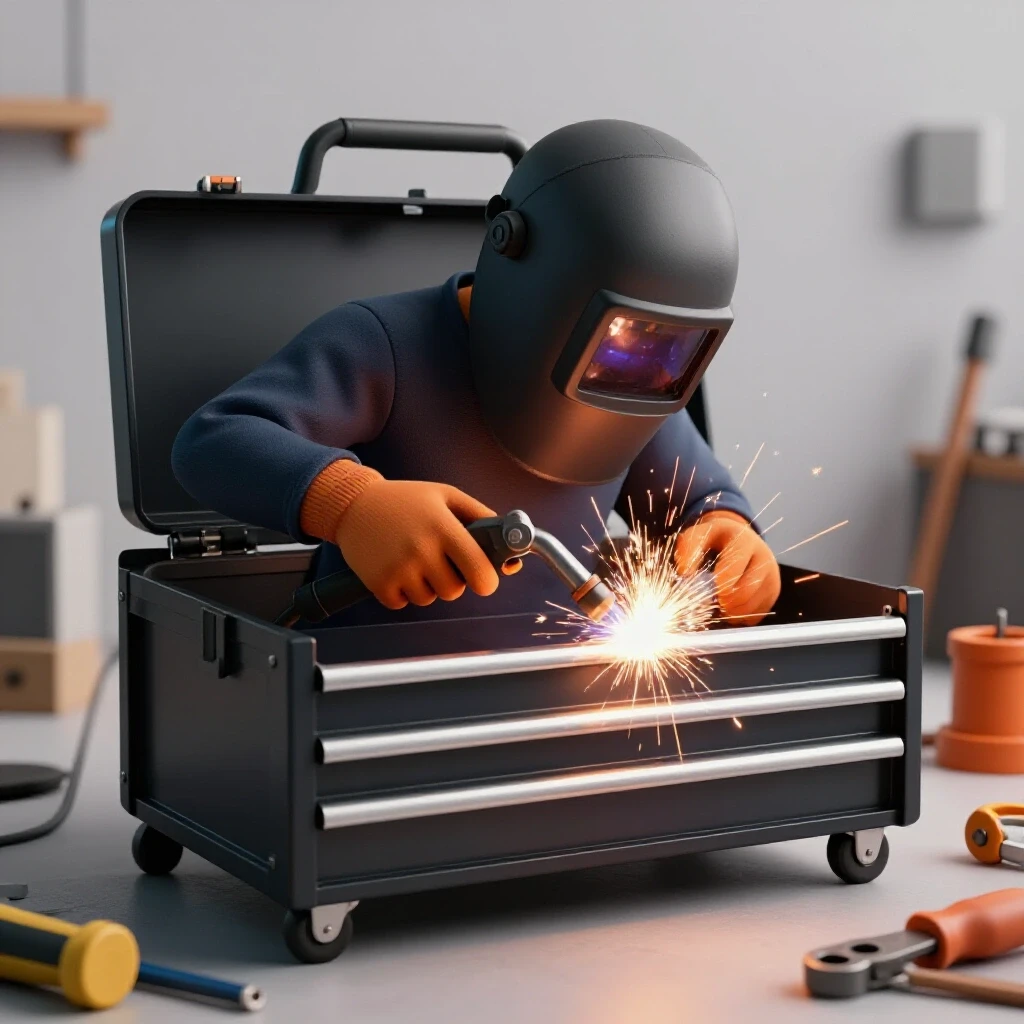
In this guide, I’m going to walk you through the process of building a rugged, professional-grade steel container designed for hand-carry use. We aren’t just sticking metal together here. We are managing heat, calculating cut losses, and using strategic sequencing to ensure the final product is as straight as the day the steel left the mill. Whether you are using a MIG or a stick welder, these principles of layout and distortion control are what separate a “garage project” from a piece of lifetime equipment.
Designing the Cut List and Calculating Kerf
Planning the layout involves more than just listing dimensions; it requires accounting for the material lost during the cutting process and the thickness of the steel itself. For a handheld project, we generally use 14-gauge or 16-gauge mild steel to balance weight with structural rigidity.
When you start your custom fabrication projects, the first mistake most builders make is ignoring the “kerf.” The kerf is the width of the material removed by your cutting tool. If you use a 1/16-inch abrasive cutoff wheel on an angle grinder, every cut eats 1/16 of an inch of your steel. If you have four cuts across a sheet, your final piece will be a quarter-inch short if you didn’t account for it.
I always suggest drawing a 1:1 scale layout on your workbench or a piece of plywood if you are unsure. For a standard heavy-duty box, you’ll need a bottom, two long sides, two short ends, and a lid. If you want the sides to sit on top of the bottom plate, you must subtract the thickness of the steel from the height of your side panels.
Material Selection and Yield Strength
Choosing the right gauge of mild steel ensures the box can handle a heavy load of wrenches or specialty tools without the bottom bowing. While 18-gauge is common for retail boxes, a custom-built version benefits from the added “meat” of 16-gauge (approximately 0.060 inches) or 14-gauge (approximately 0.075 inches).
Mild steel is the standard choice because it is forgiving, easy to weld, and has a predictable yield strength of about 36,000 psi. This means it can take a lot of abuse before it permanently deforms. When you buy your sheet, look for “Pickled and Oiled” (P&O) steel if possible; it has the mill scale removed, which makes for much cleaner welds and less prep time with the flap disc.
Accurate Square Cuts and Layout Tips
Achieving an accurate square cut is the foundation of a project that aligns correctly during the tacking phase. Even a 1-degree error on a 20-inch cut can result in a massive gap at the corner, which leads to “burn-through” or excessive weld buildup.
I use a carbide-tipped dry-cut saw or a steady hand with an angle grinder. To keep things straight, I often clamp a piece of thick angle iron to my sheet as a fence. This provides a physical guide that prevents the blade from wandering. Once the pieces are cut, I use a square to check every corner. If it isn’t square now, it will never be square after it’s welded.
Metal Kerf Allowances by Cutter Type
| Cutting Tool | Average Kerf Width | Best Use Case |
|---|---|---|
| Abrasive Cut-off Wheel (Thin) | 0.040″ – 0.060″ | General straight cuts in sheet |
| Cold Saw (Carbide Blade) | 0.090″ – 0.125″ | Precision ends and thick plate |
| Handheld Shears | 0.000″ | Thin gauge sheet (no material loss) |
| Hacksaw (18 TPI) | 0.030″ | Small detail work or notches |
Building Workshop Jigs and Fixtures
Fixtures are temporary structures or clamps used to hold workpieces in the exact position required for welding. They act as a “second set of hands” that don’t move or flinch when the heat is applied.
You don’t need a $3,000 welding table to get professional results. I often build “disposable” jigs out of scrap 1-inch angle iron. For a rectangular box, I’ll weld four pieces of angle iron onto my table in a perfect rectangle that matches the outer dimensions of the box base. This creates a “nest” where the side panels can sit. This prevents the panels from “walking” inward or outward as I apply the first few tacks.
Squaring the Base with the 3-4-5 Rule
Even if your cuts are perfect, you need to verify the assembly is square before the first arc is struck. The 3-4-5 rule is a simple geometric trick: if one side is 3 units long and the adjacent side is 4 units, the diagonal must be 5 units for the corner to be exactly 90 degrees.
For a handheld box, I usually measure the diagonals of the base. If the measurement from the front-left corner to the back-right corner is exactly the same as the front-right to the back-left, the box is square. I aim for a dimensional tolerance of +/- 1/16th of an inch. Anything more than that, and you’ll find the lid binds or the handle looks crooked.
Using Magnets and Clamps Effectively
Magnets are great for holding pieces upright, but they are notorious for “arc blow,” where the magnetic field pulls your welding arc away from the joint. I use magnets only to get the pieces into position, then I switch to C-clamps or F-clamps to lock them down.
When clamping a sheet metal box, place your clamps as close to the joint as possible without blocking your access. This physical restraint is your first line of defense against metal warping solutions. The clamp forces the steel to stay put while the weld pool cools and shrinks.
The Art of the Structural Tack Weld
A tack weld is a small, temporary weld used to hold parts in alignment before the final beads are run. It should be strong enough to resist the pull of the cooling metal but small enough to be easily ground away or welded over.
For 16-gauge steel, your tacks should be about the size of a pencil eraser. I start at the corners. If you tack the middle of a long seam first, the ends will often “butterfly” out or in. By locking the corners first, you establish the boundaries of the panel.
Tack Spacing and Sizing
On a handheld project, I space my tacks every 2 to 3 inches along the seams. This might seem like overkill, but thin sheet metal is prone to “oil-canning,” where the center of the panel pops in and out due to heat stress.
- Corner Tacks: Place these exactly at the intersection of two panels.
- Intermediate Tacks: Place these every 2.5 inches to maintain the gap.
- Tack Size: Keep them consistent. A giant tack next to a tiny one will cause uneven pulling.
Re-Checking Square After Tacking
This is the “point of no return.” Once the box is tacked, I measure the diagonals again. If the heat from the tacks pulled the box 1/8-inch out of square, I can still snap a tack with a cold chisel and reset it. If I proceed to the final weld sequencing layout without checking, the error is permanent.
I’ve had many projects where I had to “tweak” the box by hand after tacking. A quick hit with a rubber mallet can often shift a tacked assembly back into square. Once the measurements are dead-on, I add a few more tacks to “freeze” the structure in that position.
Strategic Weld Sequencing and Heat Control
Weld sequencing is the specific order in which you apply weld beads to distribute heat and minimize distortion. Instead of welding one long seam from start to finish, you jump around the project to keep the overall temperature balanced.
When you weld, the metal expands as it heats and contracts as it cools. Because the weld pool is molten, it occupies more volume than the solid steel. As it solidifies, it “pulls” the two pieces of metal toward the center of the weld. This is called angular weld shrinkage. If you weld the entire left side of the box at once, the heat will cause the left side to shrink more than the right, pulling the whole box into a trapezoid shape.
The Backstepping Technique
Backstepping is a method where you weld in the opposite direction of the overall progress. For example, if you want to weld a 12-inch seam from left to right, you start at the 3-inch mark and weld back to the beginning. Then you start at the 6-inch mark and weld back to the 3-inch mark.
This technique breaks the heat into smaller “packets.” Each small weld shrinks individually, but because they aren’t one continuous heat source, the cumulative pull on the sheet metal is significantly reduced. This is one of the most effective metal warping solutions for thin-gauge projects.
Alternating Sides to Balance Pull
I never weld two seams on the same side of the box back-to-back. If I run a bead on the front-left corner, my next bead will be on the back-right corner. This “cross-pattern” ensures that the shrinkage forces are pulling against each other, effectively canceling out the distortion.
Weld Sequencing for Distortion Control
| Step | Location | Technique | Purpose |
|---|---|---|---|
| 1 | All Corners | 1/4″ Tack Welds | Establish the “skeleton” and lock dimensions. |
| 2 | Long Seams (Bottom) | Backstepping (2″ beads) | Prevents the base from bowing upward. |
| 3 | Vertical Corners | Alternating Sides | Keeps the box from twisting into a diamond shape. |
| 4 | Handle/Hardware | Stitch Welding | Minimizes heat near moving parts like hinges. |
Integrating Handles and Latches for Durability
The handle is the most stressed part of a handheld steel container. If you just surface-weld a handle to the thin lid, the constant upward pull will eventually fatigue the metal, causing it to crack or “unzip” the weld.
I prefer to use a “load-spreading” plate. Instead of welding the handle directly to the 16-gauge lid, I weld the handle to a 1/8-inch thick strip of steel, then weld that strip to the lid. This distributes the weight across a larger surface area. For the hinges, I use small “stitch” welds—short beads about 1/2-inch long—to avoid warping the hinge pin, which would make the lid difficult to open.
Hinge Alignment and Gap Management
Aligning hinges is a common pain point. If the hinges aren’t perfectly collinear (on the same straight line), the lid will bind. I use a piece of 1/4-inch round bar or a long straightedge clamped across the back of the box to ensure both hinges are sitting on the same axis.
Leave a “nickel’s width” gap (about 0.060 inches) between the lid and the box body. This allows for the thickness of the paint and ensures that even if there is a tiny amount of heat distortion, the lid will still close smoothly.
Reinforcing the Bottom for Heavy Loads
If you plan on carrying heavy items like iron pipe fittings or lead weights, the bottom of the box needs reinforcement. I often weld two “runners” or “skids” made of 1/2-inch flat bar to the underside. This prevents the bottom sheet from sagging and provides a wear surface so the box doesn’t scratch your workbench.
Finishing Processes and Post-Weld Straightening
Even with the best sequencing, you might notice a slight bow in a long panel. Post-weld straightening is the process of using mechanical force or controlled heat to bring the project back into tolerance.
If a side panel has bowed inward, I use a “spreader” (a piece of threaded rod with nuts) to push the walls apart while I lightly tap the weld seams with a hammer. This “relieves” the internal stress in the weld. For the exterior, I use a 60-grit flap disc on an angle grinder to smooth out the corner joints. Be careful not to grind too much; you want to smooth the weld, not remove the structural metal that holds the box together.
Cleaning and Surface Prep
Welding leaves behind “spatter” (tiny balls of frozen metal) and “slag” if you are using stick or flux-core. A wire brush or a chipping hammer is essential here. Once the metal is clean, I wipe it down with acetone to remove any oils before painting.
- Step 1: Grind welds flush with a flap disc.
- Step 2: Use a wire wheel to clean hard-to-reach corners.
- Step 3: Degrease the entire surface.
- Step 4: Apply a high-quality zinc-rich primer to prevent rust.
Final Inspection Checklist
Before I call a project finished, I run through a final validation. This ensures that the time spent on accurate square cuts and weld sequencing layout actually paid off in a functional tool.
- Squareness: Check diagonals of the lid and base (+/- 1/16″).
- Lid Function: Ensure it opens to at least 90 degrees without binding.
- Weld Integrity: Inspect for “undercut” (valleys at the edge of the weld) or pinholes.
- Handle Strength: Give the handle a firm “stress test” with a dead-blow mallet.
- Flatness: Place the box on a known flat surface (like a table saw wing) to check for “rocking.”
Case Study: The “Overbuilt” Small Parts Box
I recently built a dedicated box for my mobile welding electrodes. I chose 14-gauge steel because these boxes get tossed into the back of trucks.
Build Log & Cost Tracking: * Material: 4 sq. ft. of 14-gauge mild steel ($28.00) * Hardware: 2 chest hinges, 1 draw latch, 1 heavy-duty handle ($15.00) * Consumables: 1/4 roll of MIG wire, 2 flap discs, 1/2 can of primer ($12.00) * Total Time: 4.5 hours (including layout and cleaning) * Lessons Learned: I initially tried to weld the entire bottom seam in one pass. The base warped upward by 3/16-inch. I had to use a torch to heat the opposite side to pull it back straight. On the second box, I used the backstepping technique and the base stayed within 1/32-inch of flat.
Practical Next Steps for Your Build
If you are ready to start your own project, don’t rush the layout phase. The quality of your finished work is decided before you ever turn on the welder.
- Draft your plan: Decide on your dimensions and subtract your material thickness from your side panels.
- Prep your space: Clear your workbench and ensure you have a known straightedge and a reliable square.
- Cut and Deburr: Make your cuts, account for the 1/16-inch kerf, and sand off the sharp burrs.
- Tack and Measure: Get the box into its “skeleton” form and don’t weld a single inch until those diagonals match.
- Sequence your heat: Use the backstepping method and jump from corner to corner to keep the box square.
Fabrication is a game of managing forces. By understanding how steel reacts to heat and using fixtures to hold your ground, you can build utility projects that are just as precise as something coming off a factory line.
FAQ: Common Challenges in Steel Box Fabrication
How do I prevent the bottom of the box from warping when I weld the sides?
Warping is caused by the weld pulling the metal as it cools. To prevent this, use “stitch welds” rather than one long bead. Weld 1 inch, move to the opposite side, weld 1 inch there, and let the first weld cool. Using a thick metal plate as a “heat sink” underneath your project can also help dissipate the heat.
What is the best welding process for 16-gauge sheet metal?
MIG (Metal Inert Gas) welding is generally the best for thin sheet because it allows for fine control over heat input and wire speed. However, stick welding can be done with small diameter rods (like 3/32-inch 6013) if you use a “tap-and-go” technique to avoid burning through the thin material.
My box is “rocking” on a flat table. How do I fix it?
This is caused by a twist in the base. You can often fix this by placing a small shim under the “high” corner and applying pressure to the opposite corner. If the twist is severe, you may need to lightly heat the diagonal corners with a torch and allow them to cool while clamped to a flat surface.
Why did my weld “blow through” the corner of the sheet?
Corner blow-through happens because the heat has nowhere to go at the edge of the metal. To avoid this, start your weld about 1/8-inch away from the very edge and weld toward the center, or use “tack-on-tack” welding where you build up the corner with short pulses.
Should I weld the inside or the outside of the seams?
For a handheld box, welding the outside is usually sufficient and easier to grind smooth for a professional look. If you need maximum strength, you can add small tacks on the inside corners, but a full inside bead is usually overkill and adds unnecessary heat distortion.
How do I ensure the handle is centered so the box doesn’t tilt when carried?
Find the center of gravity by placing your tools in the box (or estimating their weight). Mark the center point on the lid. When welding the handle, use a square to ensure it is perpendicular to the sides. Even a 1/4-inch offset will make the box feel awkward to carry.
What is the best way to attach a piano hinge?
Piano hinges are thin and warp easily. Instead of a continuous weld, use small “plug welds” or very short 1/4-inch tacks every two inches. This keeps the hinge functional and prevents the pin from seizing due to heat expansion.
Can I use magnets to hold the box square during welding?
Magnets are helpful for the initial setup, but they can’t resist the shrinking forces of a cooling weld. Always replace magnets with mechanical clamps (like C-clamps) before doing your final welding, as clamps provide the physical restraint needed to fight warping.
How much gap should I leave between pieces for a good weld?
For sheet metal, you generally want a “tight fit” with no gap, or a very small gap (less than 1/32-inch). A large gap requires more filler metal, which means more heat and a higher risk of warping the panels.
What’s the best way to remove mill scale before welding?
Use a flap disc (60 or 80 grit) or a clean wire wheel on an angle grinder. You only need to clean the area about 1/2-inch away from the weld joint. Clean metal leads to better penetration and much less spatter.
(This article was written by one of our staff writers, Robert Kline. Visit our Meet the Team page to learn more about the author and their expertise.)