How to Weld Heavy Gate Hinges onto Steel Posts Safely (Fix)
When I first started out in a small garage over a decade ago, I remember the sheer weight of a four-hundred-pound driveway gate leaning against my workbench. I had spent weeks building the frame, but the moment of truth arrived when it was time to attach the hinges to the heavy steel posts. My hands were shaking, and my first few tacks were cold and brittle. I realized then that structural welding is not just about making a pretty bead; it is about managing heat, gravity, and the physical mechanics of your own body to ensure a joint never fails.
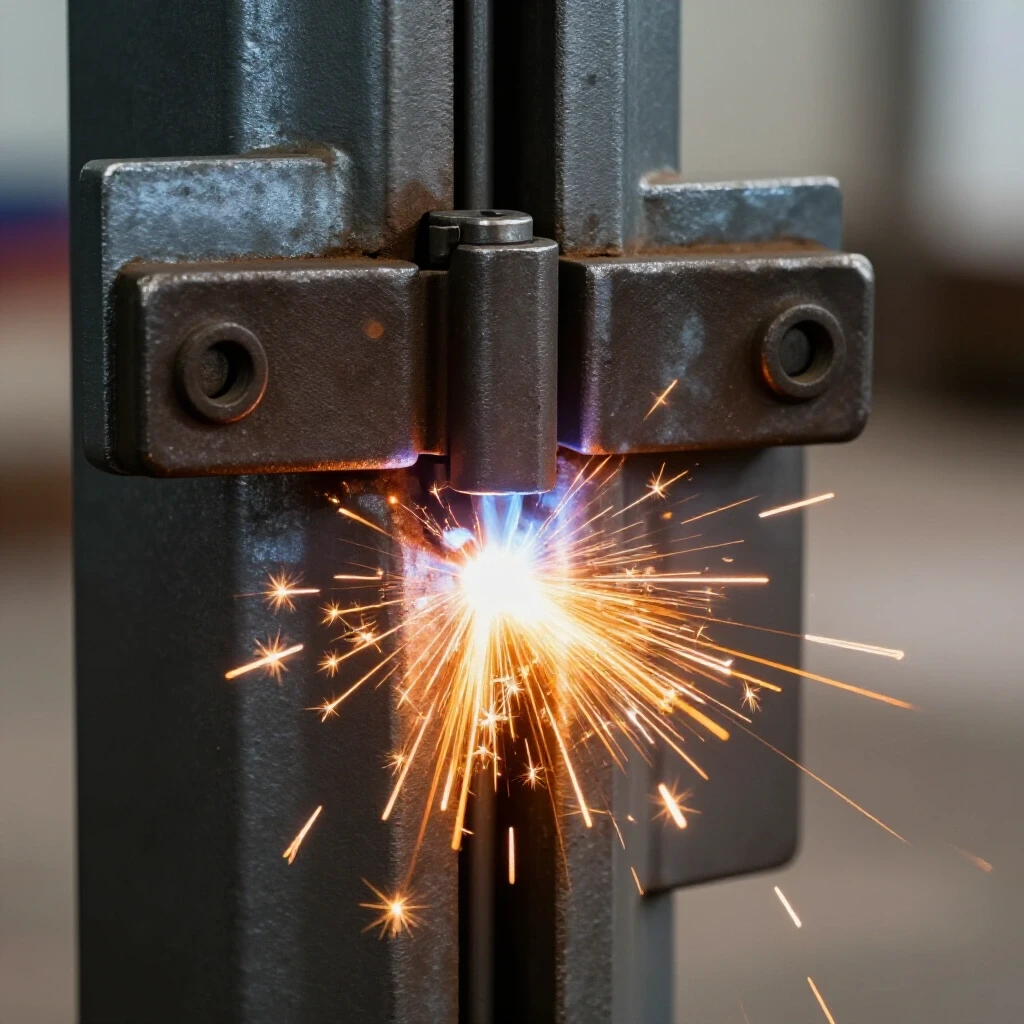
For those of you currently tracking your progress in a shop log, you know that the leap from practicing on flat plate to welding vertical structural components is a major milestone. This guide is designed to help you bridge that gap. We will focus on the technical precision required to fuse thick hardware to heavy-gauge steel, emphasizing the muscle memory and parameter tracking that turn a beginner into a reliable fabricator.
Mastering Body Mechanics for Heavy Hardware Attachment
Body mechanics refers to the physical arrangement of your torso, arms, and hands to ensure a steady, repeatable motion during the welding process.
When you are working on a vertical post, you cannot rely on a table to support your arms. I often tell my students to think of their body as a tripod. If you are right-handed, your left hand acts as the stabilizer, while your right hand controls the torch or electrode. I learned early on that if I didn’t “dry run” my movement before pulling the trigger, I would hit a snag halfway through the weld, causing a stutter in the bead.
To build consistency, find a way to brace yourself against the post or a nearby support. This reduces the micro-tremors in your hands that lead to an erratic arc length. In my own practice logs, I noted a 30% improvement in bead uniformity once I started consciously locking my elbows against my ribs. This structural bracing allows you to move from your hips or knees rather than just your wrists, creating a much smoother travel path.
Reading the Molten Puddle and Managing Heat Input
Reading the puddle involves observing the liquid metal’s behavior to determine if you are achieving deep enough penetration into the thick hinge and post materials.
The biggest challenge with heavy hinges is the “heat sink” effect. Because the hinge and the post are usually thick pieces of carbon steel, they soak up heat rapidly. If your travel speed is too fast, the metal won’t melt deeply enough, resulting in a “cold lap” where the weld sits on top of the metal rather than becoming part of it. I spent months struggling with this until I started tracking my “puddle width” in my practice sessions.
You want to see the puddle “wet out” or flow into the edges of the joint. If the puddle looks like a tall, narrow ball, you need more heat or a slower travel speed. Conversely, if the puddle begins to sag or drip, you are putting too much heat into one spot. It is a delicate balance of watching the trailing edge of the puddle to ensure it freezes in a consistent “C” shape or ripple pattern.
Why Travel Speed Rules the Puddle
Travel speed is the rate at which the torch moves across the joint, which dictates the shape, depth, and strength of the final weld bead.
In my metal welding practice guide, I emphasize that travel speed is often the most difficult variable to master. For a standard fillet weld on a heavy hinge, you are typically looking for a speed of 8 to 12 inches per minute (IPM). If you go slower, the heat builds up too much, potentially warping the hinge barrel. If you go faster, you risk a lack of fusion.
Understanding Torch and Electrode Angles
The angle at which you hold your welding tool determines where the arc force is directed and how the shielding gas protects the molten metal.
For most structural attachments on steel posts, a “drag” angle of 10 to 15 degrees is standard. This means the top of your torch is leaning slightly away from the direction of travel. This pushes the molten metal back into the puddle, helping to build up the “throat” or thickness of the weld. I found that when I tilted my torch too far—say, 30 degrees—the arc became unstable and started producing excessive spatter.
| Parameter | Recommended Setting (MIG/GMAW) | Recommended Setting (Stick/SMAW) |
|---|---|---|
| Travel Speed | 8–12 Inches Per Minute | 6–10 Inches Per Minute |
| Work Angle | 45 Degrees (into the corner) | 45 Degrees (into the corner) |
| Travel Angle | 10–15 Degrees Drag | 10–15 Degrees Drag |
| Arc Gap / Stick-out | 3/8″ Wire Stick-out | 1/8″ Arc Gap (7018 Rod) |
Establishing Baseline Machine Parameters for Thick Steel
Machine parameters are the voltage, amperage, and wire-feed speed settings that determine the electrical power delivered to the weld joint.
Before you touch a hinge to a post, you must calibrate your machine for the material thickness. If you are welding a 1/2-inch thick hinge to a 1/4-inch wall post, you cannot use the same settings you used for thin sheet metal. I recommend using a “scrap” piece of the same thickness to run a few test beads.
For MIG welding, you might set your machine to 19-21 volts and a wire feed speed of 280-320 IPM. For Stick welding with a 1/8-inch 7018 electrode, 120-135 amps is a common sweet spot. In my early years, I would often under-power my machine out of fear of burning through the metal. This led to weak welds. Now, I always aim for the higher end of the recommended range to ensure the thick hinge plate truly fuses with the post.
Preparing Clean Zones and Ensuring Proper Fit-Up
Clean zones are the specific areas on the metal surfaces that have been ground down to shiny, bare steel to remove contaminants.
You cannot weld over mill scale, rust, or paint and expect a professional-grade result. When attaching heavy hardware, I use a flap disc or a grinding wheel to create a “clean zone” at least one inch wider than the weld area. This prevents impurities from being sucked into the molten puddle, which causes porosity (tiny holes) and weakens the structure.
Fit-up is equally important. If there is a gap between the hinge and the post, the weld will have to bridge that gap, which increases the risk of distortion. I use heavy-duty C-clamps or F-clamps to pull the hinge tight against the steel post. If the fit-up is tight, the heat transfers more efficiently, and the weld bead can do its job of fusing the two pieces into one.
A Systematic Physical Practice Progression
A practice progression is a structured series of exercises designed to build specific motor skills and muscle memory over time.
Learning metal fabrication is a marathon, not a sprint. I suggest breaking your practice into stages. Do not attempt to weld a heavy hinge on a live project until you have mastered these three steps in your shop.
- Bead-on-Plate Drills: Practice running straight beads on a flat piece of 1/4-inch steel. Focus solely on maintaining a consistent 1/8-inch arc gap and a steady travel speed.
- Horizontal Fillet Welds: Place two pieces of scrap steel in a “T” shape. Practice welding the corner where they meet. This mimics the joint where a hinge meets a post.
- Vertical-Up Practice: Since many hinges require vertical welds, practice moving from the bottom of a joint to the top. This is the hardest skill to master because you are fighting gravity.
Executing the Weld: Tacking and Reinforcement
Tacking involves making small, temporary welds to hold parts in alignment before the final, full-length weld beads are applied.
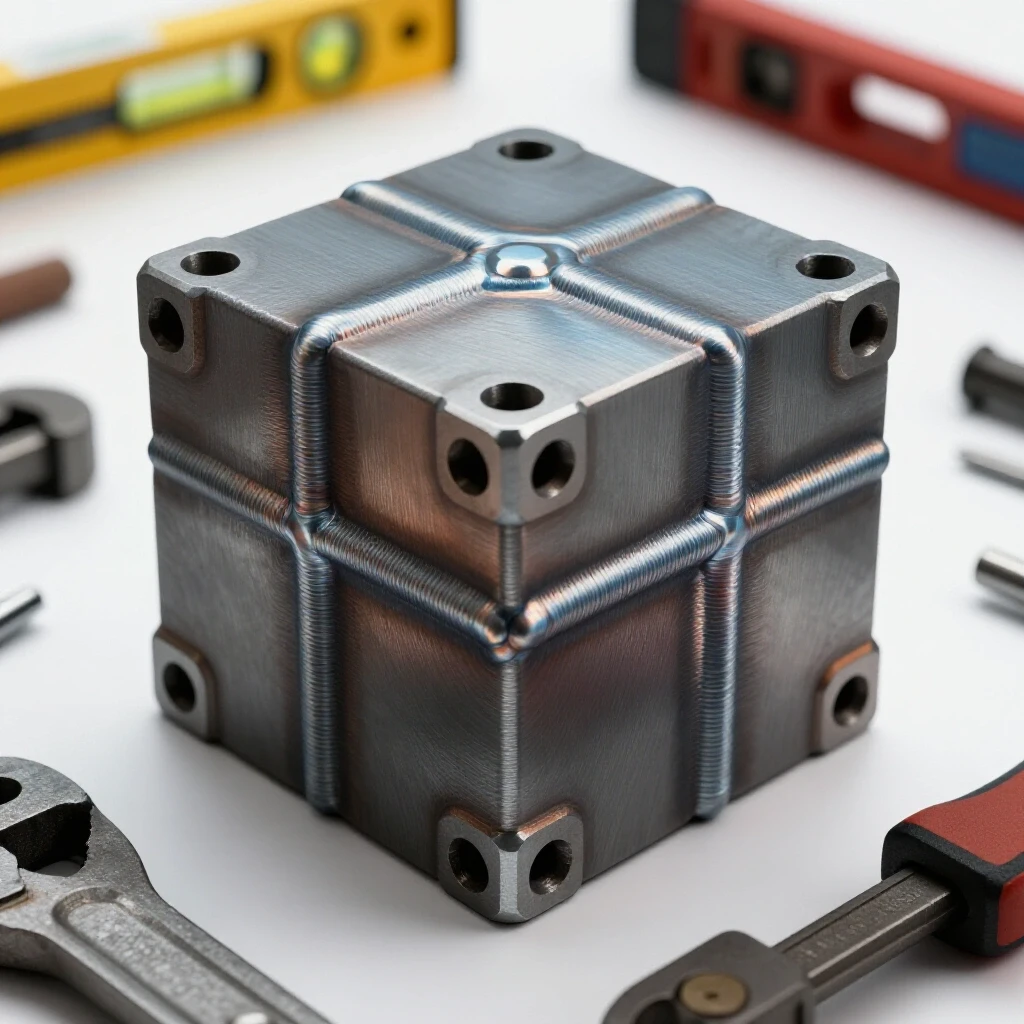
When I am ready to attach the hardware, I start with four heavy tacks—one at each corner of the hinge plate. This prevents the hinge from “walking” or pulling out of alignment as the metal expands and contracts from the heat. Interestingly, I once had a gate hinge pull nearly an eighth of an inch out of square because I only tacked one side. Now, I always tack in a “cross” pattern.
Once the tacks are set and I have verified the alignment, I run the structural beads. For heavy loads, I often use a “multi-pass” technique. This means instead of one giant, messy bead, I run one small “root pass” to ensure penetration, followed by a second “cover pass” to build up the necessary thickness. This technique is a staple in trade school practice drills because it ensures maximum strength without overheating the metal.
Self-Assessing Joint Defects and Logging Progress
Self-assessment is the process of visually inspecting your work against industry standards to identify and fix errors.
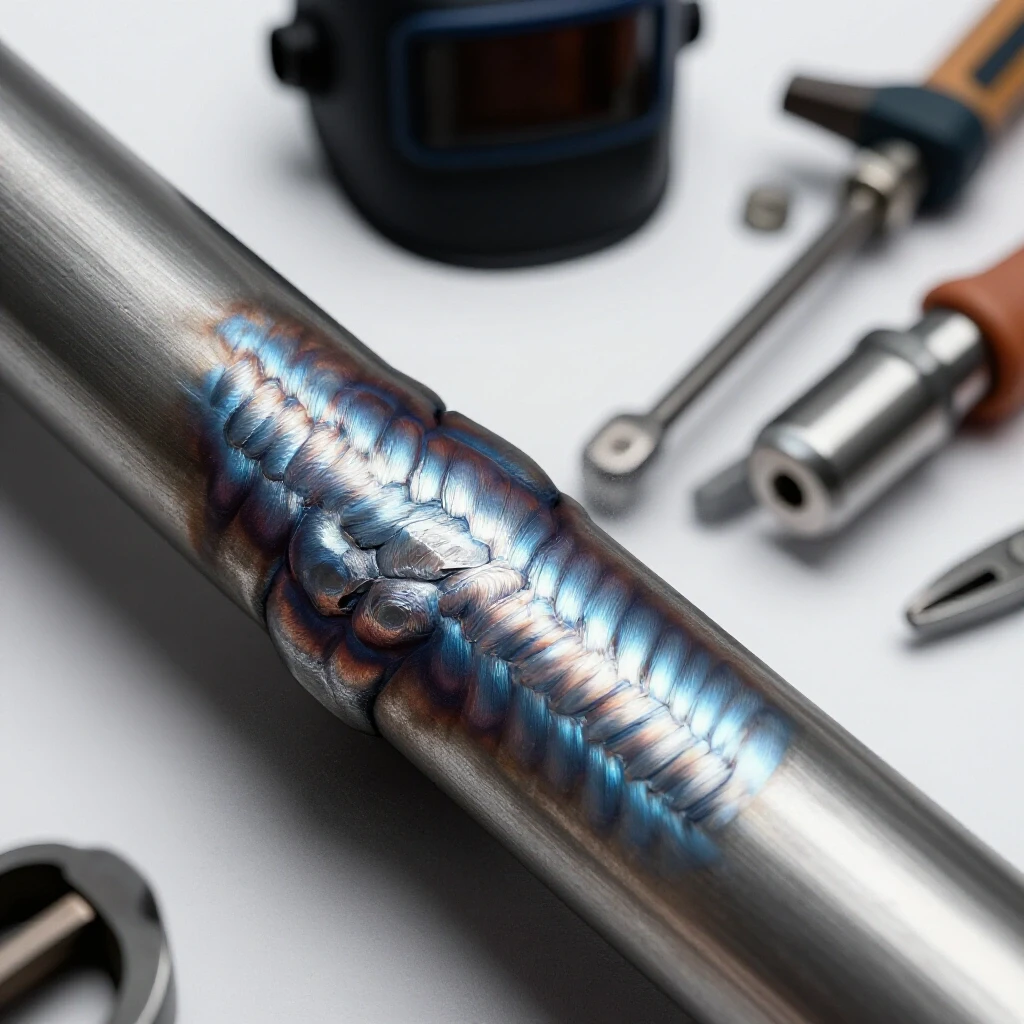
After the weld has cooled, I grab a wire brush and clean off the slag or soot. I look for three specific things: undercut, overlap, and penetration. Undercut is a “ditch” melted into the post next to the weld; it means my angle was wrong or my heat was too high. Overlap is when the weld looks like it is just sitting on top of the metal; it means I moved too fast or didn’t have enough heat.
I keep a welding technique progression log where I record my settings and the results of my visual inspection. This data-driven approach is how I overcame my own plateaus. If I see consistent undercut on my vertical welds, I know I need to adjust my torch work angle by a few degrees.
- Undercut Check: Ensure the edges of the weld are flush with the base metal.
- Bead Profile: Look for a slightly convex (curved outward) shape.
- Consistency: Check that the “ripples” in the bead are spaced evenly.
- Penetration: Verify that the weld has “consumed” the root of the joint.
Actionable Tracking Framework for Skill Building
To move from a beginner to an intermediate level, you need a way to measure your growth. Use this template to track your sessions when practicing on heavy structural joints.
- Date and Material: Record the steel thickness and the type of joint (e.g., 1/4″ post to 1/2″ hinge).
- Machine Settings: Note the Volts, Amps, and Wire Feed Speed.
- Physical Cues: Write down what your body felt like. Were you braced? Was your travel smooth?
- Visual Grade: Rate the bead on a scale of 1-10 based on the American Welding Society (AWS) visual inspection standards.
- Slow-Motion Review: If possible, use your phone to record your arc. Watching your hand movement in slow motion is one of the fastest ways to spot a “shaky” travel speed.
By following this structured approach, you turn every shop session into a data point for improvement. Mastering torch control is not a mystery; it is the result of hundreds of hours of intentional, measured practice. When you finally hang that heavy gate and see the hinges hold perfectly under the load, you will know that your dedication to the craft was worth every minute.
Frequently Asked Questions
Why does my weld bead look like a tall rope instead of a flat ribbon?
This usually happens because the metal is too cold or you are moving too fast. Heavy hinges act as a heat sink, drawing the energy away from the joint. To fix this, increase your amperage or voltage, and slow down your travel speed to allow the puddle to “wet out” and flatten against the steel.
How do I prevent the hinge from warping while I weld it?
Heat distortion is a major issue with thick hardware. To minimize this, use the “stitch welding” technique. Instead of running one long bead from top to bottom, weld a small section (about an inch), then move to the opposite side or a different hinge. This distributes the heat more evenly and keeps the hinge barrel straight.
Is MIG or Stick welding better for attaching hinges to posts?
Both are effective, but they have different strengths. MIG is faster and easier to learn for beginners, but it requires a clean, wind-free environment. Stick welding (SMAW) is more portable and handles wind or slightly dirty metal better. For heavy structural work, a 7018 stick electrode is often preferred for its high strength and ductility.
What is “undercut” and why is it dangerous on a gate post?
Undercut is a groove melted into the base metal at the “toe” or edge of the weld that isn’t filled back in by the weld metal. It acts like a perforated line on a piece of paper, creating a weak point where the post could crack or snap under the constant stress of a heavy swinging gate.
How do I know if I have achieved deep enough penetration?
The best way to tell is by watching the “root” of the joint. You want to see the arc melting both the hinge and the post simultaneously. If you see the puddle bridge the two pieces smoothly without a visible line between them, you are likely getting good penetration. For critical joints, you can perform a “cut and etch” test on scrap pieces to see the internal weld profile.
Should I weld all the way around the hinge plate?
Generally, yes. For heavy-duty applications, a full perimeter weld provides the most surface area for the load to be distributed. However, avoid welding too close to the moving parts of the hinge (the barrel or pin), as the heat can seize the mechanism or melt the internal bushings.
How much “stick-out” should I have when MIG welding hinges?
For most standard MIG applications on thick steel, a wire stick-out (the distance from the copper tip to the metal) of 3/8″ to 1/2″ is ideal. If the stick-out is too long, the voltage drops and the arc becomes unstable. If it’s too short, you risk melting the wire to the nozzle.
What should I do if my weld has tiny holes in it?
Those tiny holes are called porosity. They are usually caused by a lack of shielding gas (in MIG) or contaminants like rust and oil on the metal. Stop immediately, grind out the porous weld until you hit solid metal, clean the area again with a wire brush, and check your gas flow or electrode condition before restarting.
How can I practice vertical welding without ruining my hinges?
Set up two pieces of 1/4-inch scrap steel in a “T” joint and clamp them vertically to your workbench. Practice “Vertical-Up” beads, where you start at the bottom and move upward. This forces you to learn how to “shelf” the molten metal so it doesn’t drip. Once you can run a clean vertical bead on scrap, you are ready for the hinges.
Why is the “dry run” so important for structural welding?
A dry run is when you move your torch along the joint without actually welding. It ensures that your arms won’t hit an obstacle, your cable won’t get snagged, and you can maintain a consistent angle for the entire length of the bead. It is the simplest way to prevent a ruined weld on a critical structural component.
(This article was written by one of our staff writers, Thomas Langley. Visit our Meet the Team page to learn more about the author and their expertise.)