How to Weld Strong Folding Steps on Utility Trailers (Fix)
I have spent over 13 years in prototype shops and home garages. I have seen countless projects start with a perfect set of measurements only to end up crooked. There is a specific kind of frustration that comes when you weld a set of retractable access points onto a trailer, and they refuse to fold because the heat pulled the metal out of alignment. I remember my first major trailer build where I ignored weld sequencing. I ended up with a step that required a sledgehammer to move. That experience taught me that fabrication is not just about sticking metal together. It is about managing heat and predicting how steel will move.
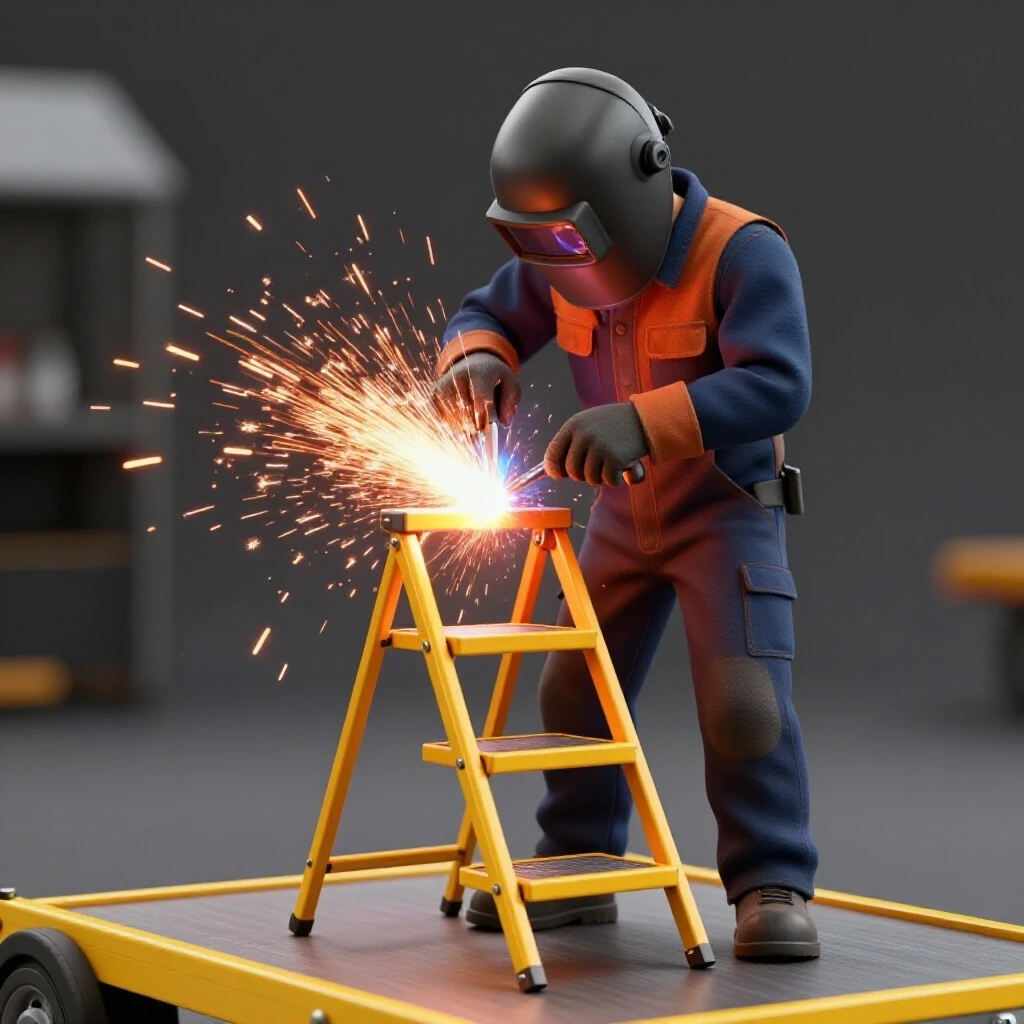
When you are building custom fabrication projects, you are fighting physics. Metal expands when it gets hot and shrinks as it cools. If you do not account for this, your folding mechanisms will bind, and your square corners will turn into trapezoids. This guide focuses on the technical reality of building durable, hinged platforms for your utility equipment. We will look at how to maintain tight tolerances, how to sequence your welds to prevent warping, and how to ensure your pivot points stay perfectly parallel.
Designing Accurate Cutting Lists and Layouts
A cutting list is a detailed inventory of every piece of metal needed for a project, including exact lengths and angles. Accurate layouts are the foundation of any project where moving parts must align across a wide span.
If you start with inaccurate cuts, you are compounding errors before you even turn on the welder. I always aim for a dimensional tolerance of +/- 1/16th of an inch. For a folding step system, even a small error in length can cause the hinge to sit at an angle. This puts side-load on the pivot pin, which leads to premature wear or a stuck step.
When I plan my cuts, I always account for the kerf. The kerf is the width of the material that the saw blade turns into dust. If you use a standard abrasive chop saw, your kerf is likely 1/8 of an inch. If you measure and cut on the line rather than beside it, your part will be 1/8 of an inch too short. Over four cuts, you have lost half an inch.
- Step 1: Measure the trailer frame height and determine the ideal step drop.
- Step 2: Draw the assembly on a flat surface or use a digital design tool.
- Step 3: List every component: the step tread, the swing arms, and the mounting brackets.
- Step 4: Calculate the total material needed, adding 10% for waste.
Calculating Kerf Allowances for Different Tools
Kerf allowance is the specific amount of material thickness lost during the cutting process. Knowing this value allows you to adjust your measurement marks so the final part matches your blueprint exactly.
I have found that many builders overlook this, leading to gaps that are too wide to fill with a weld. A wide gap requires more heat to fill, and more heat means more warping. Below is a table I use to track how much material I lose depending on the tool I am using.
| Cutting Tool Type | Typical Kerf Width | Precision Level |
|---|---|---|
| Abrasive Chop Saw | 1/8″ to 5/32″ | Low (Heat and Flex) |
| Cold Saw (Steel Blade) | 3/32″ to 1/8″ | High (Cool and Square) |
| Plasma Cutter (Handheld) | 1/16″ to 3/32″ | Medium (Depends on Speed) |
| Portable Band Saw | 1/32″ to 1/16″ | High (Slow but Accurate) |
| Angle Grinder (1mm Disc) | 0.040″ to 0.045″ | Medium (User Dependent) |
Selecting Materials for Structural Hinged Systems
Material selection is the process of choosing the right steel shapes and thicknesses to handle the intended load. For trailer access, the steel must support a person’s weight plus a safety factor for bouncing or impact.
I generally use 1.5-inch square tubing with an 11-gauge (1/8 inch) wall thickness for the main frame of the step. It offers a great balance between weight and strength. For the mounting brackets that weld directly to the trailer, I step up to 3/16-inch or 1/4-inch flat bar. This thicker material acts as a “heat sink,” which helps prevent the thinner trailer frame from blowing through during the welding process.
- Main Frame: 1.5″ x 1.5″ x 1/8″ Square Tubing.
- Pivot Brackets: 2″ x 1/4″ Flat Bar.
- Step Tread: Expanded metal or “Grip Strut” for slip resistance.
- Pivot Pins: 1/2″ or 5/8″ Grade 8 bolts or cold-rolled round bar.
Why Material Yield Strength Matters
Yield strength is the amount of stress a metal can take before it permanently deforms. For most DIY projects, we use A36 mild steel, which has a yield strength of about 36,000 psi.
When you are standing on a step that is cantilevered out from the trailer, the leverage increases the stress on your welds and the pivot points. I always design for a 300-pound load with a 4:1 safety factor. This means the structure is technically capable of holding 1,200 pounds before failing. This overhead accounts for the “dynamic load” of someone jumping onto the step or the metal weakening slightly in the heat-affected zone (HAZ) around your welds.
Understanding Weld Shrinkage and Metal Warping
Weld shrinkage is the natural contraction of the weld pool as it transitions from liquid to solid. This force is strong enough to bend thick steel plates and pull square frames out of alignment.
When you lay a bead, the molten metal is at its maximum volume. As it cools, it pulls the surrounding base metal toward the center of the weld. In custom fabrication projects, this is often called “draw.” If you weld only one side of a joint, the metal will “tepee” or pull toward the weld. To fix this, you must understand the precise order to lay your beads to balance these pulling forces.
- Transverse Shrinkage: Pulls across the weld bead.
- Longitudinal Shrinkage: Pulls along the length of the weld bead.
- Angular Distortion: Causes a 90-degree joint to close up to 87 or 88 degrees.
Managing the Heat Affected Zone (HAZ)
The Heat Affected Zone is the area of base metal that did not melt but had its microstructure changed by the heat. This area is often where failures occur because the metal can become more brittle.
I minimize the HAZ by using “stitch welding” rather than long, continuous passes. For a trailer step, a series of 1-inch welds is often stronger than one long 4-inch bead because it keeps the overall temperature of the part lower. This reduces the total amount of shrinkage and keeps the hinge pins aligned.
Building Workshop Jigs and Fixtures for Alignment
Workshop jigs are temporary structures or clamps used to hold parts in the exact position required for assembly. They act as a second set of hands that never gets tired or moves.
For a folding step, the most critical alignment is the relationship between the two pivot points. If one hinge is 1/8-inch higher than the other, the step will bind. I build a simple fixture using a piece of scrap C-channel or a heavy angle iron. I clamp both hinge brackets to this straight edge before I ever touch them to the trailer. This ensures they stay on the same plane.
- Level the Trailer: Use a spirit level to ensure the trailer frame is perfectly horizontal.
- The Spreader Bar: Use a piece of threaded rod or a long bolt through both hinge holes to keep them perfectly centered.
- Clamp Heavily: Use C-clamps or F-clamps every 6 to 8 inches to prevent the metal from “walking” during tacking.
- Tack Weld Spacing: Place small tacks at the corners, approximately 1/4-inch in diameter.
Fixturing Span Recommendations
The distance between your clamps depends on the thickness of the material. Thinner material warps more easily and requires more frequent clamping.
| Material Thickness | Maximum Clamp Spacing | Recommended Tack Size |
|---|---|---|
| 1/8″ (11ga) | 4 to 6 inches | 1/8″ to 3/16″ |
| 3/16″ | 6 to 8 inches | 1/4″ |
| 1/4″ and up | 10 to 12 inches | 5/16″ |
Executing the Weld Sequencing Layout
Weld sequencing is the strategic order of operations for laying beads. By jumping from one side of a joint to the other, you allow the cooling forces to cancel each other out.
I never finish a weld in one go. If I am welding a square tube to a flat plate, I tack all four corners. Then, I weld the top-left side, move to the bottom-right side, then the top-right, and finally the bottom-left. This “cross-pattern” is the same logic used when tightening lug nuts on a car wheel. It distributes the stress evenly.
- Tack: Place four small tacks around the joint.
- Check: Verify squareness with a machinist square.
- Sequence: Weld opposite sides in short bursts.
- Cool: Let the part air cool; never quench it with water, as this causes extreme brittleness.
The Impact of Tack Weld Sizing
A tack weld must be strong enough to hold the part but small enough to be consumed by the final weld bead. If your tacks are too large, they create “humps” in your final weld.
I usually make my tacks about twice as long as the material is thick. For 1/8-inch tubing, a 1/4-inch tack is perfect. If a tack cracks while you are welding the other side, it means the shrinkage forces are winning. Stop, reclamp, and add a larger tack or a temporary bridge piece of scrap steel to hold the gap.
Reinforcing Hinge Points and Pivot Joints
Hinge reinforcement is the addition of extra steel to the pivot area to prevent the holes from “egging out” or ovalizing over time. This is a common failure point in DIY trailer steps.
I like to use “doubler plates.” These are small circles or squares of 3/16-inch steel welded over the pivot hole. This doubles the surface area that the bolt or pin rides on. Another professional trick is to weld a short piece of DOM (Drawn Over Mandrel) tubing inside the square tube. This acts as a bushing and provides a much smoother folding action.
- Drill Oversize: Drill the hole in the square tubing 1/16-inch larger than your bolt.
- Insert Bushing: Slide a piece of DOM tubing into the hole.
- Weld Bushing: Weld the ends of the tubing to the outside of the square tube.
- Grind Flush: Use a flap disc to make the weld flush so the hinge brackets can slide over it.
Correcting Heat Distortion and Alignment Issues
Even with the best planning, metal sometimes moves. Correcting heat distortion involves using controlled heat or mechanical force to pull the part back into the correct shape.
If your step assembly has bowed, you can use “flame straightening.” This involves heating a small triangular area on the opposite side of the warp. As that hot spot cools, it shrinks and pulls the metal back. However, for most garage builders, a large bench vise or a hydraulic press is a safer way to “cold work” the piece back into alignment.
- The “Vise Squeeze”: If a hinge is too tight, put a spacer in the gap and squeeze the bracket in a vise to spread it slightly.
- Relief Cuts: In extreme cases, you may need to cut a small slit halfway through a weld, bend the part back to square, and re-weld the gap.
- The Big Hammer: Sometimes, a few well-placed strikes with a 4-pound dead-blow hammer can move a part 1/16th of an inch without damaging the surface.
Final Assembly and Fitment Check
The final stage is where you verify that all your metal layout tips and sequencing have paid off. This is the moment of truth for any retractable system.
Before I paint or finish the project, I do a “dry fit.” I install the pins or bolts and cycle the step through its full range of motion. I am looking for any rubbing, binding, or “spring back.” If the step stays up by itself but is hard to pull down, the hinges are likely out of parallel. I use a digital protractor to check the angle of each bracket relative to the trailer frame.
- Clean the Joints: Use a wire wheel to remove all weld spatter.
- Lubricate: Apply a small amount of anti-seize or grease to the pivot pins.
- Test Load: Slowly apply weight to the step while watching the welds for any signs of stress or cracking.
- Deburr: Ensure all edges are rounded off to prevent injury when using the step.
Actionable Framework for Your Build
To keep your project on track, use this checklist for every custom fabrication project involving moving parts.
- Blueprint Phase:
- Verify trailer frame thickness.
- Confirm step height (usually 8-12 inches from the ground).
- Calculate kerf for your specific saw.
- Layout Phase:
- Clean all mill scale from the weld zones using a flap disc.
- Scribe lines with a carbide scriber for better accuracy than a marker.
- Build a spreader bar for the hinge brackets.
- Welding Phase:
- Tack all corners and verify squareness (+/- 1 degree).
- Follow a cross-pattern weld sequence.
- Limit weld beads to 1-inch increments to control heat.
- Quality Control:
- Check for “draw” after every two welds.
- Verify pivot pin alignment with a straight edge.
- Ensure the step clears the trailer tires and ground when folded.
Conclusion
Building a set of durable, folding access points for your utility trailer is a masterclass in heat management. By focusing on accurate square cuts and a disciplined weld sequencing layout, you can avoid the common pitfalls of metal warping. Remember that fabrication is as much about the preparation as it is about the actual welding. Take the time to build workshop jigs, respect the kerf, and always check for square after your tacks.
Your next step is to measure your trailer frame and create your cutting list. Start small, focus on your tolerances, and don’t be afraid to cut a tack and start over if the alignment isn’t right. The more you practice these structural principles, the more professional and reliable your custom builds will become.
FAQ: Welding Retractable Trailer Steps
Why does my folding step bind after I finish welding? This is almost always caused by angular distortion. As the welds on the hinge brackets cooled, they pulled the brackets inward or outward. Even a 1-degree tilt over a 12-inch span can cause a pivot pin to bind. To prevent this, use a spreader bar (a bolt or threaded rod) between the brackets during welding to keep them perfectly parallel.
Should I use MIG or Stick welding for this project? MIG (Metal Inert Gas) is generally better for this because it allows for lower heat input and better control on thinner tubing. Stick welding can work, especially on the thicker trailer frame, but it produces more heat and a larger HAZ, which increases the risk of warping.
How do I calculate the pivot point so the step clears the frame? You need to account for the “swing radius.” Measure the distance from the center of your pivot pin to the furthest corner of your step. Ensure this distance is less than the clearance between the pin and the trailer frame. I often use a cardboard template to test the swing before cutting any steel.
What is the best way to prevent the pivot holes from wearing out? Mild steel is relatively soft. To prevent the holes from becoming oval-shaped, weld a “doubler plate” (a second layer of steel) or a DOM steel bushing into the pivot area. This increases the bearing surface and significantly extends the life of the hinge.
How many tack welds do I need per joint? For 1.5-inch square tubing, I recommend four tacks—one on each corner. This locks the part in three dimensions. If you only tack two sides, the part can still “hinge” on those tacks and pull out of square as you lay your first bead.
Can I fix a step that has already warped? Yes, but it takes effort. You can use a hydraulic jack to “over-bend” the part back into position, or use a torch to heat the opposite side of the warp. If the warp is in the hinge, you may need to grind out the welds, realign with a jig, and re-weld using a better sequence.
What gap should I leave between the step and the mounting brackets? I recommend a 1/16-inch to 1/8-inch total gap (1/32-inch on each side). This provides enough clearance for paint and a little bit of wiggle room for thermal expansion without making the step feel loose or “clunky.”
How do I ensure both steps are at the same height? Don’t measure from the ground, as the ground is rarely level. Measure from the top of the trailer frame down to the pivot point. Use a set of locking pliers to hold both brackets at the exact same measurement before tacking.
What grade of bolt should I use for the hinge? Use Grade 8 bolts. They have higher shear strength and are less likely to bend or snap under the dynamic load of someone stepping onto the platform. Always use a nylon-insert lock nut (Nyloc) so the vibration of the trailer doesn’t loosen the hinge.
How do I stop the step from rattling while driving? You can weld a small “stop” or tab that the step rests against when folded. Adding a rubber bumper or a heavy-duty spring pin (plunger) will keep tension on the assembly and silence the metal-on-metal noise.
(This article was written by one of our staff writers, Robert Kline. Visit our Meet the Team page to learn more about the author and their expertise.)