Safe Welding Spark Shield Positioning in Garage Shops (Tips)
I have spent 15 years chasing gremlins in fabrication shops. Some days, the problem is a visible crack in a weld. Other days, it is a ghost in the electrical system that causes a motor to stutter only when the humidity hits 60 percent. In a garage setting, these issues are amplified because space is tight and every square inch counts. When you are troubleshooting a machine error or a weld defect, you are not just looking at the tool. You are looking at the entire environment. I have learned that if your workspace is not controlled, your data will be flawed. A major part of that control involves managing where your molten debris lands while you work in a 10 to 20-foot area.

Early in my career, I ignored the “peripheral” factors. I thought if I dialed in my wire feed speed and voltage, the rest would take care of itself. I was wrong. I once spent a full afternoon diagnosing what I thought was shielding gas contamination. The weld was popping and throwing heavy spatter everywhere. It turned out that my work area was so cluttered that I had placed my spatter barriers at an angle that bounced drafts back into the weld pool. This experience taught me that the way we position our protective barriers is not just about safety. It is a critical variable in the diagnostic process. If you cannot control the arc spray, you cannot accurately assess the quality of your work or the health of your machinery.
Establishing a Diagnostic Framework for Garage Fabrication
A diagnostic framework is a structured method used to isolate variables and identify the root cause of a mechanical or metallurgical failure. In a small shop, this means looking at how your setup affects your results.
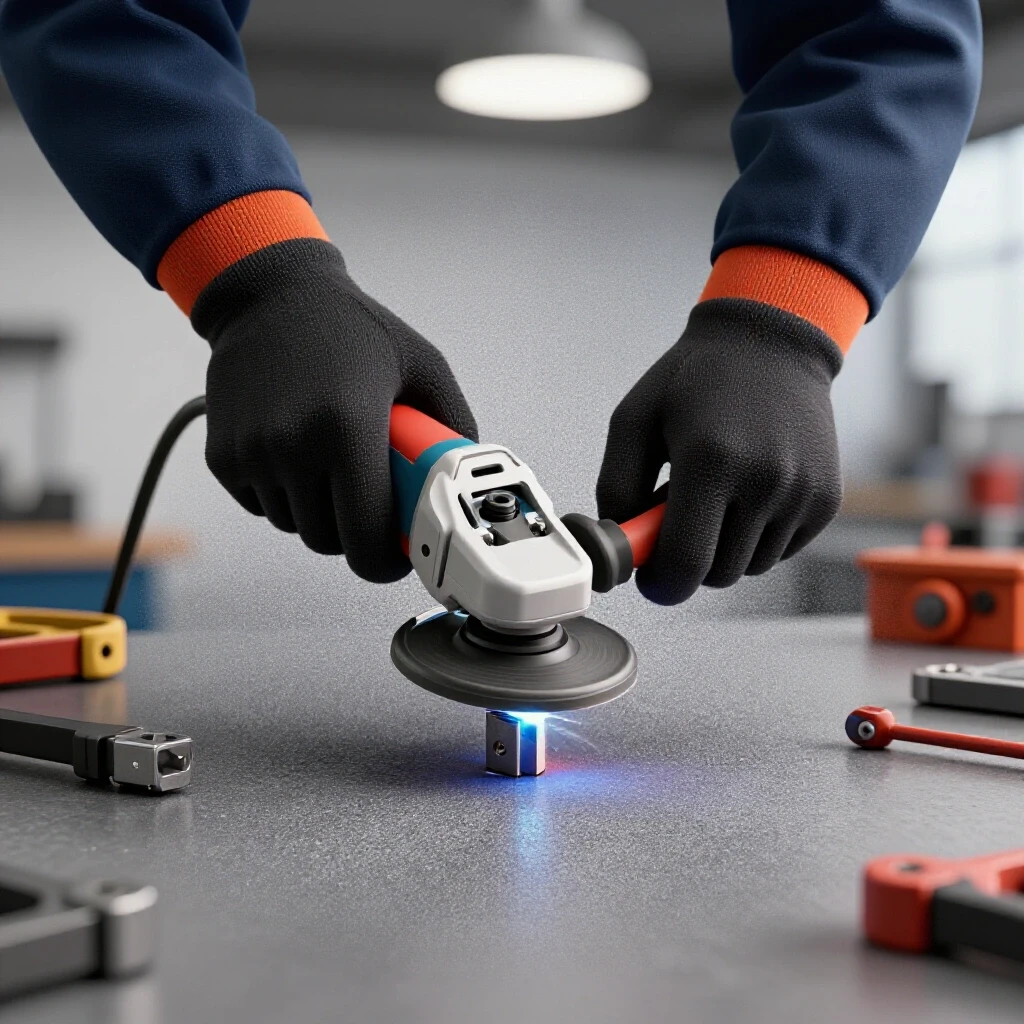
When I walk into a garage to help someone fix a recurring weld defect, I start with observation. I look at the physical layout. Most residential garages are 400 to 600 square feet. Within that space, you likely have lumber, solvents, or cardboard. If you are troubleshooting a weld that is throwing excessive sparks, your first step is isolating those sparks. This is not just for fire prevention. It allows you to see the arc clearly and hear the “bacon sizzle” of a good weld without worrying about the pile of sawdust 10 feet away.
- Observation: Note the direction and distance of molten travel.
- Isolation: Use barriers to limit the “hot zone” to a manageable 3 to 5-foot radius.
- Variable Control: Move combustibles like solvents or dry wood outside the 20-foot line if possible.
Building on this, I always check the mechanical baseline of the equipment. If your welder is surging, it might be a power issue or a drive roll problem. But if you are constantly moving your shielding to see what you are doing, you might be tugging on the lead. This creates inconsistent wire tension. By systematically positioning your barriers to maintain a clear line of sight and lead mobility, you eliminate a common “human factor” variable in your troubleshooting.
Managing Molten Debris Trajectories to Protect Garage Assets
Molten debris management is the practice of using physical barriers to intercept and redirect sparks away from sensitive materials and toward the floor. In a 20-foot garage, this requires precise angling and distancing.
In my repair logs, I have noted that most “unexplained” shop fires or equipment damage come from “stray” sparks. These are the ones that bounce off a table and find a gap in a shelf. When you are diagnosing why a weld is messy, you are often dealing with high-velocity spatter. If you place a shield too close to the arc—less than 12 inches—you lose your ability to move the torch freely. This ruins your weld quality. If you place it too far—more than 5 feet—the sparks can arc over or under the barrier.
| Welding Process | Typical Spatter Distance (Unshielded) | Recommended Shield Distance |
|---|---|---|
| MIG (Short Circuit) | 10–15 feet | 18–24 inches |
| MIG (Spray Transfer) | 5–8 feet | 24–36 inches |
| Stick (SMAW) | 15–25 feet | 12–18 inches |
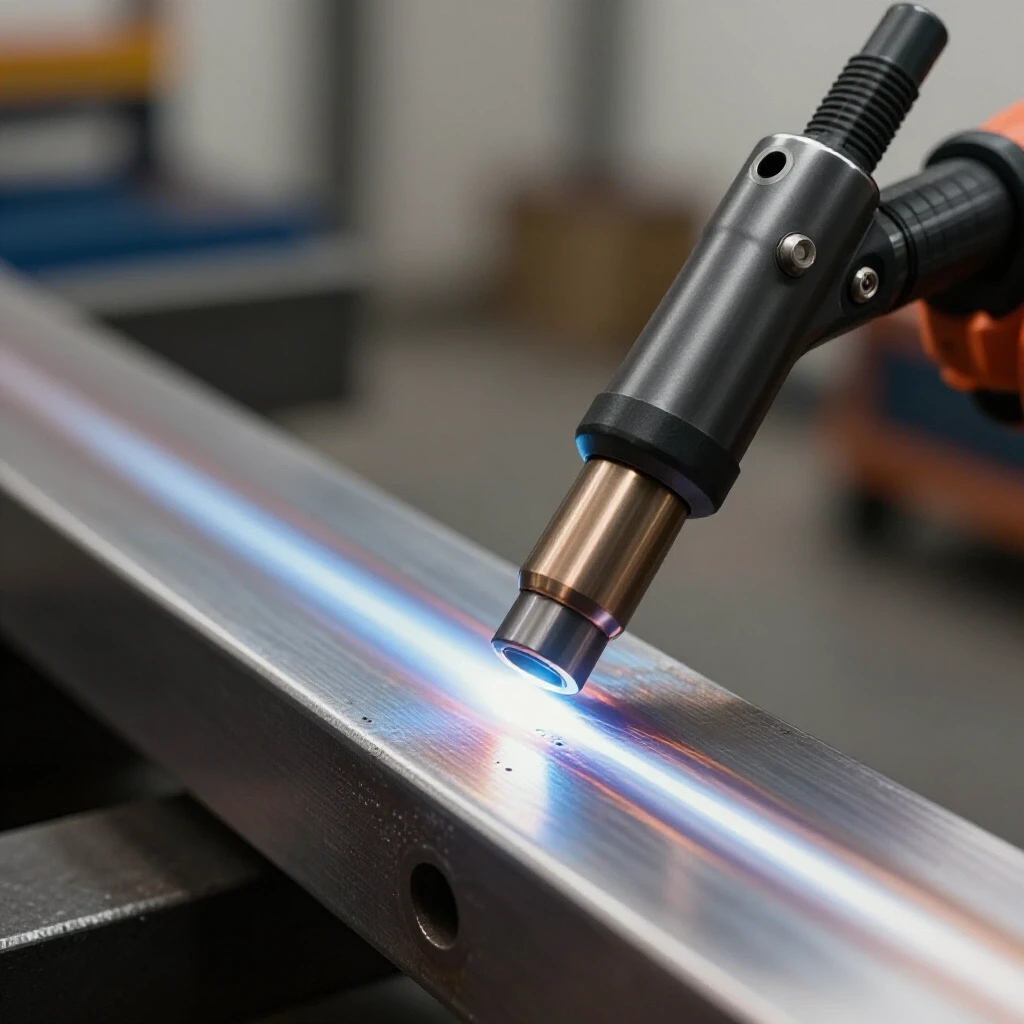
| TIG (GTAW) | 1–2 feet | Not usually required |
Interestingly, the angle of the shield matters as much as the distance. I have found that a 45-degree angle relative to the floor is the most effective for “killing” the momentum of a spark. If the shield is perfectly vertical, the spark hits it and bounces back toward you or your machine. By angling the barrier, you redirect the energy downward. This keeps your workspace clear and your focus on the diagnostic task at hand.
Troubleshooting Weld Porosity Through Environmental Control
Weld porosity is a defect characterized by small holes or pits in the weld bead, usually caused by trapped gas or contaminants. In a garage, managing the environment is the first step to fixing it.
Whenever I encounter porosity, I go through a checklist. First, I check the gas flow. Standard flow is 15 to 20 cubic feet per hour (CFH). Next, I look for drafts. This is where your barrier positioning becomes a diagnostic tool. If you are welding near an open garage door, the wind can strip your shielding gas. By positioning your spark barriers to also act as windbreaks, you can test if the porosity is caused by the machine or the environment.
- Check for Leaks: Use soapy water on all gas connections.
- Verify Flow Rate: Ensure the regulator is set to 20 CFH for most indoor garage work.
- Position Barriers: Place shields to block any cross-breeze from doors or fans.
- Test Weld: If the porosity disappears, the issue was environmental, not mechanical.
As a result of this systematic approach, you save money on gas and wire. You also avoid the frustration of tearing apart a wire feeder when the real problem was just a breeze. I once worked with a fabricator who was ready to return a brand-new MIG welder. He had terrible porosity. We set up two shields in a “V” shape around his work table to block the draft from his wall-mounted fan. The very next weld was perfect. The shields didn’t just catch sparks; they stabilized his entire process.
Eliminating Tool Chatter and Vibrational Interference
Tool chatter is a resonant vibration that occurs during machining or grinding, resulting in a poor surface finish and potential tool damage. It is often caused by a lack of rigidity in the setup.
In a garage shop, your tools are often lighter than industrial versions. This makes them more prone to harmonics. When you are troubleshooting chatter on a small lathe or mill, you must look at how the tool is clamped. But there is a hidden factor: the floor. Most garage slabs are only 4 inches thick. If your machine is not leveled or if it is vibrating against a metal spark shield, you will get chatter.
- Check Backlash: Ensure your lead screws have less than 0.005 inches of play.
- Verify Rigidity: Use a dial indicator to check for movement in the tool post.
- Isolate Barriers: Ensure your spark shields are not touching the machine. If a shield vibrates against the lathe bed, it can transfer that energy back into the cut.
I remember a case where a guy was getting a “wavy” finish on his turned parts. We checked the spindle bearings and the gibs. Everything was tight. Then I noticed his spark shield was leaning against the back of the lathe. Every time the motor ran, the shield would rattle against the casting. We moved the shield back 4 inches so it was free-standing. The chatter vanished. It was a simple mechanical interference that looked like a major hardware failure.
Systematic Diagnostics for Electrical Gremlins and Arc Blow
Electrical gremlins are intermittent faults in a machine’s circuitry, while arc blow is the deflection of a welding arc caused by magnetic fields. Both can ruin a fabrication project.
If your welder is behaving erratically—stuttering or losing power—start with the ground. In a garage, we often use extension cords. This is a mistake. A 50-foot extension cord can cause a voltage drop of 5 to 10 percent. This drop makes the arc unstable, which increases spatter and makes it harder to diagnose weld quality.
Building on the electrical side, let’s talk about arc blow. If you are welding near a large mass of steel or if your ground clamp is poorly placed, the arc will wander. This throws sparks in directions you didn’t plan for. To troubleshoot this, I use a “rule of three”: 1. Clean the Ground: Grind a spot to bare metal for the clamp. 2. Check Resistance: Use a multimeter to ensure the ground lead has less than 0.5 Ohms of resistance. 3. Path of Current: Move the ground clamp closer to the weld to shorten the electrical path.
When you control the electrical path, you control the spark direction. This makes your protective barrier positioning more predictable. You no longer have to worry about a “rogue” arc throwing molten metal over your shoulder toward your lawnmower’s gas tank.
Precision Alignment and Mechanical Tolerances in Small Shops
Mechanical alignment is the process of ensuring that all moving parts of a machine are parallel or perpendicular to each other within specified tolerances. In a garage, this often involves the workbench itself.
If your fabrication table is not level, your structural alignments will be off. This leads to internal stresses in your weldments, which can cause cracking. When I troubleshoot a frame that is warping, the first thing I do is check the table. I use a precision level and a string line. If the table is out by more than 1/16th of an inch over 4 feet, the project is doomed before it starts.
- Table Leveling: Adjust feet until the bubble is centered in both directions.
- Squareness Check: Use the 3-4-5 triangle method to ensure corners are 90 degrees.
- Clearance Mapping: Ensure you have at least 24 inches of clearance around the table for your shields and your body.
Interestingly, the way you position your barriers can affect your alignment. If you are cramped, you will stand at an awkward angle. This causes you to push or pull on the workpiece as you weld. By strategically placing your spark shields to allow for full range of motion, you maintain better control over the physical alignment of the part. You are not just protecting the shop; you are protecting the geometry of your build.
A Troubleshooting Checklist for Garage Fabricators
To stay systematic, I use a checklist for every new project. This keeps me from skipping steps and helps me find the “why” behind any failure.
- Clear the Zone: Remove all lumber and solvents within 20 feet of the work area.
- Set the Barriers: Position shields at a 45-degree angle to the floor, 2 feet from the arc.
- Check Power: Plug the welder directly into a 220V or 110V outlet (no extension cords).
- Verify Gas: Set flow to 20 CFH and check for drafts.
- Inspect Ground: Ensure a metal-to-metal connection with low resistance.
- Test Run: Perform a 2-inch bead on scrap and inspect for porosity or undercut.
- Monitor Spatter: If sparks are jumping the shield, adjust the angle or distance immediately.
Following this list has saved me from countless hours of rework. It turns a chaotic garage into a controlled laboratory. When a problem does occur—and it will—you have a clean baseline to start your investigation. You can say with certainty that the issue is not the wind, the ground, or a stray spark hitting a solvent can.
Practical Benchmarks for Success
How do you know if your troubleshooting was successful? You look at the data. In my shop, I aim for specific metrics that indicate a healthy process.
- Weld Appearance: The bead should have consistent ripples and no visible holes.
- Spatter Radius: With proper shielding, 95 percent of molten debris should land within 3 feet of the weld.
- Tool Finish: Machined parts should have a surface roughness (Ra) that matches the tool’s capability, with no visible chatter marks.
- Alignment: Structural parts should be square within 0.030 inches over the total length of the piece.
By hitting these benchmarks, you prove that your diagnostic methods are working. You have moved from “guessing” to “knowing.” This transition is what separates an intermediate fabricator from an advanced one. It is about respecting the physics of the process and the limitations of the space.
Conclusion and Next Steps
Mastering your garage workspace is a journey of constant adjustment. Troubleshooting is not a one-time event; it is a mindset. When you systematically manage your environment—from the way you position your spark barriers to the way you ground your machine—you eliminate the noise that hides the root cause of your problems.
The next time you head into the garage, don’t just start the machine. Take five minutes to map out your “hot zone.” Check your clearances. Position your shields to protect your lumber and your tools. Then, when you strike that arc, you can focus entirely on the puddle. You will find that when the environment is controlled, the mechanical and metallurgical issues become much easier to solve. Your downtime will decrease, and your confidence will grow.
FAQ: Managing Fabrication Hazards in Small Workspaces
How far can a welding spark actually travel in a typical garage?
In an open space without barriers, sparks from a MIG or Stick welder can travel up to 35 feet. In a standard 20-foot garage, this means a spark can easily reach the opposite wall, potentially landing in sawdust, lumber, or near flammable liquids. Using a shield reduces this “kill zone” to a few feet.
What is the best angle for a spark shield to prevent ricochets?
An angle of 45 to 60 degrees relative to the floor is usually best. This redirects the downward momentum of the molten metal. If the shield is placed at a strict 90-degree vertical angle, high-velocity spatter can bounce directly back at the welder or the machine’s sensitive electronics.
Why does my welder throw more spatter than usual when I am in a tight space?
Excessive spatter is often a sign of a diagnostic issue like low voltage, poor ground, or gas contamination. In tight spaces, you might be using an extension cord that causes a voltage drop. This weakens the arc and causes the wire to “stub” into the work, creating a miniature explosion of sparks.
Can a spark shield interfere with my welding gas?
Yes. If a shield is placed too close (under 12 inches) and at an awkward angle, it can create a “swirl” effect or a pocket of turbulence. This can pull oxygen into the weld zone, leading to porosity. Always maintain at least 18 inches of clearance to allow gas to flow naturally.
How do I know if my tool chatter is caused by my shop setup?
If you move your spark shields and the vibration frequency changes, the shield was likely touching the machine. Use a smartphone app to analyze the vibration spectrum. If the peak frequency matches the motor RPM, it is internal. If it is erratic, it is likely an external interference or a loose mounting.
Does the color of the spark shield matter for troubleshooting?
While the color doesn’t stop sparks, a semi-transparent tinted shield (usually dark green or red) allows you to see the silhouette of your equipment. This helps you monitor your leads and ensure you aren’t about to trip or pull a machine over while your hood is down.
How do I protect my lathe or mill from welding spatter?
Ideally, you should not weld within 10 feet of precision machinery. If you must, use a heavy-duty barrier positioned between the weld and the machine. Ensure the shield is at least 2 feet away from the lathe to prevent heat transfer and to allow you to see any stray sparks that might get through.
What should I do if I see porosity even with my shields in place?
Check your gas flow at the nozzle with a portable flow meter. Sometimes the regulator says 20 CFH, but a leak in the liner or a loose O-ring means only 5 CFH is reaching the weld. The shields are there to stop external drafts; they cannot fix internal mechanical leaks.
Is it safe to use cardboard as a temporary spark barrier?
No. Cardboard is a combustible. Even if it doesn’t catch fire immediately, a hot spark can smolder inside the fluting for hours before igniting. Always use non-combustible materials like specialized welding blankets or metal sheets for your barriers.
How can I tell if my ground is the reason for my erratic arc?
Touch the ground clamp after a short weld. If it is hot, you have high resistance. This resistance causes an unstable arc and increased spatter. Use a multimeter to check the Ohms between the clamp and the workpiece; it should be near zero.
(This article was written by one of our staff writers, Paul Whitaker. Visit our Meet the Team page to learn more about the author and their expertise.)