How to Safely Relocate a Heavy Industrial Workshop (Guide)
Moving a heavy industrial workshop is a significant milestone for any fabrication business. It usually means your side-hustle is outgrowing its current footprint or you are optimizing your workflow to improve your shop hourly rates. Over my 16 years in the metalworking industry, I have managed several workshop transitions. Each time, the goal was the same: move the equipment without compromising the mechanical integrity of the machines or the financial health of the business.
When you are dealing with industrial-grade mills, lathes, and presses, you aren’t just moving furniture. You are moving capital investments. If a 4,000-pound lathe bed twists during a move, your ability to hold tolerances vanishes, and your fabrication job costing will skyrocket due to rework. I have seen shop owners lose months of productivity because they rushed the mechanical relocation process. This guide focuses on the technical steps required to move heavy gear safely, ensuring your machinery returns on investment remain intact.
Evaluating Floor Load and Structural Stability for Heavy Machinery
Floor load assessment is the process of determining if a concrete slab can support the concentrated weight of industrial equipment. This involves calculating the pounds per square inch (PSI) exerted by machine feet or bases to prevent structural cracking or settling that could throw a machine out of alignment.
Before you even think about moving a piece of equipment, you have to know if the new floor can handle it. Most standard industrial slabs are four to six inches thick, but the way a machine sits on that floor matters more than the total weight. For example, a heavy four-post press distributes weight differently than a vertical milling machine with a narrow base.
I always start by calculating the “footprint pressure.” You take the total weight of the machine and divide it by the surface area of the points touching the floor. If you have a 5,000-pound machine resting on four leveling pads that are each four square inches, you are putting 312.5 pounds per square inch on those specific spots. If the slab is weak, those pads will sink or crack the concrete over time.
Stability is not just about the floor staying in one piece. It is about the machine staying level. If one corner of a long-bed lathe settles just a fraction of an inch, the bed will twist. This ruins your precision and forces you to adjust your small metal shop pricing to account for the increased time spent fighting the machine. Always look for existing cracks in the new location and avoid placing heavy point loads near expansion joints.
- Calculate the PSI for each machine foot.
- Identify slab thickness and reinforcement if possible.
- Check for levelness across the entire area where the machine will sit.
- Avoid placing heavy equipment on slab edges or near floor drains.
Disassembly Protocols for Complex Industrial Fabricating Units
Strategic disassembly involves removing protruding components, counterweights, and sensitive electronics to make a machine safer to move. This process reduces the center of gravity and protects precision parts like lead screws and handles from accidental impact during the transition.
You might be tempted to move a bridgeport-style mill in one piece, but that is often a mistake. These machines are notoriously top-heavy. I prefer to lower the knee as far as it will go and rotate the head 180 degrees so the heavy motor is facing downward. This simple mechanical adjustment drastically lowers the center of gravity, making the machine much less likely to tip during a lift.
For larger lathes, I always remove the tailstock and the steady rest. These components can slide unexpectedly if the machine is tilted, creating a dangerous weight shift. I also recommend removing handwheels and control panels. In a tight move, these are the first things to get bumped. Replacing a bent lead screw or a snapped casting is a cost that most side-hustle metalworking businesses cannot afford.
Labeling is a critical part of this stage. I use witness marks—small, scribed lines across joining surfaces—to ensure that when the machine is reassembled, the parts go back exactly where they were. This saves hours of calibration time later. I also bag all fasteners and zip-tie them directly to the component they belong to. This prevents the “missing bolt” syndrome that halts production for days.
- Rotate milling heads to lower the center of gravity.
- Remove all detachable components like tailstocks and tool posts.
- Use witness marks for precise reassembly.
- Protect lead screws with PVC pipe or heavy cardboard sleeves.
Mechanical Rigging and Lifting Techniques for Metalworking Gear
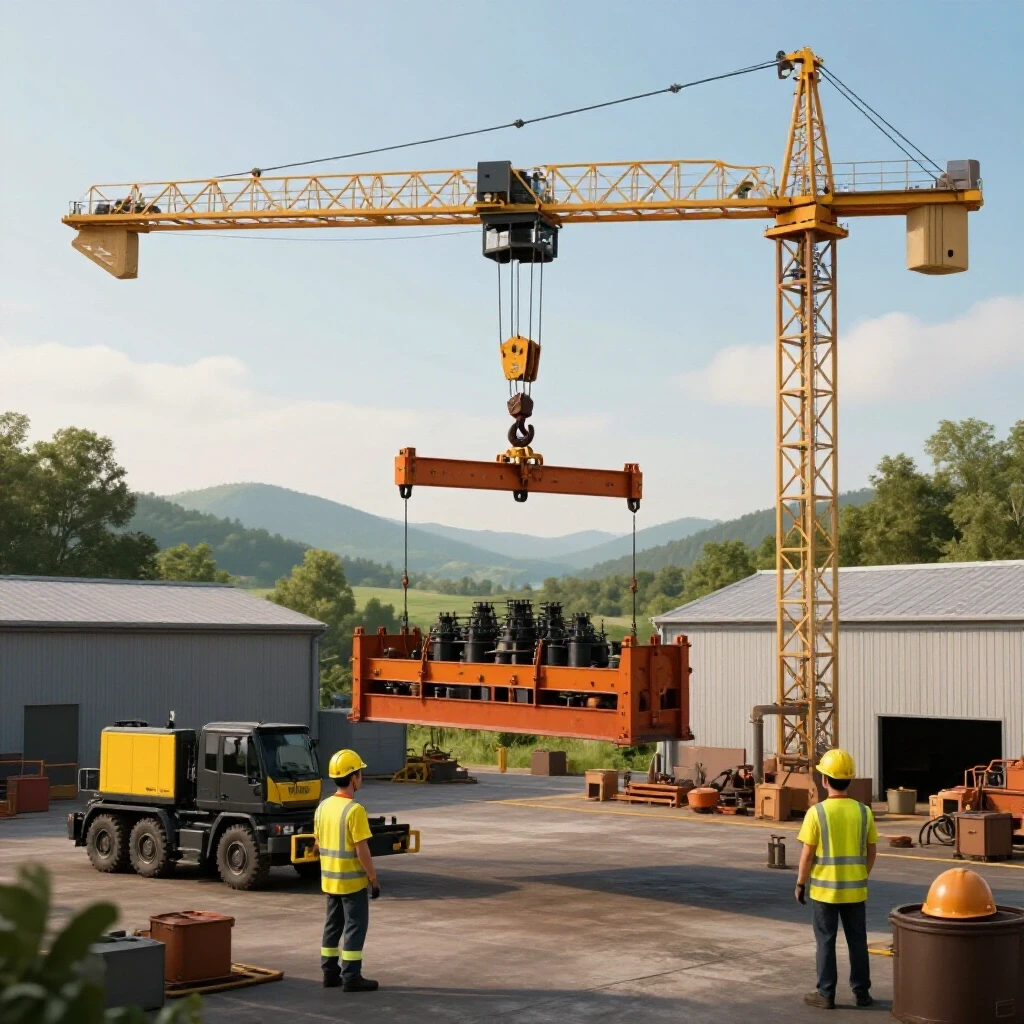
Rigging is the use of specialized hardware like slings, shackles, and jacks to lift and maneuver heavy loads. Proper rigging ensures that the weight is balanced and that the lifting force is applied to structural points of the machine rather than delicate castings.
The biggest risk in moving heavy gear is an unbalanced load. Every machine has a center of gravity, and it is rarely where you think it is. For instance, a lathe is significantly heavier at the headstock end. If you pick it up from the middle, the headstock will dive toward the floor. I use adjustable spreader bars or multi-leg slings to compensate for these offsets.
When lifting, I rely on toe jacks and machinery skates. A toe jack allows you to lift a machine just a few inches off the floor from a very low starting point. Once the machine is up, you slide industrial skates underneath. I prefer “steerable” skates for the front and “straight” skates for the rear. This setup allows you to navigate tight corners in a workshop without the machine drifting.
Never use hardware store chains or thin nylon straps. Industrial rigging requires rated equipment. I look for the Working Load Limit (WLL) tags on every sling and shackle. If the tag is missing or frayed, I don’t use it. The mechanical failure of a $50 strap can result in the total loss of a $10,000 machine, which would be a devastating blow to your metal business ROI calculators.
- Identify the center of gravity before the initial lift.
- Use toe jacks for controlled, low-profile lifting.
- Employ rated machinery skates for horizontal movement.
- Verify the WLL on all rigging hardware.
Securing Industrial Equipment for Safe Transport
Securing a load involves blocking, bracing, and strapping a machine to a transport vehicle to prevent any movement. This step focuses on the physics of friction and mechanical constraints to ensure the machine does not slide or tip during acceleration or braking.
Once a machine is on a trailer or truck, the work isn’t over. Steel on steel is incredibly slippery. I always place the machine on thick timber blocking, such as 4×4 or 6×6 oak. The weight of the machine causes the steel to “bite” into the wood, which significantly increases the friction between the machine and the trailer bed.
I use heavy-duty grade 70 transport chains and binders for the main structural tie-downs. However, you have to be careful where you attach them. Never run a chain over a precision way or a lead screw. I use soft “round slings” to wrap around the machine’s main casting, and then I attach the chains to the slings. This protects the machine’s finish and accuracy while providing a rock-solid anchor.
Cross-strapping is a technique I highly recommend. Instead of just pulling the machine straight down, I run straps or chains in an “X” pattern. This prevents the machine from walking sideways or sliding forward if the driver has to slam on the brakes. I check the tension of these straps after the first few miles of travel, as vibrations often cause the load to settle.
- Use timber blocking to increase friction.
- Apply chains and binders to structural castings only.
- Use soft slings to protect precision surfaces from chain damage.
- Employ cross-strapping to prevent lateral movement.
Reinstalling and Leveling Heavy Shop Equipment
Reinstallation is the process of placing the machine in its final location and adjusting its height to be perfectly level. Leveling is not just for convenience; it is a mechanical requirement for lathes and mills to ensure the frame is not under torsional stress.
Once the machine is in its new home, the real work of leveling begins. Most industrial machines have built-in leveling screws in the base. I start by cleaning the floor thoroughly so no chips or debris are trapped under the feet. I then place thick steel plates under the leveling screws to distribute the weight and protect the concrete.
I use a precision machinist’s level, which is much more accurate than a standard carpenter’s level. A good machinist’s level can show a deviation of 0.0005 inches per foot. On a lathe, I check the level across the bed at both the headstock and the tailstock. If the level isn’t identical at both ends, the bed is twisted. A twisted bed means the machine will turn a taper instead of a true cylinder, which ruins your fabrication job costing accuracy.
Leveling is an iterative process. You adjust one corner, and it affects the other three. I take my time here, making small adjustments and letting the machine “settle” for an hour before doing a final check. This stability is what allows you to maintain the high-quality standards required for a profitable side-hustle metalworking business.
- Use a precision machinist’s level for all checks.
- Place steel plates under leveling screws to protect the slab.
- Check for bed twist on lathes by measuring at both ends.
- Allow the machine to settle before the final adjustment.
Post-Relocation Calibration and Alignment Checks
Calibration is the final verification step where you use measuring tools to ensure the machine’s components are still aligned. This involves checking the squareness of heads, the alignment of spindles, and the accuracy of travel after the physical move is complete.
After the machine is level, I perform a series of “tramming” and alignment tests. On a vertical mill, this means checking that the spindle is perfectly perpendicular to the table. I use a dial indicator mounted in the spindle and sweep it across the table. If the indicator shows a variation, I adjust the head until it is square. This is vital for ensuring that your milled surfaces are flat.
For a lathe, I perform a “two-collar test.” I take a light cut on a piece of scrap round stock at two points several inches apart. I then measure the diameter at both points with a micrometer. If the diameters are different, the headstock or the bed is out of alignment. Fixing this now prevents wasted material and keeps your welding consumable tracking and material usage within budget.
I also check all the gibs and ways. Moving a machine can sometimes cause old grease and grit to shift, leading to binding. I clean all surfaces and apply fresh way oil before running the machine through its full range of motion. Only after these mechanical checks are complete do I consider the shop move successful and ready for production.
- Tram the mill head to ensure spindle perpendicularity.
- Perform a two-collar test on the lathe to check for taper.
- Clean and relubricate all ways and lead screws.
- Verify the full range of motion for all axes.
Common Mechanical Pitfalls During Workshop Relocation
Even with a solid plan, things can go wrong if you overlook the small details of heavy machinery physics. One common mistake is lifting a machine by its handles or thin sheet metal guards. These parts are not structural and will snap or bend instantly under the weight of the machine. Always look for the lifting eyes or the thickest part of the main casting.
Another pitfall is ignoring the “top-heavy” nature of machines like drill presses or vertical mills. I once saw a shop owner try to move a tall drill press on a standard hand truck. The center of gravity was so high that as soon as they hit a small crack in the floor, the whole thing tipped. Using a wide-base pallet or bolting the machine to a larger wooden skid can prevent these types of accidents.
Finally, don’t underestimate the effect of temperature. If you move a machine from a cold truck into a warm shop, condensation will form on all the precision surfaces. This can lead to flash rusting on the ways within hours. I always wipe down the machine with a heavy coat of rust preventative or way oil before the move and again immediately after it arrives in the new space.
- Never lift by handles, handwheels, or guards.
- Bolt top-heavy machines to wide skids for stability.
- Protect against condensation and flash rust during temperature changes.
- Clear the path of all debris to prevent machinery skates from jamming.
Essential Tools for a Safe Mechanical Move
Having the right mechanical tools makes the difference between a controlled move and a dangerous one. You don’t need a fleet of forklifts, but you do need specific items designed for heavy loads.
- Toe Jacks: These allow you to lift heavy bases with just a fraction of an inch of clearance.
- Machinery Skates: Look for sets with polyurethane wheels to protect your floors and provide a smooth roll.
- Precision Machinist Level: A 12-inch level with 0.0005″/foot graduations is the standard for machine setup.
- Pry Bars (Johnson Bars): These long-handled bars are essential for making small, incremental shifts in machine position.
- Dial Indicators: Used for tramming and checking alignment after the move.
- Grade 70 Chains and Binders: For securing the load to the transport vehicle.
- Timber Blocking: Various lengths of 4×4 and 6×6 oak for support and friction.
By following these mechanical steps, you protect the equipment that drives your business. A safe relocation ensures that your shop remains productive, your machines stay accurate, and your path to long-term profitability remains clear.
FAQ
How do I find the center of gravity on an unbalanced machine like a lathe?
The center of gravity on a lathe is almost always toward the headstock because that is where the heavy motor, gears, and spindle are located. To find it safely, start with your lifting slings wider than you think they need to be. Perform a “test lift” by raising the machine only an inch off the floor. If one end rises faster than the other, lower it and adjust the lifting point toward the heavy end. Repeat this until the machine stays level during the lift.
Can I move a heavy mill without taking the head off?
Yes, you can move it without full removal, but you should still lower the center of gravity. Rotate the head 180 degrees so the motor is tucked down near the table, and lower the knee as far as it will go. This makes the machine much more stable. If you are moving through low doorways, you may have no choice but to remove the motor or the entire head assembly.
What is the best way to prevent a machine from rusting during a move?
The best way is to apply a dedicated rust preventative spray or a thick layer of way oil to all bare metal surfaces. If you are moving in a humid or cold environment, consider wrapping the machine in “VCI” (Vapor Corrosion Inhibitor) plastic film. Avoid using standard tarps that can trap moisture against the metal.
How thick does my concrete floor need to be for a 5,000-pound machine?
For most industrial metalworking machines in the 5,000-pound range, a 4-inch reinforced concrete slab is the minimum requirement. However, the quality of the sub-base and the PSI of the concrete are just as important. If the machine has a very small base, you should use steel spreader plates to distribute the weight over a larger area.
Why is a machinist’s level better than a standard level for setup?
A standard carpenter’s level is designed to show “close enough” for building walls, but it cannot detect the minute twists in a machine bed. A machinist’s level is ground to extreme tolerances and can show a deviation as small as half a thousandth of an inch over a foot. This level of precision is necessary to ensure the machine’s internal geometry is correct for accurate cutting.
Should I drain the oil from my machines before moving them?
It is generally a good idea to drain the oil if the machine will be tilted during the move. This prevents oil from leaking out of breathers or into areas where it shouldn’t be, like electrical cabinets. It also reduces the weight slightly and gives you a chance to put fresh, clean oil in the machine once it is leveled in its new home.
How do I move a machine if I don’t have a forklift?
You can move almost any machine using a combination of toe jacks, pry bars (Johnson bars), and machinery skates. By lifting one corner at a time, you can slide skates under the base. Once the machine is on skates, it can be pushed by hand or moved with a small winch on a flat, level floor.
What are “witness marks” and why are they important?
Witness marks are small lines or dots you scribe across two joining parts before you take them apart. For example, you might scribe a line across where the motor mount meets the frame. When you put the machine back together, you simply align those lines. This ensures the parts are in the exact same orientation they were in before, which preserves the machine’s factory alignment.
How long should I wait to calibrate a machine after moving it?
You should wait at least 24 hours after the machine is placed and leveled before doing your final calibration. This allows the machine frame and the concrete floor to “settle” under the weight. If you calibrate it immediately, you might find that it has shifted slightly by the next morning.
Is it safe to move a machine on a wooden trailer deck?
Yes, a wooden deck is actually preferred over a steel deck because it provides more friction. When you strap the machine down, the base will slightly compress the wood fibers, which helps lock it in place. Just ensure the wooden boards are in good condition and are supported by a strong steel frame underneath.
(This article was written by one of our staff writers, Michael Hargrove. Visit our Meet the Team page to learn more about the author and their expertise.)