Safety Rules for Welding Custom Steel Roll Cages (DIY Guide)
When I first started my journey in metalworking twelve years ago, I was overwhelmed by the sheer intensity of the environment. The blinding light of the arc, the smell of heated metal, and the constant shower of sparks made me realize that technical skill cannot exist without a foundation of safety. I remember spending my first few weeks just learning how to stand and breathe while holding a torch. My early attempts at building muscle memory were often interrupted by small burns or eye fatigue because I hadn’t yet mastered the environment. This guide is designed to help you avoid those setbacks by treating safety as a core skill, just like your travel speed or torch angle.
To become a proficient fabricator, you must view your workshop as a controlled laboratory. When you are working on complex tubular assemblies, the stakes for your physical well-being are just as high as the quality of your joints. If you are worried about a fire or a tripping hazard, your hand will never be steady enough to maintain a consistent bead. By systematizing your safety protocols, you free your mind to focus on the nuances of metal behavior and fluid puddle tension.
Building a Foundation Through Workshop Hazard Management
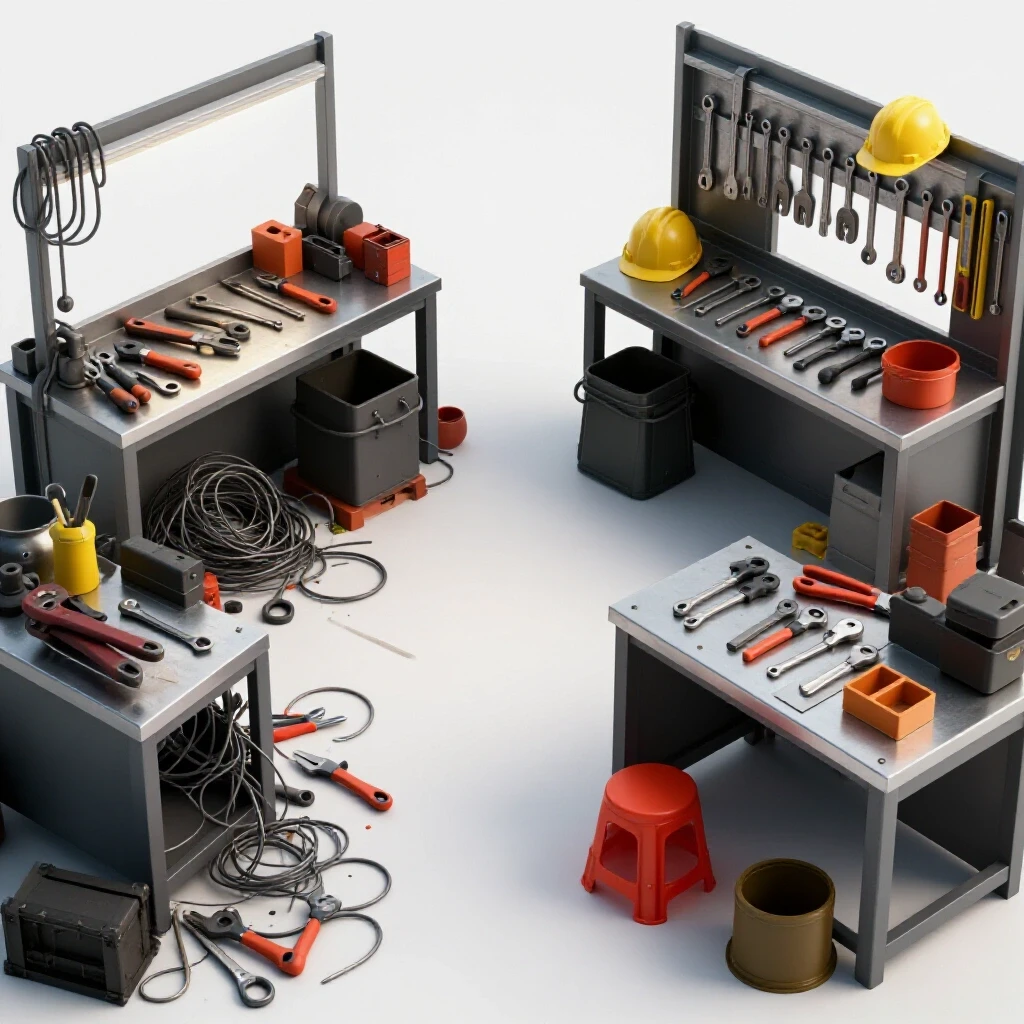
Establishing a safe workspace is the first step in any metal welding practice guide because it removes distractions that hinder skill development. A clean, organized shop allows you to focus entirely on your torch control and body mechanics without the fear of accidental fires or falls. This stage of preparation is where professional habits are truly formed.
The floor of your workspace should be clear of all flammable materials, including sawdust, paper, and oily rags. Sparks from a grinder or an arc can travel over twenty feet and smolder for hours before igniting. I have seen many beginners lose focus on their weld travel speed tips because they were constantly glancing around to see where their sparks were landing. By clearing a wide “clean zone” around your workpiece, you can dedicate your full attention to the puddle.
| Hazard Category | Mitigation Strategy | Frequency of Check |
|---|---|---|
| Flammable Debris | Clear 35-foot radius of all paper, wood, and chemicals | Before every session |
| Tripping Hazards | Route all cables and hoses along the perimeter | Every 2 hours |
| Fire Risk | Maintain a charged Class ABC extinguisher within reach | Daily |
| Surface Stability | Ensure all stands and clamps are bolted or weighted | Before every weld |
Implementing a Professional Fire Watch Protocol
A fire watch is a dedicated period after you finish working where you monitor the area for signs of combustion. This practice is standard in industrial settings and is vital for anyone learning metal fabrication in a home shop or garage. It ensures that a stray spark doesn’t turn into a disaster after you have left the room.
Interestingly, many shop fires start in the hour after the fabricator has turned off the machines. During this time, I recommend performing a systematic sweep of the shop every fifteen minutes. Use this time to clean your tools and log your practice metrics. This habit not only keeps you safe but also forces a period of reflection on the work you just completed, helping you identify areas where your technique might be plateauing.
Mastering Eye and Skin Protection During Intense Arc Exposure
Protecting your vision and skin is non-negotiable when you are focused on welding technique progression and long-term skill building. The ultraviolet and infrared radiation produced during the process can cause permanent damage in seconds if you are not properly shielded. Consistency in your PPE use ensures you can practice for hours without physical discomfort.
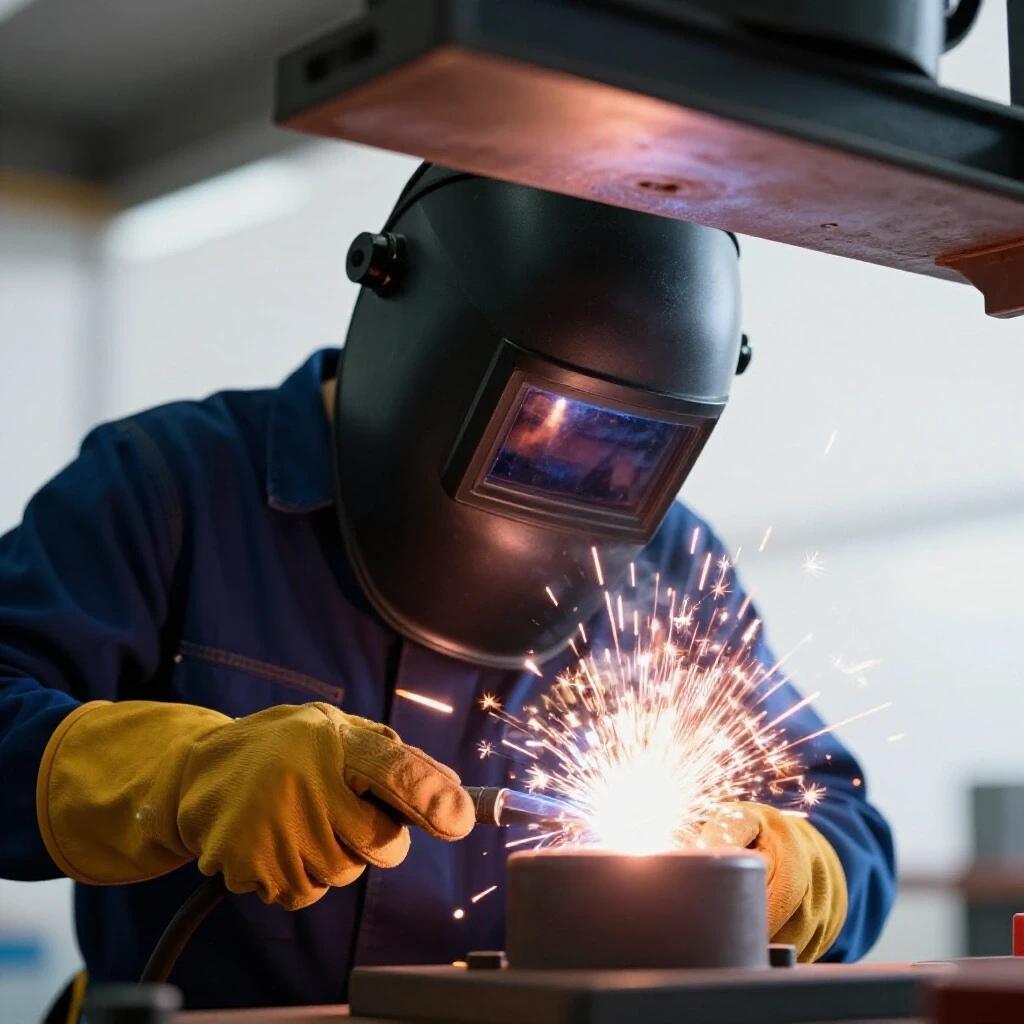
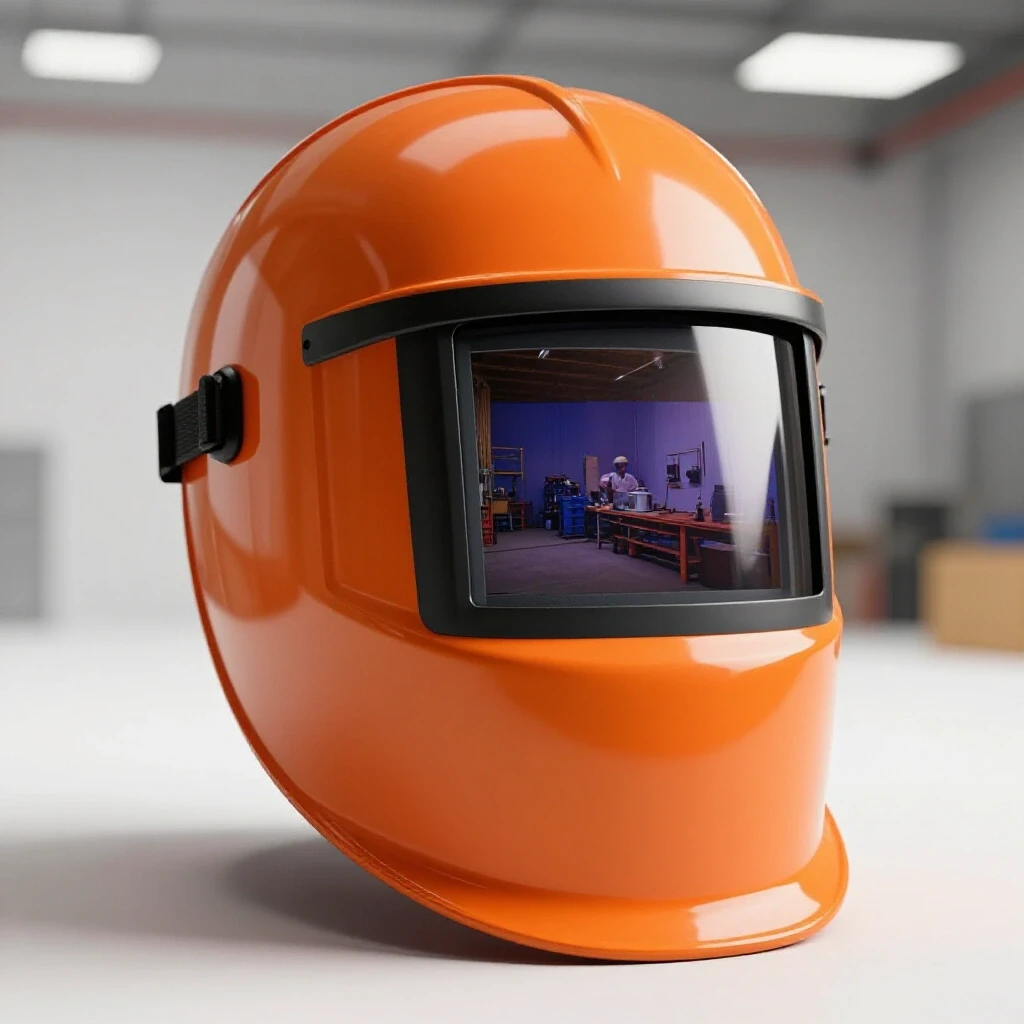
Your welding helmet is your most important tool for visual feedback. If you cannot see the puddle clearly, you cannot learn to control it. I suggest using a high-quality auto-darkening helmet that allows you to see your joint placement before you strike the arc. This prevents the “head snap” motion common in beginners, which often knocks the torch out of position and ruins the start of the bead.
Selecting the Right Lens Shade for Visual Clarity
The shade of your lens must be dark enough to protect your eyes but light enough to see the edges of the weld pool. If the shade is too dark, you will struggle with inconsistent metal penetration because you cannot see where the heat is going. If it is too light, you will experience “arc eye,” a painful sensation similar to having sand in your eyes.
For most manual arc processes on steel, a shade between 10 and 13 is appropriate. I always tell my students to start darker and move lighter until they can clearly see the distinction between the molten metal and the surrounding slag or base plate. This visual clarity is the key to mastering torch control and making real-time adjustments to your travel speed.
Respiratory Health and Fume Management Strategies
Managing the air quality in your shop is a critical part of any trade school practice drills or home-based learning. Welding produces a variety of gases and particulates that can be harmful if inhaled over long periods. Effective ventilation ensures that you remain sharp and focused throughout your practice session.
Fume extraction should be positioned to pull smoke away from your face without disturbing the shielding gas around your weld. If you are working in a small garage, a simple box fan in a window might not be enough. I have found that using a dedicated fume extractor or a high-efficiency particulate air (HEPA) respirator under the helmet is the most effective way to stay healthy while practicing.
Understanding the Dangers of Metal Coatings and Cleaners
Before you begin any practice run, you must ensure the steel is free of coatings like zinc, paint, or grease. Heating these substances can release toxic fumes that cause immediate illness. I once had a student who neglected to grind off a thin layer of plating, and within minutes, he was experiencing headaches and nausea.
Always use a dedicated “clean zone” on your metal, extending at least two inches back from the joint. Use a mechanical grinder rather than chemical cleaners, as some chemicals can react with the heat of the arc to create dangerous gases. This preparation step is a fundamental part of learning metal fabrication and ensures that your practice remains safe and productive.
| Fume Source | Risk Level | Control Method |
|---|---|---|
| Galvanized Coating | High (Zinc Fumes) | Mechanical Grinding + Respirator |
| Paint/Primer | Medium | Solvent-free Cleaning + Ventilation |
| Steel Particulates | Low/Medium | HEPA Filtration |
| Shielding Gases | Low (Displacement) | Cross-Ventilation |
Electrical Safety and Grounding for Consistent Performance
Electrical safety is often overlooked by those focusing on physical hand-eye coordination, but it is vital for both safety and weld quality. A poor ground connection can cause erratic arcs and inconsistent heat, making it impossible to measure your progress objectively. Ensuring a solid electrical path is a basic skill every fabricator must master.
Your ground clamp should be attached as close to the weld area as possible, ideally on the workpiece itself. I have seen many beginners struggle with “arc blow” or wandering arcs simply because their ground was attached to a dirty or painted part of the table. A clean, tight connection ensures that the machine parameters you set are actually being delivered to the metal.
Managing Cables to Prevent Interference and Accidents
Cable management is a physical skill that directly impacts your ability to move smoothly during a weld. If your torch lead is caught on a corner or tangled under your feet, your travel speed will suffer. I practice a “lead check” before every bead, ensuring I have enough slack to complete the entire motion without tension.
- Keep leads away from sharp edges that could cut the insulation.
- Never wrap leads around your arm or body.
- Ensure all connections are tight to prevent overheating at the terminals.
- Inspect cables daily for nicks, burns, or exposed wires.
Ergonomics and Body Positioning for Steady Torch Control
Body mechanics are the secret to overcoming technique plateaus. How you sit or stand determines how much “shake” is transferred to your hand. When welding tubular steel or complex assemblies, you often find yourself in awkward positions. Learning to brace your body is a core part of building muscle memory.
I teach my students to use the “three-point stance.” This involves having both feet firmly on the ground and leaning your hip or shoulder against a stable surface like the welding table. By stabilizing your core, you can use your fine motor skills in your wrist and fingers to control the torch. This reduces fatigue and allows for much longer practice sessions.
Using Braces and Props to Enhance Stability
When you are working on a long joint, your arm will naturally tire, causing your arc gap to vary. To counter this, I use a “prop” or a “steady rest.” This can be a simple block of wood or a specialized metal tool that allows you to rest your gloved hand while you move the torch.
This technique is particularly helpful when you are trying to maintain a 10–15 degree drag angle. By resting your hand on a prop, you can focus entirely on the fluid puddle tension and the width of your bead. It takes the weight of your arm out of the equation, allowing for the professional-grade consistency that defines an intermediate fabricator.
The Necessity of Professional Oversight in Structural Projects
While this guide focuses on the physical skills and safety rules for welding, it is crucial to understand the limits of DIY fabrication. When you are working on structures intended to carry dynamic loads, such as a roll cage, the consequences of a failure are extreme. My own journey involved hundreds of hours of practice before I even considered structural work.
Even if your beads look visually perfect and you have mastered your travel speed, internal defects like lack of fusion or porosity can exist. For any project involving safety-critical tubular assemblies, you must seek licensed engineering oversight. A professional engineer can verify that your design and material choices are appropriate for the intended use.
Why Post-Weld Inspections are Mandatory
A visual inspection is only the first step in verifying a weld’s integrity. For structural steel work, professional inspectors use methods like ultrasonic testing or X-rays to look inside the metal. I always recommend that students have their practice joints cut open or “destructively tested” to see what is happening beneath the surface.
- Visual Inspection: Checks for surface cracks, undercut, and bead profile.
- Destructive Testing: Involves bending or breaking a sample to check for internal fusion.
- Professional Certification: A Certified Welding Inspector (CWI) provides the final word on structural safety.
- Engineering Review: Ensures the overall design can handle the required stresses.
Tracking Your Safety Habits and Skill Progression
To move past plateaus, you must measure your progress. I use a practice log that tracks both my technical metrics and my safety checks. This data-driven approach helps you identify patterns in your performance. For example, you might find that your welds are more consistent in the morning when your shop is cleaner and you are less fatigued.
Your log should include your machine settings, the type of joint, and a self-assessment of your safety setup. Did you feel stable? Was the ventilation adequate? Did you notice any arc flash? By recording these details, you turn every practice session into a valuable data point in your development as a fabricator.
A Template for Your Practice Logging
- Environment Check: Floor clear, fire extinguisher located, ventilation active.
- PPE Check: Helmet shade set, gloves intact, leathers on.
- Machine Setup: Ground clamp secure, leads managed, parameters logged.
- Physical Drill: 5 minutes of “dry runs” (moving the torch without an arc) to check reach and stance.
- Execution: Record travel speed, arc gap, and any physical sensations (e.g., “arm felt heavy at the end”).
- Post-Weld Review: Visual inspection for defects and a 15-minute fire watch.
Common Pitfalls in Workshop Safety and How to Avoid Them
Even experienced fabricators can fall into bad habits. One of the most common mistakes is “just one quick weld” without putting on full PPE. I have a scar on my forearm from a “quick” tack weld where I didn’t wear my jacket. It only takes a split second for a spark to cause a lasting injury.
Another pitfall is ignoring “near misses.” If you trip over a cord but don’t fall, that is a signal that your cable management needs work. Treat every near miss as a lesson. Adjust your shop layout immediately so it doesn’t happen again. This proactive mindset is what separates a hobbyist from a professional-grade fabricator.
Conclusion: The Path to Consistent Mastery
Mastering the physical skills of fabrication is a marathon, not a sprint. It requires a disciplined approach to both your technique and your environment. By treating safety as a fundamental skill, you create the mental and physical space necessary for high-level learning. You will find that as your workshop becomes more organized and your safety habits become second nature, your technical skills will follow suit.
Remember that the goal is not just to make a pretty bead, but to do so safely and consistently. Continue to track your progress, seek professional feedback, and never stop refining your body mechanics. The journey from a beginner to an intermediate fabricator is paved with thousands of small, safe, and intentional movements. Stay patient, stay safe, and keep practicing.
Frequently Asked Questions
What is the most common safety mistake beginners make?
The most common mistake is inadequate eye protection, specifically not using a high enough shade or failing to protect against “side flash” from other welders or reflections. Beginners also frequently neglect to wear a respirator, assuming that a well-ventilated room is enough to clear harmful particulates.
How can I tell if my ventilation is actually working?
A simple way to check is to watch the path of the smoke. It should be pulled steadily away from your face and out of the workspace. If the smoke lingers around your helmet or swirls in your field of vision, your ventilation is insufficient. For serious practice, a dedicated fume extractor is the gold standard.
Why is grounding so important for weld quality?
A poor ground creates electrical resistance, which causes the arc to fluctuate in intensity. This makes it impossible to maintain a steady puddle, leading to inconsistent penetration and bead shape. A clean, metal-to-metal connection is essential for accurate machine parameter mapping.
Do I really need a fire watch in a concrete garage?
Yes. Sparks can land on small amounts of dust, chemical residue, or items stored on shelves. These materials can smolder for a long time before bursting into flame. A 30-minute to 1-hour fire watch is a standard safety protocol regardless of the floor material.
How does body positioning affect the safety of my welds?
Good positioning prevents fatigue and sudden movements. If you are off-balance, you are more likely to jerk the torch, which can cause arc strikes outside the joint or lead to you touching the hot workpiece. A stable stance is the foundation of both safety and precision.
What should I do if I get “arc eye” or a flash burn?
If you suspect you have been flashed, stop welding immediately. Cool, damp compresses can help soothe the eyes, but you should seek medical advice if the pain persists. To prevent it, always ensure your helmet is functioning and that you are using the correct shade for your amperage.
Can I use a standard shop vacuum for fume extraction?
No. Standard shop vacuums are not designed to filter the fine particulates found in welding fumes and can actually spread them more widely through the air. They also pose a fire risk if they suck up hot sparks. Use a vacuum specifically rated for welding fumes with a HEPA filter.
Is it safe to weld near my car or fuel tanks?
Welding should never be done near fuel sources. Even a sealed fuel tank can contain vapors that are highly explosive when heated. Always move vehicles and fuel containers at least 35 feet away from your welding area and use fire-resistant blankets if necessary.
How often should I inspect my PPE?
You should perform a quick visual check of your gloves, jacket, and helmet before every session. Look for holes in gloves, frayed seams in your leathers, and scratches on your helmet lens that might obscure your view of the puddle.
Why is professional inspection required for structural work?
Visual inspection cannot detect internal flaws like “cold lap” or microscopic cracks. In a high-stress application like a tubular assembly for a vehicle, these hidden defects can lead to catastrophic failure. Only professional NDT (Non-Destructive Testing) can verify that the weld is structurally sound.
(This article was written by one of our staff writers, Thomas Langley. Visit our Meet the Team page to learn more about the author and their expertise.)