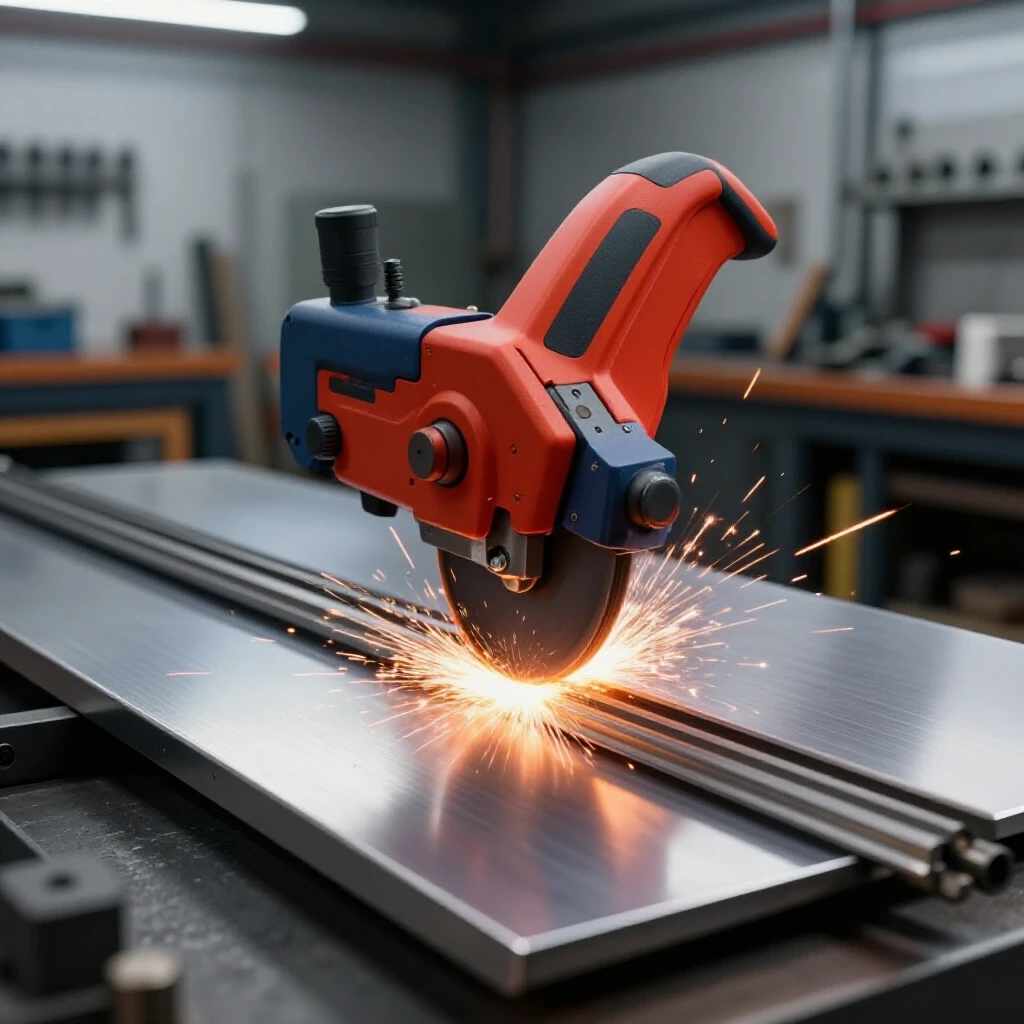
Should You Buy a New or Used Milling Machine? (Comparison)
When I stood in my first empty garage in 2013, I had exactly $2,000 and a lot of ambition. My goal was to build a space where I could actually make things, not just store junk. The biggest hurdle wasn’t the workbench or the lighting; it was deciding on the centerpiece of the shop: the milling machine. This tool is the heart of a precision metalworking space, but it is also the most significant investment you will make. You are likely facing the same crossroads I did. Should you hunt for a seasoned, heavy-duty machine from a local shop closure, or should you save up for a shiny, boxed unit with a warranty?
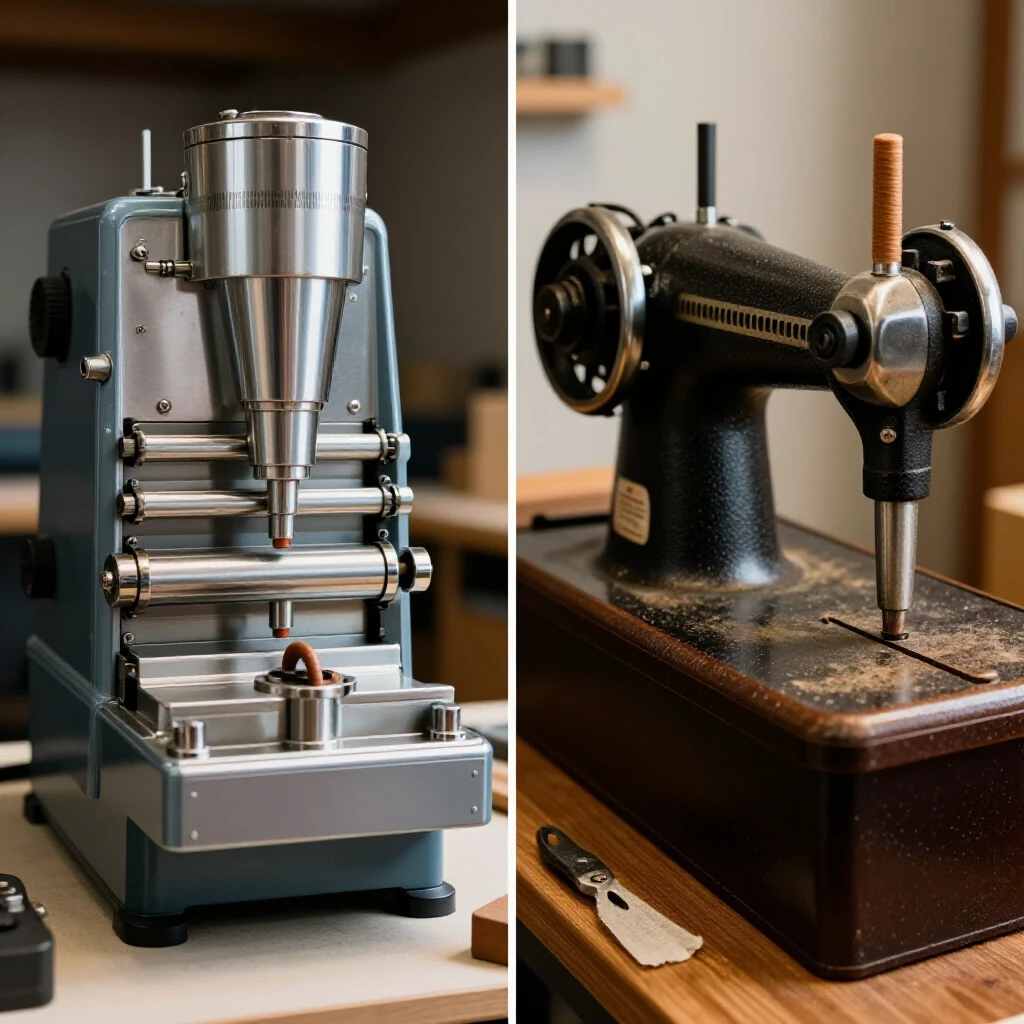
Choosing between a factory-new model and a pre-owned workhorse is about more than just the sticker price. It involves calculating your electrical capacity, measuring your floor’s weight limits, and being honest about your mechanical repair skills. In my years as an industrial maintenance technician, I have seen $500 used machines outperform $5,000 new ones, but I have also seen “bargains” turn into 800-pound boat anchors. This guide is designed to help you navigate these waters using the same structured record-keeping and safety standards I use in my own workshop.
Assessing Your Shop Capacity Before the Big Purchase
Before looking at any machinery, you must evaluate your physical space, electrical circuits, and floor strength to ensure the machine can operate safely and effectively without damaging your home.
When I brought home my first mill, I almost cracked my garage floor because I didn’t account for the “point load” of the machine’s base. Most residential garage floors are four inches of concrete, which can handle a hobby-sized mill, but larger industrial units require careful placement. You also need to look at your breaker panel. Most entry-level mills run on 110V or 220V single-phase power. If your garage only has one 15A circuit shared with the freezer and the lights, you will trip the breaker the moment the tool hits the metal.
I recommend a dedicated 20A circuit for any milling machine. This prevents the lights from flickering and ensures the motor has enough “juice” to maintain torque during a heavy cut. Furthermore, consider the starter metal workshop layout. You need at least three feet of clearance on all sides of the machine to move the table fully and to perform maintenance. If you cram a machine into a corner, you will find it impossible to clean the “ways” (the sliding tracks) or oil the internal gears.
Analyzing the Condition of Pre-Owned Vertical Mills
This section details a systematic inspection process focusing on mechanical wear, precision alignment, and signs of neglect in second-hand machinery to avoid buying a “money pit.”
Buying a used machine is a bit like buying a used car, but without the Carfax report. You have to be the detective. The most critical areas to inspect are the “ways.” These are the precision-ground surfaces the table slides on. If you see deep scratches (scoring) or a “frosted” pattern that has been worn completely smooth in the center, the machine has seen heavy use. I always bring a dial indicator—a tool that measures small distances in thousandths of an inch—to check the spindle runout.
Spindle runout is the “wobble” of the part that holds the cutting tool. If the spindle is bent or the bearings are shot, your parts will never be accurate. Another key metric is “backlash.” This is the “slop” you feel in the handwheels before the table actually moves. While some backlash is normal in older machines, anything over 0.015 inches usually indicates that the lead screws or nuts are worn out. Replacing these can cost more than the machine itself.
- Ways: Look for original scraping marks; avoid deep gouges.
- Spindle: Check for noise at high RPMs and measure runout.
- Lead Screws: Test the play in the handwheels at different points along the table’s travel.
- Motor: Check for a burnt smell or excessive vibration.
Advantages of Investing in Factory-Fresh Equipment
This section highlights the benefits of purchasing modern, unused machinery, including manufacturer support, predictable accuracy, out-of-the-box functionality, and simplified logistics for the beginner.
There is a psychological comfort in unboxing a new tool. For a beginner, the biggest advantage is that you know the machine is “square.” In machining, we call this “tramming.” A new machine should arrive with the head aligned perfectly to the table. You also get a manual and a customer support line. When I was starting out, I wasted three weeks trying to find a replacement gear for an old 1950s mill. With a new machine, you can simply order the part from the manufacturer’s website.
New machines also tend to be more “plug-and-play” for the budget metalworking tools category. They often come with safety features like emergency stop buttons and chip guards that meet modern standards. While they might lack the sheer mass of an old cast-iron beast, modern benchtop mills are surprisingly capable for aluminum and mild steel projects. They are also much easier to move into a basement or a small garage without hiring a professional rigger.
Hidden Costs and Tooling Requirements for Your First Mill
This section explains how to calculate the total expenditure beyond the machine price, including workholding, cutting tools, and measuring instruments, which often surprise new owners.
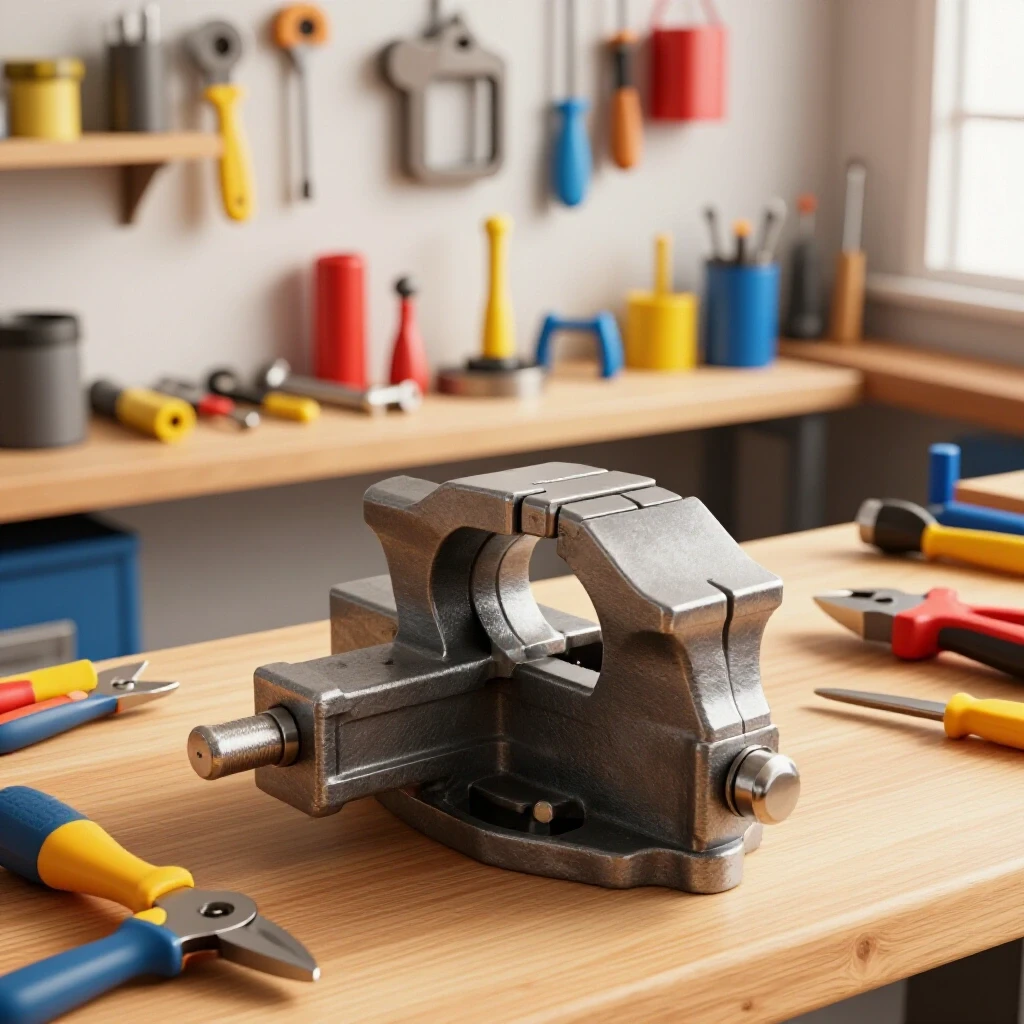
One of the biggest mistakes I see beginners make is spending their entire budget on the machine itself. I follow a strict 50% rule: if the machine costs $1,000, expect to spend another $500 to $700 on the “stuff” you need to actually use it. You cannot just hold a piece of metal in your hand; you need a high-quality milling vise. You also need collets to hold your end mills, a set of parallels to space your work, and measuring tools like calipers and micrometers.
In my record-keeping, I categorize these as “consumables” and “foundational tools.” Consumables like end mills will break or get dull, so you need a recurring budget for them. Foundational tools like a solid vise should be bought once and bought well. Cheap, unbranded vises often have “jaw lift,” which pulls your part out of alignment as you tighten it. This ruins your accuracy and can even be a safety hazard if the part flies out during a cut.
Tooling-to-Machine Cost Ratios
| Item Category | Estimated Percentage of Machine Cost | Why It Is Essential |
|---|---|---|
| Workholding (Vise, Clamps) | 15% – 20% | Keeps the part from moving under pressure. |
| Cutting Tools (End Mills, Drills) | 10% – 15% | The actual “teeth” that remove the metal. |
| Measuring Tools (Calipers, Indicators) | 10% | Verifies that your work matches your plan. |
| Safety Gear & Maintenance | 5% | Protects your eyes, lungs, and the machine’s life. |
Electrical Safety and Workshop Layout for Milling Operations
This section focuses on designing a workspace that respects power limits, provides adequate lighting, and ensures safe operator movement to prevent accidents in a confined residential space.
A milling machine is a powerful piece of equipment that generates heat and vibration. Your workshop electrical setup checklists should always start with grounding. Ensure your outlet is properly grounded to prevent electric shocks, especially if you are using water-based coolants. I also recommend installing a “kill switch” or making sure the machine’s power cord is easily accessible. If a tool breaks or a part comes loose, you don’t want to be reaching over the spinning cutter to find the off switch.
Lighting is another safety factor often overlooked. Shadows can hide a dangerous situation or lead to measurement errors. I use high-output LED shop lights directly over the spindle area. For the layout, keep your “clean zone” for measuring tools separate from the “chip zone” where the machine is throwing hot metal curls. This prevents your expensive calipers from getting scratched or gummed up with oil and metal shavings.
Evaluating Mechanical Wear and Precision Loss
This section explains how years of use affect a machine’s ability to hold tight tolerances and provides benchmarks for determining if a used machine is worth the repair effort.
When you buy used, you are often buying someone else’s problems. “Precision loss” happens when the machine’s components no longer move in perfectly straight lines. If the table is bowed or the ways are worn unevenly, you might find that the machine is accurate in the middle of its travel but off by several thousandths at the ends. This makes it very difficult to square up a block of steel.
I use a “test cut” workflow to vet any machine. If the seller allows it, I take a light cut across a piece of scrap material. I then measure the finish. A wavy or “chattered” finish usually means the spindle bearings are loose or the machine lacks the rigidity needed for the job. In my experience, if a machine requires more than $300 in parts and 20 hours of labor to get it “true,” a beginner should probably walk away. Your time is better spent learning to mill than learning to be a machine rebuilder.
Ventilation and Environmental Control for Metal Fabrication
This section addresses the management of coolant mist, metal dust, and temperature fluctuations to protect both the operator and the machine’s longevity in a home environment.
Milling creates two environmental problems: fine metal dust and oil mist. If you are using a “flood coolant” system or even just spraying WD-40 on your cuts, those particles end up in your lungs. Proper garage workshop ventilation is non-negotiable. At a minimum, you need an exhaust fan that can move at least 200-300 CFM (cubic feet per minute) of air. I prefer to use a small “mist collector” or a shop vacuum with a HEPA filter positioned right near the cutter.
Temperature also affects precision. Metal expands and contracts. If your garage is 40 degrees in the morning and 80 degrees in the afternoon, your machine’s cast iron frame will move. While this might not matter for a gate hinge, it matters for engine parts. I keep my shop at a relatively stable temperature and always keep a thin coat of oil on the machine’s bare metal surfaces. Rust is the silent killer of used machinery, especially in humid climates.
Why Affordable Abrasives and Tooling Cost More Over Time
This section discusses how to allocate a tooling budget wisely, emphasizing that “cheap” often leads to higher long-term costs due to breakage and poor results.
It is tempting to buy the “100-piece end mill set” for $50. Don’t do it. Cheap cutting tools are often made of inferior high-speed steel that loses its edge in minutes. When a tool gets dull, it creates more heat and friction, which can actually damage your machine’s motor. I prefer to buy five or six high-quality carbide or cobalt end mills in the sizes I use most. They stay sharp longer and produce a much better surface finish.
This same logic applies to safety gear. Affordable fabrication tools should never include “cheap” safety glasses. Look for the ANSI Z87.1 rating on your eyewear. In a home shop, you are often working closer to the machine than you would in a factory. A hot chip flying off a mill can reach temperatures of over 500 degrees Fahrenheit. If your safety glasses melt or shatter, the “savings” of a $2 pair of glasses disappears instantly in an emergency room visit.
Power Consumption and Circuit Requirements
| Tool Class | Typical Amperage (110V) | Circuit Recommendation |
|---|---|---|
| Mini/Benchtop Mill | 5A – 8A | Standard 15A (Dedicated preferred) |
| Mid-Sized Knee Mill | 12A – 16A | Dedicated 20A Circuit |
| Large Industrial Mill | 20A+ or 220V | Dedicated 220V 30A Circuit |
| Shop Vac / Dust Collector | 8A – 12A | Separate Circuit from Mill |
Vetting Your First Machine: A Practical Checklist
Before you hand over any cash, follow this numbered workflow to ensure the machine is a sound investment for your specific shop goals.
- Measure the Footprint: Ensure you have the machine’s dimensions plus 36 inches of “swing room” for the table travel.
- Check the Voltage: Confirm if your garage has the 220V outlet required for many older, larger machines.
- Inspect the Spindle Taper: Common tapers like R8 are easy to find tools for; obscure tapers will make your life difficult.
- Test the Quill Feed: The vertical movement of the spindle should be smooth, not jerky or sticky.
- Listen to the Bearings: Run the machine at its highest speed; a high-pitched scream or grinding sound is a red flag.
- Verify the Table Flatness: Use a machinist’s straightedge to look for “dips” in the table surface from years of use.
- Calculate the Total Weight: Ensure your trailer or truck can handle the load, and you have a way to move it into the garage.
- Check for “Missing Teeth”: On older machines with geared heads, ensure all gears engage without clashing or slipping.
Establishing a Maintenance and Safety Log
Consistent record-keeping is the hallmark of a professional-grade shop, helping you track tool wear and ensure the machine remains safe to operate.
I keep a simple notebook next to my mill. Every time I use it, I jot down how long it ran and what I did. This helps me track the lifespan of my cutting tools. More importantly, it reminds me when to oil the machine. A milling machine has dozens of “oil points” that need a squirt of way oil every few hours of use. If you forget this, the metal-on-metal friction will destroy the precision of the machine in a matter of months.
I also log any “near misses.” If a part slipped in the vise or a tool snapped, I write down why it happened. Was the feed rate too fast? Was the part not clamped correctly? This habit, borrowed from OSHA safety standards, is how you improve as a machinist. It turns a scary mistake into a data-backed lesson. In a home shop, you are the safety officer, the maintenance tech, and the operator. Taking those roles seriously is what keeps the hobby fun and productive.
Essential Startup Metrics for Beginners
- Tooling Budget: Allocate 30% of your total startup funds to high-quality safety gear and measuring tools.
- Electrical Limit: Do not exceed 80% of your circuit’s breaker rating (e.g., 16A on a 20A circuit).
- Ventilation: Aim for a minimum of 5 air exchanges per hour in your workspace.
- Clearance: Maintain a 3-foot “no-go” zone around moving machine parts.
Conclusion: Making the Final Decision
Deciding between a new or used machine is a balance of time versus money. If you have more time and enjoy mechanical repair, a used industrial mill can offer incredible rigidity and capability for a fraction of the cost of a new one. However, if you want to start making parts this weekend and have a limited electrical setup, a new benchtop mill is often the smarter, safer choice.
I have never regretted spending a little extra for a machine that was in better condition. The frustration of a machine that won’t hold a tolerance will kill your interest in the hobby faster than the initial cost will. Start small, keep your shop organized, and track your costs meticulously. Whether the machine is shiny or covered in 40 years of shop grime, what matters is that it is safe, accurate, and fits within your realistic budget.
Frequently Asked Questions
How much backlash is acceptable in a used milling machine? For a beginner, anything under 0.010 to 0.015 inches is manageable. You can “dial out” backlash by always approaching your measurement from the same direction. If the backlash is over 0.020 inches, the machine will be difficult to use for precision work without expensive repairs.
Can I run a milling machine on a standard extension cord? No. Extension cords cause voltage drops which can overheat the motor and reduce torque. If you must use one, it should be a heavy-duty 12-gauge cord and as short as possible. Ideally, the machine should be plugged directly into a dedicated wall outlet.
What is the most important tool to buy with the machine? A high-quality milling vise. Without a solid way to hold your workpiece, the machine’s accuracy doesn’t matter. Avoid the “drill press vises” sold at hardware stores; they are not designed for the side-loading forces of milling.
Is a “round column” or “square column” mill better for a beginner? Square column mills are generally preferred. On a round column mill, if you have to move the head up or down to accommodate a different tool, you lose your “center” or X/Y alignment. Square columns maintain that alignment, saving you a lot of setup time.
How do I know if my garage floor can support a 1,000-pound mill? Most standard 4-inch concrete garage floors can handle a 1,000-pound machine if the weight is spread out over a base. However, avoid placing the machine near the edges of the concrete slab or over visible cracks, as these are weak points.
What is “tramming” and why does it matter? Tramming is the process of ensuring the milling head is perfectly perpendicular to the table. If the head is tilted even a tiny bit, your “flat” surfaces will actually be slightly scalloped or slanted. You should check the tram of your machine every few months or after a heavy “crash.”
Do I really need a dedicated circuit for my mill? Yes. Milling machines draw a lot of current, especially during startup or heavy cuts. If the circuit is shared with lights or other tools, you risk tripping the breaker mid-cut, which can break your tool or ruin your workpiece.
What is the difference between an R8 and a Morse Taper spindle? R8 is the industry standard for small and mid-sized mills. It is very easy to find affordable collets, chucks, and boring heads for R8. Morse Taper (MT) is common on lathes and older mills, but it can be harder to find a wide variety of milling-specific tooling for it.
How often should I oil my milling machine? You should oil the ways and lead screws every single time you use the machine. Most mills have “Zerk” fittings or oil cups. Use a dedicated “Way Oil” (like ISO 68) rather than standard motor oil, as way oil is designed to “stick” to vertical surfaces.
What safety gear is mandatory for milling? ANSI Z87.1 rated safety glasses are the bare minimum. You should also wear hearing protection and avoid wearing gloves or loose clothing, as these can get caught in the spinning spindle. Sturdy, closed-toe shoes are essential to protect your feet from hot, sharp chips.
(This article was written by one of our staff writers, Michael Thompson. Visit our Meet the Team page to learn more about the author and their expertise.)