How Upgrading to Quality Tools Boosts Productivity (Review)
The transition from a hobbyist welder to a professional fabricator often happens in the quiet hours after a day job. I remember standing in my first small shop, looking at a pile of steel and a cheap, vibrating angle grinder that felt like it was trying to shake my teeth loose. I was trying to bid on a set of custom gate frames, but I had no idea how to account for the time I was losing to poor equipment performance. My estimates were guesses, and my profit was leaking through the cracks of slow cutting speeds and frequent tool failures.
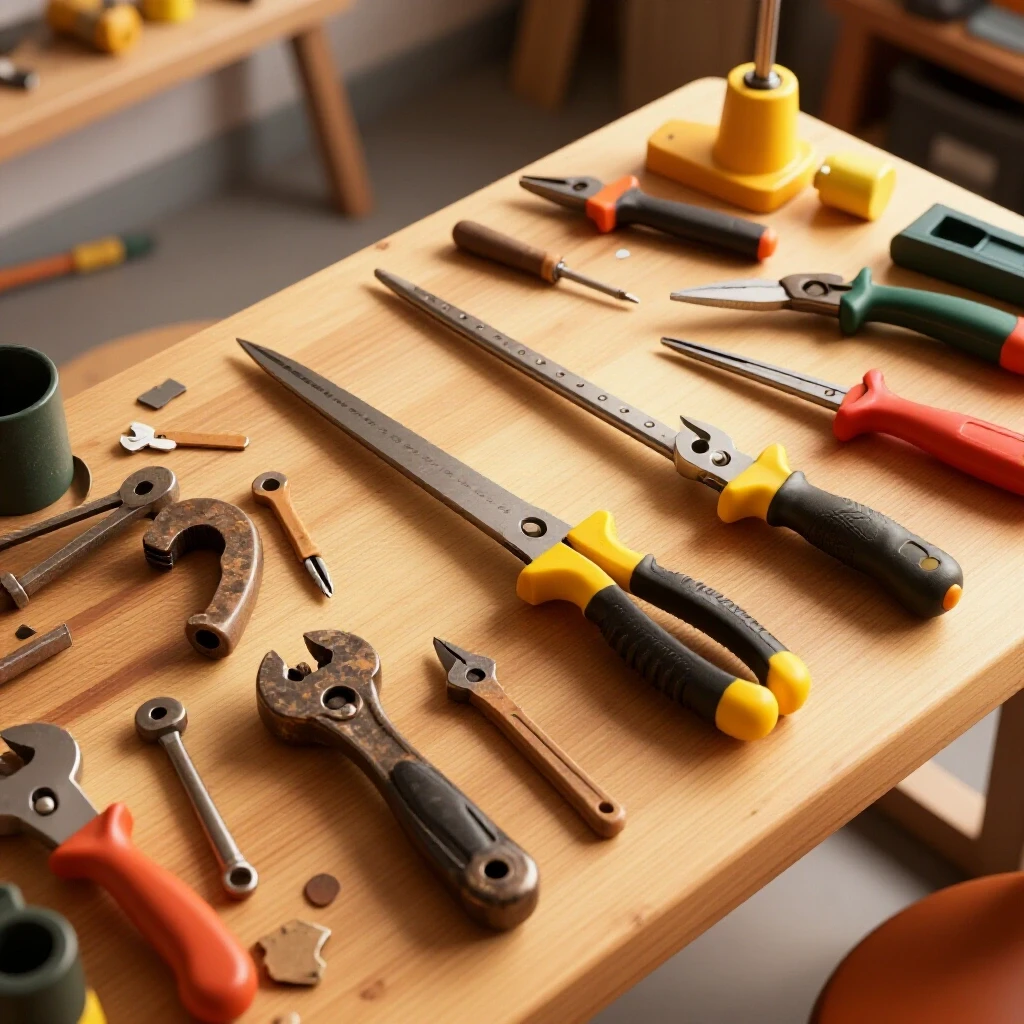
Understanding the financial impact of your equipment is the difference between a side-hustle that pays for itself and one that drains your bank account. In my 16 years of managing workshop economics, I have learned that productivity is not just about working harder. It is about how your machinery handles the burden of production. When you move from entry-level tools to professional-grade hardware, you are not just buying a brand name. You are buying time, repeatability, and a predictable path to profitability.
Establishing a Realistic Shop Hourly Rate
A shop hourly rate is the total dollar amount you must charge for every hour of work to cover your labor, overhead, and desired profit. It serves as the foundation for every quote you send to a client and ensures that your workshop remains financially viable over the long term.
Setting this rate is the first step in mastering fabrication job costing. Many new owners pick a number out of the air, like $40 or $50 an hour, because it sounds like a good wage. However, a shop rate is not a wage; it is a business metric. In a typical small metal shop, I suggest a range of $65 to $120 per hour. This covers your “burden,” which includes electricity, insurance, rent, and the eventual replacement of your tools.
To calculate your specific rate, start by listing every monthly expense. Include your power bill, welding gas, and even the heat for the shop. Divide this total by the number of billable hours you realistically work each month. If your overhead is $1,000 and you work 40 hours of side-hustle time, your overhead cost is $25 per hour before you even pay yourself or buy a single flap disc.
- Calculate total monthly overhead (utilities, rent, insurance).
- Estimate realistic billable hours (exclude cleaning and administrative time).
- Add a labor rate that reflects your skill level.
- Include a 10% to 20% profit margin for future shop growth.
| Expense Category | Monthly Cost (Example) | Hourly Impact (40 hrs/mo) |
|---|---|---|
| Shop Rent/Mortgage | $600 | $15.00 |
| Utilities & Power | $150 | $3.75 |
| Insurance & Licensing | $100 | $2.50 |
| Basic Maintenance | $50 | $1.25 |
| Total Overhead Burden | $900 | $22.50 |
How Professional Machinery Shortens Production Cycles
Production cycles represent the total time required to complete a specific task, from the first cut to the final weld. High-quality tools reduce these cycles by operating at higher speeds with more consistency, allowing you to finish jobs faster without increasing your physical effort.
When I upgraded from a basic DIY bandsaw to an industrial cold saw, my “cut-to-weld” time dropped by 40%. On a project with 50 individual cuts, that saved me nearly three hours of labor. If your shop rate is $80 an hour, that single upgrade just added $240 of value to that specific job. This is the core of small metal shop pricing: if you can do the work faster with better tools, your effective hourly rate goes up.
Better equipment also means less time spent on “secondary operations.” A cheap plasma cutter might leave heavy dross that requires twenty minutes of grinding. A high-quality unit leaves a clean edge that is ready for welding immediately. You must track these minutes. In my experience, a tool that saves just 10 minutes an hour will pay for itself within six months of consistent use.
- Track the time spent on a single repetitive task with your current tool.
- Research the cycle time of a professional-grade alternative.
- Multiply the time saved by your shop rate to find the daily value gain.
- Compare this gain to the monthly financing or purchase cost of the new tool.
The Financial Reality of Machine Depreciation
Depreciation is the process of allocating the cost of a major tool over its useful life. Instead of viewing a $3,000 welder as a one-time loss, you should see it as a predictable operating expense that helps you manage metal business ROI calculators.
In a professional shop, we use depreciation to prepare for the future. If a high-end TIG welder costs $5,000 and is expected to last 5,000 hours of arc time, the “depreciation cost” is $1 per hour. I include this $1 in my shop rate. This ensures that when the machine finally wears out, I already have the cash set aside to buy its replacement.
Entry-level tools often have a much higher “cost per hour” because they break down sooner. A $500 machine that lasts only 200 hours costs you $2.50 per hour. Interestingly, spending more upfront often results in a lower hourly cost over the life of the tool. This is a vital part of calculating shop rates accurately.
- Determine the total purchase price of the equipment.
- Estimate the “useful life” in years or hours of operation.
- Divide the price by the life to find the annual or hourly depreciation.
- Add this figure to your overhead calculations.
Why Quality Consumables Protect Your Profit Margins
Consumables are items that are used up during fabrication, such as welding wire, shielding gas, and abrasive discs. Tracking these expenses is essential because they represent a “hidden” cost that can quickly erode the profitability of a well-quoted job.
I have seen many small shop owners lose money because they didn’t account for welding consumable tracking. They buy a 10-pack of grinding discs and don’t realize they used seven of them on one project. In my consulting work, I recommend a “consumable burden factor” of 15% to 25% of the total material cost. If you spend $100 on steel, you should probably budget at least $15 for the “invisible” items like gas and abrasives.
Higher-quality consumables often last three to four times longer than the bargain bin versions. While a premium ceramic grinding disc might cost twice as much as a standard one, it often removes metal faster and lasts longer. This reduces the time you spend stopping to change out worn-out supplies, which keeps your workflow moving.
- Keep a simple log of how many discs or rolls of wire you use per project.
- Calculate the “cost per cut” or “cost per foot of weld.”
- Adjust your quotes to include a dedicated line item for shop supplies.
- Bulk buy the items you use most frequently to lower your unit cost.
Accuracy and Repeatability as Productivity Drivers
Repeatability is the ability of a tool to produce the exact same result multiple times without manual adjustment. In metal fabrication, high repeatability reduces the need for “rework,” which is the most expensive type of labor in any workshop.
When your measurements are off by a fraction of an inch due to a flexy saw arm or a sloppy drill press, you spend extra time filing, filling gaps with weld, or throwing away ruined material. This is a major pain point in fabrication job costing. If you have to rebuild a part, you aren’t just losing the material; you are losing the billable hours you could have spent on the next client’s project.
I once worked with a fabricator who struggled with inconsistent bends on a manual tube bender. By upgrading to a unit with a digital degree indicator, he eliminated the “test bends” and wasted tubing. This change alone increased his daily output by 20%. Precision isn’t just about quality; it is a financial strategy to maximize your shop’s throughput.
- Measure the “scrap rate” or the amount of wasted material per job.
- Identify which tool causes the most frequent errors or inaccuracies.
- Evaluate how much time is spent “fixing” parts to make them fit.
- Invest in precision measuring and squaring tools before major machinery upgrades.
Formulating a Real Material Markup Strategy
Material markup is the percentage added to the cost of raw metal to cover the time spent sourcing, transporting, and storing it. It is a critical component of small metal shop pricing that ensures you are compensated for the logistical effort of fabrication.
I generally recommend a sliding scale for material markups. For a small job where you have to drive to the local steel yard and pick up two sticks of tubing, a 50% markup is reasonable. For a larger project where you are ordering a full ton of steel delivered to your door, a 20% markup might be more appropriate. You are not just selling the metal; you are selling the fact that you have the right metal on hand and ready to work.
If you don’t mark up your materials, you are essentially giving away your time for free. Think about the time it takes to search for the best price, place the order, and unload the truck. If that takes two hours and your shop rate is $80, you have “spent” $160 of your time. If you don’t have a markup, that $160 comes directly out of your profit.
| Material Cost | Recommended Markup % | Total Charged to Client |
|---|---|---|
| $0 – $100 | 50% | $150 |
| $101 – $500 | 35% | $675 (at $500) |
| $501 – $2,000 | 25% | $2,500 (at $2,000) |
| $2,000+ | 15% – 20% | Negotiable |
Analyzing Post-Job Profits to Refine Future Bids
Post-job analysis is the practice of comparing your original estimate to the actual time and money spent once the work is finished. This feedback loop is the only way to ensure your metal business ROI calculators are working correctly.
I tell every side-hustler I coach to keep a “job folder” for every project. Inside, you should have the initial quote, the receipts for materials, and a log of your actual hours. If you quoted 10 hours but the job took 15, you need to know why. Was it a tool failure? Was the material harder to work with than expected? Did you underestimate the grinding time?
This process removes the emotion from pricing. If you consistently see that a certain type of bracket takes two hours instead of one, you must change your price. You cannot “hope” to be faster next time. Data-driven adjustments lead to a stable, profitable business that can eventually support the purchase of even better equipment.
- Total all material and consumable receipts.
- Multiply your actual hours by your shop rate.
- Compare the “actual cost” to the “quoted price.”
- Identify the specific tasks that took longer than planned.
- Update your estimation spreadsheet for the next similar job.
Digital Tools for Modern Workshop Management
Modern software can significantly reduce the administrative burden of running a small shop. Using digital tools for side-hustle metalworking allows you to spend more time under the welding hood and less time at a desk.
There are several types of platforms that help with this: 1. Estimation Spreadsheets: Custom Excel or Google Sheets templates that automatically calculate your shop rate and markups. 2. Invoicing Software: Tools like Quickbooks, FreshBooks, or Wave that track payments and help you see your monthly profit and loss. 3. Time Tracking Apps: Simple mobile apps like Toggl or Harvest that allow you to “punch in” on a specific project to see exactly where your day goes. 4. Inventory Trackers: Basic databases to monitor your stock of common steel sizes and consumables so you never run out mid-job.
By integrating these tools, you move from a “guesswork” model to a professional management model. This clarity reduces the anxiety of the transition from hobbyist to business owner. You will know exactly how much a tool upgrade will help you because you have the data to prove it.
Steps to Optimize Your Workshop Economics
If you are currently balancing a day job with a growing fabrication business, focus on incremental improvements. You don’t need to buy every high-end tool today. Instead, focus on the ones that solve your biggest time-wasters.
Start by tracking your time for one full week. Every time you have to stop because a tool is too slow, too inaccurate, or broken, make a note. At the end of the week, look at the total “lost time.” This is your roadmap for upgrades. If you lost four hours to a slow saw, that saw is costing you $320 a week at an $80 shop rate. Replacing it becomes a logical financial decision, not an emotional one.
- Establish your true shop rate including all overhead.
- Identify the “bottleneck” tool in your current workflow.
- Calculate the potential time savings of a higher-grade replacement.
- Implement a consistent material markup and consumable tracking system.
- Review every job’s profitability to refine your future bids.
Frequently Asked Questions
How do I know if a tool upgrade is worth the investment?
The best way to determine value is to calculate the “payback period.” If a new tool costs $1,000 and saves you two hours of labor per week at an $80 shop rate, it saves you $160 weekly. In this scenario, the tool pays for itself in just over six weeks. If the payback period is under a year, it is generally a very strong investment for a growing shop.
What is the most common mistake when calculating a shop rate?
Most owners forget to include “non-billable” time. You might spend 10 hours in the shop, but if only 6 of those were spent actually fabricating for a client, your rate must be high enough to cover the other 4 hours of cleaning, quoting, and material runs. Always base your rate on realistic billable hours, not total shop hours.
Should I charge a flat fee or an hourly rate for fabrication?
For beginners, an hourly rate is safer because it protects you if a job takes longer than expected. However, as you become more efficient with better tools, a “flat fee” based on your improved productivity can be more profitable. If you can do a “4-hour” job in 2 hours because of a tool upgrade, charging a flat fee allows you to keep the benefit of that efficiency.
How do I account for the “invisible” costs like welding gas and electricity?
The simplest method is to use a “consumable burden” percentage. Add 15% to 25% to your material costs on every quote. This covers the small items that are difficult to track individually. For high-draw machinery like large plasma tables or ovens, you may need to calculate the specific kilowatt-hour usage and add it as a separate utility surcharge.
Is it better to buy one expensive tool or several mid-range ones?
Focus on your “bottleneck.” If your saw is the reason you are always behind, buy the best saw you can afford. An expensive welder won’t help you if you are spending all your time waiting for parts to be cut. Always upgrade the tool that is currently limiting your shop’s total output or “throughput.”
How much should I mark up my materials?
A standard range is 20% to 50%. Small, “nuisance” orders require more handling time and should have a higher markup (50%). Large, bulk orders that are delivered directly to you can have a lower markup (20%). This ensures you are paid for the logistics and storage of the metal.
What is machine amortization, and why does it matter?
Amortization is spreading the cost of a large purchase over its useful life. It matters because it prevents “profit spikes and dips.” Instead of showing a huge loss the month you buy a welder, you account for a small portion of that cost every month. This gives you a much clearer picture of your actual monthly profit.
How can I compete with larger shops that have better equipment?
Small shops compete on flexibility and lower overhead. While a large shop might have a $150/hour rate, you can stay profitable at $85/hour. By upgrading to quality tools, you close the “productivity gap” while maintaining your lower overhead advantage, making you the more attractive option for many local clients.
What should I do if a client thinks my shop rate is too high?
Don’t lower your rate. Instead, explain the value. A higher shop rate often reflects better equipment that produces a higher-quality, more precise result in less time. If you lower your rate, you are essentially paying the client to work for them, which is not a sustainable business model.
How often should I review my shop’s financial performance?
I recommend a “deep dive” every quarter. Look at your total revenue, total expenses, and the number of hours worked. This allows you to see if your overhead has increased or if your productivity has slipped. Regular reviews help you catch small problems before they become shop-closing financial crises.
(This article was written by one of our staff writers, Michael Hargrove. Visit our Meet the Team page to learn more about the author and their expertise.)