Single-Phase vs Three-Phase Motors for Drill Presses (Tips)
There is a specific smell that defines a successful workshop rescue. It is a heavy mix of decades-old sulfurized cutting oil, decomposing grease, and the metallic tang of oxidized cast iron. When I first hauled a 1945 Buffalo Forge No. 15 drill press into my shop, it was a solid block of orange-brown neglect. The quill was frozen, the table was scarred by a “circle of shame” from wandering drill bits, and the motor was a mystery wrapped in a frayed cloth-covered cord. Over the last 18 years, I have learned that the heart of these machines is not just the heavy iron, but the motor that drives them. Choosing how to repower a vintage drill press is a decision that balances historical accuracy with modern shop utility.
Assessing the Electrical Heart of a Vintage Drill Press
Evaluating the condition of an existing motor involves checking for winding continuity, insulation integrity, and mechanical bearing wear. This initial step determines if you should restore the original power plant or source a modern replacement that fits the historical frame. It requires patience to avoid damaging obsolete components during the initial inspection.
Before I even plug a machine in, I perform a “megger” test or at least a continuity check with a multimeter. If the windings are grounded to the frame, the motor is a safety hazard. On that Buffalo Forge, the original 1/2 HP motor was a single-phase unit with a massive start capacitor. I spent three days just cleaning the sawdust out of the centrifugal switch. This switch is a common failure point in single-phase motors. It clicks open once the motor reaches about 75 percent of its rated speed to disconnect the start winding. If it is gummed up with old oil, the motor will hum and eventually trip a breaker or burn out.
Identifying Single-Phase Motors in Residential Shops
Single-phase motors are the standard for home workshops because they run directly on 120V or 240V household current. They are characterized by their start capacitors and centrifugal switches, which can be points of failure in older, neglected machinery. These motors are generally easy to wire but can introduce significant vibration.
Most restorers prefer single-phase motors for their “plug and play” convenience. You do not need any special equipment to run them. However, they are not without drawbacks. The torque delivery in a single-phase motor pulses because the power cycles to zero 120 times per second. In a heavy cast-iron drill press, this can translate into a subtle vibration that affects the finish of a bored hole. When I restored a 1950s Delta Rockwell, I noticed the single-phase motor caused the belt to flutter. This was not a mechanical misalignment but a result of the motor’s inherent power delivery.
The Benefits of Three-Phase Power in a Restoration Project
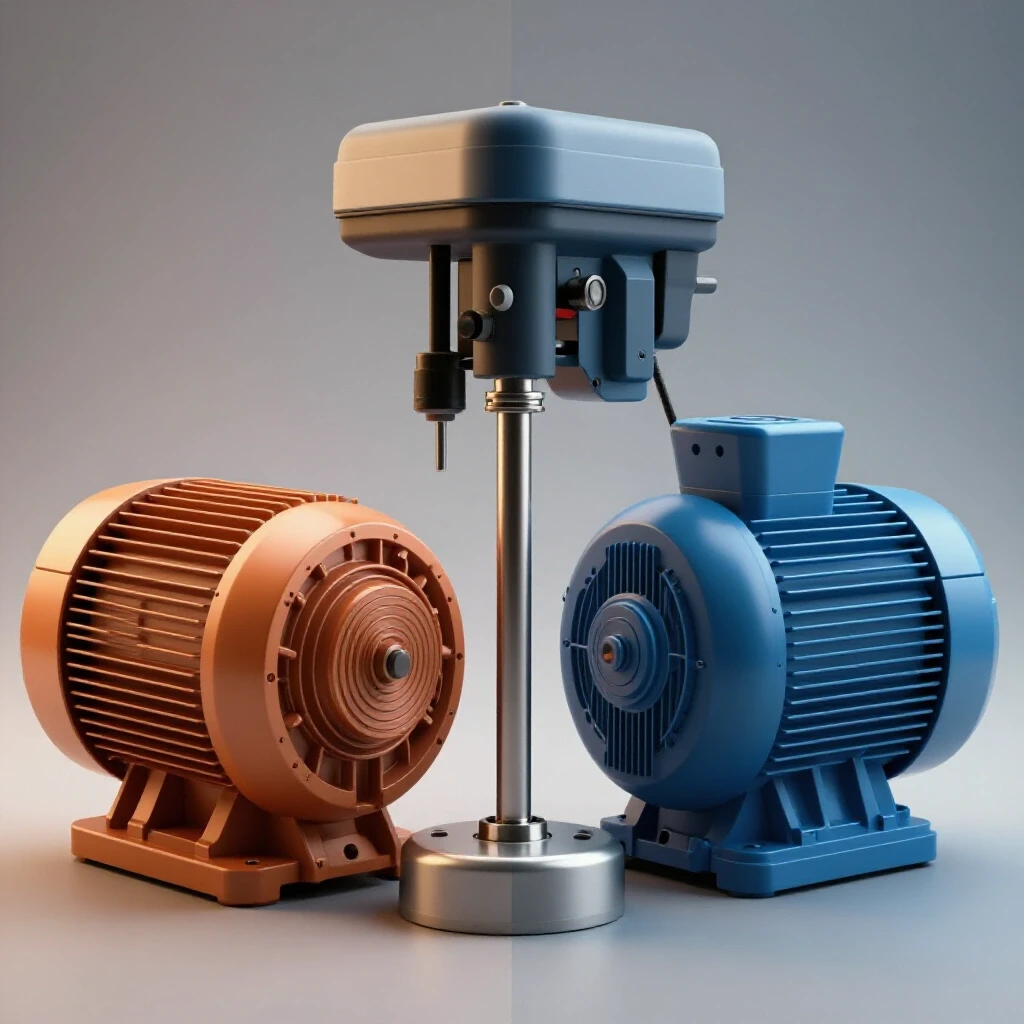
Three-phase motors offer superior torque and smoother operation compared to their single-phase counterparts. For a restorer, using a three-phase motor with a Variable Frequency Drive provides precise speed control without the need for constant belt changes on stepped pulleys. This setup mimics the performance of high-end industrial machinery within a home shop environment.
Interestingly, many of the best vintage drill presses were originally sold with three-phase motors. These were intended for factories with industrial power drops. For a modern restorer, finding a machine with a three-phase motor is often a blessing in disguise. While you cannot plug it directly into a wall outlet, these motors are mechanically simpler. They lack centrifugal switches and capacitors, meaning there are fewer parts to fail. They provide a constant, smooth flow of power that results in a much quieter machine.
Integrating Variable Frequency Drives (VFDs) for Speed Control
A VFD converts single-phase household power into three-phase power while allowing the user to adjust the motor’s frequency. This technology is a game-changer for vintage drill presses, enabling slow speeds for large bits and high speeds for small holes. It modernizes the tool while preserving its original heavy-duty motor and aesthetic.
I almost always lean toward a VFD when the original three-phase motor is still viable. A VFD allows you to dial the motor down to 10 or 20 Hz. This is incredibly useful when you are using a large Silver and Deming bit or a hole saw in thick steel. On a standard belt-drive press, you might be limited to a minimum of 400 RPM. With a VFD, I can get that same press down to 50 RPM with high torque. This prevents burning up expensive bits and makes the machine much safer to use.
Motor Comparison for Drill Press Restorations
| Feature | Single-Phase (Capacitor Start) | Three-Phase (with VFD) |
|---|---|---|
| Input Power | 120V / 240V Standard | 240V Single-Phase (to VFD) |
| Vibration Level | Moderate to High | Very Low |
| Speed Control | Belt Changes Only | Electronic Dial + Belts |
| Startup Torque | High (Snap Start) | Smooth (Ramp Up) |
| Maintenance | Brushes/Switches/Capacitors | Bearings Only |
| Cost | Low (Direct) | Moderate (Motor + VFD) |
Dealing with Seized Shafts and Heavy Corrosion
Removing a motor from a rusted drill press often requires a strategic thermal release plan to avoid cracking the cast iron mounts. Heavy structural corrosion can fuse the motor’s mounting plate to the column or the motor shaft to the drive pulley. Using controlled heat and penetrating oils is essential for a safe disassembly.
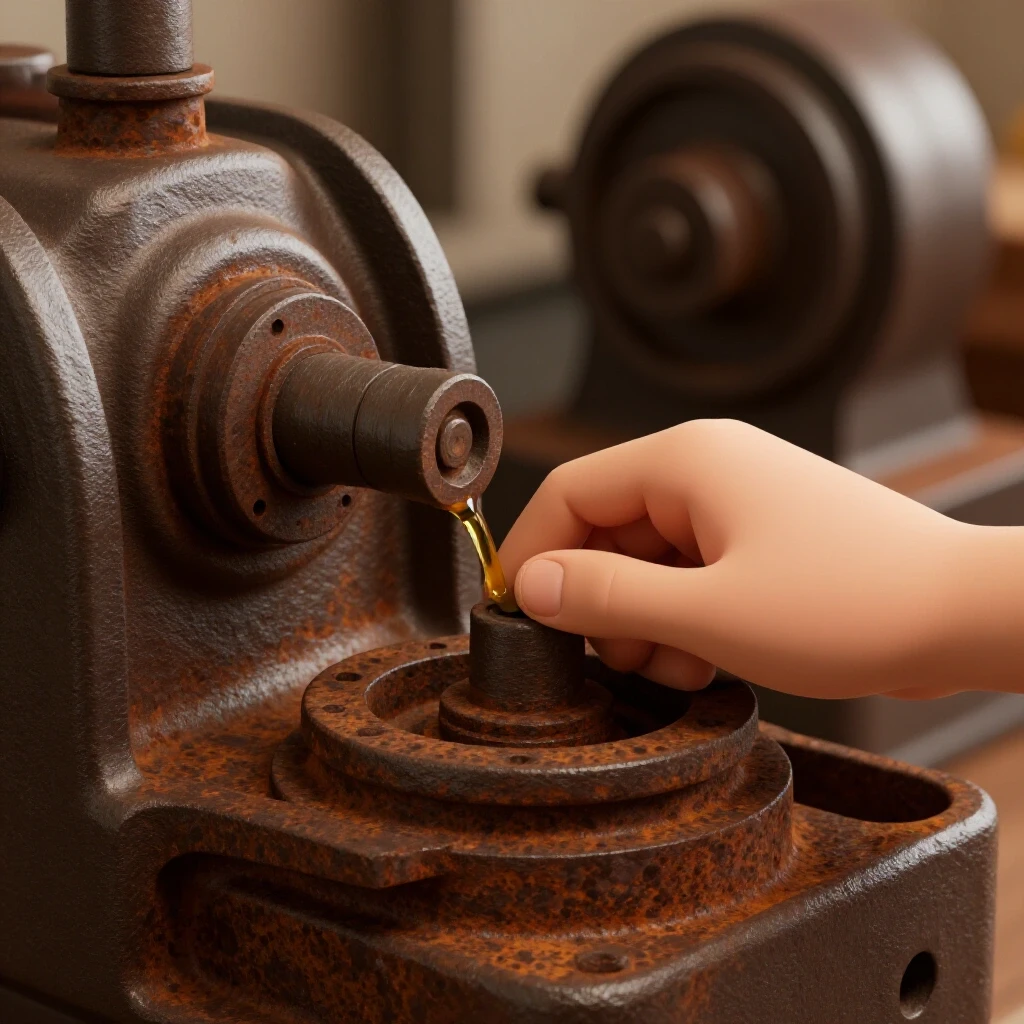
In my experience, the most dangerous tool in a restorer’s shop is a heavy-handed gear puller. I have seen many vintage pulleys shattered because someone tried to force a seized shaft. When I encounter a motor pulley that will not budge, I start with a 50/50 mix of acetone and automatic transmission fluid (ATF). I apply it daily for a week. If that fails, I use a propane torch to heat the pulley hub quickly while keeping the shaft cool with a damp rag. This creates a slight thermal expansion difference that usually breaks the rust bond.
Servicing Legacy Bearings and Sleeve Bushings
Older motors often utilize babbitt or bronze sleeve bearings rather than modern sealed ball bearings. Restoring these requires a deep understanding of oil film shear forces and proper lubrication channels to ensure the motor runs cool. Maintaining these legacy systems preserves the historical integrity of the machine while providing exceptionally quiet operation.
If you find a motor with oil cups instead of grease fittings, you are likely looking at sleeve bearings. These require a specific grade of non-detergent oil, usually ISO 32 or 46. During disassembly, I check the clearance with a micrometer. A gap of 0.001 to 0.002 inches is generally the target. If the clearance is too wide, the shaft will “slap,” causing vibration. If it is too tight, the friction will melt the bearing material. I once had to repour a babbitt bearing for a 1920s motor, a process that involves melting a tin-based alloy and casting it directly into the bearing housing. It is a lost art, but it makes the motor whisper-quiet.
Precision Alignment and Vibration Dampening
Aligning the motor pulley with the spindle pulley is critical for reducing belt wear and ensuring a smooth transfer of power. Even a minor misalignment of 0.010 inches can cause significant noise and heat during operation. Using a precision straightedge and checking for “twist” in the belt path are standard steps in a high-quality restoration.
Once the motor is mounted, I use a machinist’s level to ensure the motor shaft is perfectly vertical, matching the spindle. I also replace old, set-hardened V-belts with link-belts. Link-belts are fantastic for vintage machinery because they do not develop “memory” or flat spots from sitting idle. They also help dampen the vibrations inherent in single-phase motors. When I finished the alignment on my 1938 Walker-Turner, the difference was night and day. The machine went from a rattling roar to a low, rhythmic hum.
Rust Removal through Electrolysis
Electrolysis is a non-destructive method for removing heavy rust from motor housings and cast-iron brackets without stripping the base metal. By using a 12V DC power supply and a sacrificial anode in a washing soda solution, you can lift corrosion from deep within pitted surfaces. This process is safer for delicate castings than aggressive grinding or sandblasting.
I prefer electrolysis for motor end-bells and mounting plates. I set up a plastic tub with a mixture of one tablespoon of washing soda per gallon of water. I connect the negative lead of a manual battery charger to the part and the positive lead to a piece of scrap steel (the anode). Over 12 to 24 hours, the rust is converted into a black sludge that brushes right off. This preserves the original machining marks and any stamped serial numbers that a wire wheel would likely erase.
Sourcing Obsolete Fasteners and Parts
Finding replacement parts for 70-year-old motors often requires navigating vintage databases or fabricating new components on a lathe. Obsolete thread patterns, such as 12-24 or non-standard pitches, can stall a project if you are not prepared to chase threads or source specialty taps. Building a network within the vintage machinery community is invaluable for these moments.
Many mid-century motors used square nuts or specific carriage bolt styles that you cannot find at a modern hardware store. I keep a “donor” bin of old fasteners specifically for this reason. If I must use a modern bolt, I often turn the head down on my lathe to match the smaller profile of vintage hardware. It is a small detail, but when you are aiming for a factory-correct restoration, those details matter.
Step-by-Step Motor Restoration Checklist
- Initial Safety Check: Test for shorts to the frame using a multimeter set to the highest resistance range.
- Mechanical Assessment: Spin the shaft by hand to feel for bearing grit or “flat spots.”
- Document Disassembly: Take photos of the wiring, especially the connection between the capacitor and the start windings.
- Chemical Cleaning: Use a plastic-safe degreaser to remove old oil without damaging the wire insulation.
- Bearing Replacement: If using ball bearings, press them on using the inner race only to avoid “brinelling” or denting the balls.
- Centrifugal Switch Service: Clean the contact points with a fine abrasive (600 grit) and ensure the weights move freely.
- Reassembly and Alignment: Use a straightedge to align pulleys within 0.005 inches.
- Test Run: Monitor motor temperature for the first 30 minutes of operation.
Final Calibration and Safety Testing
The final stage of repowering a drill press is verifying that the motor’s thermal protection is functional and the machine is properly grounded. A restored vintage tool should not only look beautiful but also meet modern safety standards to protect the operator. This includes installing a dedicated “paddle” style safety switch that is easy to hit in an emergency.
I always add a modern magnetic switch to my restorations. If the power goes out and then comes back on, a magnetic switch prevents the machine from restarting unexpectedly. I also ensure the motor frame is bonded to the machine’s cast-iron body with a dedicated ground wire. Old machines often relied on the mounting bolts for grounding, which is unreliable due to paint and rust. A direct copper ground is a non-negotiable safety upgrade for any tool I put back into service.
Summary of Restoration Benchmarks
- Bearing Clearance (Sleeve): 0.001 to 0.003 inches.
- Electrolysis Voltage: 12V DC at 2 to 10 Amps.
- Hand-Scraping Density: 10 to 20 points per inch (PPI) for mating surfaces.
- Pulley Alignment: Within 0.005 inches over a 12-inch span.
- Motor Temperature Rise: Should not exceed 40°C (104°F) above ambient during continuous use.
Bringing an old drill press back to life is a journey through mechanical history. Whether you choose the simplicity of a single-phase motor or the precision of a three-phase motor with a VFD, the goal is the same: to preserve a piece of engineering that was built to last a lifetime. Every hour spent removing rust and every minute spent aligning a pulley contributes to a machine that will likely outlast us all.
Frequently Asked Questions
Can I run a three-phase motor on a standard 120V outlet? No, a three-phase motor requires three separate legs of power. However, you can use a VFD that takes 120V or 240V single-phase input and converts it to three-phase output. Note that 120V VFDs are usually limited to motors under 1 HP.
Why does my single-phase motor hum but not start? This is usually caused by a failed start capacitor or a stuck centrifugal switch. The capacitor provides the initial “push” to get the motor spinning. If it is dead, the motor has no directional torque and will simply vibrate or hum until the thermal protector trips.
Is it worth keeping the original 1/2 HP motor, or should I upgrade to 1.5 HP? Most vintage drill presses were designed for 1/2 or 3/4 HP. Upgrading to a much larger motor can put excessive strain on the cast-iron head casting and the spindle bearings. A high-quality 3/4 HP motor is usually more than enough for most workshop tasks.
How do I know if my motor bearings are bad? If you hear a high-pitched squeal or a low-frequency rumble, the bearings are likely worn. Another test is to check for radial play in the shaft. If you can feel the shaft move up and down or side to side, the bearings or the bearing seats are worn out.
What is the best way to clean motor windings? Use compressed air first to blow out loose dust. For oily residue, use a specialized electrical contact cleaner that is rated as “non-conductive” and “residue-free.” Avoid using water or heavy solvents that can dissolve the varnish on the copper wires.
Can I use a VFD on a single-phase motor? No, VFDs are designed specifically for three-phase induction motors. Attempting to run a single-phase motor on a VFD will likely damage the motor’s start capacitor or the VFD itself.
What does “Frame 56” mean on a motor nameplate? This is a standard NEMA frame size that dictates the mounting hole pattern and shaft height. Most mid-sized drill presses use a 56 or 56H frame. Knowing this makes it easy to find a modern replacement that will bolt directly to your vintage mount.
How do I remove a pulley that has no set screw? Some vintage pulleys were “press-fit” or used a woodruff key with a very tight tolerance. If there is no set screw, you may need a specialized bearing splitter and a hydraulic press. Always check for a hidden second set screw hidden underneath the first one before applying force.
Is it safe to use a motor that has been sitting in a damp barn for 20 years? Only after a thorough inspection. Moisture can cause the internal insulation to break down. You should bake the motor in a low-temperature oven (about 150°F) for several hours to drive out moisture before attempting to apply power.
What is the difference between a TEFC and an ODP motor? TEFC stands for Totally Enclosed Fan Cooled. These are ideal for drill presses because they keep metal shavings and sawdust out of the motor windings. ODP (Open Drip Proof) motors are cheaper but allow debris to enter, which can cause internal shorts over time.
(This article was written by one of our staff writers, Richard Beaumont. Visit our Meet the Team page to learn more about the author and their expertise.)