Troubleshooting Ground Fault Trips in Garage Shops (DIY Fix)
I remember standing in my garage on a Tuesday evening, staring at a half-finished suspension mount. I had my MIG welder dialed in, the shielding gas was flowing at a perfect 20 cubic feet per hour, and the weld pool was looking clean. Then, without warning, everything went silent. No fan, no arc, just the dull click of a safety device cutting power.
In my 18 years as a millwright and diagnostic specialist, I’ve learned that these interruptions are rarely random. Whether I’m tracking down the source of welding porosity in a massive industrial mill or isolating tool chatter harmonics on a precision lathe, the approach is always the same: systematic elimination. In a residential shop, an unexpected power cut is your electrical system’s way of telling you that current is escaping its intended path. It is a mechanical failure of insulation or a buildup of conductive debris that demands a structured investigation.
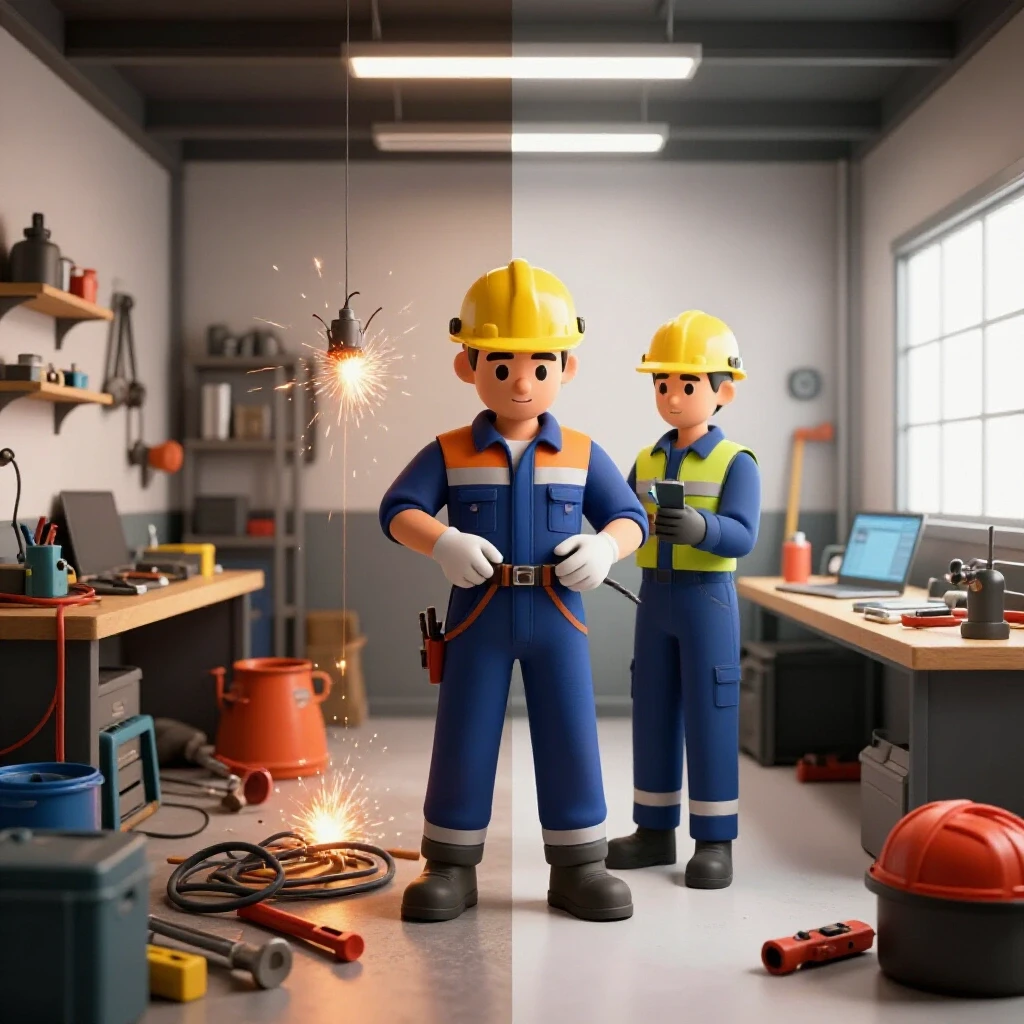
When your equipment stops because a safety circuit was triggered, it can feel like chasing a ghost. You might be tempted to just reset the button and keep going, but that is guesswork, not troubleshooting. In fabrication, we value precision. We measure backlash to 0.002 inches and check for structural alignment with laser-like focus. We should treat our shop’s electrical health with that same level of rigor. This guide will walk you through the process of finding and fixing these leakage issues so you can get back to the work that matters.
The Foundation of Electrical System Diagnostics
Electrical leakage occurs when current finds an unintended path to the ground, often through a person or a machine’s chassis. In a garage shop, this is frequently triggered by a safety device that monitors the balance of current between the hot and neutral wires, cutting power if it detects a difference as small as 5 milliamps.
To solve these issues, we must first understand the “why” before the “how.” In a metalworking environment, we deal with unique variables. We produce fine metallic dust from grinders, use high-voltage arcs for welding, and often work in unheated spaces where moisture can condense inside tool housings. Each of these factors can create a bridge for electricity to jump where it doesn’t belong.
A systematic diagnostic framework relies on three pillars: observation, isolation, and variable control. When a trip occurs, your first step isn’t to reach for a tool, but to look at the state of the shop. Was the air compressor running? Did the trip happen the moment you pulled the trigger on the plasma cutter? Documentation is your best friend here. I keep a small logbook in my toolbox to record every time a machine fails. Over time, patterns emerge that reveal the root cause.
Establishing a Baseline for Shop Equipment
A baseline is the known “good” state of your equipment and power supply. It involves checking that your outlets are wired correctly and that your tools are in a standard operating condition without visible damage or excessive internal debris.
Before diving into complex testing, perform a visual inspection of your primary tools. Look for frayed power cords, cracked plugs, or signs of heat discoloration on the outlet face. In my experience, about 40% of power interruptions in home shops are caused by physical damage to cords that have been stepped on, rolled over by heavy carts, or nicked by falling metal scraps.
| Component | Inspection Point | Tolerance/Standard |
|---|---|---|
| Power Cords | Outer jacket integrity | No copper visible; no sharp kinks |
| Plug Prongs | Ground pin presence | Must be secure and straight |
| Grinder Vents | Metallic dust buildup | Clear of visible silver/grey powder |
| Extension Cords | Gauge and length | 12 AWG or thicker for high-draw tools |
| Outlet Face | Heat signatures | No browning or melted plastic |
Systematically Isolating the Faulty Component
Isolation is the process of removing variables until only the problem remains. In a garage shop, this means unplugging every device on the affected circuit and reintroducing them one by one to see which one triggers the safety interruption.
I once spent three hours trying to figure out why a client’s welder kept tripping the circuit. We checked the welder, the extension cord, and even the wall outlet. It turned out to be a small refrigerator in the corner of the garage that was on the same circuit. Every time the compressor kicked on, the combined leakage current from the fridge and the welder exceeded the 5mA limit. This is why isolation is critical; the problem isn’t always the tool you are holding in your hand.
The “Unplug and Re-engage” Protocol
This protocol involves stripping the circuit down to its barest form to determine if the issue lies in the house wiring or the tools themselves. It is a slow process, but it is the only way to be 100% certain of your results.
- Unplug every single item from the affected circuit. This includes lights, chargers, and small appliances.
- Reset the safety device (the button on the outlet or the breaker in the panel).
- If it trips immediately with nothing plugged in, the fault is in the outlet or the wiring behind the wall.
- If it stays set, plug in your most common tool (like a bench grinder) and turn it on.
- Repeat this process, adding one tool at a time, until the trip occurs.
- Once it trips, the last tool you plugged in is either the culprit or the “tipping point” for a cumulative leakage issue.
Diagnosing Welders and Plasma Cutters
High-draw fabrication tools like welders and plasma cutters are prone to causing circuit interruptions due to their internal components. These machines use large capacitors and high-frequency starting circuits that can naturally “leak” small amounts of current during operation.
When a welder trips a circuit, it’s often because of a breakdown in the transformer insulation or a buildup of conductive grinding dust inside the machine’s casing. I’ve seen machines that worked perfectly for years suddenly start tripping because a layer of fine steel dust had coated the internal circuit boards, creating a high-resistance path to the chassis. This is similar to how “magnetic arc blow” can ruin a weld bead; small, unseen forces create significant mechanical problems.
Internal Contamination and High-Frequency Interference
Metal dust is conductive, and in a garage, it gets everywhere. When your cooling fans pull air through your welder, they are also pulling in whatever you were just grinding. Over time, this creates a “bridge” for electricity.
If you suspect your welder is the cause, the first step is to disconnect it from power and use compressed air to blow out the internal components. Be careful not to use too much pressure, as you don’t want to dislodge sensitive connections. Focus on the areas around the power switch and the main transformer. If the machine continues to trip after a thorough cleaning, you may be dealing with a failing capacitor or a more serious insulation breakdown that requires professional attention.
Environmental Hazards in Garage Shops
The environment of a residential garage is often much harsher than an indoor living space. Fluctuations in temperature and humidity can cause moisture to collect inside tool housings, which is a leading cause of ground leakage and circuit trips.
I’ve diagnosed many “intermittent” electrical issues that only happened on rainy days or cold mornings. Moisture reduces the resistance of air and surfaces, allowing current to “creep” across insulators. In a fabrication context, this is much like how humidity can lead to hydrogen cracking or porosity in a weld. If the environment isn’t controlled, the results will be inconsistent.
Managing Moisture and Metallic Debris
Controlling your shop’s environment is just as important as maintaining your tools. If your garage is unheated, consider using a dehumidifier to keep the air dry, especially during the shoulder seasons when temperature swings are most dramatic.
- Elevate your cords: Keep power strips and extension cord connections off the floor where moisture can pool.
- Seal your tools: When not in use, cover your welders and plasma cutters with breathable fabric covers to prevent dust from settling inside.
- Clean your workspace: Regularly use a vacuum with a HEPA filter to remove metallic dust from the floor and workbenches. Sweeping often just kicks the dust back into the air where your tools’ fans will catch it.
Testing with Multimeters and Continuity
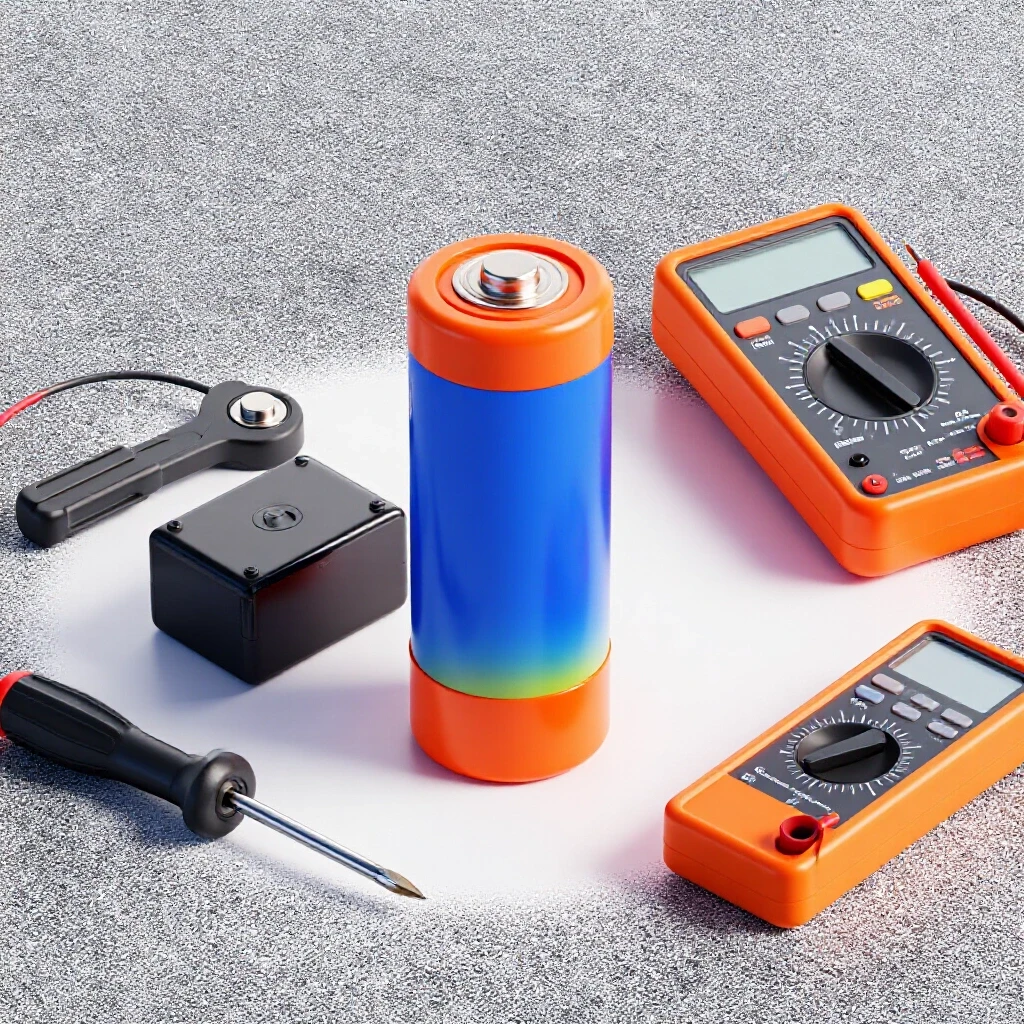
A multimeter is the most powerful diagnostic tool in a fabricator’s arsenal for electrical issues. It allows you to measure resistance (Ohms) and check for continuity, which tells you if two points are electrically connected when they shouldn’t be.
When I’m looking for a fault, I use the resistance setting to check the “insulation integrity” of a tool. By measuring the resistance between the hot prong of a plug and the ground pin, I can see if current is leaking through the tool’s internal wiring. In a perfect world, this resistance should be infinite (or “OL” on a digital meter). If you see a specific numerical reading in the Kilo-ohm range, you have a leakage path.
How to Perform a Leakage Test
This test should only be performed with the tool completely unplugged from the wall. We are testing the tool’s internal circuits, not the live power from the outlet.
- Set your multimeter to the highest Ohms (Ω) setting.
- Place one probe on the ground pin of the tool’s power plug.
- Place the other probe on the “hot” pin (the narrower of the two flat prongs).
- Note the reading. It should stay at “OL” or show many millions of Ohms.
- Repeat the test between the ground pin and the “neutral” pin (the wider flat prong).
- If you get a reading below 1 Megohm (1,000,000 Ohms), there is a significant breakdown in the tool’s insulation.
| Meter Reading | Meaning | Action Required |
|---|---|---|
| OL (Open Line) | Excellent insulation | Tool is likely not the cause |
| > 10 MΩ | Good condition | Monitor for changes |
| 1 MΩ – 5 MΩ | Marginal | Clean the tool and check for moisture |
| < 1 MΩ | Faulty | Do not use; internal repair needed |
Mechanical Vibrations and Electrical Failures
In a shop, mechanical issues often lead to electrical ones. Tool chatter—the resonant vibration caused by a lack of rigidity in a machining setup—doesn’t just ruin the surface finish of your workpiece; it can also vibrate electrical connections loose inside your equipment.
I remember a bench grinder that would trip the safety circuit every time it reached full speed. It wasn’t an electrical fault in the traditional sense. Instead, the grinder’s wheels were so badly out of balance that the resulting vibration was causing a loose internal wire to bounce against the metal housing. By dressing the wheels and restoring mechanical balance, the “electrical” problem vanished. This is why we must look at the machine as a whole system.
Isolating Rigid Harmonic Vibrations
If a tool only trips the circuit when it is under load or at a specific RPM, you are likely dealing with a vibration-induced fault. This is common in lathes, mills, and even large drill presses.
To diagnose this, first ensure the machine is properly leveled and bolted down. Use a dial indicator to check for spindle runout; anything over 0.001 to 0.002 inches can create significant harmonics at high speeds. If the machine is mechanically sound but still trips during use, check the internal wiring harnesses. Look for wires that are rubbing against sharp metal edges or cooling fan blades. Securing these wires with zip ties or adding protective grommets can prevent the insulation from wearing through.
Actionable Tracking Frameworks and Checklists
Mastering shop diagnostics requires a move away from “trial and error” and toward “test and verify.” Use the following checklists to maintain your shop’s electrical health and resolve issues quickly when they arise.
Tool Calibration and Maintenance Checklist
- Monthly Cord Check: Inspect all 120V and 240V leads for nicks or “soft spots” in the insulation.
- Quarterly Dust Blow-out: Use low-pressure air to clean the internals of welders, plasma cutters, and stationary grinders.
- Plug Tension Test: Ensure plugs fit tightly into outlets. If a plug falls out easily or feels loose, the internal contacts are worn, which can cause heat and trips.
- Ground Continuity Check: Use a multimeter to ensure the metal chassis of every machine has less than 0.5 Ohms of resistance to the ground pin of its plug.
- Vibration Audit: Check for loose fasteners on all motorized equipment. A loose bolt can lead to a wire-chafing vibration.
Fault-Tree Template for Power Interruptions
- Step 1: Does the trip happen immediately?
- Yes: Look for a “hard short” or moisture in the plug/outlet.
- No: Go to Step 2.
- Step 2: Does the trip happen only when a specific tool is turned on?
- Yes: Perform a multimeter resistance test on that tool.
- No: Go to Step 3.
- Step 3: Does the trip happen when multiple tools are running?
- Yes: You are likely dealing with “cumulative leakage.” Unplug non-essential items.
- No: Go to Step 4.
- Step 4: Does the trip happen during high-vibration tasks?
- Yes: Inspect internal wiring for chafing or loose connections.
Final Thoughts on Shop Reliability
Troubleshooting is an art form that rewards patience and punishes shortcuts. When your garage shop power fails, it’s easy to get frustrated, especially when you’re in the middle of a complex fabrication project. But by applying the same precision you use for measuring a weld gap or aligning a lathe bed, you can turn a confusing electrical “gremlin” into a simple mechanical fix.
Always remember that safety devices are there for a reason. They are the “canary in the coal mine” for your shop. If they are tripping, there is a physical reason why current is leaving the circuit. Find that reason, fix it permanently, and you’ll have a safer, more productive workspace. My goal has always been to help you move from being a “parts swapper” to a true diagnostic specialist. The next time you hear that “click,” don’t just reset the button—reach for your multimeter and start the process of elimination.
Frequently Asked Questions
Why does my MIG welder trip the shop outlet as soon as I start an arc? This is often caused by a breakdown in the transformer’s primary windings or a faulty diode bridge. High-draw tools like welders can also cause a trip if there is moisture inside the machine or if the circuit is already carrying a “leakage load” from other appliances like a refrigerator or a dehumidifier.
Can metal shavings in an extension cord cause a circuit to trip? Yes. Fine metallic dust and shavings are highly conductive. If they work their way into the female end of an extension cord or into a power strip, they can create a high-resistance bridge between the hot and ground wires, triggering a safety shutoff.
What is the difference between a short circuit and a ground fault? A short circuit occurs when current bypasses the load (like a motor) and flows directly from hot to neutral, usually causing a breaker to trip due to high heat. A ground fault occurs when current leaks to the ground path. Safety outlets are designed specifically to detect this leakage at very low levels (5mA) to prevent electrical shock.
How do I know if my grinder is “leaking” electricity? The best way is to use a multimeter. With the grinder unplugged, check the resistance between the power prongs and the metal body of the tool. Any reading other than “Infinite” or “OL” suggests that current is finding a path to the chassis, likely due to carbon brush dust or moisture.
Why does my plasma cutter only trip the power when I use the “pilot arc”? Plasma cutters use high-frequency (HF) or high-voltage starts to ionize the air. This HF energy can sometimes be “seen” by sensitive safety devices as a ground fault. Ensuring your machine is properly grounded to the workpiece and that you aren’t using excessively long extension cords can help mitigate this.
Is it safe to use a tool if it only trips the circuit occasionally? No. An intermittent trip is a sign of a developing problem, such as a loose wire, moisture ingress, or failing insulation. Ignoring it can lead to a total tool failure or an electrical fire. It is better to diagnose and fix the issue while it is still intermittent.
Does the age of my garage outlets matter? Yes. Over time, the internal spring tension in an outlet weakens, and the sensing electronics can degrade. If an outlet trips frequently even with “known good” tools, the outlet itself may need to be replaced by a fresh unit to ensure reliable performance.
Can a long extension cord cause power interruptions? While a long cord doesn’t directly cause a ground fault, it does cause a voltage drop. This drop makes motors work harder and draw more current, which can generate heat. Heat can then soften insulation or cause existing minor leakage issues to become severe enough to trigger a trip. Always use the shortest, heaviest-gauge cord possible.
How can I prevent “ghost trips” in a humid garage? Keep your tools off the concrete floor, which can hold moisture. Use a dehumidifier to maintain a stable environment, and always blow out your tools with compressed air after heavy grinding sessions to remove conductive dust.
What should I do if I can’t find the source of the trip? Follow the isolation protocol strictly. Unplug every single thing on the circuit. If the trip persists with nothing plugged in, the issue is in the wall wiring. If it only happens with a specific combination of tools, you are dealing with cumulative leakage and should move some tools to a different circuit.
(This article was written by one of our staff writers, Paul Whitaker. Visit our Meet the Team page to learn more about the author and their expertise.)