How to Safely Insulate a Metal Workshop Building (DIY Guide)
When I first transitioned from a hobbyist welder to a legitimate small shop owner, I spent my first winter in a 1,200-square-foot steel building that felt more like a walk-in freezer than a fabrication space. I remember trying to tig weld a precision aluminum bracket while my breath clouded my hood and my hands shook from the cold. That day, I realized that my physical discomfort was directly hurting my bottom line. My weld quality dropped, my pace slowed to a crawl, and I was spending more on propane for a space heater than I was making on the job.
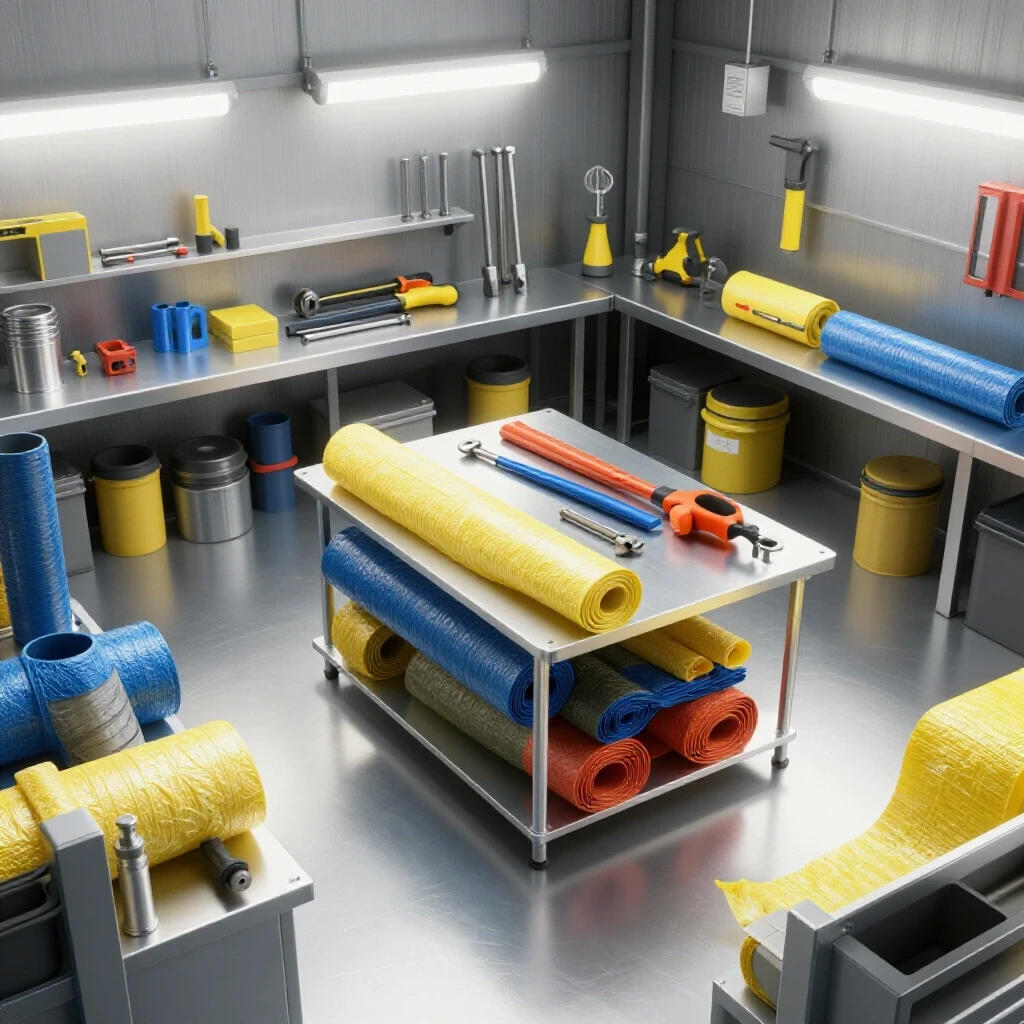
In the world of metalworking, we often focus on the shiny tools—the new multi-process welder or the CNC plasma table. However, the environment where those tools live is just as important for your financial success. If your shop is too cold or too hot, your productivity dives. If moisture builds up on your walls, your expensive steel stock and precision machinery will rust. Addressing the thermal efficiency of your building is not just about comfort; it is a strategic business move designed to protect your assets and stabilize your operating costs.
Determining Your Shop Hourly Rate to Justify Facility Improvements
A shop hourly rate is the total cost of running your business divided by your billable hours. It includes fixed costs like rent and insurance, plus variable costs like consumables. Understanding this number allows you to see if a facility upgrade, like adding thermal protection, will actually increase your long-term profitability.
Before you buy a single roll of insulation, you need to know what your time is worth. Most side-hustlers guess their pricing. They see a local shop charging $90 an hour and think they should charge $60 because they work out of a garage. This is a trap. To find your true rate, you must list every expense: electricity, gas, welding wire, grinding disks, and even the depreciation of your welder.
When you work in an uninsulated metal building, your “hidden” overhead spikes. You lose time waiting for machines to warm up to operating temperature. You lose money when you have to sand rust off a sheet of 16-gauge steel because the building “sweated” overnight. By calculating a shop rate—typically between $65 and $120 for small fab shops—you can see how many hours of efficiency you need to gain to pay for an insulation project.
| Expense Category | Annual Cost (Example) | Monthly Impact |
|---|---|---|
| Fixed Overhead (Insurance, Rent, Software) | $4,800 | $400 |
| Variable Utilities (Heat, Power) | $2,400 | $200 |
| Consumable Burden (10% of Material) | $1,200 | $100 |
| Equipment Depreciation (5-year cycle) | $3,000 | $250 |
| Total Monthly Overhead | N/A | $950 |
If you aim for 20 billable hours a week (80 per month), your overhead cost alone is $11.87 per hour before you even pay yourself. If an uninsulated shop makes you 20% less efficient, you are effectively throwing away nearly $200 a month in lost time.
Selecting DIY Thermal Barriers for Metal Structures
Choosing the right material for a steel or aluminum building involves balancing R-value, cost, and ease of installation. Options like fiberglass batts, rigid foam boards, or reflective foils each interact differently with metal skins. Selecting the correct barrier ensures you do not waste capital on materials that fail to stop heat transfer.
In my experience, side-hustlers often choose the cheapest fiberglass they can find. While the initial cost is low, fiberglass in a metal building can be a nightmare if not handled correctly. Metal conducts heat rapidly. When the sun hits a steel roof, it radiates that heat directly into your workspace. You need a material that provides a “thermal break”—a gap or a barrier that stops the metal-to-metal conduction.
Rigid foam board, specifically Polyisocyanurate (Polyiso), is a favorite for many small shops. It offers a high R-value per inch and is easy to cut with a simple utility knife or a fine-tooth saw. For a metalworker, the beauty of rigid board is that it can be mechanically fastened to the girts of the building using self-tapping screws and large washers. This creates a clean, professional look that doesn’t sag over time like rolls of batting might.
- Fiberglass Batts: High R-value but prone to moisture retention if the vapor barrier fails.
- Rigid Foam Board: Excellent thermal break and easy to install between metal framing.
- Reflective Foil: Good for radiant heat but offers very little protection against ambient cold.
- Spray Foam (DIY Kits): Great for sealing gaps but can be messy and expensive for large areas.
Controlling Condensation and Moisture in Fabricated Workshops
Metal buildings are prone to “sweating” when warm interior air hits cold metal panels. This moisture can ruin expensive welding wire and cause precision tools to rust. Installing a proper vapor barrier is a critical step in protecting your machinery investment and maintaining the quality of your raw material stock.
Condensation is the silent killer of shop profitability. I once lost three rolls of ER70S-6 MIG wire to surface rust because I didn’t realize how much moisture was dripping from my uninsulated ceiling. When you insulate, you must ensure that warm, moist air from your welding fumes or gas heaters cannot reach the cold metal skin of the building.
A vapor barrier is typically a plastic or foil layer placed on the “warm” side of the insulation. In a DIY scenario, many rigid foam boards come with a foil facing that acts as a built-in barrier. The key is to seal every single seam with high-quality foil tape. If you leave even a small gap, moisture will find its way behind the insulation, get trapped against the steel, and cause hidden corrosion. This is why meticulous installation is more important than the R-value of the material itself.
Practical Attachment Techniques and Thermal Bridging
Using metalworking tools to secure insulation while stopping heat transfer is a skill every shop owner should master. Thermal bridging occurs when a highly conductive material, like a steel bolt or frame, bypasses the insulation and allows heat to escape. Minimizing these bridges keeps your shop warmer and your energy bills lower.
Since you likely already have a drill and a rivet gun, you have the primary tools needed for a professional installation. To avoid thermal bridging, you want to avoid screwing your interior wall finish directly into the exterior metal studs without a buffer. One effective method is to use “Z-girts” or wooden furring strips. You attach these to the metal frame, place your insulation in between, and then attach your interior skin to the strips.
Interestingly, using pop rivets can be a very effective way to secure thin insulation or foil barriers to metal ribs. Rivets provide a low-profile finish and won’t vibrate loose like some screws might when you are running heavy machinery or air compressors. When I upgraded my second shop, I used a combination of heavy-duty adhesive and wide-flange rivets to secure foam panels. It was faster than drilling hundreds of pilot holes for screws and created a much tighter seal against the frame.
Tracking Consumables and Hidden Expenses during Installation
Accounting for fasteners, adhesives, and blade wear is essential when budgeting for any shop upgrade. These small items, often called consumables, can add 10% to 15% to your total project cost if you are not careful. Tracking these expenses ensures your ROI calculations remain accurate and your budget stays on track.
When we bid on a fabrication job, we usually remember to charge for the steel and the labor. We often forget the “burden”—the cost of the welding gas, the electricity, and the sanding disks. The same logic applies to insulating your shop. You aren’t just buying foam or fiberglass; you are buying cases of construction adhesive, thousands of self-tapping screws, and rolls of expensive seam tape.
I recommend creating a simple spreadsheet to track these “hidden” costs. For a standard 20×30 metal shop, you might spend $1,200 on the primary insulation material, but another $250 on the fasteners and tapes. If you don’t account for that $250, you are underestimating your project cost by 20%. In the manufacturing world, we call this the consumable burden factor. For most DIY shop projects, I suggest adding a 12% buffer to your material estimates to cover these incidental items.
- Measure the total square footage of walls and ceiling.
- Calculate the number of sheets or rolls needed, then add 5% for waste.
- Estimate one tube of adhesive for every two sheets of rigid foam.
- Budget for one box of 500 screws/washers per 400 square feet.
- Include the cost of two or three high-quality foil tape rolls.
Evaluating the Payback Period of Shop Upgrades
Calculating how many fabrication jobs it takes to pay off the insulation is the final step in making a smart business decision. A payback period is the time it takes for the savings or increased earnings from an investment to equal the initial cost. For a side-hustle, a two-year payback is usually considered a solid investment.
To find your payback period, look at your energy bills and your production logs. If you spend $1,500 to insulate your shop and it saves you $50 a month on heating, the energy savings alone will take 30 months to pay it off. However, the real value is in labor efficiency. If you can work one extra hour a week because the shop is comfortable, and your shop rate is $75/hour, you are gaining $3,900 in potential revenue per year.
Suddenly, that $1,500 investment pays for itself in less than five months. This is the difference between a hobbyist mindset and a business owner mindset. A hobbyist looks at the $1,500 as an expense. A business owner looks at it as a way to unlock more billable hours. When I insulated my main assembly area, my “post-job profit analysis” showed that my turnaround time on small gates and railings improved by nearly 15% simply because I wasn’t fighting the elements.
Analyzing Post-Job Profits and Facility Efficiency
After completing your insulation project, it is vital to review your financial data to see the real-world impact. Post-job profit analysis involves looking at the actual time and materials used versus your initial estimates. This practice helps you refine your future bidding process and confirms the value of your shop upgrades.
Once the shop is sealed and comfortable, keep a close eye on your “job cost variance.” This is the difference between what you thought a job would cost and what it actually cost. In a cold shop, variance is usually high because tasks take longer than expected. In a climate-controlled environment, your work becomes more predictable.
I’ve found that my most successful consulting clients are the ones who track their “effective hourly rate.” If you quote a job for $500 based on 5 hours of work, but it takes you 7 hours because you’re shivering, your effective rate drops from $100 to $71. By investing in your shop’s envelope, you are protecting that $100/hour rate. You are ensuring that your estimates remain accurate and your side-hustle remains a profitable venture rather than an expensive hobby.
- Track energy bills for six months post-insulation.
- Monitor “time-to-complete” for recurring fabrication tasks.
- Check for a reduction in material waste (less rust/corrosion).
- Re-evaluate your shop rate based on new, lower operating overhead.
Frequently Asked Questions
Does insulating a metal building cause the frame to rust? If installed incorrectly, yes. Moisture can get trapped between the insulation and the metal skin. This is why a continuous vapor barrier and proper sealing with foil tape are non-negotiable. You must prevent warm shop air from touching the cold metal.
What is the best way to attach rigid foam to metal girts DIY? The most reliable method is using self-tapping screws with large plastic “platter” washers. This prevents the screw head from pulling through the foam. For a cleaner look, some use high-strength construction adhesive, but mechanical fasteners are safer for ceiling applications.
Is fiberglass or rigid foam better for a welding shop? Rigid foam (specifically fire-rated Polyiso) is often better because it doesn’t absorb moisture or sag. However, you must ensure it is covered by a thermal barrier like plywood or metal sheeting if required by local safety standards, as some foams can release toxic fumes if exposed to high heat or fire.
How do I calculate the ROI of insulating my shop? Add your total project costs (materials + consumables + your labor time). Divide that by your monthly energy savings plus the value of the extra billable hours you gain through increased efficiency. Most shops see a full return within 12 to 18 months.
Can I use spray foam on my own? There are DIY spray foam kits available. They are excellent for sealing corners and tight spots where rigid board won’t fit. However, for large wall areas, they can be significantly more expensive than board or batt options and require careful temperature control during application.
How thick should my shop insulation be? This depends on your climate. In moderate zones, 2 inches of rigid foam (approx. R-13) is often enough to make a massive difference. In colder northern climates, you may want to aim for R-19 or higher. Always check the R-value per inch of the material you are buying.
Will insulation help with the noise in my metal shop? Yes, significantly. Metal buildings act like drums, amplifying the sound of grinders and hammers. Adding mass and soft materials to the walls will dampen the vibrations, making the shop much quieter for you and your neighbors.
What tools do I need to insulate a metal building myself? You will need a high-quality tape measure, a utility knife with plenty of spare blades, a cordless drill/driver, a rivet gun, and a stable ladder or scaffolding. For cutting rigid foam, a fine-tooth hand saw or a hot wire cutter can also be very helpful.
Should I insulate the floor of my metal shop? While most heat is lost through the roof and walls, a cold concrete slab can be a major heat sink. If you are building a new shop, insulating under the slab is great. For an existing shop, using rubber fatigue mats at your workstations provides a thermal break for your feet, which improves comfort and stamina.
How do I handle the seams between insulation panels? Use a high-quality, cold-weather foil tape. Clean the surface of the insulation before applying the tape to ensure a good bond. Overlap the tape by at least two inches on all sides to create a true vapor seal. This prevents “ghosting” or moisture lines on your walls.
(This article was written by one of our staff writers, Michael Hargrove. Visit our Meet the Team page to learn more about the author and their expertise.)