Avoid Wasting Money on Cheap Welding Clamps (Buying Guide)
When I first opened my own fabrication shop sixteen years ago, I was obsessed with the bottom line. I tracked every penny spent on shielding gas and grinding discs, yet I made a classic mistake that nearly sank my first major contract. I thought saving $300 on a bulk set of discount clamps was a savvy business move. Instead, those tools flexed under heat, lost their grip, and turned a profitable railing project into a nightmare of rework and wasted material.
That experience taught me that in a professional metalworking environment, a tool is not just an object; it is a financial variable. If you are transitioning from a hobbyist to a side-hustler, or if you are already managing a small shop, your success depends on your ability to master shop math. You must understand how the mechanical integrity of your workholding tools directly influences your hourly rate and your long-term return on investment.
Establishing the Financial Foundation of Workholding Tools
Understanding how individual tool choices impact your overall shop rate and long-term profitability is the first step toward a sustainable business. Every minute you spend struggling with a tool that lacks the necessary clamping pressure is a minute you aren’t billing a client.
Calculating Your True Hourly Shop Rate
The process of totaling overhead, labor, and equipment costs to determine a sustainable price for your services ensures you don’t work for free. Many side-hustlers pick a number like $50 or $60 an hour because it sounds fair, but they often forget to factor in the “hidden” costs of doing business.
To find your true rate, you need to add up your monthly fixed costs. This includes shop rent, insurance, utilities, and software subscriptions for invoicing or CAD. If your overhead is $1,500 a month and you only have 60 billable hours available outside of your day job, your overhead burden is $25 per hour. If you want to take home $40 per hour for your labor, your base rate is already $65 before you even consider profit or equipment depreciation.
The Impact of Tool Reliability on Job Estimates
Factoring in potential rework and setup time when a tool fails to maintain mechanical alignment is critical for accurate bidding. When a clamp has a low material yield strength, the frame deforms under load. This causes the joint to pull out of square as the weld cools and shrinks.
If a $15 clamp fails to hold a 90-degree corner, you might spend 30 minutes grinding out the weld, re-aligning the part, and welding it again. At a shop rate of $90 per hour, that single failure just cost you $45 in labor. Suddenly, the “savings” from the cheaper tool have vanished, and you are actually losing money on the job.
Mechanical Attributes That Dictate Long-Term Value
The specific physical properties like jaw hardness and material yield strength separate professional tools from budget options that fail prematurely. When you evaluate workholding equipment, you must look past the paint job and examine the engineering specifications.
Jaw Hardness and Surface Durability
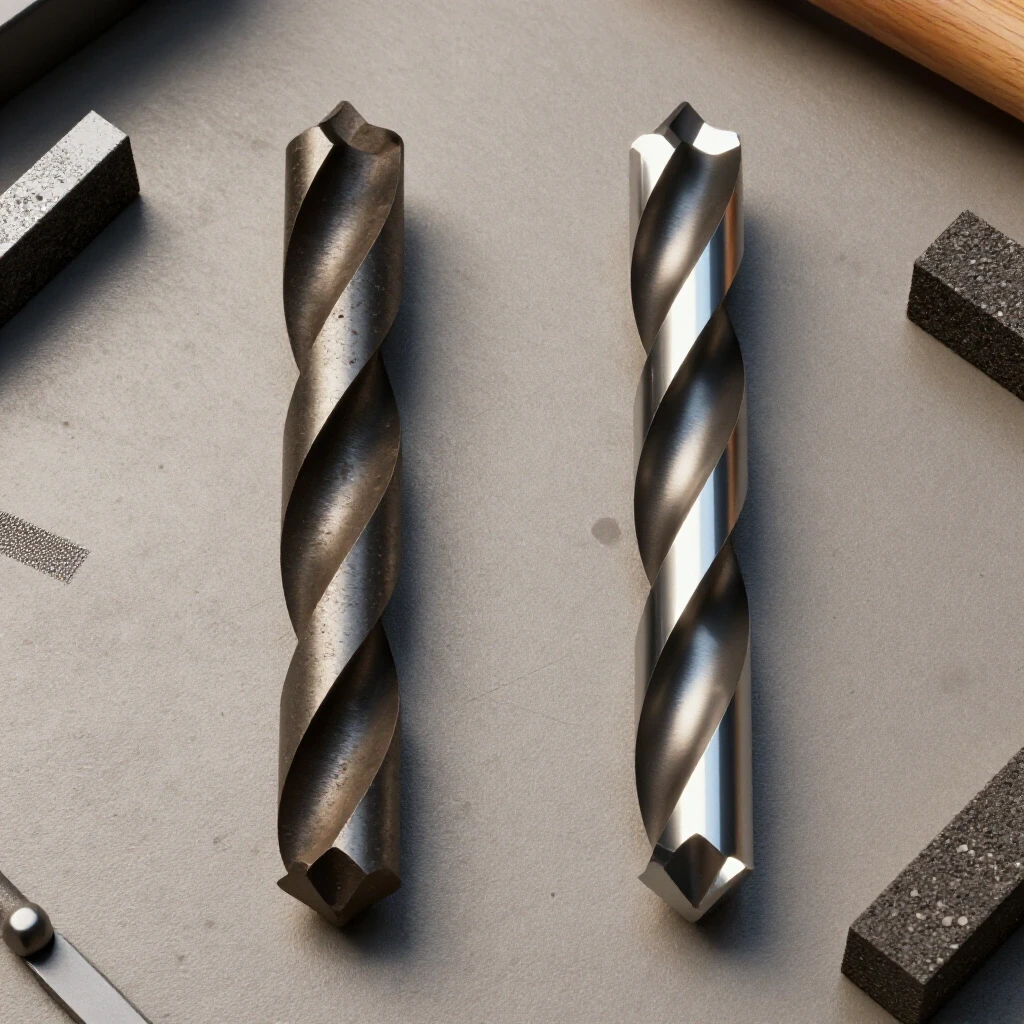
Measuring the resistance of a clamp’s gripping surface to deformation under high pressure and heat determines how long the tool will remain functional. Professional-grade tools often feature jaws hardened to a specific Rockwell C scale rating. This prevents the metal from “mushrooming” when you tighten it against a hard workpiece.
In my shop, I noticed that budget clamps often used soft, unhardened steel. Over six months of heavy use, the jaw faces became pitted and uneven. This led to poor contact patches, which reduced the effective clamping pressure and allowed parts to slip during the fabrication process.
Throat Depth and Structural Rigidity
The distance from the screw to the frame and the frame’s ability to resist bending or “springing” during use are vital for maintaining alignment. A larger throat depth allows you to reach further onto a workpiece, but it also creates a longer lever arm that can lead to frame deflection.
If the frame lacks sufficient yield strength, it will “spring” when tightened. You might think you have a tight grip, but as the weld heat stresses the joint, the frame continues to flex. This movement is the primary cause of inaccurate fabrication, leading to parts that don’t fit during final assembly.
- Yield Strength: The maximum stress a material can withstand without permanent deformation.
- Throat Depth: The usable reach of the clamp, measured from the center of the screw to the inner edge of the frame.
- Deflection: The degree to which a structural element is displaced under a load.
Economic Analysis of Clamping Pressure and Heat Resistance
Evaluating how much force a tool can apply and how well it survives the thermal cycles of heavy welding is essential for job costing. If a tool cannot withstand the heat of a high-amperage weld, its mechanical properties will degrade, leading to more frequent replacements.
Clamping Pressure Ratings in Pounds-Force
The measurable amount of squeeze a tool exerts ensures joints stay immobile during the cooling process. Most high-quality manufacturers provide a rating in pounds-force (lbf). For heavy-duty fabrication, you often need tools capable of exerting 1,000 to 2,400 lbf to resist the intense pulling forces of cooling weld metal.
| Tool Category | Typical Clamping Force (lbf) | Material Yield Strength | Recommended Use |
|---|---|---|---|
| Entry-Level | 300 – 600 | Low Carbon Steel | Light tacking only |
| Professional | 1,000 – 1,800 | Heat-Treated Alloy | General fabrication |
| Industrial | 2,400 – 4,800 | Forged Chrome-Moly | Heavy structural work |
Thermal Stability and Spatter Resistance
A tool’s capacity to maintain its mechanical properties when exposed to high heat and weld spatter determines its lifespan in a busy shop. Cheap tools often use plastic handles or low-grade coatings that melt or catch fire. More importantly, the screw threads on budget options are rarely treated to resist spatter.
Once weld spatter sticks to the threads, the tool becomes difficult to adjust. You end up wasting minutes on every joint just trying to screw the clamp shut. In a side-hustle where every hour counts, this friction reduces your overall efficiency and eats into your profit margins.
Formulating a Realistic Return on Investment for Professional Tools
Using math to determine how quickly a higher-priced tool pays for itself through increased efficiency and reduced scrap is a hallmark of a successful owner. You should never view a tool purchase as a “cost” but rather as a capital investment that must generate a return.
Amortization and Equipment Depreciation
Spreading the cost of a tool over its useful life helps you understand its true monthly or per-job expense. If you buy a professional clamp for $80 and it lasts for five years of regular use, its cost is only $1.33 per month.
Compare this to a $20 budget clamp that wears out or bends every six months. Over five years, you would spend $200 replacing that “cheap” tool. By spending more upfront, you actually save $120 over the life of the equipment. This is the essence of smart fabrication job costing.
The Hidden Cost of Rework and Alignment Errors
Quantifying the financial loss when a low-quality tool allows a part to shift during fabrication reveals the true price of “savings.” I recommend keeping a simple log of how much time you spend fixing errors.
- Setup Time: Time spent fighting with poor threads or slipping jaws.
- Correction Time: Time spent grinding, re-fitting, and re-welding.
- Material Waste: The cost of scrap metal that cannot be salvaged.
- Consumable Loss: The cost of extra gas, wire, and abrasives used during rework.
If you find that you are spending two hours a month on rework caused by poor workholding, and your shop rate is $80/hr, you are losing $1,920 a year. That is enough to buy a complete set of the highest-quality industrial clamps available.
Practical Strategies for Tool Procurement and Shop Management
Developing a system for selecting tools based on data rather than price tags alone will stabilize your workshop economics. You need a repeatable process for evaluating whether a new piece of equipment will help you achieve a positive ROI.
Building a Tool ROI Spreadsheet
A digital tool used to track the performance and lifespan of equipment can guide all your future purchasing decisions. I use a simple spreadsheet to track my major investments. It includes the purchase price, the expected lifespan in hours, and the estimated maintenance costs.
- Identify the Need: Determine the specific mechanical requirements (e.g., 1,200 lbf pressure, 5-inch throat depth).
- Compare Specs: Look at the material data sheets for jaw hardness and frame yield strength.
- Calculate Payback Period: Determine how many jobs it will take for the tool to pay for itself through time savings.
- Track Performance: Note any failures or issues in your shop log to inform the next purchase.
Sourcing and Bulk Purchasing
When you find a tool that meets your mechanical standards and fits your ROI model, look for ways to reduce the unit cost without sacrificing quality. Many industrial suppliers offer discounts when you buy in sets of four or ten.
By purchasing in bulk, you can lower your “per-unit” investment while ensuring that every station in your shop has consistent, reliable equipment. This consistency is vital for maintaining a high standard of quality across multiple projects, which in turn helps you justify a higher hourly shop rate to your clients.
Managing Fabrication Job Costing and Consumables
Integrating tool costs into your bidding process ensures that your side-hustle remains profitable even as you scale. You must account for every variable, from the linear feet of welding to the wear and tear on your workholding equipment.
- Material Markup: Always add a percentage (typically 15% to 30%) to the cost of raw metal to cover sourcing and handling.
- Consumable Burden: Track your usage of gas and wire to determine a “per-hour” cost for consumables.
- Tool Usage Fee: Some shops include a small “shop supplies” fee (often 3% to 5% of the total labor) to cover the gradual wear of tools like clamps and magnets.
When I started tracking these metrics, I realized I was underpricing my work by nearly 20%. By adjusting my rates to reflect the true cost of high-quality tools and consumables, I was able to invest in better equipment, which further increased my efficiency and allowed me to take on more complex, higher-paying jobs.
Next Steps for Your Shop
To optimize your financial efficiency, start by auditing your current workholding inventory. Identify any tools that are causing delays or rework due to poor mechanical performance.
Next, calculate your true shop rate using the formulas we discussed. If your current rate doesn’t cover your overhead and allow for equipment upgrades, it is time to raise your prices. Professional clients are usually willing to pay more for a fabricator who uses high-quality tools to ensure accuracy and timely delivery.
Finally, start a “tool fund” by setting aside a small percentage of every invoice. Use this fund to replace your budget equipment with professional-grade tools that offer documented clamping pressure and heat resistance. This systematic approach will turn your workshop from a hobby into a profitable, efficient business.
Frequently Asked Questions
How can I tell if a clamp has a high yield strength before buying it? Look for the material composition and manufacturing process. Forged steel frames generally have a much higher yield strength than cast iron or stamped steel. If the manufacturer lists a “clamping force” in pounds, a higher number usually indicates a more rigid frame that won’t deform under load.
What is the most important mechanical spec for a side-hustle metalworker? Clamping pressure is often the most critical. If a tool can’t exert enough force to keep the metal from moving as it cools, you will spend your profits on rework. Aim for at least 1,000 lbs-force for general fabrication tasks.
Why should I care about jaw hardness? Soft jaws will deform over time, leading to an uneven grip. This causes the tool to slip or mar the surface of your workpiece. Hardened jaws (Rockwell C 40+) maintain their flat surface and provide a more secure, repeatable grip over years of use.
How do I calculate the ROI on a $100 clamp? Estimate how many minutes it saves you per job compared to a cheaper alternative. If it saves you 10 minutes of setup and 5 minutes of rework per project, and your shop rate is $80/hr ($1.33/minute), you save $20 per project. The tool pays for itself in just five projects.
Is it ever okay to use “cheap” workholding tools? Only for non-critical tasks where alignment and pressure aren’t vital, such as holding a light shielding curtain. For any task involving heat or structural alignment, the “cheap” tool is almost always a financial liability.
What is the “consumable burden” in a welding shop? This is the total cost of items used up during a job, such as welding wire, shielding gas, and grinding discs. It is usually calculated as a percentage of the labor cost or a flat hourly rate (e.g., $5-$10 per hour of arc time).
How does throat depth affect the price of a tool? A deeper throat requires a much thicker, stronger frame to prevent flexing. This increases the material cost and the engineering complexity, which is why high-quality deep-throat clamps are significantly more expensive than standard models.
What is the best way to track shop overhead? Use a dedicated business checking account and a simple accounting software. Categorize every expense that isn’t directly tied to a specific job (like rent and insurance) as overhead. Divide the annual total by your billable hours to find your hourly overhead burden.
Should I include tool depreciation in my job quotes? Yes. Every time you use a tool, you are using up a portion of its lifespan. Including a “shop fee” or “tooling charge” ensures you have the capital to replace that equipment when it eventually wears out.
How do I handle a client who thinks my shop rate is too high? Explain your process and the quality of your equipment. Show them how your use of professional-grade tools ensures that their parts will be accurate and delivered on time. Most clients value reliability over the absolute lowest price.
What is the difference between “clamping force” and “holding force”? Clamping force is the pressure the tool applies when you tighten it. Holding force is the amount of external stress the tool can resist before the workpiece moves. High clamping force is necessary to achieve high holding force.
How often should I audit my tool inventory for ROI? I recommend a biannual audit. Look for tools that are frequently breaking or causing quality issues. If a specific type of tool is failing often, it’s a sign that you need to invest in a higher-grade mechanical alternative.
(This article was written by one of our staff writers, Michael Hargrove. Visit our Meet the Team page to learn more about the author and their expertise.)