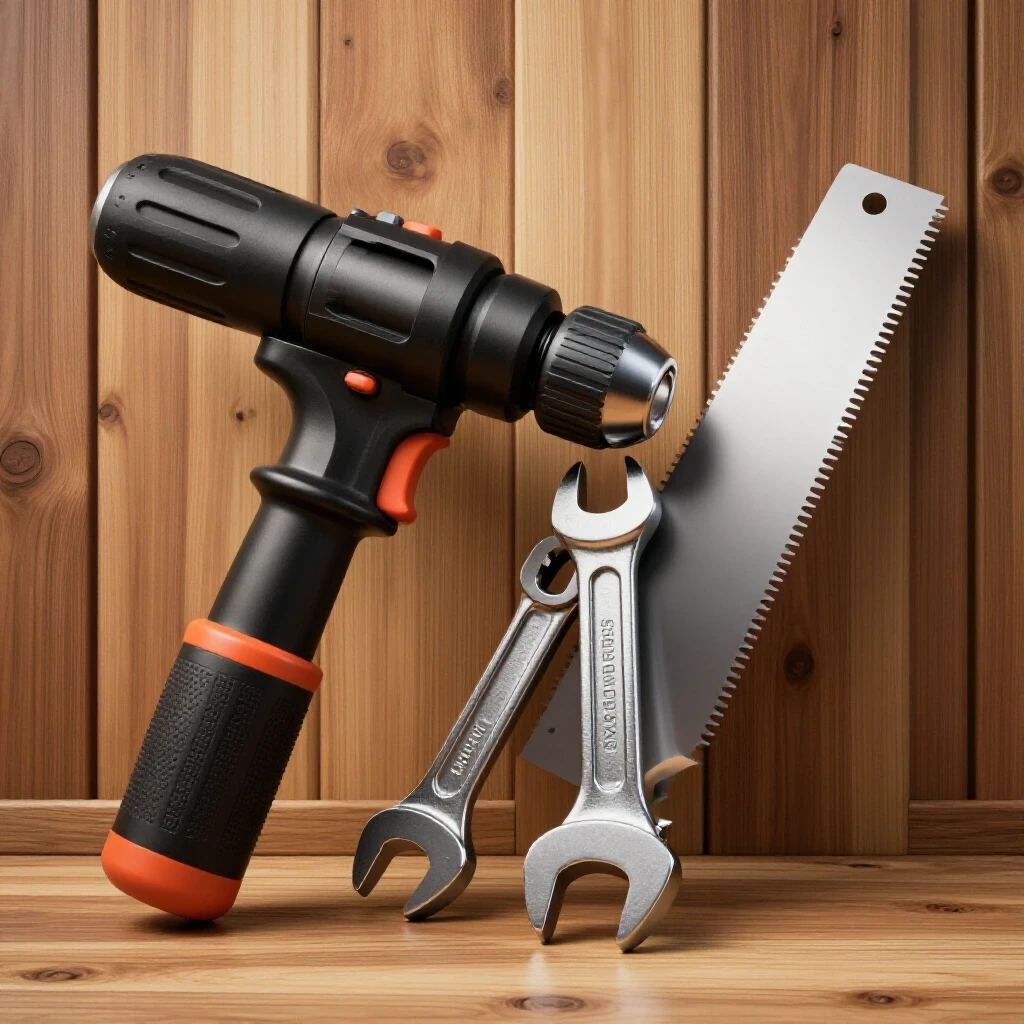
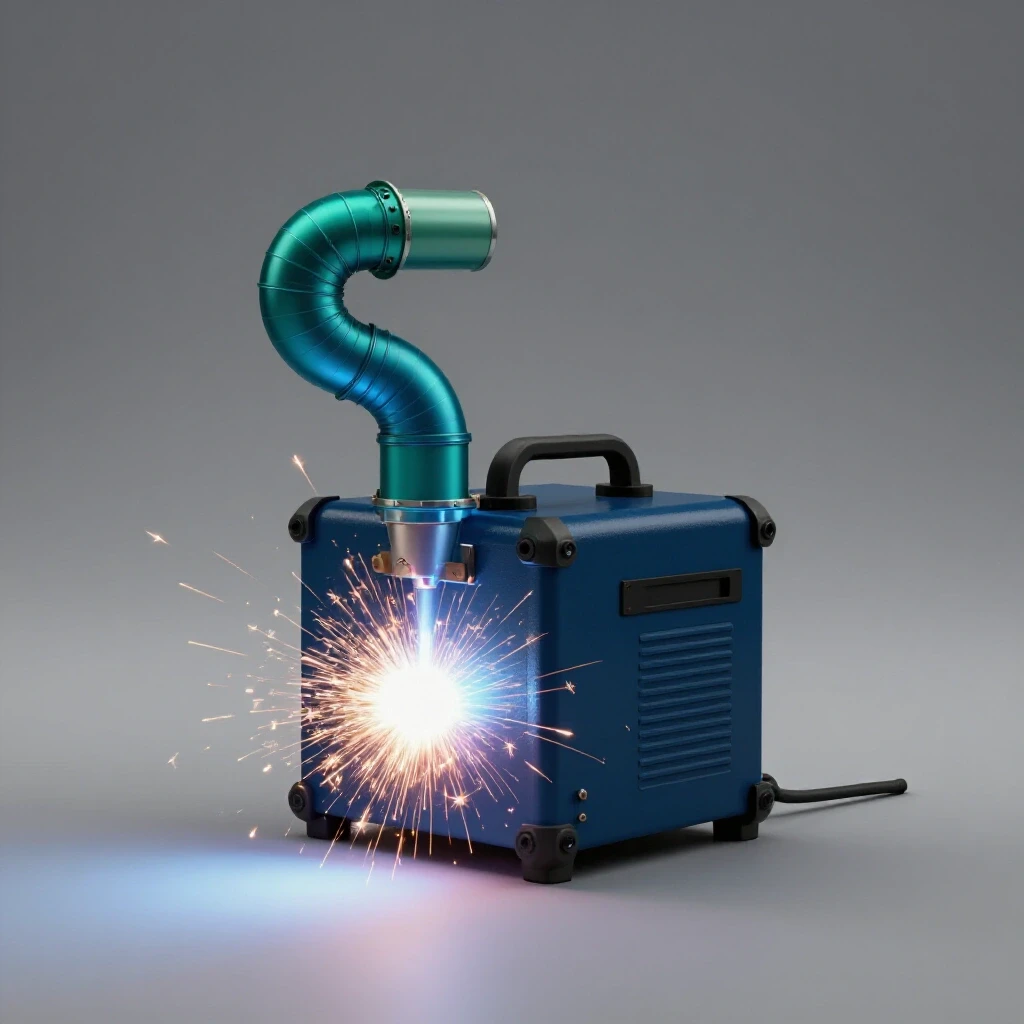
Best Early Stage Investments for a Home Metal Shop (Guide)
When I stood in my empty two-car garage back in 2013, I had exactly $2,000 and a lot of ambition. My background as an industrial maintenance technician taught me that a shop is only as good as its foundation. I knew that if I spent all my money on a fancy welder, I wouldn’t have enough left for the safety gear or the electrical upgrades needed to actually run it.
The anxiety of overspending is real for any beginner. You see professional fabricators on social media with five-figure setups, and it feels like you can’t even start without a massive loan. But I’ve learned that the most effective way to build a functional workspace is through incremental, calculated purchases. By focusing on the core tools that allow you to cut, join, and smooth metal, you can start projects almost immediately without draining your savings account.
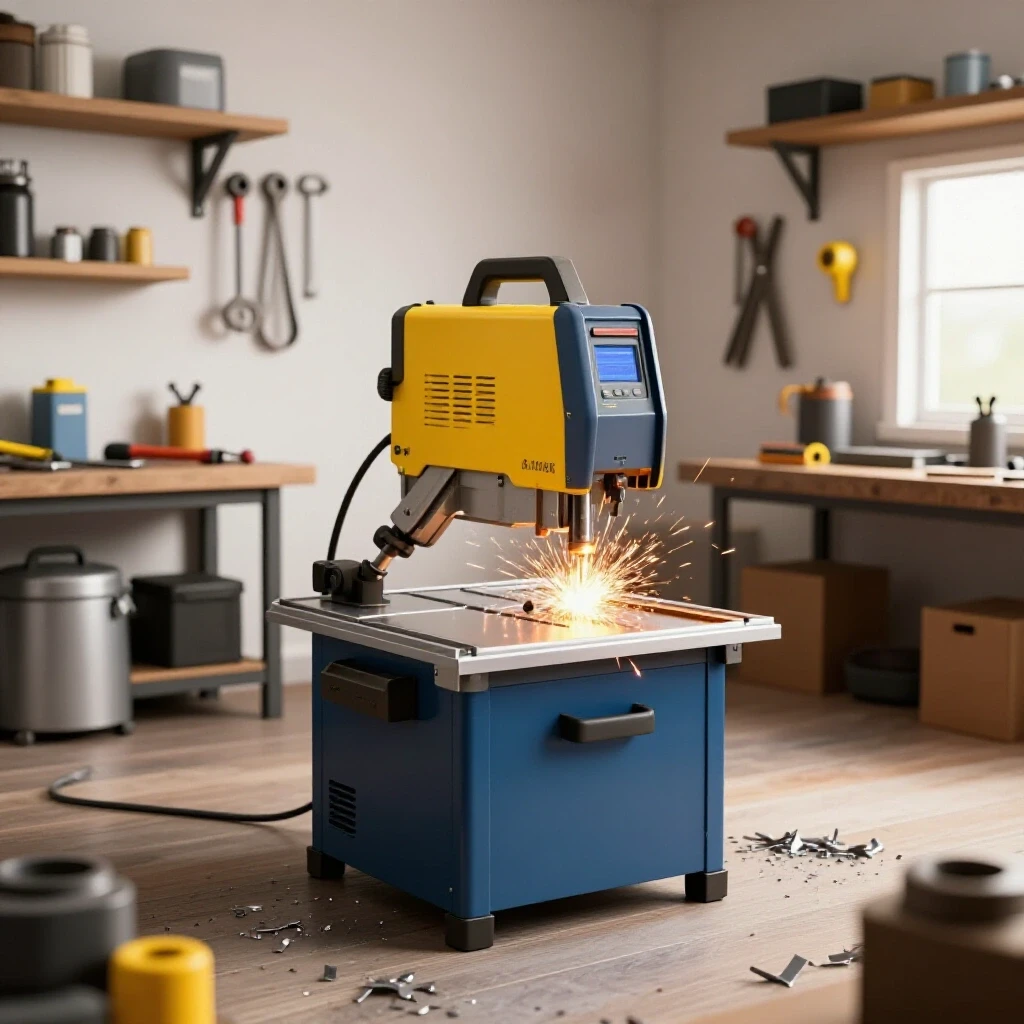
Building a shop is a marathon, not a sprint. My first few years involved a lot of trial and error with layout and power management. I once tripped a breaker three times in one hour because I didn’t understand my garage’s electrical limits. This guide is designed to help you avoid those same mistakes. We will look at how to prioritize your spending, manage your power constraints, and set up a workspace that is both safe and productive.
Assessing Your Shop Foundations and Power Constraints
Before buying a single wrench, you must understand the physical and electrical limits of your workspace. Metalworking tools often pull significant amperage, and a standard household circuit may not be enough for heavy grinding or welding.
Every garage or basement has a “rated capacity” determined by the circuit breaker. Most standard outlets are on a 15-amp or 20-amp circuit. If you try to run a small welder and a shop vacuum at the same time, you will likely exceed this limit. I recommend mapping your outlets first. Plug a lamp into an outlet and flip breakers until it goes out. Labeling these ensures you don’t accidentally overload a single line with multiple high-draw tools.
Understanding Electrical Load and Breaker Limits
Electrical load refers to the total amount of electricity your tools pull from the power grid at one time. It is measured in amps, and exceeding your breaker’s rating will cause a power shutoff to prevent wire fires.
In my first shop, I learned the “80% rule” the hard way. This rule suggests that you should never continuously load a circuit beyond 80% of its rated capacity. For a 20-amp circuit, that means staying under 16 amps of continuous draw. A typical entry-level 120V welder might pull 15 to 20 amps at its highest setting. If you have lights or a fan on that same circuit, you are asking for trouble.
| Tool Class | Typical Amp Draw (120V) | Circuit Requirement |
|---|---|---|
| Handheld Angle Grinder | 5 – 10 Amps | Standard 15A/20A |
| Benchtop Drill Press | 3 – 8 Amps | Standard 15A/20A |
| Small 120V Welder | 15 – 20 Amps | Dedicated 20A Preferred |
| Shop Vacuum | 8 – 12 Amps | Standard 15A/20A |
| LED Shop Lighting | < 1 Amp | Any |
Building on this, you should consider the physical footprint of your tools. A metal shop needs “swing room.” This is the empty space around a tool needed to maneuver long pieces of steel. If you place your saw against a wall, you can only cut short pieces. I suggest keeping your largest tools on mobile bases so you can pull them into the center of the floor when needed.
- Actionable Step: Use blue painter’s tape to mark out tool footprints on your floor.
- Metric: Allow at least 5 feet of clearance on either side of your primary cutting station.
- Safety Note: Never use thin household extension cords for power tools; use 12-gauge or 10-gauge cords to prevent voltage drops.
Prioritizing Initial Tool Acquisitions for Maximum Utility
The biggest mistake beginners make is buying specialized tools before they have the basics. You don’t need a metal lathe or a milling machine to build a work table or a go-kart frame. You need the ability to cut metal to length and join it together.
I categorize my shop spending into “tiers.” Tier one includes the tools that perform 90% of the work. For a metalworker, these are the tools for cutting, grinding, and drilling. If you allocate your budget here first, you can actually finish projects. Interestingly, many people spend too much on the machine itself and forget about the “tooling-to-machine cost ratio.” This is the hidden cost of the drill bits, grinding wheels, and clamps needed to make the machine useful.
The Essential Cutting and Shaping Kit
Cutting and shaping tools are the workhorses of the shop, used to resize raw steel and prepare surfaces for welding. These tools range from manual hacksaws to powered abrasive saws and grinders.
The 4.5-inch angle grinder is the most versatile tool you will ever own. In my shop, I keep three: one for a grinding wheel, one for a flap disc (sanding), and one for a cut-off wheel. This saves time on tool changes. While a cheap grinder might seem attractive, look for one with at least a 6-amp motor. Lower-powered units will stall when you apply pressure, which is frustrating and can be dangerous if the wheel binds.
| Tool Category | Recommended Starter Tool | Estimated Cost |
|---|---|---|
| Primary Cutting | 4.5″ Angle Grinder | $50 – $90 |
| Secondary Cutting | Manual High-Tension Hacksaw | $20 – $30 |
| Hole Making | Benchtop Drill Press (1/2″ Chuck) | $150 – $250 |
| Surface Prep | Flap Discs (40 and 80 grit) | $20 (Pack) |
When choosing a drill press, focus on the “quill travel” and the “swing.” The swing determines how far from the edge of a workpiece you can drill a hole. For most home projects, a 10-inch or 12-inch swing is plenty. I always tell beginners to invest in a good set of Cobalt drill bits. Standard high-speed steel bits will dull quickly when drilling through thick plate steel, leading to more heat and potential tool failure.
- Angle Grinder: Choose a model with a paddle switch for safety.
- Drill Press: Ensure it has adjustable speeds; metal requires slower RPMs than wood.
- Bench Vise: A 4-inch or 5-inch cast iron vise is non-negotiable for holding work steady.
- Measuring Tools: A high-quality steel tape measure and a combination square are essential for accuracy.
Establishing a Safe and Compliant Shop Layout
A safe workshop is organized around the “Hot Zone” and the “Clean Zone.” Metalworking involves sparks, intense light, and fine dust. If you mix your welding area with your wood storage or chemical shelf, you are creating a fire hazard.
I follow a simplified version of OSHA guidelines for my home shop. This means keeping walkways clear and ensuring that flammable materials are stored in a separate area. In a small garage, this usually means having a dedicated welding corner with a fire-resistant backdrop. I used cement board on my walls to provide a cheap, effective heat shield. This simple step gives me peace of mind when the sparks start flying.
Designing the “Hot Zone” for Fire Prevention
The “Hot Zone” is the specific area where welding, grinding, and cutting occur. This area must be free of sawdust, oily rags, and fuel cans to prevent accidental ignition.
Ventilation is the most overlooked part of a starter shop. When you weld or grind, you release particulates and gases that can be harmful if inhaled. A standard garage door being open is a good start, but it isn’t enough for heavy grinding. I recommend a simple exhaust fan setup. You can calculate your needs by finding the volume of your shop (Length x Width x Height) and ensuring your fan can move that much air every 4 to 5 minutes.
- CFM Calculation: For a 400 sq. ft. garage with 8 ft. ceilings (3,200 cubic feet), you need a fan that moves at least 800 Cubic Feet per Minute (CFM) to refresh the air every four minutes.
- Floor Management: Use a magnetic sweeper to pick up metal shavings. These “chips” can get stuck in your shoes and ruin the floors inside your house.
- Lighting: Metal reflects light differently than wood. I use 5000K LED shop lights to reduce shadows, which makes it easier to see my layout lines on dark steel.
Investing in High-Quality Personal Protective Equipment (PPE)
Safety gear is not the place to look for bargains. In my twelve years of shop work, I’ve seen that the most expensive tool is the one that fails and causes an injury. Your PPE is your primary defense against high-speed debris, UV radiation, and respiratory irritants.
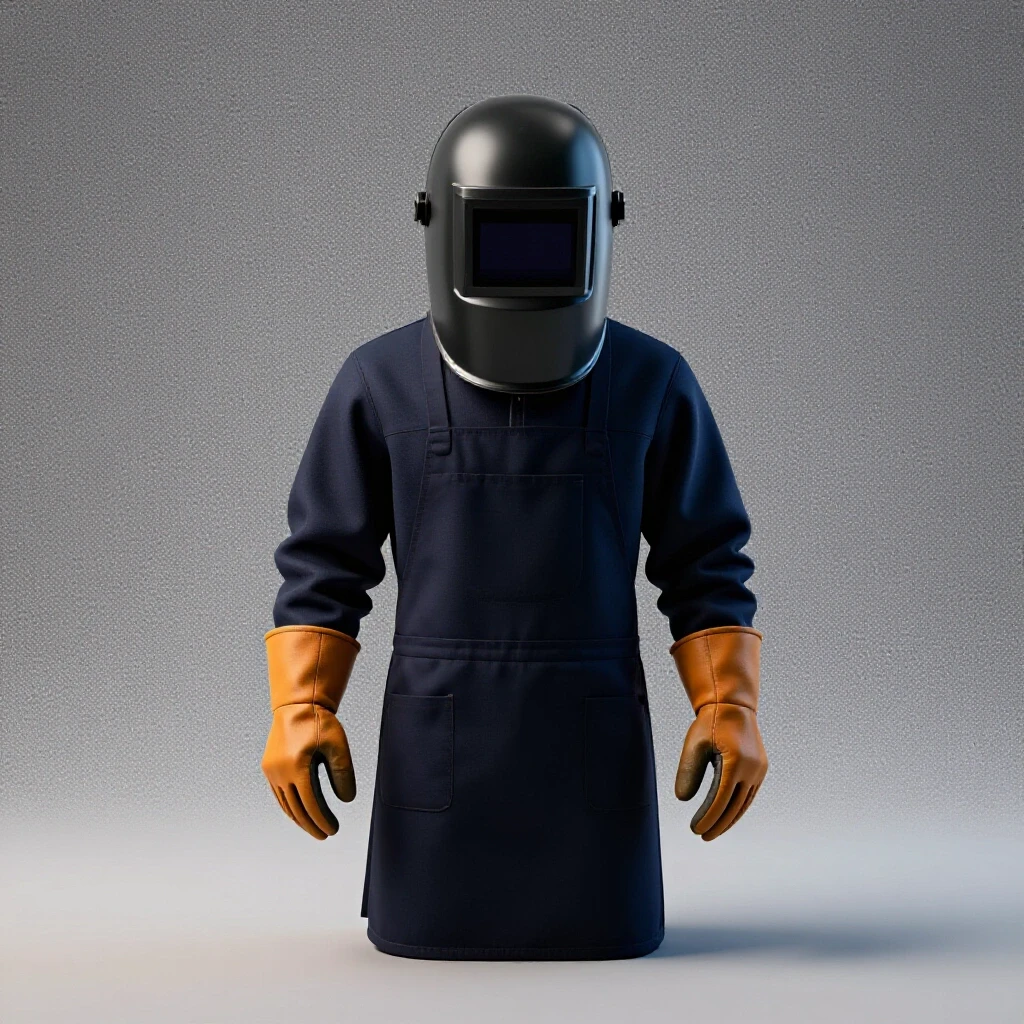
I follow the American Welding Society (AWS) standards for my welding gear. This means using a helmet with a proper shade rating and gloves that offer both heat protection and dexterity. For beginners, an auto-darkening helmet is a worthy investment. It allows you to see your workpiece clearly until the moment the arc strikes, which reduces “arc eye” and helps you start your welds more accurately.
The Non-Negotiable Safety Checklist
Personal Protective Equipment (PPE) includes all the wearable items designed to protect the user from physical harm during fabrication activities.
- Eye Protection: Safety glasses must be ANSI Z87.1 rated. I wear these the entire time I am in the shop, not just when a tool is running.
- Hearing Protection: Metalwork is loud. Over-the-ear muffs or high-quality earplugs are necessary to prevent long-term hearing loss.
- Hand Protection: You need two types of gloves. Heavy leather gauntlets for welding and thinner, cut-resistant gloves for handling raw steel.
- Respiratory Protection: A P100 rated respirator is essential when grinding or welding galvanized steel. “Metal fume fever” is a real risk that can be avoided with a $30 mask.
As a result of using quality PPE, you will find that you work more confidently. When you aren’t flinching from sparks or squinting through a dark lens, your craftsmanship improves. I suggest allocating about 15% to 20% of your initial budget specifically for safety gear. It might seem like a lot, but a single trip to the emergency room will cost significantly more.
Workholding and Bench Construction on a Budget
Your workbench is the most important “tool” in your shop. If it wobbles, your cuts will be crooked and your welds will be warped. A metalworking bench needs to be heavy and fire-resistant. In my first shop, I built a wooden frame but topped it with a 3/16-inch thick steel plate. This gave me a solid, conductive surface for welding.
Workholding refers to the tools used to keep your metal in place while you work on it. Without good clamps and a solid vise, you will find yourself struggling to keep pieces aligned. I started with a few basic C-clamps and “locking pliers” (often called Vise-Grips). These are affordable and allow you to pull joints tight before you tack-weld them.
Selecting the Right Vise and Clamps
A vise is a mechanical apparatus used to secure an object to allow work to be performed on it. Clamps are temporary fasteners used to hold materials together tightly.
When buying a vise, look for one with “swivel base” and “replaceable jaws.” Over time, the serrated teeth on the jaws will wear down. Being able to replace them saves you from buying a whole new vise. For clamps, I recommend a mix of styles. F-style clamps are great for reaching over edges, while C-clamps provide the most crushing force for flattening warped material.
| Clamp Type | Best Use Case | Quantity Needed |
|---|---|---|
| C-Clamp (6 inch) | High-pressure holding | 4 |
| Locking Pliers | Quick one-handed clamping | 2 |
| Magnetic Squares | Holding 90-degree corners | 4 |
| F-Style Bar Clamp | Long-reach clamping | 2 |
Building a bench also gives you a chance to practice your layout skills. I recommend a height of 34 to 36 inches for most people. This is low enough to get leverage for manual tasks like hacksawing but high enough to prevent back strain while welding. If you are working in a tight space, consider adding heavy-duty casters to the legs. Just make sure they have total-lock brakes so the bench doesn’t move while you are hammering on it.
Managing Metal Storage and Scrap Inventory
Steel is heavy, awkward, and prone to rusting if not stored correctly. Beginners often underestimate how much space “remnants” (leftover pieces) will take up. If you leave steel on the floor, it becomes a tripping hazard and collects moisture from the concrete.
I use a simple vertical rack for my long pieces (square tubing and angle iron) and a small bin for my “shorts.” Keeping your materials off the ground is crucial for organization. I also suggest labeling your steel. It’s hard to tell the difference between cold-rolled and hot-rolled steel once they have a little dust on them. A simple paint pen can save you a lot of time later.
Organizing for Efficiency and Safety
Material management is the systematic process of storing and tracking your raw steel and hardware to maximize space and prevent accidents.
- Vertical Storage: Lean long bars against a wall with a “kick plate” at the bottom to prevent them from sliding out.
- Hardware Bins: Use clear plastic bins for nuts, bolts, and washers. Trying to find a specific bolt in a “coffee can of mystery” is a major productivity killer.
- Moisture Control: If your garage is damp, a light coat of WD-40 or paste wax on your raw steel will prevent surface rust.
Interestingly, I found that my shop became much more functional once I started tracking my inventory. I keep a simple spreadsheet of what I have in stock. This prevents me from buying more 1-inch square tubing when I already have 10 feet hidden in the back of a rack. For a beginner, this kind of record-keeping is a great habit to start early.
Tracking Costs and Tool Performance
To stay within a strict budget, you must be a meticulous record-keeper. I keep a log of every tool purchase, including where I bought it and how much I paid. This helps me understand my “cost per project” and identifies which brands are providing the best value.
I also track tool failure. If a $20 grinder dies after three months, I know that I need to step up to a more durable model. Over time, this data allows you to make smarter investments. You’ll learn that while some cheap tools are a bargain, others are just a waste of money.
Example Startup Budget Allocation
| Category | Percentage | Purpose |
|---|---|---|
| Safety & PPE | 20% | Helmet, gloves, glasses, respirator |
| Primary Power Tools | 35% | Welder, Grinder, Drill Press |
| Workholding & Bench | 15% | Vise, steel top, clamps |
| Measuring & Hand Tools | 10% | Squares, tapes, files, hammers |
| Electrical & Ventilation | 15% | Heavy cords, fans, circuit upgrades |
| Consumables | 5% | Drill bits, grinding wheels, wire |
By following this breakdown, you ensure that you aren’t “tool rich and safety poor.” It’s tempting to spend 80% of your money on a machine, but without the other categories, that machine will just sit idle. My 2013 shop succeeded because I focused on the “system” rather than just the “stuff.”
Practical Next Steps for Your First Setup
Setting up your workshop should happen in phases. Don’t try to do everything in one weekend. Start by cleaning your space and mapping your power. Once you know where your tools will go and how you will power them, you can start making your first purchases.
- Phase 1: Preparation. Clean the floor, install high-output lighting, and check your circuit breakers.
- Phase 2: The Foundation. Build or buy a heavy workbench and install a high-quality vise.
- Phase 3: Safety First. Purchase your PPE and set up your ventilation fan.
- Phase 4: Core Tooling. Buy your angle grinder and drill press. Practice making clean cuts and accurate holes.
- Phase 5: Joining. Invest in a welder and the necessary safety screens once you are comfortable with the basics.
Remember, the goal is to create a space where you can safely learn the craft. Mistakes are part of the process, but as long as you have the right safety gear and a solid plan, those mistakes will be learning opportunities rather than disasters. Your shop will evolve as your skills grow. The bench you build today might be replaced in five years, and that’s okay. The most important thing is to just get started.
Frequently Asked Questions
How much power do I really need for a basic metal shop? For a starter shop, a dedicated 20-amp, 120V circuit is the bare minimum for welding and heavy grinding. If you plan to grow, having a 240V outlet installed by a professional is the best long-term investment. This allows you to run more powerful welders and compressors more efficiently.
Can I use a wooden workbench for welding? You can, but it is a fire hazard if not modified. At the very least, you must cover the top with a sheet of 10-gauge or thicker steel. This provides a fireproof surface and a place to attach your welder’s ground clamp. Always keep a fire extinguisher within arm’s reach of a wooden bench.
What is the most important safety item for a beginner? Beyond safety glasses, a P100 respirator is the most underrated safety item. Metal dust and welding fumes stay in your lungs for a long time. Protecting your respiratory system from day one is a decision your future self will thank you for.
Is it better to buy new or used tools? For manual tools like vises and anvils, used is often better because older cast iron is frequently higher quality than modern “budget” versions. For power tools like grinders and welders, buying new is usually safer for beginners because you get a warranty and modern safety features like “kickback protection.”
How do I prevent my tools from rusting in a garage? Moisture is the enemy of steel. Keep your tools lightly oiled with a rust preventative. If your budget allows, a dehumidifier can make a massive difference in a garage environment. For hand tools, storing them in a closed toolbox with silica gel packets is an inexpensive solution.
What size angle grinder is best for a home shop? The 4.5-inch grinder is the industry standard for home shops. It is small enough to be maneuverable but powerful enough for most fabrication tasks. Avoid 7-inch or 9-inch grinders starting out; they are heavy, dangerous for beginners, and overkill for most DIY projects.
How do I choose between different types of welding? For beginners on a budget, Flux-Core Arc Welding (FCAW) is often the easiest entry point. It doesn’t require a gas bottle, which saves on initial costs and makes it easier to weld outdoors or in drafty garages. However, Gas Metal Arc Welding (MIG) produces cleaner results once you can afford the gas cylinder.
What is “Duty Cycle” and why does it matter? Duty cycle is the amount of time a tool can run in a 10-minute period before it needs to cool down. A 20% duty cycle means you can weld for 2 minutes and then must let the machine rest for 8 minutes. For a home shop, a 20-30% duty cycle is usually sufficient for small projects.
How can I manage metal dust in a small space? Use a “dust shroud” on your grinders when possible and keep a shop vac with a HEPA filter nearby. The best way to manage dust is to stop it at the source. Grinding outside or near a large exhaust fan will keep the majority of the fine metallic dust from settling on everything in your garage.
Do I need a specialized floor coating? While not strictly necessary, a bare concrete floor is the safest for metalwork. Epoxy coatings can be slippery when covered in metal dust and can sometimes scorch from hot slag. If you want to protect the floor, use a simple concrete sealer that won’t peel under heat.
(This article was written by one of our staff writers, Michael Thompson. Visit our Meet the Team page to learn more about the author and their expertise.)