Complete Budgeting Guide for Small Metalworking Shops (Tips)
I remember the first time I finished a custom steel entryway for a local client. I had spent three weeks of evenings and weekends measuring, cutting, and welding. When I handed over the invoice and received the check, I felt a brief surge of pride. That pride vanished an hour later when I sat down with my receipts. After subtracting the cost of the steel, the argon gas, and the stack of grinding discs I burned through, I realized I had earned about four dollars an hour. I wasn’t running a side-hustle; I was paying for the privilege of working.

That experience 16 years ago changed how I looked at my workshop. I stopped viewing my tools as toys and started seeing them as investments that needed to pay rent. Transitioning from a hobbyist to a professional fabricator requires a shift in mindset from “What feels fair?” to “What does the math say?” If you are managing a small workshop budget, you cannot afford to guess. You need to understand the financial heartbeat of your shop to ensure your time is actually generating a profit.
Developing a Sustainable Hourly Rate for Your Fabrication Space
Your hourly shop rate is the total amount of money your business needs to earn for every hour you spend working. This figure covers your personal wages, the cost of keeping the lights on, and the eventual replacement of your machinery. Without a set rate, you are likely working for free or even losing money on every project.
When I talk to people about side-hustle metalworking, they often pick a number out of thin air. They might hear that the local mechanic charges $100 an hour and think, “I’ll charge $50 because I’m just in my garage.” This is a trap. Your rate must be based on your specific costs, not a guess. In most small shops, a realistic starting point is often between $65 and $120 per hour, depending on your location and the complexity of your tools.
To find your rate, you must first calculate your “nut”—the total cost of your shop’s existence for one month. Add up your shop’s portion of the electricity bill, your insurance, and any shop-related subscriptions or software. Divide that by the number of hours you actually plan to work each month. If your overhead is $400 and you work 40 hours a month, your overhead cost is $10 per hour before you even pick up a torch.
Identifying Fixed Overhead Costs
Fixed overhead includes the monthly expenses that do not change regardless of how many projects you finish. These are the costs of simply having a workshop available, such as your shop’s portion of the mortgage or rent, basic utilities, and any insurance policies required to protect your equipment and your personal liability.
Many side-hustlers overlook these because they work out of a home garage. However, your shop is consuming space and energy. I recommend calculating the square footage of your shop area relative to your whole home. If your shop takes up 20% of your garage and your home’s utility bills are $300, at least $60 of that belongs to the shop. Tracking these small numbers prevents your “hobby” from quietly draining your personal bank account.
Factoring in Equipment Amortization
Amortization is a simple way to track the cost of your tools over their useful life. Instead of viewing a $3,000 welder as a one-time hit, you spread that cost over the years you expect it to last. This ensures that when the tool eventually breaks or becomes outdated, you have already “saved” enough through your jobs to replace it.
If you buy a $2,000 plasma cutter and expect it to last five years, it costs you $400 per year. If you work 500 hours a year, that tool costs you $0.80 for every hour you are in the shop. While $0.80 seems small, when you add up your welder, your band saw, and your compressor, your equipment cost might be $5 or $10 per hour. I use a simple spreadsheet to list every tool over $500 to keep my equipment recovery rates accurate.
Mastering the Art of Fabrication Job Costing
Job costing is the process of totaling every expense related to a specific project before you give a price to the customer. It includes the raw metal, the gases and wires used, and the labor hours required. Accurate costing prevents the common mistake of losing money on complex builds that look profitable on the surface.
When I started, I used to estimate jobs based on how long I thought they should take. Now, I use a “multiplier” method. I estimate the time for the main tasks—cutting, welding, and finishing—and then add 20% for “shop moves.” This covers the time spent cleaning the table, changing gas bottles, or looking for a specific clamp. Small metal shop pricing lives or dies by these hidden minutes.
Estimating Labor Hours and Shop Flow
Labor hours are the most expensive part of any fabrication job. This isn’t just the time the arc is on; it includes material handling, setup, and the final cleanup of the part. Estimating these hours requires a realistic look at your own speed and the efficiency of your current workshop layout.
I suggest keeping a “time log” for three projects. Write down when you start and stop for every phase. Most fabricators find that “finishing”—grinding welds flush and prepping for paint—takes twice as long as the actual welding. If you don’t account for this in your fabrication job costing, you will find yourself working deep into the night for no extra pay.
Material Markup Strategies
Material markup is the percentage you add to the raw cost of steel, aluminum, or hardware. This isn’t just “extra profit”; it covers the time you spent driving to the steel yard, the fuel for your truck, and the risk of a mistake. If you buy $100 of steel and sell it for $100, you have lost money on the transaction.
A standard markup for small shops is usually between 20% and 50%. For a small job with $50 in materials, I might mark it up 50% because the administrative effort of buying that steel is high. For a $2,000 material order, I might drop to 15% or 20%. This ensures I am compensated for the “procurement” phase of the project without pricing myself out of the market.
| Expense Type | Typical Range | Why It Matters |
|---|---|---|
| Shop Rate (Labor) | $65 – $120 / hour | Covers your time and expertise. |
| Material Markup | 15% – 50% | Covers sourcing, transport, and waste. |
| Consumable Burden | 5% – 10% of labor | Covers gas, wire, and abrasives. |
| Overhead Allocation | $5 – $20 / hour | Covers rent, power, and insurance. |
Tracking the Invisible Drain of Workshop Consumables
Consumables are the items you use up during a project, like welding gas, grinding discs, and drill bits. Because these items are small, many shop owners forget to charge for them. Tracking these expenses ensures that these minor costs do not eat away your final profit margins.
I once consulted for a shop that was losing $500 a month simply because they didn’t track their flap discs. They were treating them as a “shop expense” rather than a project cost. In welding consumable tracking, I find it easiest to apply a “consumable burden” to every job. This is a flat percentage added to the labor or material total to cover the “invisible” items.
Managing Gas and Filler Metal Costs
Shielding gas and welding wire are two of the hardest things to track per job. Unless you have a flow meter and a scale on your wire feeder, you are guessing. To simplify this, I look at my total spend on gas and wire over six months and compare it to my total billable hours.
For my shop, I found that I spent roughly $3.50 on gas and wire for every billable hour of welding. Now, when I bid a job, I don’t try to guess how many cubic feet of argon I’ll use. I simply add a “welding supply fee” based on the estimated welding time. This keeps the math simple and the margins protected.
The Real Cost of Abrasives and Tooling
Abrasives, such as grinding wheels and sandpaper, are the “silent killers” of shop profit. A single high-quality 5-inch flap disc can cost $5 to $8. If a project requires heavy cleaning or weld blending, you might burn through five of them. That is $40 of your profit gone if you didn’t account for it.
- Keep a tally of how many discs you use on a typical “small,” “medium,” and “large” job.
- Charge for specialized tooling, like a unique drill bit or a specific taps, directly to the customer if the tool is unlikely to be used again.
- Always round up your estimates for consumables; it is better to have an extra disc in the drawer than to pay for one out of your own pocket.
Evaluating When New Machinery Pays for Itself
Tool ROI, or Return on Investment, measures how quickly a new piece of equipment will pay for itself through increased speed or new capabilities. By comparing the tool’s cost against the time it saves you on every job, you can decide if an upgrade is a smart move.
When you are using metal business ROI calculators, focus on “time saved.” If a $4,000 cold saw saves you 10 minutes of cleaning time per cut compared to an abrasive saw, and you make 1,000 cuts a year, that saw saves you 166 hours. At a $60 shop rate, that tool pays for itself in less than a year. If you only make 10 cuts a year, that saw is a luxury, not a business investment.
Calculating the Payback Period
The payback period is the amount of time it takes for a tool to earn back its initial purchase price. For a side-hustle, I generally look for a payback period of 12 to 18 months. If a tool won’t pay for itself within two years, I usually hold off on the purchase or look for a used version.
To calculate this, take the total cost of the tool and divide it by the “extra” profit it generates each month. This extra profit can come from doing jobs faster or being able to take on work you previously had to turn down. If a new TIG welder allows you to take on $200 worth of aluminum repair work a month that you couldn’t do before, a $2,400 welder has a 12-month payback period.
Leasing vs. Buying for Small Shops
For most side-hustlers, buying equipment outright is the safest path. However, if a piece of equipment is essential for a specific, large contract, you might consider the “opportunity cost.” If buying a tool leaves you with zero cash for materials, you might be better off sourcing a used machine or waiting until the business can cash-flow the purchase.
I always advise against debt for a side business. If the shop has a slow month, a tool you own outright just sits there. A tool you have a payment on becomes a liability that eats your personal income. Use your shop’s profits to “hire” your tools.
Strategies for Material Sourcing and Inventory Control
Smart sourcing involves finding the best prices for raw steel and aluminum while minimizing waste. Managing your inventory means knowing what you have on hand so you do not overbuy. Effective material management keeps your cash from being tied up in dusty piles of scrap.
One of the biggest mistakes I see is “project-based buying.” This is when you drive to the supplier for every single job. Between the time lost and the fuel used, you are adding $50 to the cost of every project. Instead, I keep a “base stock” of common sizes—1-inch square tube, 1/8-inch flat bar, and 16-gauge sheet.
Bulk Buying and “Drops”
Buying in bulk can significantly lower your cost per foot. Most steel yards offer price breaks when you buy full 20-foot sticks or multiple sheets. If you know you use a specific size often, buy five sticks instead of one. The savings can be as high as 20%.
Also, get to know the “remnant” or “drop” pile at your local supplier. These are off-cuts from larger industrial orders. Many yards sell these by the pound at a fraction of the new-steel price. For a side-hustle metalworking pro, the drop pile is a gold mine for small brackets and gussets.
Organizing for Efficiency
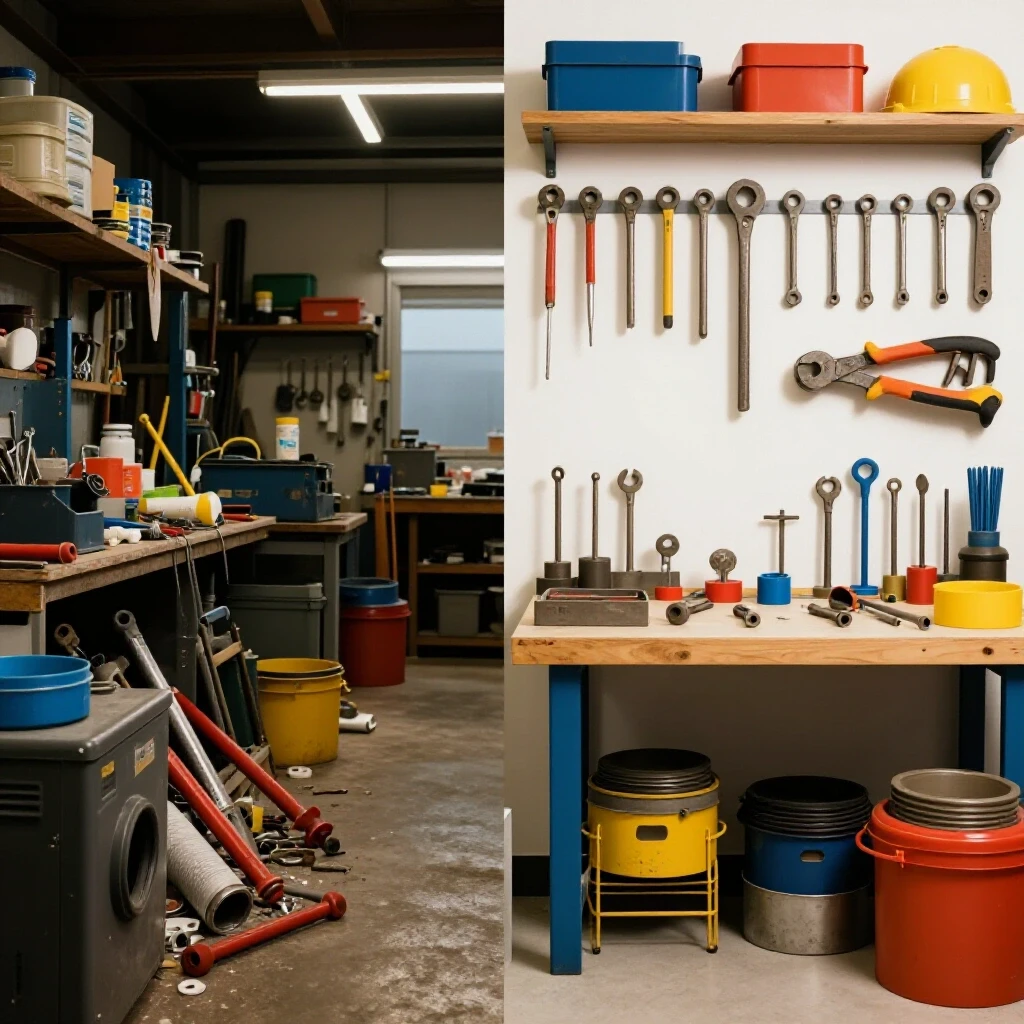
A disorganized shop is a shop that loses money. If you can’t find your 1/4-inch plate, you might end up buying more, only to find the original piece a week later. I use a simple “vertical rack” for full sticks and labeled bins for any off-cuts longer than 12 inches.
- Label your steel by thickness using paint pens.
- Keep a simple whiteboard list of what “main” stock you have on hand.
- Anything smaller than 6 inches goes in the scrap bucket immediately; don’t let “trash” take up “inventory” space.
Analyzing Post-Job Profits to Refine Future Bids
The work isn’t done when the customer leaves. To get better at calculating shop rates, you must perform a “post-mortem” on every job. This means looking at your actual time and material spend versus your original estimate.
I use a simple notebook to track this. I write down the estimated hours and the actual hours. If I consistently go over on my time, I know I need to either raise my hourly rate or find a way to work faster. This feedback loop is the only way to move from “surviving” to “thriving” in a small fabrication business.
- Review the Material: Did you use more steel than planned due to mistakes?
- Review the Time: Which part of the job took longer than expected?
- Review the Consumables: Did you break a tap or ruin a specialized bit?
- Adjust the Template: Use these findings to update your next quote.
Practical Tools for Shop Management
You don’t need expensive enterprise software to manage a side-hustle. In fact, complex software often becomes a chore that people stop using. I recommend a “lean” stack of tools that focus on accuracy and speed.
- Google Sheets or Excel: For building your own project calculators and tracking your “nut.”
- Square or PayPal Zettle: For professional invoicing and taking card payments on-site.
- Wave Accounting: A free tool for tracking basic income and expenses without the complexity of QuickBooks.
- Evernote or Keep: For snapping photos of receipts the moment you buy something so they don’t get lost in your truck.
By treating your workshop like a business—even if it’s only for ten hours a week—you protect your passion. There is no faster way to burn out on metalworking than feeling like you are working for free. When you master your shop math, every spark you throw is a step toward a more sustainable and profitable future.
Frequently Asked Questions
How do I know if my shop rate is too high? If you are losing more than 70% of the jobs you bid on price alone, your rate might be high for your local market or your skill level. However, if you are winning 100% of your bids, your rate is definitely too low. A healthy “win rate” is usually around 30% to 50% for custom work.
Should I charge the customer for my mistakes? Generally, no. If you cut a piece of expensive aluminum incorrectly, that is a “learning tax” you pay. You should bid based on the material required for a successful build. Tracking these mistakes privately helps you understand where you need to improve your process to protect your margins.
How do I handle “friends and family” pricing? The best way to handle this is to show them a professional invoice with a “Family Discount” line item. This shows them the true value of your work while still giving them a break. Never just “guess” a low number, or they will never understand the real cost of your time and equipment.
Is it worth charging for small things like welding wire? Yes, but not as a separate line item. Use a “Consumable Burden” (usually 5-10% of the labor cost). This covers the wire, gas, and electricity without making your invoice look cluttered or petty to the customer.
How often should I update my shop rate? I review my costs every six months. If the price of electricity or my shop insurance goes up, my rate needs to follow. Small, incremental raises are easier for long-term clients to accept than one giant jump after three years of stagnant pricing.
What is the most common hidden cost in a small shop? Material transport and “prep time.” People often forget to charge for the two hours spent driving to the steel yard, waiting in line, and unloading the truck. Your time is valuable from the moment the project starts, not just when you start welding.
Should I include my shop’s mortgage in my overhead if I work from home? Yes, but only the portion dedicated to the shop. If your shop occupies 25% of your property, 25% of your property taxes and basic utilities are legitimate business expenses that your shop rate must cover.
How do I price a job that I’ve never done before? Find a similar project you have done and add a 25% “uncertainty buffer” to the labor estimate. New types of projects always take longer because you have to figure out the jigs, the sequence, and the potential pitfalls for the first time.
Do I need to charge for “design time” if I’m drawing in CAD? Absolutely. If you are sitting at a computer instead of under a welding hood, you are still working. I usually charge a slightly lower “design rate” or include a set number of design hours in the initial project quote.
How do I track the electricity my welder uses? Unless you have a dedicated sub-meter, it is hard to be exact. Most small shop owners add a small “utility surcharge” to their hourly rate. For a standard 220V welder, adding $1.00 to $2.00 per hour to your rate usually covers the power consumption during active welding.
(This article was written by one of our staff writers, Michael Hargrove. Visit our Meet the Team page to learn more about the author and their expertise.)