Critical Lessons for Setting Up a Metal Workshop (Checklist)
I have spent the last 15 years in a 600-square-foot shop, surrounded by the scent of ozone and the rhythmic thrum of a bandsaw. My journey began in small-scale manufacturing, where a tool failure didn’t just mean a ruined Saturday; it meant a missed deadline and lost revenue. Over that time, I have learned that the glossiest marketing brochures often hide the most significant mechanical flaws.
Most tool reviews you find today are “out-of-the-box” impressions. A reviewer plugs a welder in, runs a three-inch bead, and calls it a “game-changer.” My perspective is different. I track tool performance in a series of weathered notebooks, logging runtime hours, every thermal shutdown, and the exact cost of every replacement brush or capacitor. I want to know how a machine behaves after 500 hours of use, not five minutes.
Building a functional fabrication space requires looking past the powder-coated finish. It involves a deep dive into electrical capacity, thermal management, and the actual engineering of the motors that drive your work. This guide is built from those logs, designed to help you bypass the marketing hype and build a shop based on verifiable data and long-term reliability.
Analyzing Power Infrastructure and Electrical Requirements
Power infrastructure refers to the electrical system’s ability to deliver consistent voltage and amperage to your machinery without overheating wires or tripping breakers. It is the foundation of any fabrication space, determining which tools you can run and how hard you can push them.
When I first set up my home shop, I made the mistake of running a high-output MIG welder on a 20-amp circuit with a thin extension cord. The result was a significant voltage drop that caused erratic wire feeding and poor penetration. If you are planning a shop, you must start with your electrical panel. For a serious DIY fabricator, a 60-amp sub-panel is the bare minimum, though 100 amps is preferable if you plan to run a compressor and a welder simultaneously.
Understanding Voltage Drop and Wire Gauge
Voltage drop is the decrease in electrical potential that occurs as current flows through a circuit, usually caused by long wire runs or undersized conductors. This loss of energy turns into heat, which can damage the sensitive electronics in modern inverter-based tools.
I have logged the performance of my tools across various circuit lengths. A 240V welder drawing 30 amps will experience a noticeable performance dip if the wire run from the panel is too long and the gauge is too thin. I always recommend using at least 8-gauge wire for 40-amp circuits to ensure the machine receives the “clean” power it needs to maintain a stable arc.
The Importance of Power Factor Correction (PFC)
Power Factor Correction is a technology in modern inverters that aligns the current and voltage waveforms to maximize electrical efficiency. This allows a tool to pull more usable power from the same outlet while reducing the strain on your shop’s electrical system.
In my experience, tools equipped with PFC are much more “forgiving” of slightly unstable power sources. For example, I compared two 200-amp welders: one with PFC and one without. The PFC-equipped unit could run at full output on a 50-foot extension cord without tripping the breaker, while the non-PFC unit struggled at 160 amps.
- PFC Benefits:
- Lower input amperage requirements for the same output.
- Compatibility with a wider range of input voltages (90V–270V).
- Reduced heat generation in the shop’s wiring.
- Improved stability when running on portable generators.
Deciphering Manufacturer Spec Sheets and Duty Cycle Realities
Spec sheets are the technical documents provided by manufacturers that list the operating limits and capabilities of a tool. Understanding these metrics is the only way to compare two machines objectively without relying on brand reputation.
The most misunderstood metric in the fabrication world is the duty cycle. I have seen countless buyers frustrated because their new machine keeps hitting thermal overload. This usually happens because they didn’t understand that a “200-amp” welder might only be able to provide that power for two minutes out of every ten.
What Duty Cycle Ratings Actually Mean
A duty cycle is a measurement of how long a machine can operate at a specific output within a ten-minute window before it must cool down. A 40% duty cycle at 200 amps means you can weld for four minutes, but the machine must then idle its fan for six minutes.
In my maintenance logs, I have found that pushing a machine to its thermal limit repeatedly shortens the lifespan of the internal capacitors. If you consistently work with 1/4-inch steel, do not buy a machine rated for 1/4-inch at its maximum output. You want a machine where your “normal” work falls within its 60% or 100% duty cycle range.
Table 1: Realistic Duty Cycle Expectations by Price Tier
| Machine Tier | Rated Max Output | 100% Duty Cycle Output | Typical Internal Cooling |
|---|---|---|---|
| Budget / Entry | 140A | 60A – 70A | Single Small Fan |
| Mid-Range DIY | 210A | 110A – 130A | Dual Fans / Large Heat Sinks |
| Semi-Pro / Industrial | 250A+ | 180A – 200A | High-Velocity Managed Airflow |
Motor Insulation Classes and Thermal Protection
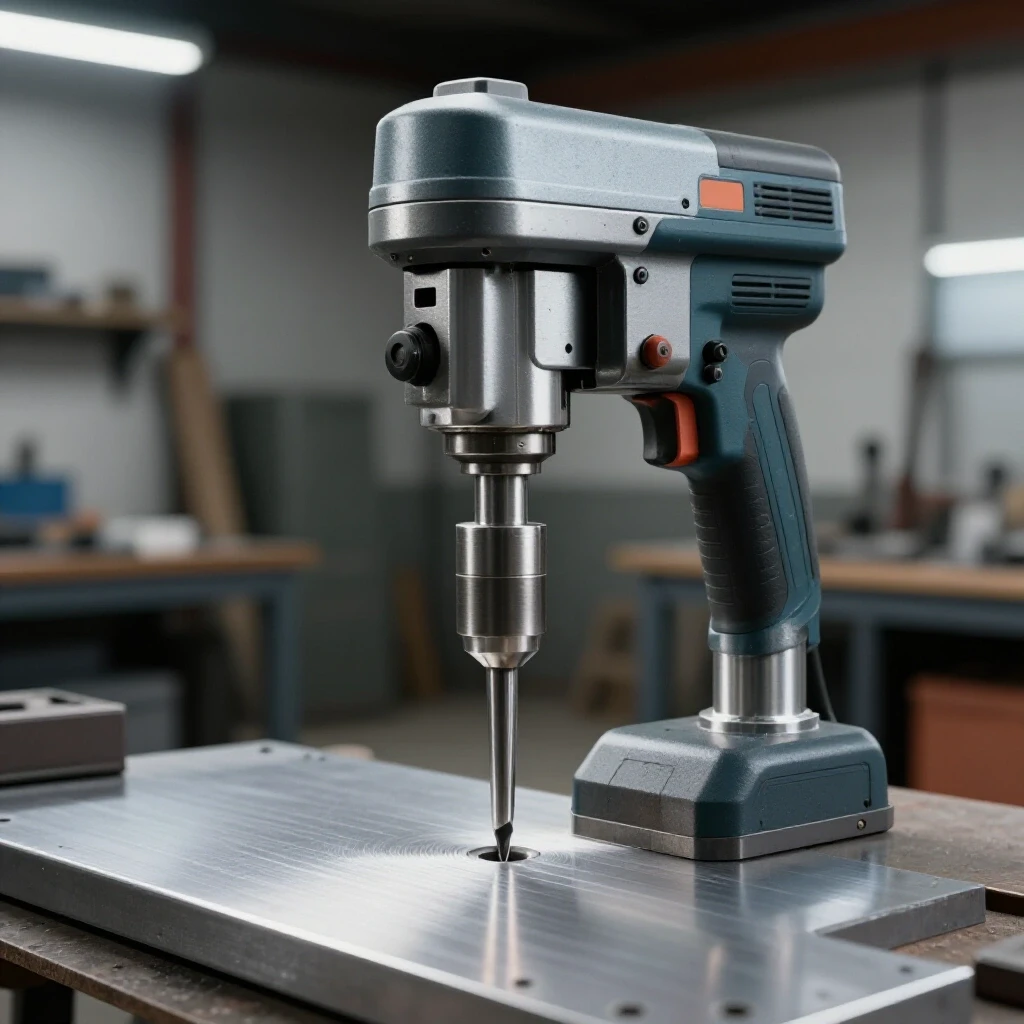
Motor insulation class refers to the temperature rating of the materials used in the motor windings, determining how much heat the tool can handle before the insulation melts. This is a critical metric for tools like grinders, bandsaws, and drill presses.
I always look for “Class F” or “Class H” insulation. Many budget tools use “Class B” or “Class A,” which can only handle temperatures up to 130°C. In a hot garage during a long cutting session, a Class B motor is much more likely to burn out.
- Class B: Rated up to 130°C (266°F). Found in budget consumer tools.
- Class F: Rated up to 155°C (311°F). The standard for high-quality workshop tools.
- Class H: Rated up to 180°C (356°F). Found in heavy-duty industrial equipment.
Selecting Primary Fabrication Equipment Based on Performance Metrics
Primary fabrication equipment includes the core tools used for cutting, shaping, and joining metal, such as welders and saws. Selecting these based on data rather than brand loyalty ensures that your investment lasts for years of consistent use.
When I evaluate a new piece of equipment, I don’t just look at the price. I look at the cost per hour of operation. This includes consumables like blades, tips, and gas, as well as the anticipated repair costs. A cheaper tool that breaks every 100 hours is far more expensive than a premium tool that runs for 1,000 hours without a hiccup.
Evaluating Inverter vs. Transformer Welders
Inverter welders use solid-state electronics to convert power, while transformer welders use large copper or aluminum coils. Each has distinct advantages regarding weight, power efficiency, and long-term repairability.
I have owned both. Transformers are incredibly durable; I have a 30-year-old stick welder that still works perfectly because there are very few electronic components to fail. However, inverters offer much better arc control and are far more efficient. If you choose an inverter, ensure the manufacturer has a solid track record for parts availability, as a single blown circuit board can often cost half the price of the machine.
Metal Cutting: Bandsaws vs. Abrasive Saws
Abrasive saws use high-speed friction to melt through metal, while bandsaws use a toothed blade to chip away material at lower speeds. The choice between them depends on your tolerance for noise, dust, and precision.
In my shop, I transitioned away from abrasive “chop” saws years ago. My logs showed that I was spending nearly $150 a year on abrasive disks, and the dust was settling on every surface in the shop, causing premature wear on other tools. A horizontal/vertical bandsaw might cost more upfront, but the cost per cut is lower, and the environment is much cleaner.
- Abrasive Saw: High noise, high dust, low initial cost, high consumable cost.
- Bandsaw: Low noise, precise cuts, higher initial cost, low consumable cost.
- Cold Saw: Highest precision, very expensive, requires coolant management.
Establishing Preventative Maintenance and Tool Longevity Frameworks
Preventative maintenance is a scheduled series of inspections and services performed to prevent equipment failure before it occurs. A structured framework ensures that tools are always ready for use and helps identify wear patterns before they become catastrophic.
I keep a digital spreadsheet for my shop where I log the “Hours in Service” for every major tool. Just like a car needs an oil change, a bandsaw needs its gearbox oil changed and its blade guides adjusted. Skipping these small tasks is the primary reason tools fail prematurely.
Creating a Maintenance Schedule
A maintenance schedule should be based on actual usage, not just the passage of time. If you only use your drill press once a month, you don’t need to lubricate it as often as a tool you use daily.
I use a simple “Check, Clean, Lubricate” (CCL) system. Every month, I spend one hour going through my primary tools. I check for loose bolts, clean out metal shavings from motor housings, and lubricate moving parts. This simple habit has saved me thousands in repair costs over the last decade.
Table 2: Standard Maintenance Intervals for Fabrication Tools
| Tool Type | Maintenance Task | Frequency (Usage Hours) |
|---|---|---|
| MIG Welder | Clean drive rolls and blow out dust | Every 20 Hours |
| Bandsaw | Check blade tension and guide alignment | Every 10 Hours |
| Angle Grinder | Inspect brushes and clean air intake | Every 50 Hours |
| Air Compressor | Drain tank moisture | After Every Use |
| Drill Press | Lubricate quill and check belt tension | Every 25 Hours |
Managing Warranties and Repair Logs
Warranty management involves keeping organized records of purchase dates, serial numbers, and communication with manufacturers. A repair log tracks what broke, why it broke, and how it was fixed.
Whenever I buy a new tool, I scan the receipt and save it in a dedicated folder on my computer. I also take a photo of the serial number plate. If a tool fails under warranty, having this data ready makes the claim process significantly smoother. I also log every repair I perform myself, which helps me identify if a specific brand has a recurring weakness in its design.
Optimizing Shop Layout for Workflow and Safety
Shop layout is the strategic arrangement of tools and workstations to maximize efficiency and minimize hazards. A well-planned space reduces the physical strain of fabrication and ensures that dangerous tasks, like grinding, don’t interfere with sensitive tasks, like welding.
In my first shop, I had my welding bench right next to my wood storage. One stray spark taught me a very fast lesson about fire safety. Now, I organize my shop into “Hot Zones” and “Clean Zones.” This simple separation protects my equipment and my health.
The “Hot Zone” Concept
The Hot Zone is the area where sparks, heat, and metal dust are generated. This includes your welding table, grinding station, and plasma cutting area. This zone should be clear of flammable materials and have dedicated ventilation.
I use mobile bases for almost all my heavy tools. This allows me to move my grinding station near the garage door when I have a lot of material to prep, ensuring the dust blows outside rather than settling on my precision measuring tools.
Ventilation and Air Quality
Ventilation is the process of replacing contaminated shop air with fresh outdoor air. In metalworking, this is crucial for removing toxic welding fumes and fine metallic dust.
I use a combination of source extraction (a fume arm over my welding bench) and general ventilation (a high-volume exhaust fan). My logs show that on days when I neglect the ventilation, I feel significantly more fatigued. Investing in a high-quality respirator is also non-negotiable; I keep mine in a sealed container to ensure the filters stay clean when not in use.
- Ventilation Essentials:
- Exhaust fan rated for the square footage of the shop.
- Source extraction for welding and plasma cutting.
- Regularly cleaned air filtration units for fine dust.
- Proper PPE (Respirators with P100 filters).
Case Study: The True Cost of a “Budget” Bandsaw
A few years ago, I decided to test a budget-brand horizontal bandsaw that cost $350. On paper, it had the same capacity as a $900 name-brand saw. I wanted to see if the extra $550 was just for the “name.”
Within the first 50 hours of use, the motor capacitor failed. I replaced it for $15. At 100 hours, the pot-metal blade tensioner snapped. I had to fabricate a new one from steel, which took four hours of my time. At 200 hours, the gearbox started leaking because the seals were poor quality.
When I looked at my maintenance log, I had spent $60 on parts and over 12 hours on repairs. If I valued my shop time at a modest $40 an hour, that “cheap” saw actually cost me $890—almost exactly the price of the professional model. Furthermore, the professional model would have likely required zero repairs during that same period.
Lesson Learned: Evaluate the Casting and Gears
When you are looking at machinery, look at the parts that can’t be easily replaced. Is the main frame made of cast iron or thin stamped steel? Are the gears inside the housing made of heat-treated steel or plastic? These are the factors that determine if a tool will last 15 years or 15 months.
A Framework for Making Informed Tool Purchases
Before you click “buy” on a major piece of equipment, go through this checklist. It will help you strip away the marketing and see the tool for what it actually is.
- Analyze the Input Requirements: Does your shop have the amperage and voltage to run this tool at its maximum capacity?
- Verify the Duty Cycle: Is the 100% duty cycle rating sufficient for your most common projects?
- Check the Motor Class: Is it Class F or higher?
- Research Parts Availability: Can you buy replacement brushes, switches, and seals five years from now?
- Calculate the Consumable Cost: How much will it cost to run this tool for 100 hours?
- Read the Warranty Fine Print: Does the warranty cover “wear and tear” or only “manufacturer defects”?
- Inspect the Build Quality: Look for cast components, heavy-duty switches, and thick power cords.
Frequently Asked Questions
How do I know if my shop’s wiring is sufficient for a new welder? You should measure the voltage at the outlet while the machine is under load. If the voltage drops more than 3% to 5% from its idle state, your wiring is likely undersized or the run is too long. Consult with an electrician to ensure your sub-panel can handle the peak amperage draw listed on the tool’s data plate.
Is a brushless motor always better for fabrication tools? In most cases, yes. Brushless motors are more efficient, generate less heat, and eliminate the need for brush replacements. They are especially beneficial in grinders and drills where metallic dust can cause “arcing” in traditional brushed motors. However, they rely on more complex electronics, which can be harder to repair if they fail.
What is the most common cause of premature tool failure? Heat and dust. Most tools fail because their cooling vents become clogged with metal shavings, causing the internal components to overheat. Regularly blowing out your tools with compressed air and respecting duty cycles can double the lifespan of your equipment.
Should I prioritize a higher max amperage or a higher duty cycle? Prioritize duty cycle for the work you do most often. A 250-amp welder with a 20% duty cycle is less useful for a fabricator than a 200-amp welder with a 60% duty cycle, unless you specifically need that extra punch for very thick material.
How can I tell if a manufacturer’s specs are “inflated”? Look at the input power versus the output power. If a machine claims 200 amps of output but only pulls 15 amps of 120V input, the numbers don’t add up physically. Real-world performance is limited by the laws of physics; if the input is low, the output must also be low or very short-lived.
What are the signs that a tool’s motor is about to fail? Listen for changes in the motor’s pitch, look for excessive sparking inside the housing (for brushed motors), and be alert for the smell of burning insulation. If a tool feels significantly hotter than usual during normal operation, stop and inspect the cooling system immediately.
Are digital displays on welders more reliable than manual knobs? Digital displays offer precision and the ability to save settings, which is great for consistency. However, manual potentiometers (knobs) are often more durable in harsh shop environments and are significantly cheaper and easier to replace if they get damaged.
How do I track tool hours if the machine doesn’t have a built-in meter? You can buy inexpensive, vibration-activated hour meters that stick onto the side of any tool. Alternatively, you can log your project hours in a notebook and estimate the “trigger time” for your machines based on the total project duration.
Is it worth buying used industrial equipment instead of new DIY-grade tools? Older industrial equipment is often built with much higher-quality castings and motors. However, you must be prepared to handle three-phase power requirements (using a phase converter) and the potential difficulty of finding discontinued parts. For most DIY fabricators, a high-quality new single-phase machine is a safer investment.
What is the best way to store metal to prevent rust in a home shop? Keep metal off the concrete floor, as moisture wicks through the slab. Use a vertical or horizontal rack and apply a light coat of WD-40 or a dedicated rust preventer to raw steel if your shop is not climate-controlled.
How often should I replace the oil in my shop equipment? For gear-driven saws and large drill presses, I recommend changing the oil after the first 20 hours of “break-in” use to remove any manufacturing debris, and then every 200 to 500 hours thereafter, depending on the manufacturer’s specifications.
By focusing on these metrics and maintaining a disciplined approach to equipment care, you can build a workshop that is both productive and cost-effective. The goal is to spend your time fabricating, not fixing your tools.
(This article was written by one of our staff writers, David Reynolds. Visit our Meet the Team page to learn more about the author and their expertise.)