Customer Retention Strategies for Custom Welding Shops (Guide)
When I first opened my own fabrication shop, I spent more time staring at my bank balance than at my welding arc. I was moving from a steady paycheck to the unpredictable world of side-hustle metalworking, and the transition was terrifying. I quickly learned that being a great welder is only half the battle; the other half is being a disciplined accountant. Many shop owners struggle because they view pricing as a guess rather than a calculation. They worry that a high quote will drive people away, but a quote that is too low will eventually drive the shop out of business. My 16 years in this industry have taught me that long-term success comes from providing a service so reliable and financially transparent that clients wouldn’t dream of going elsewhere.

Establishing a Sustainable Shop Rate Baseline
A shop rate is the hourly fee you must charge to cover every expense while still generating a profit. This number is the foundation of your entire business model, ensuring that your time, electricity, and expertise are properly valued. It prevents you from “paying to work” on projects that actually cost you money.
When you start out, you might be tempted to pick a number like $50 an hour because it sounds better than what you make at your day job. However, that is a trap. In a professional setting, your shop rate needs to cover your “burdened” costs. This includes your shop rent (or a portion of your mortgage), utilities, insurance, and the wear and tear on your equipment. For most small shops, a realistic rate falls between $65 and $120 per hour.
To find your specific number, you need to add up every single monthly expense and divide it by the number of billable hours you actually work. Note that “billable hours” are not the same as “hours spent in the shop.” You might spend ten hours in the shop but only six of those hours are spent actually fabricating a part for a client. The other four hours are spent cleaning, ordering material, or quoting. Your six billable hours must pay for all ten.
Why Overhead is Your Silent Partner
Overhead refers to the ongoing costs of operating a business that are not directly tied to a specific project. These include fixed costs like shop insurance and variable costs like the spike in your electricity bill when the plasma table is running all day. Understanding overhead is crucial for long-term survival.
I once consulted for a shop owner who couldn’t figure out why he was broke despite being busy every weekend. We looked at his books and found he was ignoring “hidden” overhead. He wasn’t accounting for the cost of heating the shop in the winter or the annual renewal of his business license. These small leaks can sink a large ship. You should aim to track these costs for at least three months to get an accurate average.
| Expense Category | Monthly Cost (Example) | Impact on Hourly Rate (40 hrs/mo) |
|---|---|---|
| Shop Rent/Space | $400 | $10.00 |
| Utilities (Power/Gas) | $150 | $3.75 |
| Insurance & Licensing | $100 | $2.50 |
| Software/Subscriptions | $50 | $1.25 |
| Total Overhead | $700 | $17.50 |
As shown in the table, before you even pay yourself or buy a single rod of filler wire, you need to make $17.50 for every hour you work just to keep the lights on. If you want to take home $40 an hour, your base rate is already up to $57.50.
Building Client Loyalty Through Technical Reliability
Forging long-term relationships with clients in the metalworking world depends on proving your value beyond the initial weld. This involves showing the client that you care about the lifespan and safety of the item you built. When a customer knows you stand behind your work, they stop shopping for the lowest price.
In my experience, the best way to keep a client is to be their technical advisor. If I build a custom gate for a local contractor, I don’t just drop it off and send an invoice. I provide a “maintenance sheet” that explains how to grease the hinges and what kind of touch-up paint to use on scratches. This small gesture shows professional pride and builds a level of trust that a “cheap” competitor can’t match. It transforms a one-time transaction into a professional partnership.
Post-Project Support and Weld Integrity Checks
This strategy involves following up with a client after a project is installed to ensure everything is performing as expected. It is a proactive approach to quality control that identifies potential issues before they become expensive failures. This step reinforces your reputation as a meticulous fabricator.
About six months after a major project, I like to send a quick note or make a phone call. I ask how the structure is holding up. If it’s a piece of heavy equipment I repaired, I might offer to do a quick visual inspection of the weld integrity during a slow afternoon. This isn’t about looking for more work; it’s about showing that you are invested in the safety of your fabrication. Clients remember this. When they have their next big project, yours is the only name on their list.
- Offer a 12-month “check-up” on structural welds.
- Provide written care instructions for specialized coatings or finishes.
- Suggest preventive reinforcements for high-wear areas based on your expertise.
- Keep a digital log of the materials and settings used for every client project.
The Math of Consumables and Material Markups
Consumables are the items used up during the fabrication process, such as welding gas, grinding disks, and shielding wire. A material markup is a percentage added to the raw cost of metal to cover the time spent sourcing, transporting, and storing that material.
One of the biggest mistakes I see in side-hustle metalworking is the “flat fee” for consumables. Someone might charge $20 for “shop supplies” on every job. But a job that requires two hours of heavy grinding with flap disks and a half-bottle of Argon costs much more than a quick TIG repair. I recommend a consumable burden factor, which is usually 10% to 15% of the total material cost, or a dedicated line item for high-use items.
Material markups are also non-negotiable. If you spend two hours driving to the steel yard and loading a rack, you are working. You should typically mark up your raw material by 20% to 35%. This covers your fuel, your time, and the risk of a piece of steel being damaged or cut incorrectly.
| Consumable Item | Estimated Unit Cost | Usage Metric |
|---|---|---|
| 75/25 Shielding Gas | $60 per tank | $3.00 – $5.00 per hour |
| .035 MIG Wire | $2.50 per lb | Based on deposition rate |
| 4.5″ Flap Disks | $4.00 each | 1 disk per 2 hours of prep |
| Tungsten Electrodes | $5.00 each | Based on contamination/sharpening |
By tracking these, you can see that a “quick” four-hour job might actually consume $40 in supplies. If you didn’t bill for them, that money comes directly out of your pocket.
Calculating ROI for New Equipment
Return on Investment (ROI) is a calculation used to determine how long it will take for a new tool to pay for itself through increased earnings or time savings. It helps shop owners decide if a major purchase is a smart business move or just a “want.”
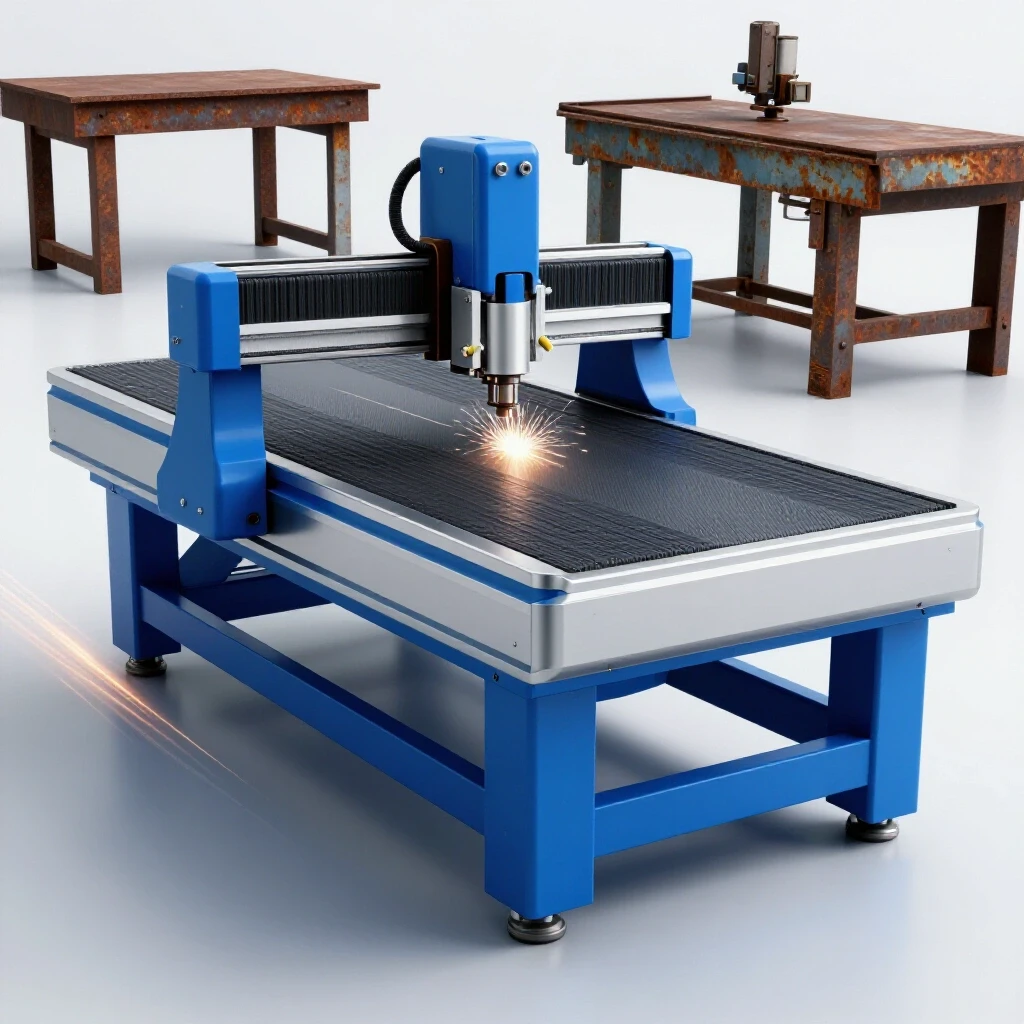
Before I buy a new piece of equipment, like a CNC plasma table or a high-end TIG welder, I run the numbers. Let’s say a new machine costs $5,000. If that machine saves me two hours of labor per week, and my shop rate is $80/hour, I am saving $160 a week. At that rate, the machine pays for itself in about 31 weeks. This is called the payback period. If the payback period is over two years for a side-hustle, I usually reconsider the purchase or look for a used option.
- Step 1: Determine the total “landed cost” (price + shipping + electrical upgrades).
- Step 2: Estimate how many hours the tool will save you per month.
- Step 3: Multiply those hours by your shop rate.
- Step 4: Divide the total cost by that monthly savings number.
Why Hidden Consumables Bleed Small Shop Profits
Many fabricators forget that things like drill bits, saw blades, and even shop rags cost money. Over a year, these small items can add up to thousands of dollars in “leakage.” To combat this, I treat my shop like a kitchen. Every ingredient has a price.
I once tracked every single grinding wheel I used for a month. I realized I was spending $120 a month on abrasives alone. I wasn’t charging for them, which meant I was essentially giving away a free day of labor every month to the “abrasive gods.” Now, I include a “Shop Consumables” line item on every quote that is calculated as a percentage of the labor time. This ensures that as the job gets bigger and more complex, the budget for supplies grows with it.
Formulating a Real Material Markup
A material markup isn’t just “extra money.” It is a fee for the logistics of getting steel into your shop. You have to find the best price, verify the quality, transport it, and store it. All of that takes time and space.
If a project requires $1,000 in aluminum, and you charge the client exactly $1,000, you have lost money. You spent time on the phone with the supplier. You spent time unloading the truck. You might have even had to pay a delivery fee. A standard 25% markup on that $1,000 adds $250 to the bill. This covers your “procurement labor” and provides a small buffer in case the price of metal jumps between the time you quote and the time you buy.
Creating a Professional Fabrication Job Quote
A professional quote is a detailed document that breaks down the expected costs of a project for a client. It serves as a contract that protects both the fabricator and the customer by defining the scope of work and the final price.
When I send a quote, I break it down into four main sections: Labor, Materials, Consumables, and Specialized Services (like powder coating). This transparency prevents the “sticker shock” that often happens with custom work. It also allows you to negotiate. If a client says the price is too high, you can look at the quote together and say, “We can lower the price if we use a thinner gauge of steel or a simpler finish.” This keeps the conversation professional and focused on the work rather than just the dollar amount.
- Project Description: Be specific about what you are building.
- Labor Estimate: Total hours multiplied by your shop rate.
- Material List: Itemized metal costs with your markup applied.
- Consumable Fee: Usually a percentage of the labor or material.
- Terms and Conditions: Include your payment schedule (e.g., 50% down, 50% on completion).
Analyzing Post-Job Profits to Refine Future Bids
Post-job analysis is the process of comparing your original estimate to the actual time and money spent on a project. This is the most important habit for any shop owner who wants to stop undercharging.
After every major job, I sit down with my notes. Did the welding take six hours like I thought, or did it take ten? Did I use more gas than expected? If I consistently find that my “actual” time is higher than my “estimated” time, I know I need to raise my quotes. This data-driven approach removes the emotion from pricing. You aren’t “charging more because you’re greedy”; you’re charging more because the data shows that’s what the work actually costs.
- Track your “start” and “stop” times for every phase (cutting, fitting, welding, finishing).
- Keep your receipts in a dedicated folder for each project.
- Note any unexpected problems, like a machine breakdown or a material defect.
- Calculate your “Effective Hourly Rate” by dividing your total profit by the actual hours worked.
Software and Tools for Modern Shop Management
Managing a shop today is much easier thanks to digital tools that handle the “boring” side of the business. These applications can help you track expenses, send professional invoices, and even calculate the weight of steel for your quotes.
I rely on a few specific types of tools to keep my shop organized. For bookkeeping, I use software that links directly to my business bank account. This makes tax season much less painful. For quoting, I use a simple spreadsheet I built over the years that automatically adds my markups and overhead. Using these tools doesn’t just save time; it makes you look like a pro to your clients.
- QuickBooks or FreshBooks: Great for invoicing and tracking shop expenses.
- Excel or Google Sheets: Perfect for building your own custom ROI and quoting calculators.
- Evernote or Notion: Useful for keeping a digital “project diary” with photos and material specs.
- Metal Weight Calculators: Mobile apps that help you quickly estimate the weight (and cost) of raw steel.
Practical Steps Toward a More Profitable Workshop
The transition from a hobbyist to a successful side-hustler requires a shift in mindset. You have to stop thinking like a welder and start thinking like a business owner who happens to weld. This means respecting your time, tracking your pennies, and building a foundation of trust with your customers through technical expertise and fair, transparent pricing.
Start by calculating your true shop rate this weekend. Look at your bills, look at your hours, and find your real number. Once you have that, every quote you send will be backed by facts, not feelings. This confidence will reflect in your work and in the way you treat your clients. Over time, you will find that the clients who value quality and reliability are more than willing to pay for a professional who knows their numbers.
Frequently Asked Questions
How do I know if my shop rate is too high for my local area? Check the rates of local mechanical shops or small manufacturing firms. If they charge $100/hour and you are charging $80/hour with a similar toolset, you are likely in a good spot. Don’t compare yourself to the guy working out of his trunk with no insurance; you are building a legitimate business.
Should I charge for the time I spend talking to a client? Yes, but usually as part of your overhead or a “design fee.” If a project requires three hours of back-and-forth emails and drawing, that is billable time. For standard jobs, this time is usually covered by your hourly shop rate.
How do I handle a client who wants a discount? Instead of lowering your price, offer to change the scope of the project. Say, “I can’t lower my hourly rate, but we can save money by using a different material or a simpler design.” This protects your profit margin while helping the client’s budget.
What is a “Consumable Burden Factor” and why do I need it? It is a percentage (usually 10-15%) added to your labor or material cost to cover the “invisible” costs of welding, like gas, wire, and electricity. It ensures you aren’t paying for the client’s supplies out of your own pocket.
How often should I update my material pricing? Metal prices can fluctuate weekly. Always call your supplier for a current quote before sending a large bid to a client. Include a “quote valid for 14 days” clause on your paperwork to protect yourself from price spikes.
Is it worth buying a CNC table for a part-time shop? Only if you have a clear path to it paying for itself. If you spend 20 hours a month hand-cutting parts that a CNC could do in two hours, the time savings alone might justify the cost. Use the ROI formula: (Cost / Monthly Time Savings) = Payback Period.
What is the best way to track my time on a job? Use a simple “punch-in” app on your phone or a physical whiteboard in the shop. Write down your start and end times for every session. You’ll be surprised how many “15-minute tasks” actually take an hour.
How do I explain a material markup to a skeptical customer? Explain that the markup covers the cost of sourcing, transporting, and inspecting the material. Most professional clients understand that you aren’t just a delivery service; you are providing the expertise to select the right materials for their safety.
Should I include a warranty on my fabrication work? A limited warranty on the integrity of your welds (e.g., one year under normal use) is a great way to build trust. It shows you are confident in your skills. Just be sure to define what “normal use” means in writing.
What is the most common hidden cost in a welding shop? Abrasives and gases. People often underestimate how many grinding disks they will use on a project. Tracking these specifically for a month will give you a much more accurate picture of your true costs.
(This article was written by one of our staff writers, Michael Hargrove. Visit our Meet the Team page to learn more about the author and their expertise.)