How to Weld Sheet Metal Cabinet Doors Without Warping (Fix)
In my eighteen years of restoring vintage machinery, I have learned that a machine is only as good as the sum of its parts. While most of my time is spent scraping cast-iron ways or pouring babbitt bearings, the sheet metal enclosures often present the most frustrating challenges. These thin-gauge panels protect the precision guts of a 1940s lathe or a heavy-duty milling machine, yet they are frequently the first things to suffer from rust or structural damage. Repairing a dented or rusted cabinet door requires a different set of skills than rebuilding a gearbox. When you strike an arc on thin steel, the metal wants to move, twist, and buckle. Achieving a flat, functional repair on these doors is a test of patience and thermal management.
Evaluating the Structural Integrity of Vintage Machine Enclosures
Before you pull the trigger on a welder, you must assess the condition of the metal and the precision of the frame. This stage involves identifying the gauge of the steel, the extent of the corrosion, and how the panel fits into the overall machine assembly. A warped door on a precision tool cabinet is not just an eyesore; it can vibrate against the casting or prevent proper coolant drainage.
I always start by stripping the decades of oil and grime. When I rescued a 1952 South Bend lathe, the motor cabinet was buried under layers of lead-based paint and old cutting fluid. I used a combination of mechanical scraping and mild chemical strippers to see the bare metal. You cannot weld through rust or old paint without creating porous, weak joints that will eventually fail. I use a digital caliper to check the thickness. Most vintage cabinets use 16-gauge or 18-gauge steel, which is roughly 0.048 to 0.060 inches thick. This thinness makes the metal highly sensitive to the heat of a welding arc.
Mapping the Disassembly Sequence for Cabinet Components
Restoring classic cast iron often starts with a systematic teardown to ensure no hidden damage remains. For sheet metal doors, this means removing hinges, latches, and internal stiffeners that might be spot-welded or riveted in place. Documenting how these parts interact is vital for maintaining factory tolerances during the reassembly phase.
I use a simple numbering system for every fastener and hinge. Vintage machines often use obsolete thread patterns or custom-made pins that you cannot buy at a hardware store. If a hinge pin is seized, I avoid using heavy hammers. Instead, I apply a 50/50 mix of acetone and automatic transmission fluid. This homemade penetrant works better than most commercial sprays for creeping into tight tolerances. Once the door is free, I place it on a known flat surface, like a granite surface plate or a thick steel welding table, to check for existing twists.
Removing Machinery Rust Without Compromising Thin Panels
Removing heavy structural corrosion from thin sheet metal requires a gentler touch than cleaning a thick cast-iron base. While a wire wheel on an angle grinder is fast, it can thin the metal further or create friction heat that induces a permanent bow in the panel before you even start welding.
For these panels, I prefer electrolysis or modern water-based chelators. Electrolysis is particularly effective because it is “line-of-sight” but also reaches into the pores of the metal. I set up a 12V DC power supply with a sacrificial anode. This process converts iron oxide back into a stable form or loosens it enough to be wiped away. It preserves the base metal, which is critical when you only have 0.050 inches of material to work with.
| Method | Pros | Cons | Best For |
|---|---|---|---|
| Electrolysis | Preserves base metal, reaches pits | Slow, requires water tank | Intricate latches and thin panels |
| Wire Wheel | Fast, inexpensive | Can thin metal, creates heat | Heavy cast-iron legs and bases |
| Chemical Chelators | Safe, non-toxic | Expensive for large parts | Light surface rust on flat doors |
| Sandblasting | Very fast, uniform finish | Can warp thin sheet metal | Heavy structural frames only |
Strategic Fixturing to Maintain Panel Flatness
The secret to preventing distortion when joining thin-gauge steel is rigid fixturing. When metal is heated, it expands; when it cools, it contracts. If the metal is not held firmly in place, the contraction will pull the edges of the door inward, creating an “oil-can” effect or a diagonal twist.
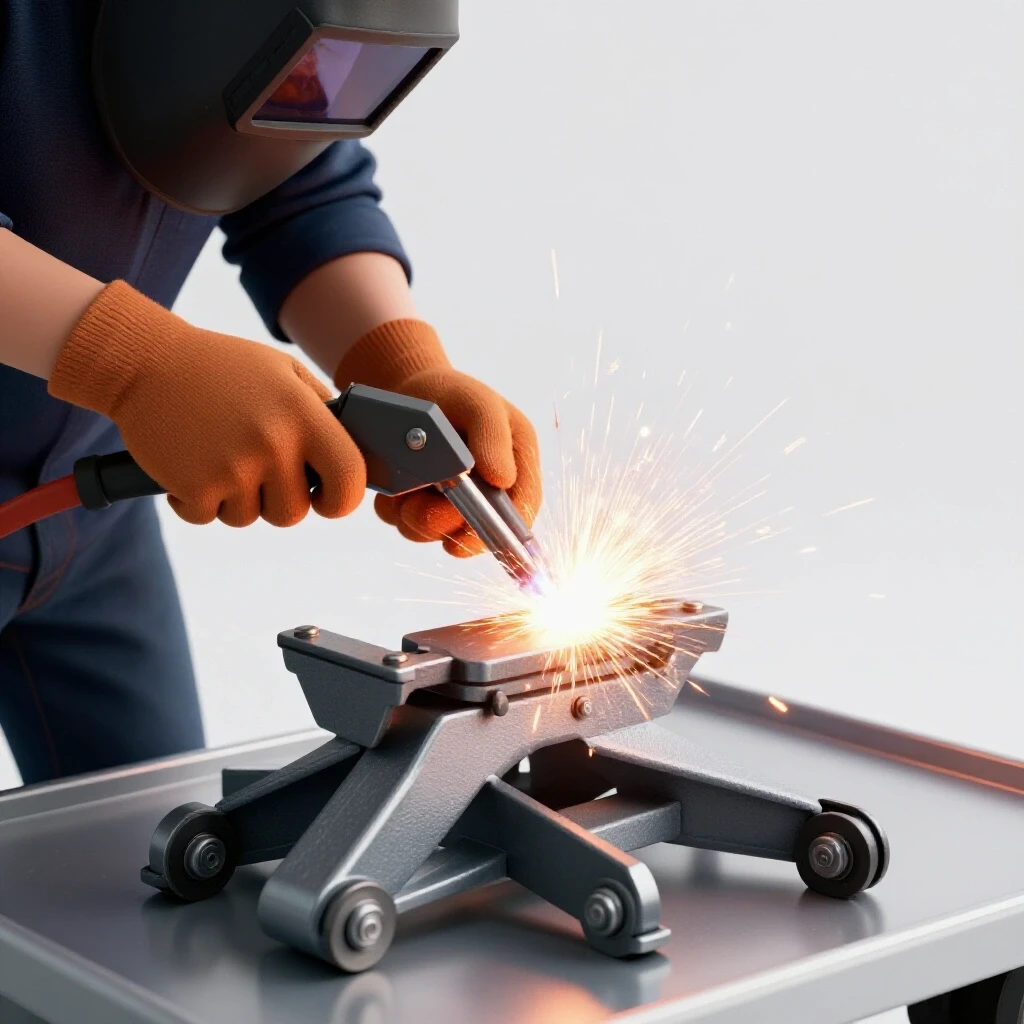
I use heavy steel bars and C-clamps to create a “jail” for the panel. By clamping the sheet metal to a flat, thick table, you provide a heat sink. This thick table absorbs the excess thermal energy that would otherwise cause the thin door to buckle. I often place copper or aluminum backup bars directly behind the weld seam. These non-ferrous metals do not stick to the weld, but they pull heat away from the work zone rapidly, which is essential for maintaining the 1-2mm flatness tolerance required for a professional restoration.
Why Seized Cast Iron Screws Crack Under Force
While focusing on the sheet metal, you will often encounter screws that bridge the gap between the cabinet and the cast-iron frame. These fasteners are often seized due to galvanic corrosion, where two different metals react over decades. Applying too much torque can snap the screw or, worse, crack the vintage casting.
I use a thermal release plan. I apply localized heat to the fastener with a TIG torch or a propane torch, then immediately touch an ice cube to the screw head. This rapid expansion and contraction break the bond of the rust. In my experience, this is the safest way to preserve the integrity of the cabinet’s mounting points. If the thread is an obsolete pattern, such as a 12-24 or a non-standard pitch, preserving the original hole is much easier than drilling and tapping a new one.
Aligning Machine Tolerances Through Flat Surface Prep
A machine’s cabinet must be as square as the tool it supports. If the base or door is warped, it can throw off the alignment of the entire unit. I treat the flat surfaces of the cabinet with the same respect I give to the bedways of a lathe, though the precision levels are different.
For a lathe bed, I might aim for 0.0005 inches of flatness, but for a cabinet door, I aim for a visual and functional flatness of about 0.040 inches (1mm). I use a precision straightedge to find high spots. If the door has warped during its life, I may need to use a “shrinking” technique with a torch and a wet rag to pull the metal back into alignment before I begin any new welding repairs.
Thermal Management Techniques for Thin Ferrous Sheets
Controlling the heat input is the most critical factor when performing repairs on machine enclosures. If you run a continuous bead of weld along a 20-inch door seam, the panel will almost certainly look like a potato chip by the time you are done. The goal is to keep the total heat in the metal as low as possible.
I use the “skip welding” or “stitch welding” method. Instead of one long bead, I make a small tack weld every three or four inches. Then, I move to a completely different part of the door to make the next tack. This allows the first weld to cool down before I return to it. By the time I fill in the gaps, the overall temperature of the panel stays low enough that the internal stresses do not overcome the rigidity of the metal.
The Back-Stepping Method for Distortion Control
Back-stepping is a professional technique where you weld in the opposite direction of the overall seam progress. If I am welding from left to right, I start a one-inch bead two inches in and weld back toward the start. Then I move another two inches forward and weld back to the previous bead.
- Mark your seam into one-inch increments.
- Start the arc at the end of the first increment and weld backward to the beginning.
- Move to the end of the second increment and weld backward to the end of the first.
- Allow the metal to become cool to the touch between every three increments.
- Check for flatness with a straightedge after every set of welds.
This technique balances the tension. As the weld cools and pulls, the next weld pulls in the opposite direction, effectively canceling out the warping forces. In my 18 years of shop work, this has been the most reliable way to keep thin panels within factory specs.
Comparing Arc Processes for Machine Cabinet Repair
Choosing between MIG (Metal Inert Gas) and TIG (Tungsten Inert Gas) is a matter of both speed and control. For most restorers, MIG is the go-to because it is faster and easier to learn. However, TIG offers much finer control over the heat, which is a massive advantage when working on very thin or delicate vintage enclosures.
For MIG welding, I use a thin 0.023-inch wire. This requires less amperage to melt, which means less heat is transferred to the cabinet door. If I use TIG, I use a 1/16-inch ceriated tungsten and a foot pedal to manually back off the heat as the metal gets saturated. TIG is slower, but the resulting weld is often softer and easier to planish (flatten with a hammer) if a small amount of warping does occur.
| Feature | MIG Welding | TIG Welding |
|---|---|---|
| Heat Input | Moderate to High | Low and Controllable |
| Ease of Use | High (Point and shoot) | Low (Requires two hands) |
| Warping Risk | Moderate | Low |
| Best For | Structural cabinet frames | Thin door skins and patches |
| Wire/Rod Size | 0.023″ – 0.030″ | 1/16″ Filler Rod |
Corrective Measures for Minor Thermal Deviation
Even with the best planning, a thin sheet metal door might develop a slight bow. In the world of machinery restoration, we don’t just “live with it.” We use mechanical force and localized heat to bring the part back to its original shape. This is similar to how we use hand scraping to align a carriage to a bedway, but the tools are different.
If a panel has a “high spot” or a bulge, I use a hammer and dolly. By placing a heavy steel block (the dolly) on one side and striking the other side with a flat-faced hammer, I can stretch or compress the metal. This is a delicate process. You are not trying to beat the metal into submission; you are using small, controlled strikes to move the molecules back where they belong.
Hand-Scraping Logic Applied to Sheet Metal
In machine tool work, hand scraping is used to create a flat surface by removing high spots identified by a marking blue. While we don’t scrape sheet metal, the logic is the same. I use a “Dykem” layout fluid on the door and rub a straightedge across it. The areas where the blue rubs off are the high spots.
- Identify the high spot using a straightedge.
- Check if the spot is caused by a weld shrinking or a mechanical dent.
- Use a “shrinking hammer” for spots caused by heat expansion.
- Use a “stretching” blow for spots caused by weld contraction.
- Verify the flatness every few strikes to avoid over-correcting.
Restoring a 1930s drill press cabinet recently taught me that even a 0.020-inch deviation can cause a door to rattle during operation. By applying these precision-focused techniques to the sheet metal, I was able to make the machine run as quietly as it did the day it left the factory.
Servicing Legacy Bearings and Their Enclosures
Often, the cabinet doors on old machines house the primary drive bearings or pulley systems. If the door is warped, it can put side-pressure on the sleeve bearings or babbitt mounts. When I pour new babbitt bearings—a process of melting a lead-tin alloy into a cast-iron housing—I must ensure the housing itself is perfectly aligned.
A warped cabinet door that acts as a bearing support will cause the shaft to bind. I aim for bearing clearances of 0.001 to 0.002 inches. If the sheet metal enclosure is off by even 1/16th of an inch, it can eat through a soft babbitt bearing in hours. This is why the “fix” for a warped door is actually a critical mechanical repair, not just a cosmetic one.
Precision Alignment and Final Testing
Once the welding is complete and the panels are flat, the final step is the “hang.” This is where you reattach the door to the machine frame and check the swing. In vintage machinery restoration, we look for a consistent gap (the reveal) around the entire door. If the gap is wider at the top than the bottom, the door or the frame is still under stress.
I use a machinist’s level, accurate to 0.0005 inches per foot, to ensure the entire machine is level before I judge the door alignment. If the machine’s cast-iron base is twisted because the floor is uneven, the sheet metal cabinet will also twist, making the door appear warped when it is actually straight. Always level the heavy iron first, then adjust the thin steel.
- Place the machine on its permanent vibration-damping mounts.
- Level the bedways using a precision master level.
- Install the cabinet doors and check for ease of movement.
- If the door binds, check the hinge alignment with a plumb bob.
- Use thin brass shims behind the hinges to fine-tune the door’s position.
Actionable Tracking for Machine Rescues
Every restoration project should have a logbook. I track every weld, every bearing clearance, and every obsolete thread I encounter. This documentation is invaluable if you ever need to repair the machine again or if you decide to pass it on to another collector.
- Machine ID: Model, Year, and Serial Number.
- Metal Gauge: Measured thickness of all panels.
- Weld Settings: Voltage, wire speed, and gas flow used for the repair.
- Alignment Log: Flatness readings before and after the thermal “fix.”
- Fastener List: Any non-standard threads (e.g., 1/2-13 vs. 1/2-12).
By keeping these records, you move from being a “hobbyist” to a “preservationist.” You are not just fixing an old tool; you are maintaining a piece of industrial history. The patience you show in preventing a door from warping is the same patience required to scrape a lathe bed or dial in a spindle to zero runout.
Conclusion
Restoring a piece of history is a marathon, not a sprint. When you face a rusted, thin-gauge cabinet door, remember that the heat is your enemy, but your tools and techniques are your allies. By using skip welding, back-stepping, and rigid fixturing, you can repair even the most neglected enclosures without losing their original shape. This attention to detail ensures that the heavy cast-iron heart of your machine is protected by a shell that is just as precise and well-crafted as the gears inside.
FAQ: Restoring Machine Enclosures and Thermal Control
How do I know if my vintage cabinet is made of cast iron or sheet steel? You can tell by the “spark test” or by using a magnet. Touch a grinder to an inconspicuous area; cast iron produces short, dull red sparks, while sheet steel produces long, bright white sparks. Also, cast iron is thick and brittle, whereas sheet steel is thin and can be bent.
What is the best way to stop a thin door from “popping” or oil-canning after welding? This is usually caused by the weld seam shrinking and pulling the center of the panel out of alignment. You can often fix this by “planishing” the weld—lightly tapping the weld bead with a hammer against a dolly. This stretches the weld slightly, relieving the tension that is pulling the panel.
Can I use a stick welder for thin machine panels? It is very difficult. Stick welding (SMAW) typically generates too much heat and has a high risk of “burn-through” on 16-gauge or 18-gauge steel. If you must use it, use the thinnest rod possible (1/16-inch) and very low amperage, but MIG or TIG are much better choices.
How do I handle rust in the tight corners of a cabinet frame? Small sandblasting cabinets are great for this, but if you don’t have one, a dental pick and a small wire brush are your best friends. For stubborn areas, a spot-application of phosphoric acid can convert the remaining rust into a stable black coating (iron phosphate).
What should I do if I burn a hole through the metal? Don’t panic. Stop immediately and let the area cool. Clean the edges of the hole, then use a copper “spoon” or a piece of copper bar held behind the hole. The weld won’t stick to the copper, allowing you to “bridge” the gap with new metal safely.
How flat does a machine door really need to be? While a lathe bed needs to be flat within ten-thousandths of an inch, a door just needs to be flat enough to close securely and not vibrate. A good rule of thumb is to keep any deviation under 1/16th of an inch (about 1.5mm) across the diagonal of the door.
Is it worth restoring a cabinet that is heavily pitted? If the pits don’t go all the way through, the metal is still structurally sound. Deep pitting can be filled with a high-quality metal-filled epoxy or by “skimming” with a TIG torch and filler rod, though the latter carries a high risk of warping.
Why does my weld look like a “grape” on top of the metal instead of soaking in? This usually means your heat is too low or the metal is dirty. Vintage machines are often soaked in oil. If the oil has seeped into the grain of the steel, it will outgas when heated, pushing the weld puddle away. Deep cleaning with a degreaser is mandatory.
How can I replicate an obsolete hinge for a 1930s machine? If the hinge is beyond repair, you may need to fabricate a new one from flat stock and steel tubing. Use a lathe to turn a custom pin that fits the tubing with a 0.002-inch clearance for a smooth, “no-slop” feel.
What is the most common mistake when welding thin panels? The most common mistake is rushing. Restorers often get impatient and try to finish a seam in one go. This builds up “residual stress.” Taking breaks to let the metal return to room temperature is the only way to guarantee a flat result.
(This article was written by one of our staff writers, Richard Beaumont. Visit our Meet the Team page to learn more about the author and their expertise.)