How to Build a Mobile Steel Hose Reel Cart on Wheels (Plan)
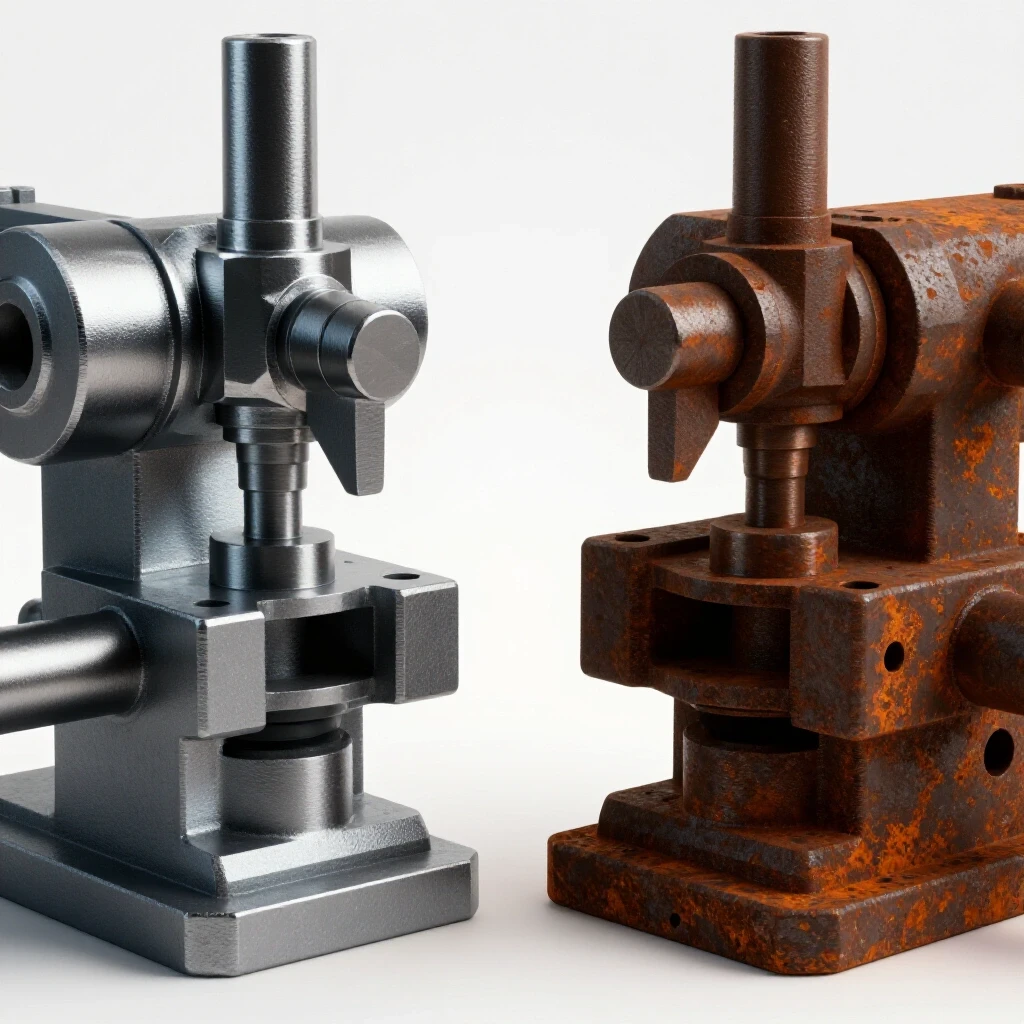
Walking into a shop filled with the scent of sulfurized cutting oil and the cold, solid presence of cast iron is a feeling most people don’t understand. To us, a rusted 1940s South Bend lathe isn’t scrap; it is a masterpiece waiting to be uncovered. Over the last 18 years, I have spent thousands of hours coaxing seized spindles back to life and scraping bedways to within a thousandth of an inch.
Restoration is a slow, methodical dance between patience and physics. It requires a deep respect for the engineers who came before us. When I first started, I rushed. I broke a casting on a vintage drill press because I didn’t understand the thermal expansion rates of old iron. Today, I treat every bolt as a historical artifact.
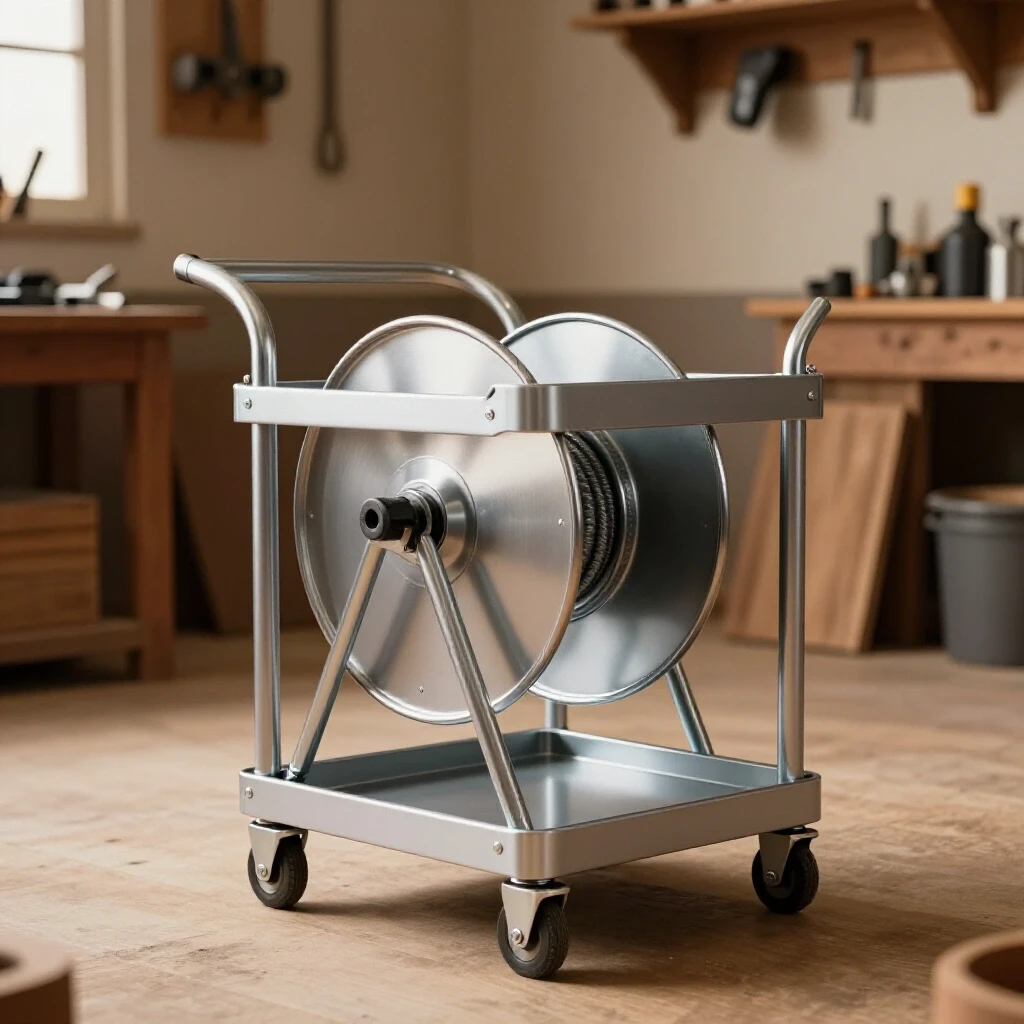
Part of maintaining a high-functioning restoration shop is managing the infrastructure that keeps our tools running. Whether it is air lines for pneumatic descalers or water lines for a massive electrolysis tank, hoses are a constant tripping hazard. Designing and fabricating a heavy-duty steel frame to transport these reels is a project that mirrors the precision we use on our machinery. It requires squareness, structural integrity, and the ability to handle significant weight without flexing.
Assessing Structural Requirements for Heavy-Duty Shop Equipment
Evaluating the load-bearing needs of a steel frame ensures that the final build can withstand the vibrations and weight of industrial-grade hoses. This stage involves calculating the total weight of the reel, the hose, and the fluid it carries, then selecting steel profiles that offer a high safety factor.
When we look at vintage machinery restoration, we often deal with “over-built” designs. My 1920s bandsaw has a frame three times thicker than it needs to be. I apply that same philosophy to shop infrastructure. If you are building a wheeled unit for a 100-foot industrial hose, you are looking at a static weight that might exceed 80 pounds, but the dynamic force of pulling that hose can double the stress on the frame.
I prefer using 1.5-inch square steel tubing with a 1/8-inch wall thickness (11-gauge). This provides excellent torsional rigidity. Flat bar, typically 2 inches wide by 1/4 inch thick, works well for gussets and mounting plates. In my experience, using thinner “hobbyist” steel leads to frame racking, which eventually causes the casters to bind and the welds to fatigue under the stress of a busy workshop.
Material Selection Comparison for Shop Fixtures
| Material Type | Wall Thickness | Best Use Case | Durability Rating |
|---|---|---|---|
| Square Tubing (A36) | 1/8 inch (11ga) | Main frame and uprights | High |
| Flat Bar Steel | 1/4 inch | Mounting brackets and gussets | Very High |
| Angle Iron | 3/16 inch | Base support and caster mounts | Medium-High |
| Round Bar | 5/8 inch | Custom axles for fixed wheels | High |
Mapping the Fabrication Sequence for a Mobile Steel Frame
A systematic approach to cutting and assembly prevents the common mistake of building a “rhombus” instead of a rectangle. This process involves creating a cut list, squaring the stock, and using jigs to ensure every joint is perfectly perpendicular before the first arc is struck.
In machinery restoration, we call this “tramming.” Just as you align a mill head, you must align your fabrication table. I start by cutting my base members to length using a cold saw or a horizontal bandsaw. Abrasive saws are faster but leave a ragged, heat-affected zone that complicates the welding process. For a standard shop reel, a base footprint of 18 inches by 24 inches provides a stable center of gravity.
Once the pieces are cut, I use a granite surface plate or a known-flat welding table to check for twist. If your base is twisted, your wheels will never sit evenly on the floor. Interestingly, many restorers overlook the importance of deburring. Every edge should be hit with a file or a flap disc. This isn’t just for aesthetics; it ensures the parts sit flush in the magnets or clamps, which is critical for maintaining tolerances during the tack-welding phase.
Essential Measurements for a Stable Transport Unit
- Base Width: 18 to 22 inches (to prevent tipping during hose extension).
- Upright Height: 30 to 36 inches (ergonomic height for winding).
- Axle Diameter: 5/8 inch or 3/4 inch (matching heavy-duty wheel bores).
- Ground Clearance: 3 to 4 inches (to clear shop debris and power cords).
Removing Mill Scale and Preparing Steel for Precision Joinery
Removing the protective layer of scale from hot-rolled steel is essential for achieving deep weld penetration and a professional finish. This step involves mechanical grinding or chemical pickling to expose the raw, silver metal beneath the dark gray oxidation.
If you have ever tried to weld through mill scale, you know it creates a brittle, porous joint. For a restorer, this is unacceptable. I treat new steel stock with the same care I treat a rusted lathe bed. I often use a 60-grit zirconia flap disc to strip the scale back at least one inch from every joint. This ensures the weld puddle isn’t contaminated by carbon or impurities from the manufacturing process.
For larger areas, some restorers use a muriatic acid bath, but I find that a simple vinegar soak for 24 hours is safer and more manageable in a home shop. After the soak, a quick scrub with a wire brush reveals a surface that is ready for layout fluid. Using “Dykem” or a similar layout dye allows you to scribe precise lines for your mounting holes, just as you would when fabricating a replacement part for an obsolete machine.
Why Seized Cast Iron Screws Crack Under Force—And How to Formulate a Real Thermal Release Plan
Understanding the metallurgical differences between steel fasteners and cast iron housings is vital when disassembling old equipment. This section explains the “coefficient of thermal expansion” and how to use targeted heat to break the bond of decades-old rust without damaging the brittle casting.
When building your mobile frame, you might be tempted to use old salvaged casters from a vintage machine. Often, those casters are held on by seized Grade 5 bolts. If you pull too hard with a breaker bar, you will snap the bolt or, worse, crack the cast iron mounting ear. I have learned the hard way that “slow is fast” in these situations.
I use an oxy-acetylene torch to heat the surrounding casting, not the bolt itself. As the cast iron expands, it slightly increases the diameter of the threaded hole. While the piece is hot, I apply a 50/50 mix of Acetone and Automatic Transmission Fluid (ATF). This home-brewed penetrant has a lower viscosity than most commercial sprays and can find its way into the smallest thread gaps. If the bolt still won’t budge, I use a digital thermometer to ensure I don’t exceed 450°F, which could alter the heat treatment of the metal.
Rust Removal Method Trade-offs
| Method | Speed | Risk to Base Metal | Best Application |
|---|---|---|---|
| Electrolysis | Slow (12-24 hrs) | Zero | Intricate cast iron parts |
| Evapo-Rust | Medium (4-12 hrs) | Zero | Small parts and fasteners |
| Wire Wheel | Fast | Low/Medium | Large flat surfaces |
| Sandblasting | Very Fast | High (if aggressive) | Heavy structural rust |
Establishing a Square Base with Precision Clamping
Achieving a perfectly square foundation is the most critical step in fabricating any shop fixture. This involves using machinist squares, corner magnets, and a “tack-and-check” method to ensure the frame does not warp as the metal cools and contracts.
When I am building a frame for a heavy hose reel, I use the “3-4-5 rule” to verify squareness. For example, if one side is 15 inches and the other is 20 inches, the diagonal must be exactly 25 inches. If it is off by even 1/16th of an inch, the cart will “dog-track” when you push it across the shop.
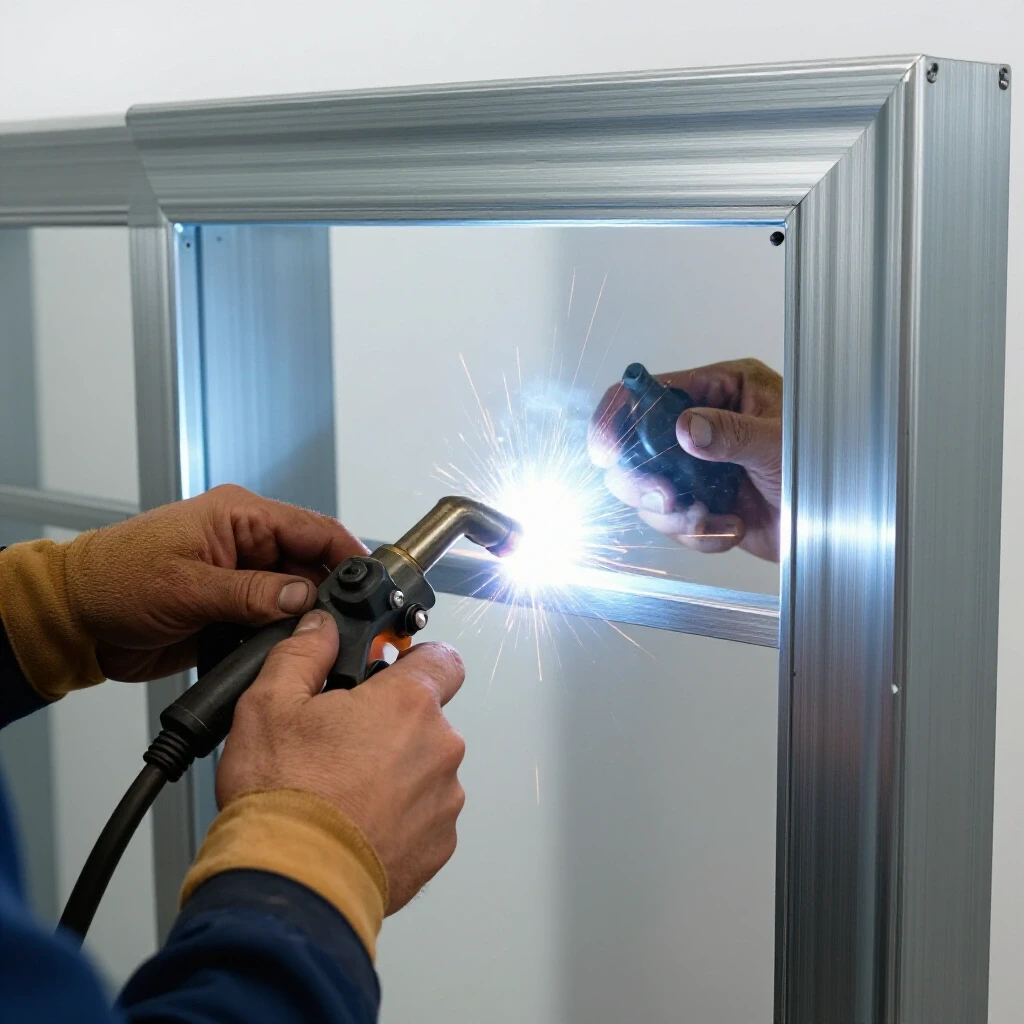
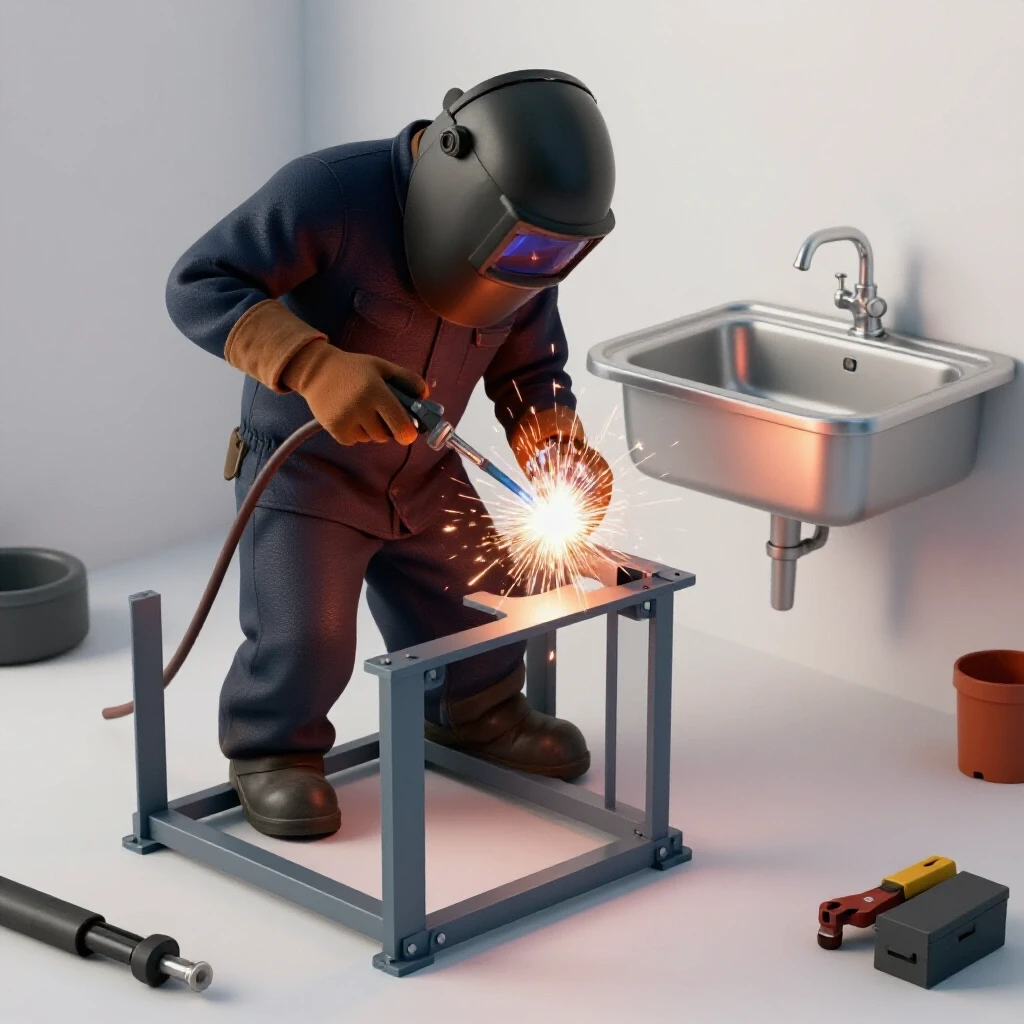
I always tack-weld the corners first. A tack is a small, temporary weld that holds the pieces in place. After tacking all four corners of the base, I measure the diagonals again. If the heat from the first tack pulled the frame out of square, I can easily snap the tack with a cold chisel and readjust. Only after the diagonals are identical do I proceed with the full beads. I also weld in a “staggered” pattern—welding the front left corner, then the back right—to distribute the heat evenly and minimize warping.
Selecting and Mounting Heavy-Duty Mobility Components
Choosing the right wheels and mounting systems determines how easily the steel cart will navigate a workshop floor. This includes evaluating load ratings, floor surface compatibility, and the mechanical advantages of different caster configurations.
For a shop environment, I avoid hard plastic wheels. They pick up metal chips and grind them into the concrete. Instead, I opt for 4-inch polyurethane-on-iron wheels. These offer the durability of metal with a slightly softer tread that rolls over small obstructions like weld spatter or sawdust.
- Identify the load: A full reel can weigh 100+ lbs; choose casters rated for at least 250 lbs each for a 4x safety factor.
- Choose the configuration: Two swivel casters with brakes on the front and two fixed wheels on the back provide the best steering.
- Fabricate the mounts: Weld 1/4-inch flat bar plates to the bottom of your tubing. Drill and tap these plates rather than using through-bolts to maintain a cleaner, “factory” look.
- Verify the height: Ensure the axle height of the fixed wheels matches the total height of the swivel casters so the frame sits level.
Aligning the Reel Axis for Smooth Operation
Properly positioning the reel on the frame ensures that the center of gravity remains stable during use. This requires centering the reel’s spindle and ensuring it is perfectly parallel to the ground to prevent the hose from bunching on one side during retraction.
In my years of restoring lathes, I have learned that “close enough” isn’t good enough for rotating assemblies. When mounting the reel to your vertical uprights, use a precision machinist’s level. If the reel is tilted even slightly, the hose will always want to “walk” toward the lower side of the drum. This creates a mess and can eventually bend the reel’s internal spindle.
I prefer to use 5/8-inch Grade 8 bolts for mounting the reel. While Grade 2 or 5 would likely hold the weight, Grade 8 bolts have a higher shear strength, which is important when you are yanking on a stuck hose. I also use nylon-insert lock nuts (Nylocs). Shops are high-vibration environments, and standard nuts will eventually vibrate loose, leading to a catastrophic failure of the mounting bracket.
Alignment Checklist for Rotating Fixtures
- Check vertical uprights for 90-degree plumb using a master square.
- Measure the distance from the floor to the reel center on both sides; the delta should be < 0.030 inches.
- Verify that the reel spindle rotates freely without binding against the frame.
- Check for lateral play; use steel spacers or washers to center the reel within the frame.
Fabricating Custom Axles and Sleeve Bearings
Creating a custom axle system allows for a more robust and serviceable unit than off-the-shelf kits. This involves using cold-rolled round bar and potentially pouring babbitt or using bronze bushings for low-friction rotation.
While most modern reels come with their own bearings, older industrial reels often need a custom-made axle. If I find a vintage reel at a scrap yard, the first thing I do is check the bore of the hub. If it is scarred, I’ll turn it down on the lathe and press in a bronze bushing. Bronze (specifically SAE 660) is an excellent material for this because it is “self-lubricating” to a degree, though it still appreciates a drop of 30-weight non-detergent oil.
If the axle is badly pitted, I replace it with 1018 cold-rolled steel. I don’t use hot-rolled for axles because the tolerances are too loose. Cold-rolled bar is usually within a few thousandths of its nominal size, making it perfect for a “slip fit” into a bearing. I secure the axle using linchpins or split collars, which allow for easy disassembly when the unit eventually needs maintenance.
Final Assembly and Load Testing the Steel Structure
The final stage of the build involves a comprehensive check of all welds, the installation of the mobility hardware, and a functional test under full load. This ensures that the frame handles the weight without deflection and that the braking system is effective.
Before I call a project finished, I perform a “stress test.” I load the reel with the hose and then apply 50% more weight than I expect it to carry. I look for any signs of “flexing” in the uprights. If the frame feels spongy, I add diagonal bracing made from 1-inch flat bar.
I also check the “tracking” of the wheels. I push the cart in a straight line for ten feet. If it veers to the left or right, it means one of the axles isn’t parallel to the frame. In machinery restoration, alignment is everything. A cart that doesn’t roll straight is just as frustrating as a lathe tailstock that is out of alignment.
Actionable Tracking Framework: The Restorer’s Build Log
- Material Log: Record the steel type, thickness, and source.
- Cut List: Document every dimension to 1/16th of an inch.
- Welding Parameters: Note the voltage and wire speed used (for future repairs).
- Maintenance Schedule: Mark the calendar to grease the casters and check bolt torque every six months.
Maintaining Your Steel Workshop Fixtures for Longevity
Regular maintenance prevents the structural degradation of shop equipment and ensures that mobile units remain safe to operate. This involves inspecting welds for cracks, lubricating moving parts, and managing surface rust before it becomes structural.
Even though this is a “new” build, it will eventually become a “restoration” project if neglected. In a shop where we use electrolysis tanks and chemical strippers, the air is often corrosive. I treat my steel frames with a coat of high-quality machinery enamel or a simple wipe-down with paste wax. Paste wax is a secret weapon in the restorer’s arsenal; it provides a moisture barrier that doesn’t feel oily or attract dust.
Every six months, I tip the cart over and inspect the casters. Metal chips can get lodged in the swivel bearings, causing them to flat-spot. A quick blast of compressed air and a fresh dab of lithium grease keep them rolling smoothly. This proactive approach is the hallmark of a true machinery restorer—we don’t just fix things when they break; we maintain them so they never have the chance to.
Frequently Asked Questions
What is the best way to cut square steel tubing without a large shop saw? If you don’t have a horizontal bandsaw, a high-quality angle grinder with a thin (0.045 inch) cutoff wheel is your best bet. Use a “wraparound” or a piece of cardstock to mark a straight line all the way around the tube. Cut one side at a time, rotating the tube as you go, to ensure the cut stays square.
How do I know if my welds are strong enough for a heavy hose reel? A good weld should have a consistent “stack of dimes” appearance with no visible holes (porosity) or undercut. If the weld looks like it is sitting on top of the metal rather than being part of it, you likely didn’t have enough heat. For 1/8-inch steel, a 140-amp MIG welder is usually sufficient.
Can I use wood for the frame instead of steel? While wood is easier to work with, it lacks the torsional rigidity needed for a heavy, rotating reel. Over time, the vibration and the “pull” of the hose will loosen the fasteners in wood, leading to a wobbly and unsafe cart. Steel is the standard for a reason.
What should I do if my frame warps during welding? If the frame warps, you can often “pull” it back using heat. Apply heat to the side opposite of the warp. As the metal cools, it will contract and pull the frame in that direction. This is a common technique in professional fabrication, but it takes practice.
Why use polyurethane wheels instead of solid rubber? Solid rubber wheels tend to develop “flat spots” if the cart sits in one place for too long under a heavy load. Polyurethane is much more resilient and has a higher load-carrying capacity while still being gentle on your shop floor.
How do I prevent the casters from vibrating loose? Always use lock washers or Nyloc nuts. For extra security in high-vibration environments, you can use a drop of medium-strength (blue) thread-locking compound. Avoid the permanent (red) variety, as you will eventually need to replace the casters.
Is it necessary to paint the frame? While not strictly necessary for function, paint prevents the “flash rust” that occurs in humid shops. If you don’t want to paint, a clear coat or even a wiped-on layer of boiled linseed oil can provide a decent level of protection for the raw steel.
How do I center the reel if the frame is wider than the reel’s mounting bracket? Use steel spacers or a stack of thick washers. Avoid using plastic spacers, as they will compress over time and cause the mounting bolts to loosen. Ensure the spacers are the same thickness on both sides to keep the reel centered.
What is the “3-4-5 rule” for squaring? It is based on the Pythagorean theorem (a² + b² = c²). If you measure 3 inches from a corner on one side and 4 inches on the other, the distance between those two points (the hypotenuse) should be exactly 5 inches. This works for any multiple (e.g., 9-12-15).
Can I use a flux-core welder for this project? Yes, flux-core is perfectly fine for structural shop fixtures. It actually provides deeper penetration on thicker steel than standard MIG. Just be prepared for more cleanup, as flux-core produces a significant amount of slag and spatter.
(This article was written by one of our staff writers, Richard Beaumont. Visit our Meet the Team page to learn more about the author and their expertise.)