Easy Way to Clean and Rustproof Workshop Machine Tools (Fix)
In my 15 years of running a small-scale fabrication shop, I have seen more precision machinery ruined by neglect than by actual overwork. There is a specific kind of sinking feeling you get when you pull a tarp off a benchtop mill or look closely at a lathe bed only to find a bloom of orange oxidation. Manufacturers often promise “corrosion-resistant” finishes in their marketing glossaries, but for those of us working in real-world garages and shops, those claims rarely hold up against high humidity and temperature swings.
I have spent over a decade logging the performance of various shop tools, from entry-level drill presses to industrial-grade lathes. My maintenance journals show a direct correlation between surface cleanliness and tool longevity. When cast iron surfaces are allowed to pit, the friction increases, accuracy drops, and the resale value of your equipment plummets. I have learned the hard way that relying on “factory coatings” is a recipe for a costly rebuild. Instead, a systematic manual approach to maintaining these surfaces is the only way to ensure your investment lasts for decades rather than years.
Evaluating the Integrity of Machine Surfaces
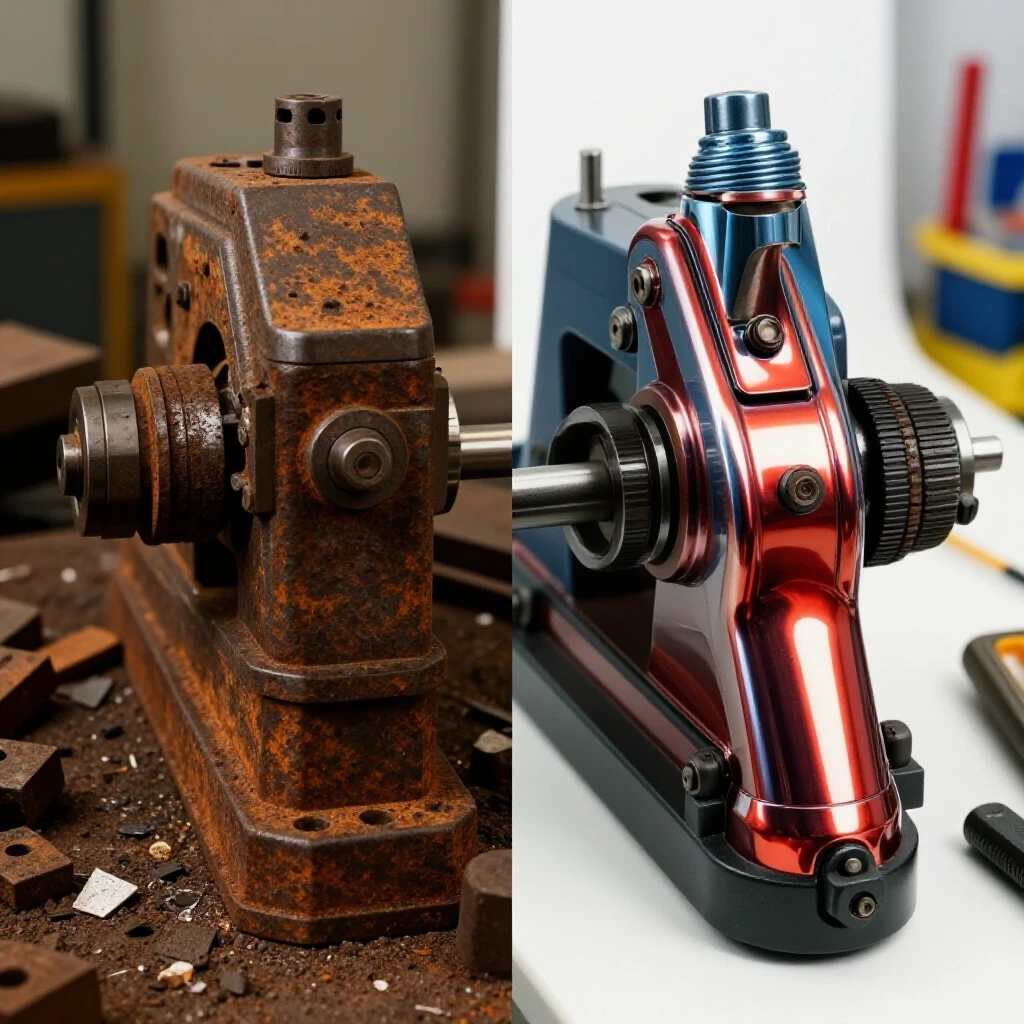
Assessing the condition of cast iron and steel components is the first step in determining the depth of cleaning required for your workshop equipment. This process involves a visual and tactile inspection to identify where simple grime ends and structural oxidation begins.
In my shop, I categorize tool surfaces into three zones: the working surface (tables and ways), the adjustment components (leadscrews and gears), and the structural casting. The working surfaces are the most critical. If a lathe bed has even minor pitting, the carriage will not move smoothly, leading to “chatter” in your finish. Interestingly, my logs show that tools located near bay doors or concrete floors are 40% more likely to develop surface issues due to moisture wicking and air exchange.
Before you start any cleaning process, you must clean away the “shop fur”—that mixture of oil, fine metal chips, and dust that settles on everything. I use a simple stiff-bristled nylon brush for this. It is important to avoid using compressed air during this initial phase, as it can drive fine grit into the precision bearings or under the ways of your machines.
The Financial Impact of Surface Neglect
Quantifying the financial loss of allowing oxidation to compromise machine tolerances helps justify the time spent on preventative maintenance. A well-maintained machine can retain up to 80% of its value after five years, whereas a neglected one may drop to 30% or less.
When I was first starting out, I ignored a small patch of rust on a vertical mill table. Within six months, that patch had spread under the vise, creating a localized depression of about 0.002 inches. While that sounds small, it was enough to throw off my tramming for every precision job afterward. Replacing that table or having it professionally ground would have cost nearly half the price of the machine.
- Initial Purchase Price: $2,500
- Neglect Factor: 3 years of poor maintenance
- Resale Value (Neglected): $750
- Resale Value (Maintained): $1,900
- Hidden Cost: $1,150 in lost equity and repair time
Manual Degreasing and Surface Preparation
This process involves stripping old lubricants, dried coolants, and accumulated grime using manual solvents to reveal the underlying metal condition. It is the foundation of any restoration or maintenance routine.
I have found that many modern “eco-friendly” cleaners lack the chemical strength to break down the polymerized oils found on older machinery. For a thorough cleaning, I rely on mineral spirits. It is an effective solvent that cuts through grease without being as volatile or aggressive as acetone, which can damage the paint on your machine’s casting.
Selecting Effective Workshop Solvents
Choosing chemicals that break down grease without damaging paint or leaving problematic residues is essential for maintaining the aesthetic and functional health of your tools.
When selecting a solvent, I look for something with a moderate evaporation rate. If it dries too fast, it won’t have time to soak into the hardened “varnish” that old oil often forms. If it dries too slow, it becomes a mess. My maintenance logs indicate that mineral spirits provide the best balance for manual wiping. I always keep a dedicated stack of lint-free shop rags for this; using old t-shirts can leave fibers behind that get caught in the lead screws.
| Solvent Type | Degreasing Power | Paint Safety | Evaporation Rate |
|---|---|---|---|
| Mineral Spirits | High | Good | Moderate |
| Acetone | Very High | Poor (Dissolves Paint) | Very Fast |
| Denatured Alcohol | Moderate | Fair | Fast |
| Simple Green (Diluted) | Low | Excellent | Slow |
The Step-by-Step Manual Degreasing Process
- Clear the Area: Remove all tooling, vises, and workpieces from the machine.
- Dry Brush: Use a nylon brush to remove loose debris and metal chips.
- Initial Wipe: Soak a rag in mineral spirits and wipe down all ferrous surfaces to remove the top layer of grease.
- Detailing: Use a small brass brush or a wooden skewer to reach into the T-slots and gear teeth.
- Final Solvent Pass: Use a clean rag with fresh solvent to ensure no oily film remains. The metal should feel “dry” to the touch.
Mechanical Removal of Surface Oxidation
Using hand-held abrasives to lift rust and staining from machine ways and tables is a delicate task that requires a steady hand and the right materials. The goal is to remove the rust without removing the base metal.
In my 12 years of testing various methods, I have found that “scouring” is a better term than “sanding.” You are not trying to reshape the metal; you are simply lifting the oxidation. I avoid using power sanders or grinders for this, as they generate heat and can easily create low spots on a precision-ground surface. Manual control allows you to feel the texture of the metal change as the rust disappears.
Choosing the Right Abrasive Grade
Matching the grit of pads or paper to the severity of the rust is crucial for preserving the precision flatness of your equipment.
For light staining or “freckling,” I start with a fine-grade non-woven abrasive pad (often the grey or maroon variety). If the rust is heavier or has a distinct texture, I move to 400-grit wet/dry sandpaper, using mineral spirits as a lubricant. The lubricant is key; it floats the rust particles away so they don’t load up the paper and scratch the surface.
- Fine Staining: Grey non-woven pad (approx. 800-1000 grit equivalent).
- Medium Oxidation: Maroon non-woven pad (approx. 320-400 grit equivalent).
- Heavy Rust: 320-grit wet/dry sandpaper followed by 600-grit.
- Polishing: 0000 steel wool or a fine polishing paste.
Maintaining Flatness During Rust Removal
The biggest mistake I see fabricators make is focusing too much on one “spot” of rust. This creates a divot. To prevent this, I always use a hard sanding block—even if it’s just a flat scrap of hardwood—behind my sandpaper. Move the block in long, overlapping strokes across the entire surface of the table or bed. This ensures that you are removing material evenly. As a result, you maintain the geometric accuracy of the machine while achieving a clean, bright finish.
Implementing Long-Term Surface Protection
Applying non-permanent barriers to block moisture and oxygen from reaching the raw metal surface is the final, and perhaps most important, step in the process.
Once the metal is clean and bare, it is at its most vulnerable. In a humid shop, I have seen a freshly cleaned lathe bed start to show “flash rust” in less than two hours. You must apply a protectant immediately. Over the years, I have tracked the effectiveness of several options, from light oils to specialized waxes.
Oil-Based vs. Wax-Based Barriers
Comparing the durability and residue of different thin-film protectants helps you choose the right one for your specific workflow and tool usage frequency.
I generally prefer a high-quality paste wax for surfaces that won’t be used daily, like the tables of a drill press or the sides of a vise. Wax creates a hard, dry barrier that doesn’t attract dust or wood shavings. For machines in constant use, like my primary lathe, I prefer a dedicated “way oil” or a light machine oil. While oil attracts more chips, it provides superior lubrication for moving parts.
| Protectant | Durability | Dust Attraction | Best Use Case |
|---|---|---|---|
| Paste Wax | High (Months) | Low | Tables, Fences, Non-moving parts |
| Light Machine Oil | Low (Days) | High | Ways, Slides, Leadscrews |
| Way Oil (ISO 68) | Moderate (Weeks) | High | Precision Slides, Heavy Machinery |
| Dry PTFE Spray | Moderate | Very Low | Woodworking tools, sliding gauges |
My Preferred Protection Routine
- Dry the Surface: Ensure all solvent has evaporated completely.
- Apply the Barrier: For wax, apply a thin, even coat using a foam applicator. For oil, use a clean rag to leave a visible film.
- Buffing (Wax Only): Let the wax haze over for 10-15 minutes, then buff it off with a clean microfiber cloth.
- Verification: Run your hand over the surface. It should feel slick. If you see any dull spots, reapply the protectant.
Establishing a Preventative Maintenance Schedule
A consistent schedule for inspecting and re-protecting your tools is the only way to avoid the cycle of “rust and scrub.” I keep a simple logbook hanging near my main workbench.
In my shop, I follow a “1-3-12” rule that I developed after tracking tool wear patterns over several years. This schedule ensures that no tool goes long enough to develop deep-seated issues. It’s a proactive approach that saves hours of labor in the long run.
- Level 1 (Daily): Wipe down working surfaces after use. Remove chips and apply a quick mist of light oil if the shop is humid.
- Level 3 (Quarterly): Deep clean T-slots and hard-to-reach areas. Re-apply paste wax to non-moving surfaces.
- Level 12 (Annually): Partial teardown. Remove lead screws, clean internal nuts, and check for any hidden oxidation under the carriage or tailstock.
Practical Tool Ownership Logs
Keeping a detailed log of when you performed maintenance and what products you used allows you to identify what works best in your specific environment. I use a simple numbered list in a dedicated notebook for each major machine.
- Machine ID: South Bend 10K Lathe
- Last Full Clean: Oct 14, 2023
- Solvent Used: Mineral Spirits
- Protectant Applied: Johnson’s Paste Wax (Table), ISO 68 Way Oil (Ways)
- Notes: Found slight staining near the headstock; removed with maroon pad.
Common Pitfalls to Avoid
Even with the best intentions, it is easy to make mistakes that can damage your equipment or make the rust problem worse. I have made most of these myself at some point.
One major mistake is using “penetrating oils” as a long-term rust preventative. These products are designed to evaporate and “creep” into threads to loosen bolts; they do not leave a substantial enough film to block moisture for more than a few days. Another mistake is using steel wool on precision surfaces. While it works, the tiny steel fibers can break off and get trapped in the oil, where they will eventually rust themselves, creating a localized “rust farm.” Use non-woven synthetic pads instead.
The Realistic Expectation of Tool Longevity
No machine is truly “indestructible,” and even the best maintenance won’t stop the natural wear of moving parts. However, by keeping the ferrous surfaces clean and protected, you ensure that the wear is predictable and manageable.
In my experience, a machine that is kept clean and oiled will maintain its accuracy three to four times longer than a neglected one. I have a drill press from the 1970s that still looks nearly new because the previous owner—and now I—followed these manual cleaning protocols. It isn’t about having the most expensive tools; it’s about being the most disciplined owner.
Conclusion and Next Steps
Maintaining the precision and value of your workshop equipment doesn’t require expensive machinery or complex chemicals. It requires a commitment to manual degreasing, careful abrasion, and consistent protection. By following these steps, you move away from the marketing hype of “maintenance-free” tools and toward a reality where your equipment performs reliably for a lifetime.
Your next step should be a “walk-through” of your shop. Identify one tool that has been neglected—perhaps a drill press table or a bench vise—and perform a full manual cleaning and waxing this weekend. Once you see the difference in how the tool looks and feels, it becomes much easier to integrate these habits into your daily shop routine.
FAQ: Maintaining and Protecting Workshop Machinery
How often should I clean the rust off my machine tools? You should never have to “clean off rust” if your maintenance is consistent. However, you should inspect your tools weekly. If you see any discoloration or staining, address it immediately with a non-woven pad and solvent.
Is WD-40 a good rust preventative for long-term shop use? In my experience, no. WD-40 is an excellent solvent and water displacer, but the film it leaves is too thin for long-term protection in a non-climate-controlled shop. Use a dedicated paste wax or a heavier machine oil for better results.
Can I use a wire wheel on a drill to clean my lathe bed? I strongly advise against this. A wire wheel is too aggressive and can easily round over the sharp edges of the ways or create an uneven surface. Stick to manual abrasion with a flat block to preserve the machine’s accuracy.
What is the best way to clean T-slots on a mill table? T-slots are notorious for holding moisture and old coolant. Use a T-slot cleaner tool (a simple metal scraper shaped like the slot) to remove the bulk of the grime, then use a rag soaked in mineral spirits wrapped around a small wooden block to clean the internal corners.
Will paste wax make my machine table too slippery? For most tools like drill presses, bandsaws, and mill tables, “slippery” is exactly what you want. It reduces friction when moving workpieces. However, never apply wax to the actual “ways” of a lathe or mill where the carriage or table slides; use way oil there to ensure proper lubrication under load.
How do I know if the rust has caused permanent damage? Once you have cleaned the surface to bare metal, look for “pitting”—small holes or craters in the surface. If you can feel them with a fingernail, they are significant. While they may not ruin the tool, they will hold moisture and debris, requiring more frequent cleaning.
Does temperature affect my rust prevention strategy? Yes. Rapid temperature changes cause condensation on heavy cold iron. If your shop isn’t heated, you need to be much more aggressive with your wax and oil application during the spring and fall when these temperature swings are most common.
Is it okay to use motor oil for my machine tools? In a pinch, clean motor oil is better than nothing, but it contains detergents and additives designed for internal combustion engines that aren’t necessary for shop tools. Dedicated way oils have “tackifiers” that help the oil stick to vertical surfaces, which motor oil lacks.
Can I use a scotch-brite pad on a precision ground surface? Yes, but use the finest grade possible (grey) and always use a lubricant like mineral spirits. Do not use the green kitchen pads, as they are often surprisingly aggressive and can leave deep scratches.
What should I do if I find rust under my machine vise? This is a common “blind spot.” You should remove your vise at least once every few months to clean and re-wax the area underneath it. Trapped moisture between two flat metal surfaces is a leading cause of deep pitting.
Should I paint the non-working surfaces of my tools to prevent rust? Yes, keeping the “casting” painted is a great way to reduce the total surface area you need to worry about. Use a high-quality machinery enamel. Just be sure to keep the paint away from any precision-ground surfaces or moving parts.
How do I store my cleaning rags safely? Rags soaked in mineral spirits or oils can be a fire hazard. Always store them in a UL-listed oily waste can with a self-closing lid, or lay them out flat and allow them to dry completely outdoors before disposing of them.
(This article was written by one of our staff writers, David Reynolds. Visit our Meet the Team page to learn more about the author and their expertise.)