Essential Metalworking Tools Worth Your Hard Cash (Review)
I remember standing in my empty two-car garage back in 2013, clutching a spreadsheet and a very thin wallet. I had exactly $1,800 to turn that cold concrete box into a functional fabrication space. Coming from a background as an industrial maintenance technician, I knew what high-end machinery looked like, but I also knew that industrial-grade prices would sink my home shop before I even struck an arc. The anxiety of potentially wasting money on a tool that would break in six months or, worse, cause a fire due to poor electrical planning was real.
Setting up a shop is a series of compromises. You have to balance what you want to build with what your floor space and power grid can actually handle. Over the last decade, I have tracked every cent spent and every tool failure in my personal logs. I have learned that a successful starter metal workshop layout is not about having the most expensive gear; it is about having a coordinated system where the power supply, safety equipment, and fabrication tools work together without overloading your breakers or your budget.
Evaluating Your Workshop Footprint and Power Constraints
Before buying a single piece of equipment, you must understand the physical and electrical limits of your workspace. A metal shop requires more than just floor space; it demands dedicated power circuits and clear zones for hot work to prevent fires. Assessing these factors early prevents the common mistake of buying a high-draw machine that your home wiring cannot support.
When I started, I quickly realized that a standard 15-amp household circuit is the enemy of productivity. Most entry-level welders and grinders will trip a 15-amp breaker if you push them even slightly. I recommend mapping your garage to identify which outlets are on which breakers. If possible, installing a dedicated 20-amp or even a 240-volt circuit is the single best investment you can make for your shop’s longevity.
- Circuit Mapping: Use a plug-in circuit tester to label every outlet in your garage.
- The 80% Rule: Never plan to run a tool at 100% of a circuit’s capacity for long periods. A 20-amp circuit should ideally handle a continuous load of 16 amps.
- Clearance Zones: Maintain at least 3 feet of clear space around stationary tools like drill presses or welding tables.
- Floor Surfaces: Ensure your work area is bare concrete. Avoid wood or carpeted areas, as sparks from affordable fabrication tools can travel over 20 feet.
| Tool Class | Typical Amperage (120V) | Recommended Circuit | Priority Level |
|---|---|---|---|
| 4.5-inch Angle Grinder | 6 – 10 Amps | 15A Standard | High |
| Entry-Level MIG Welder | 15 – 20 Amps | 20A Dedicated | High |
| Bench Grinder | 3 – 5 Amps | 15A Standard | Medium |
| Small Drill Press | 5 – 8 Amps | 15A Standard | Medium |
| Portable Band Saw | 6 – 9 Amps | 15A Standard | High |
Strategic Prioritization for Initial Equipment Purchases
The most common trap for beginners is buying a “complete kit” of low-quality tools rather than focusing on a few versatile, high-value items. You cannot build anything if you cannot cut, join, and smooth metal accurately. By focusing your budget metalworking tools on these three pillars, you ensure that every dollar spent contributes directly to a finished project.
I generally advise beginners to follow a 30/40/30 budget split. Allocate 30% of your funds to safety gear and measurement tools, 40% to your primary joining tool (usually a welder), and 30% to cutting and prep tools. This prevents the “all-show-no-go” scenario where you have a shiny welder but no way to cut your steel or protect your eyes.
- Measurement First: Buy a high-quality set of steel squares and a reliable tape measure. Metalwork is unforgiving of “close enough” measurements.
- The Versatility Factor: Choose tools that perform multiple roles. An angle grinder can cut, grind, and polish, making it more valuable than a specialized stationary saw early on.
- Consumable Costs: Factor in the price of grinding wheels, welding wire, and shielding gas. These can often equal 20% of the tool’s initial price within the first year.
- Used vs. New: For stationary items like anvils or heavy vises, the used market offers better value. For electronics like welders, stick to new units with warranties.
Selecting Reliable Cutting and Shaping Equipment
Cutting metal is a violent process that generates heat, noise, and debris. Choosing the right gear involves understanding the trade-offs between speed, precision, and the “cleanliness” of the cut. For a beginner, the goal is to find tools that provide a straight edge with minimal cleanup required before welding.
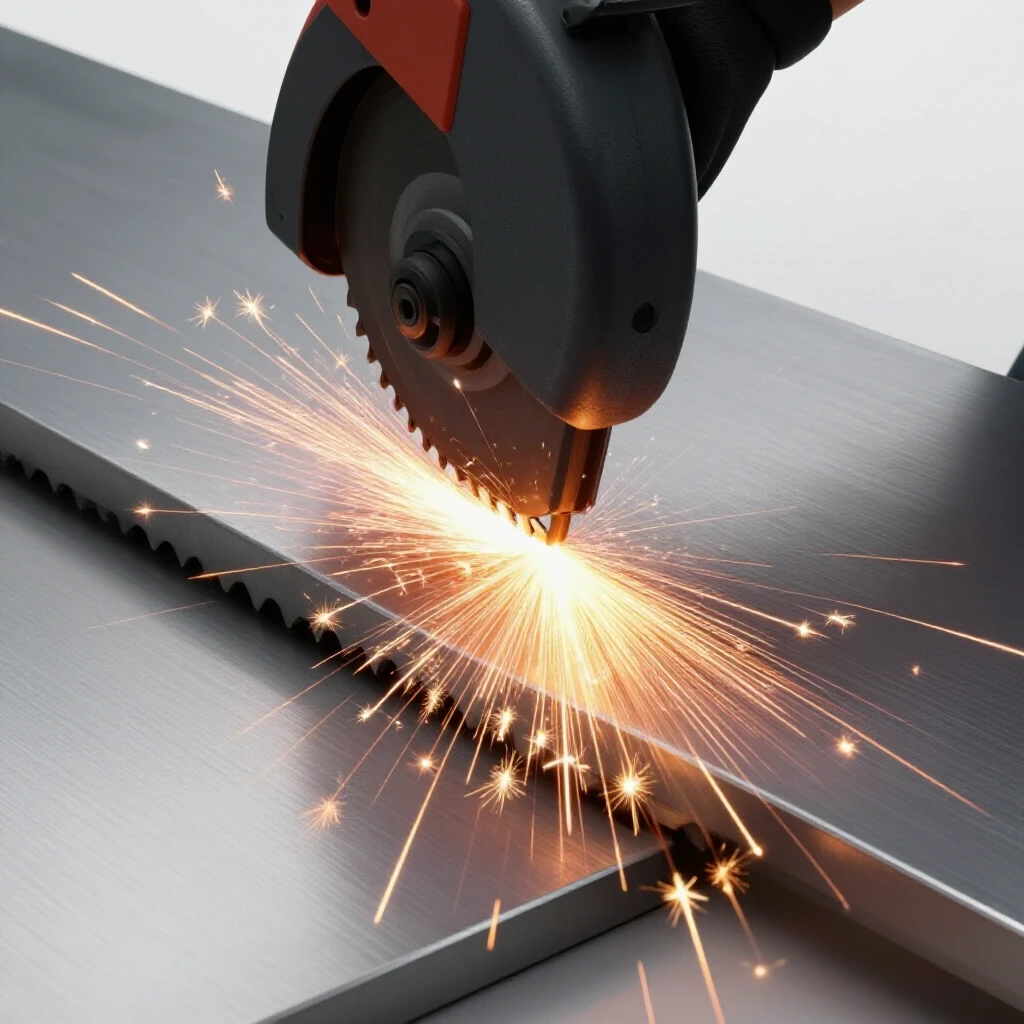
In my experience, the 4.5-inch angle grinder is the workhorse of the small shop. However, many beginners buy the cheapest discs available, which is a mistake. Low-quality abrasives wear down faster and can even shatter, posing a safety risk. Investing in name-brand “Type 27” grinding wheels and “Type 1” thin cutoff wheels ensures better performance and a lower cost-per-cut over time.
- Abrasive Ratings: Look for wheels rated for the RPM of your specific grinder. A wheel rated for 10,000 RPM on a 12,000 RPM grinder is a recipe for an accident.
- Cold Saws vs. Abrasive Saws: If budget allows, a “dry cut” metal saw with a carbide-tipped blade is superior to a traditional abrasive chop saw because it leaves a cool, burr-free edge.
- The Power of the Band Saw: A portable band saw mounted on a vertical stand is one of the most space-efficient ways to get straight cuts in thick tubing.
- Deburring Tools: Never skip the finishing stage. A simple hand-held deburring tool or a sturdy file is essential for removing sharp edges that can cause injury or ruin a paint job.
Navigating Beginner Welder Power Requirements and Options
Welding is often the most expensive and intimidating part of setting up a shop. The key is to match the machine to your electrical capacity and the thickness of the material you plan to use most often. For most home hobbyists, a MIG (Metal Inert Gas) welder is the most logical starting point due to its shorter learning curve.
When reviewing beginner welder power requirements, you must look at the “duty cycle.” This is a measurement of how many minutes out of a 10-minute period a welder can operate at a specific amperage before overheating. A 20% duty cycle means you can weld for 2 minutes and must let the machine cool for 8. In a home shop, a 20% to 30% duty cycle is usually sufficient for small projects, but anything less will lead to frustration.
- Input Voltage: If you only have standard household outlets, look for a “dual voltage” machine (110V/220V). This allows you to start now and upgrade your power later.
- Gas vs. Flux-Core: Flux-core welding doesn’t require a gas bottle, which saves money upfront. However, it creates more smoke and splatter. I recommend a machine that can do both so you can upgrade to “gas-shielded” welding later.
- Wire Feed Speed Control: Look for a machine with “infinite” voltage and wire speed settings rather than “tapped” or stepped switches. This allows for much finer tuning.
- Ground Clamps: Most budget welders come with flimsy ground clamps. Replacing this with a heavy-duty copper clamp is a $15 upgrade that significantly improves arc stability.
Establishing Essential Safety Gear and Workshop Ventilation
Safety is not just about wearing goggles; it is about managing the environment. Metalworking produces fine dust, toxic fumes, and high-intensity UV light. Following OSHA-adjacent safety practices in a home setting is the best way to ensure your hobby doesn’t result in long-term health issues or a house fire.
Proper garage workshop ventilation is often overlooked until the room is filled with blue smoke. A standard pedestal fan is not enough. You need to move air out of the space. I use a simple calculation for Air Changes per Hour (ACH). For a standard garage, you should aim for at least 10 to 15 air exchanges per hour when welding or grinding.
- Eye Protection: Ensure your welding helmet meets the ANSI Z87.1+ standard. An “auto-darkening” lens is worth the extra $40 for a beginner as it allows you to see your workpiece before you strike the arc.
- Respiratory Health: A P100 rated respirator is mandatory when grinding or welding galvanized steel. Fumes from zinc coatings can cause “metal fume fever,” which feels like a severe flu.
- Fire Suppression: Keep a Class ABC fire extinguisher within 10 feet of your welding station. Never use water on an electrical fire or a magnesium flare.
- Clothing: Stick to 100% cotton or leather. Synthetic fabrics like polyester can melt to your skin when hit by a spark.
Organizing the Fabrication Layout for Efficiency
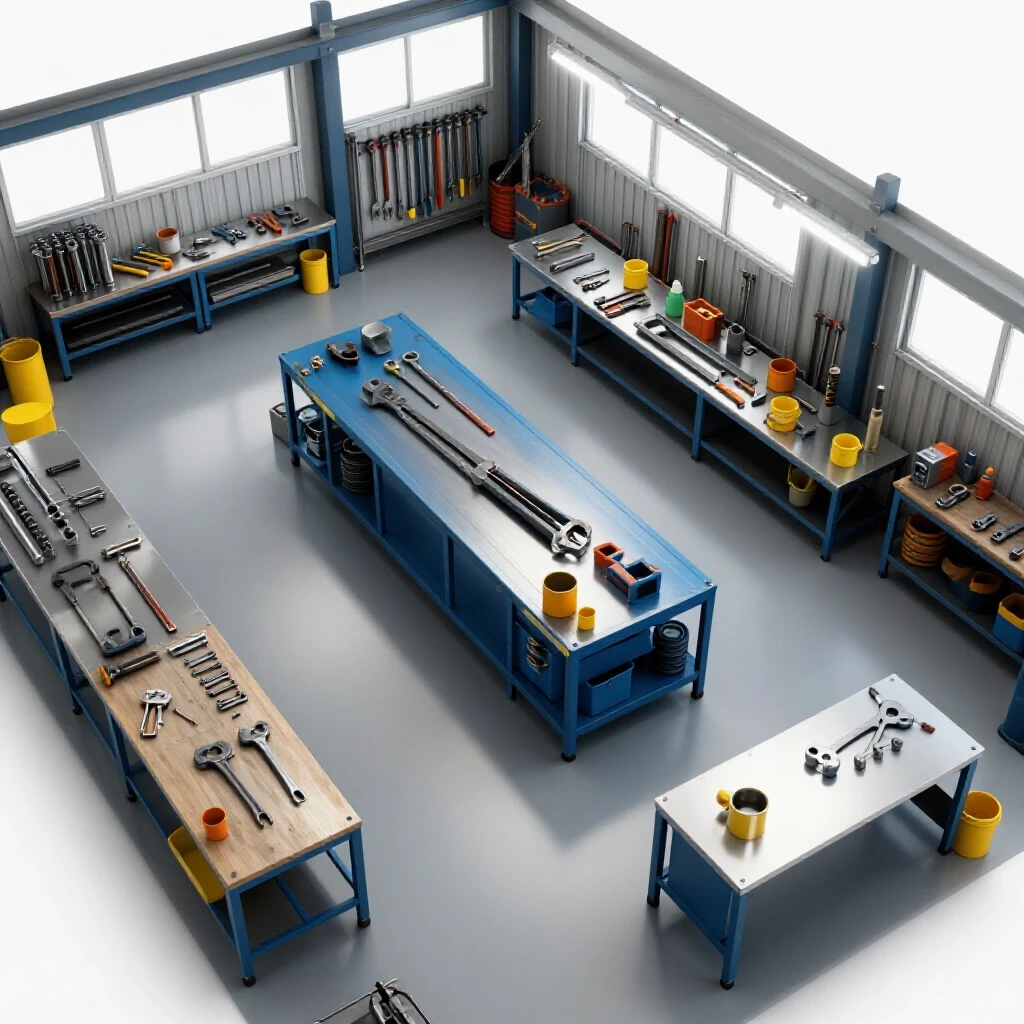
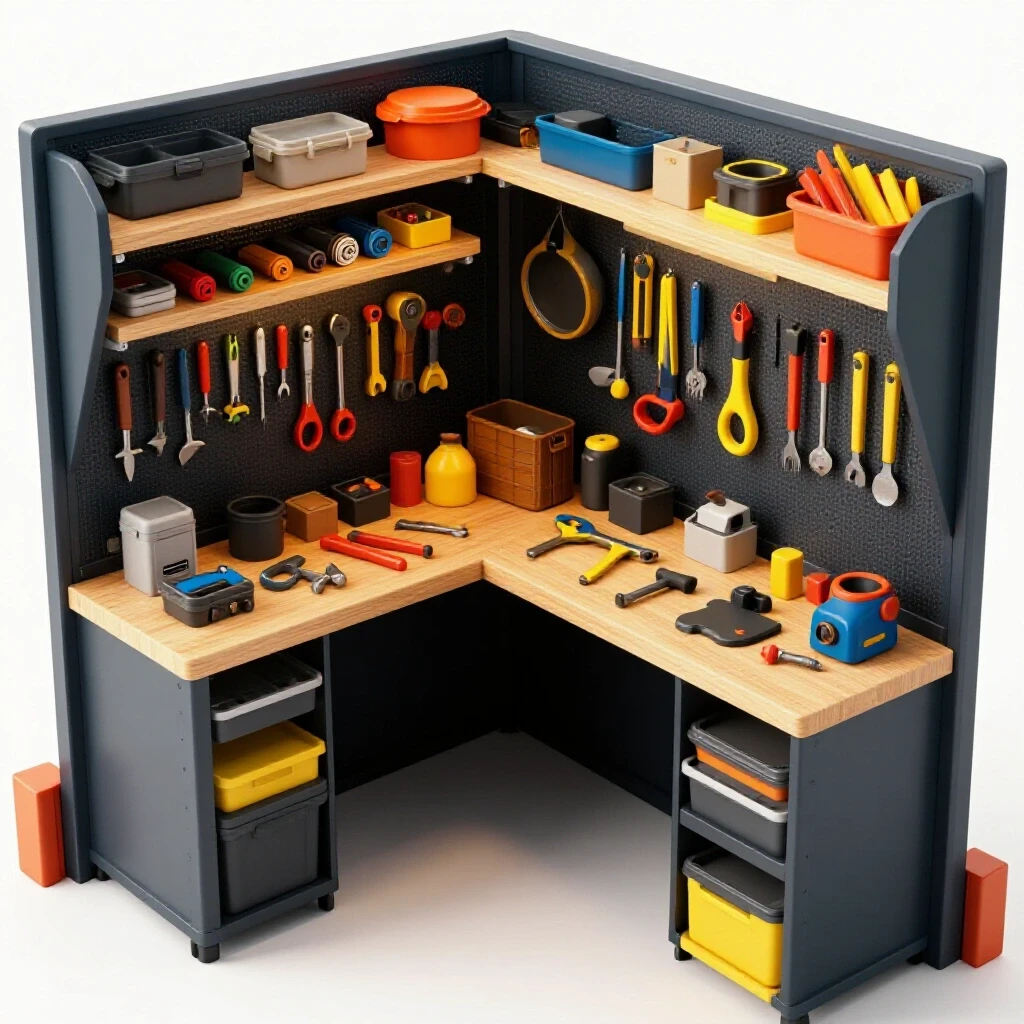
A well-organized shop allows you to move from raw material to a finished product without constantly tripping over cords or searching for tools. In a confined space, every square inch must be earned. I recommend a “linear workflow” layout: storage, then cutting, then prep, then welding, and finally finishing.
One of the most effective workshop electrical setup checklists involves keeping high-draw tools on separate walls to avoid accidentally running two machines on the same circuit. For example, your compressor and your welder should ideally never be on the same breaker. If your lights flicker when you start a tool, you are likely pushing your electrical system to its limit.
- The Clean Zone: Designate an area for measuring and marking that is far away from the sparks of the grinding station. Metal dust can ruin precision calipers.
- Mobile Bases: Put everything on heavy-duty locking casters. Being able to push your welding table into the center of the floor and then back against the wall is vital for small garages.
- Vertical Storage: Use wall racks for long pieces of steel tubing and angle iron. Keeping metal off the floor prevents tripping hazards and makes cleaning easier.
- Scrap Management: Have a dedicated bin for “drops” (usable scrap) and another for actual waste. This keeps your workspace clear and saves money on future small projects.
Actionable Framework for Tool Vetting and Budgeting
To avoid analysis paralysis, use a structured approach to every purchase. I have developed a simple vetting process over the years that has saved me thousands of dollars in “buyer’s remorse.” Before buying any tool, I ask: Does this solve a problem I currently have, or am I buying it for a project I might do in three years?
- Define the Task: What specific cut or weld do I need to perform?
- Check Power Compatibility: Does this tool draw more than 15 amps? Do I have the outlet for it?
- Calculate Total Cost of Ownership: Include the tool, the initial consumables, and any necessary safety upgrades (like a specific respirator filter).
- Read the Manual Online: Before buying, download the PDF manual. Look at the “Troubleshooting” section. If it’s full of complex issues, the tool might be too temperamental for a beginner.
- Test and Log: Once purchased, perform a test cut or weld on scrap. Record the settings that worked in a shop notebook. This creates a personal “cheat sheet” for future work.
Building your first shop is a marathon, not a sprint. My current workshop looks nothing like the one I had in 2013, but the foundations are the same. By focusing on electrical safety, smart tool prioritization, and a clean layout, you can create a space that is both productive and safe. Start with the basics, master your current tools, and only upgrade when your skills outgrow your equipment.
Common Questions Regarding Starter Metalworking Spaces
How much power do I actually need for a home metal shop? Most hobbyists can get by with a single 20-amp, 120V circuit for grinders and small tools. However, for welding material thicker than 1/8-inch consistently, a 240V, 30-amp or 50-amp circuit is highly recommended to avoid tripping breakers and to achieve better weld penetration.
Is a flux-core welder a good choice for a budget-conscious beginner? Yes, flux-core welders are more affordable upfront because they don’t require an external gas tank or regulator. They are also better for welding outdoors or in drafty garages. The trade-off is more smoke and a “slag” coating on the weld that must be chipped away.
What is the most important safety item besides a welding helmet? A P100 respirator is arguably just as important. Metal dust and welding fumes stay in the air long after you stop working. Protecting your lungs from “grinder’s lung” or fume toxicity is a non-negotiable part of a safe shop environment.
Can I weld on a wooden workbench if I cover it with a metal sheet? It is not recommended. Heat can transfer through the metal sheet and smolder the wood underneath, potentially starting a fire hours after you leave the shop. A dedicated all-metal welding table or even a pair of steel sawhorses with a thick steel plate is much safer.
How do I manage the noise of a metal shop in a residential neighborhood? Use “quiet” tools where possible, such as a band saw instead of an abrasive chop saw. Closing the garage door helps, but ensure your ventilation system is running. Also, avoid heavy grinding or hammering early in the morning or late at night to maintain good relations with neighbors.
What are the must-have hand tools for metalworking? Beyond power tools, you need a set of “C-clamps” or “locking pliers” to hold metal while welding, a center punch for marking drill holes, a set of metal files, and a high-quality wire brush for cleaning welds.
How do I prevent my tools and steel from rusting in a damp garage? Apply a light coat of paste wax or a specialized “tool shield” spray to cast iron surfaces like drill press tables. For raw steel stock, keep it off the concrete floor and consider a light wipe-down with WD-40 or a dedicated rust inhibitor if you live in a high-humidity area.
Is it worth buying a cheap plasma cutter for a first shop? While tempting, very cheap plasma cutters often have unreliable “consumables” (the tips and electrodes) that are hard to find. For a beginner on a strict budget, a good angle grinder and a steady hand are often more reliable and cost-effective for the first year of fabrication.
What is the “duty cycle” and why does it matter to me? The duty cycle tells you how long a machine can run before it needs to cool down. If you plan on doing long welds on heavy projects, a 20% duty cycle will be frustrating. For small brackets and art projects, a lower duty cycle is usually acceptable.
How many angle grinders do I really need? While you can start with one, most fabricators eventually want two or three. This allows you to keep a cutoff wheel on one, a grinding disc on another, and a flap disc on the third, saving significant time spent swapping discs during a project.
(This article was written by one of our staff writers, Michael Thompson. Visit our Meet the Team page to learn more about the author and their expertise.)