Fast Changeover Steps for Manual Milling Setups (DIY Guide)
When I first transitioned my workshop from a crowded garage into a more professional production space, I hit a wall. It wasn’t a lack of skill or a lack of work coming in. It was the clock. I found myself spending forty minutes setting up a manual mill for a ten-minute job. As a fabricator with a background in manufacturing operations, I knew this was a “process leak.” If you are scaling your shop, every minute your spindle isn’t turning is lost revenue.
The stress of scaling often comes from these hidden bottlenecks. You have the machines and the space, but your workflow feels like it is stuck in first gear. Over twenty years, I have learned that moving from a hobbyist mindset to a micro-manufacturer requires a shift in how you view your equipment. We are going to look at how to refine your manual milling station for high-speed transitions, focusing on layout, power, and physical organization.
Mapping Material Flow and Machine Zoning for Faster Transitions
Workflow optimization begins with how a part moves through your shop. Machine zoning is the practice of grouping tools and materials to minimize the physical distance a fabricator travels during a job. By reducing “foot-traffic waste,” you ensure that the tools needed for a mill setup are always within arm’s reach.
In my early shop days, I kept my raw steel in a rack forty feet away from the mill. Every time I needed to swap a workpiece or grab a different fixture, I was walking. In a professional layout, you want a linear or U-shaped flow. This means material comes in one door, moves to the saw, then to the mill, and finally to the shipping area.
- Access Zones: Maintain a 3-foot minimum clearance around your milling machine. This isn’t just for safety; it allows you to move tool carts and material bins without doing a “shop floor shuffle.”
- Floor Loading: Ensure your floor can handle the point-load of a 2,000 to 3,000-pound mill. Standard 4-inch residential slabs can often crack under the vibration and weight of industrial machinery over time.
- Station Proximity: Place your tooling cabinet directly to the right or left of the operator’s station. You should be able to reach your most common collets and wrenches without taking a single step.
| Layout Type | Travel Distance | Efficiency Rating | Best Use Case |
|---|---|---|---|
| Random Placement | High | Low | Hobby/Repair |
| Functional Grouping | Medium | Medium | Small Batch |
| Linear Flow | Low | High | High-Volume Fab |
| U-Shaped Cell | Minimal | Very High | Single-Operator Multi-Tasking |
Optimizing 3-Phase Power Delivery for Conventional Machinery
A 3-phase power converter is often the first major hurdle when moving to professional-grade manual equipment. Most residential and light commercial shops only have single-phase power. To run a high-torque mill motor efficiently, you need a way to create that third leg of electricity to ensure the motor runs cool and provides consistent power.
When I installed my first heavy-duty mill, I struggled with voltage drops. If your phases aren’t balanced, your motor will run hot and lose torque during heavy cuts. You have two main DIY paths: a static converter or a rotary phase converter (RPC). A static converter is cheap but only provides about two-thirds of the motor’s rated horsepower. For a shop looking to scale, a rotary phase converter is the standard.
- Rotary Phase Converters: These use a “idler motor” to generate the third leg. They are reliable and can power multiple machines at once.
- Digital Phase Shifters: These are more expensive but provide very clean, balanced power (within 1-3% voltage balance).
- Phase Balancing: Use a multimeter to check the voltage between all three legs while the mill is under load. You want them to be as close as possible to prevent motor winding damage.
- Circuit Sizing: Always size your breaker at 125% of the full-load amps (FLA) listed on your machine’s data plate to handle the startup surge.
Designing High-Volume Air Filtration and Mist Collection
Clean air management is a safety requirement that also impacts your changeover speed. When a machine is covered in oily mist and fine chips, cleaning it takes twice as long. High-volume air scrubbing and localized mist collection keep the workspace clean, allowing you to swap parts and fixtures without fighting a layer of grime.
I once ignored my mist collection and ended up with a slippery film on everything in the shop. It wasn’t just gross; it was dangerous. A multi-stage cyclone dust collector or a dedicated mist extractor at the spindle is essential. For a manual mill, you are looking for a system that can move 1,000 to 1,200 CFM (cubic feet per minute) to effectively pull particles out of the air.
- Duct Design: Use smooth-walled metal ducting rather than flexible ribbed hose. Ribbed hose creates “static pressure loss,” which kills your airflow.
- Filter Maintenance: Check your HEPA or MERV-15 filters every 100 operating hours. Clogged filters make your fan work harder and move less air.
- Static Pressure: Aim for a system that can handle 6 to 8 inches of water column pressure to ensure chips don’t settle in the pipes and cause a fire hazard.
Implementing Repeatable Workholding Alignment Methods
The biggest time-waster in manual machining is “dialing in” the vise. If you have to use a dial indicator every time you put the vise back on the table, you are losing ten minutes per swap. Repeatable alignment involves using physical stops or keys that “lock” your fixtures into a known position every single time.
I started using “vise keys” early on. These are small blocks of steel that bolt into the bottom of your vise and fit snugly into the table’s T-slots. If your T-slots are in good shape, these keys can get your vise square to within 0.001 inches instantly.
- Sub-Plates: Bolt a large, ground steel plate to your mill table. Drill and tap a grid of holes into it. This allows you to bolt down different fixtures in the same spot every time.
- Standardized Stops: Use a permanent “work stop” on the left side of your vise. Once the first part is set, every part after it sits in the exact same X-axis position.
- Reference Blocks: Keep a set of precision-ground 1-2-3 blocks nearby. They are the “Swiss Army Knife” of manual setups for checking heights and offsets.
Organizing Tooling for Rapid Transition Intervals
Tooling organization is about reducing the “search time” during a changeover. If you have to dig through a drawer for a specific end mill or collet, your process is broken. A systematic approach involves staging your tools in the order they will be used before the machine even stops.
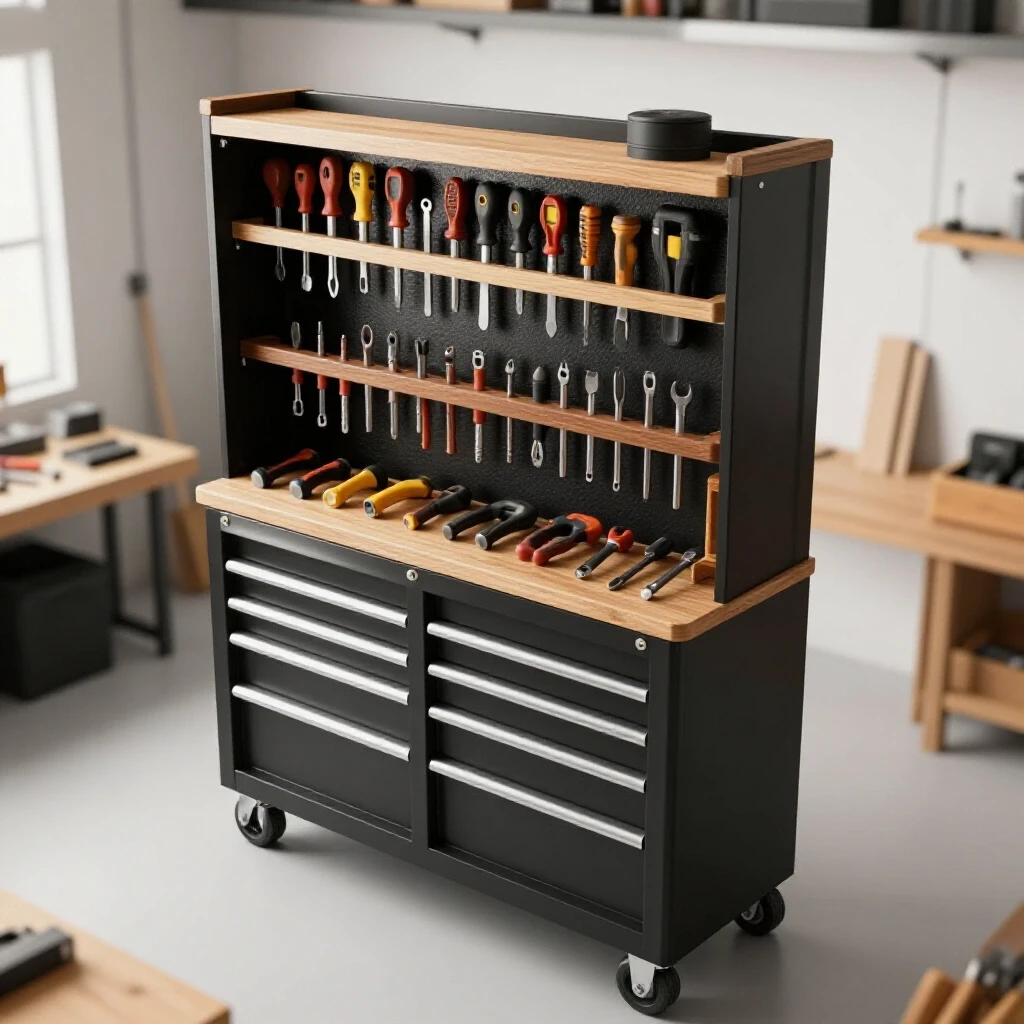
In my shop, I built a mobile tool cart specifically for the mill. It holds my R8 collets, a set of drills, and my most common end mills. I also keep a dedicated “setup kit” on the cart, which includes a dead-blow-hammer, an edge finder, and a clean rag.
- Shadow Boards: Use foam cutouts or painted outlines for your wrenches and mallets. You will know instantly if a tool is missing.
- Dedicated Collet Racks: Organize collets by size in a stepped rack. Label them clearly so you don’t grab a 1/2-inch collet when you need a 13mm.
- Pre-Staging: Before starting a batch of parts, lay out every tool you need on a clean tray. This prevents the “distraction walk” to the tool chest mid-job.
- Standardized Tool Lengths: If possible, use tool holders that allow you to set a consistent “stick-out” length. This reduces the time spent re-zeroing your Z-axis.
Standardizing Reference and Measurement Routines
Finding your “zero” or datum point is a critical step that often takes too long. By standardizing how you find the edge of your part, you make the process mechanical rather than an exercise in guesswork. This reduces errors and keeps your production moving.
I prefer using a mechanical edge finder over more complex electronic versions for manual work. They are durable and provide a very clear visual “kick” when they hit the edge. The key is to always approach the part from the same direction to account for any “backlash” or play in your machine’s lead screws.
- Backlash Management: Always turn your handwheels in the same direction when approaching a measurement. If you overshoot, back off a full turn and try again.
- Digital Readouts (DRO): If your mill doesn’t have a DRO, this is the single best upgrade you can make. It eliminates the need to count handwheel turns, which is the leading cause of “scrap” parts in manual shops.
- Zeroing Blocks: Use a precision spacer (like a 1.000-inch block) to set your tool height. Touch the tool to the block on top of the part, then subtract the block’s thickness from your DRO.
Building DIY Fixturing for High-Variety Production
When you move from making one-off parts to small batches, you need fixtures that can hold multiple parts or odd shapes quickly. DIY fixturing doesn’t have to be expensive. It just needs to be rigid and repeatable. Using scrap aluminum or steel to create “dedicated” jigs for frequent jobs can save hours of setup time over a month.
One of my favorite tricks is the “soft jaw” technique. You take a set of aluminum vise jaws and mill a pocket into them that matches the shape of your part. This allows you to drop a complex part into the vise and have it perfectly centered and squared instantly.
- Toggle Clamps: For light milling or wood/plastic work, manual toggle clamps can provide lightning-fast loading and unloading.
- Threaded Grid Plates: As mentioned before, a grid plate allows you to use “toe clamps” to hold large plates that won’t fit in a vise.
- Alignment Pins: Use dowel pins in your fixtures to locate parts. Pins are much more accurate than trying to line up a part by eye against a fence.
Tracking Metrics to Prove Efficiency Gains
You cannot improve what you do not measure. In a manufacturing environment, we use “setup time” as a key metric. To truly optimize your shop, you need to know how long it takes you to move from “Last Good Part” of Job A to “First Good Part” of Job B.
I keep a simple logbook next to my mill. I track the date, the job, and how long the setup took. After a month, I look for patterns. If I see that “Job X” always takes an hour to set up, I know that is the job that needs a dedicated fixture.
- Target Intervals: Aim to reduce your setup time by 10% every time you repeat a job.
- Scrap Rates: Track how many parts are ruined during the setup phase. High scrap usually means your “zeroing” process is too complex or inconsistent.
- Amortization: If a DIY fixture costs you $100 in material and four hours to build, but saves you 15 minutes per setup, it will pay for itself in 16 setups.
Conclusion and Next Steps
Transitioning to a highly efficient manual workspace is a journey of a thousand small adjustments. It isn’t about buying the most expensive gear; it is about respecting your time and the flow of material through your shop. By focusing on your layout, mastering your power delivery, and standardizing your setup routines, you can compete with much larger operations.
Your first step should be a “shop floor audit.” Stand at your mill and look at where your tools are. If you have to walk more than two steps to find a wrench or a collet, fix that today. Once your physical space is organized, move on to building those repeatable alignment keys and fixtures. The goal is to make the machine work for you, rather than you working for the machine.
Frequently Asked Questions
What is the best way to square a mill vise without an indicator?
While a dial indicator is the gold standard, using precision-ground vise keys that fit into your table’s T-slots is the fastest way. If the keys and slots are clean and snug, they can get you within 0.001 to 0.002 inches of square instantly. This is usually sufficient for most fabrication work and saves significant time during changeovers.
How do I know if I need a rotary phase converter or a VFD?
A Variable Frequency Drive (VFD) is great for a single machine because it allows for speed control. However, a rotary phase converter is better if you plan to run multiple 3-phase machines (like a mill and a lathe) in the same area. The RPC provides a more “industrial” power quality and is generally more robust for heavy starting loads.
How much airflow do I really need for a manual mill?
For basic chip and dust control, you want at least 1,000 CFM at the source. If you are using flood coolant or creating a lot of mist, you should look for a dedicated mist collector rated for at least 500-800 CFM that is mounted directly near the spindle. This prevents the mist from lingering in the air and settling on your tools.
Can I use a residential vacuum for my mill?
No. Standard shop vacuums are high-pressure but low-volume. They are great for cleaning up a pile of chips at the end of the day, but they cannot pull fine dust or mist out of the air effectively. You need a high-volume dust collector with at least a 4-inch or 5-inch diameter intake to move enough air to keep the workspace clean.
What is the most common mistake in manual shop layout?
The most common mistake is “island” placement. This is when a machine is placed in the middle of the floor with no nearby surface for tools or material. Every machine needs a “landing zone”—a workbench or cart within arm’s reach—to hold the tools and parts required for the current job.
Why does my mill motor get hot when using a static phase converter?
Static converters only use two of the three motor windings once the motor is up to speed. This causes an electrical imbalance that generates heat and reduces horsepower by about 33%. If you are doing heavy milling or running the machine for long periods, you should upgrade to a rotary or digital converter to protect the motor.
How often should I check my machine’s level?
You should check the level of your mill at least twice a year, or whenever you move heavy equipment nearby. Concrete floors can shift with the seasons. An out-of-level machine can lead to “twist” in the casting over time, which will destroy your accuracy and make setups much more frustrating.
What are “soft jaws” and why should I use them?
Soft jaws are replaceable vise jaws made of aluminum or mild steel. You mill the shape of your specific part directly into the jaws. This creates a perfect “nest” for the part, ensuring it is held securely and repeats its position perfectly every time you swap it. They are the secret to fast, high-quality small-batch production.
(This article was written by one of our staff writers, Edward Sinclair. Visit our Meet the Team page to learn more about the author and their expertise.)