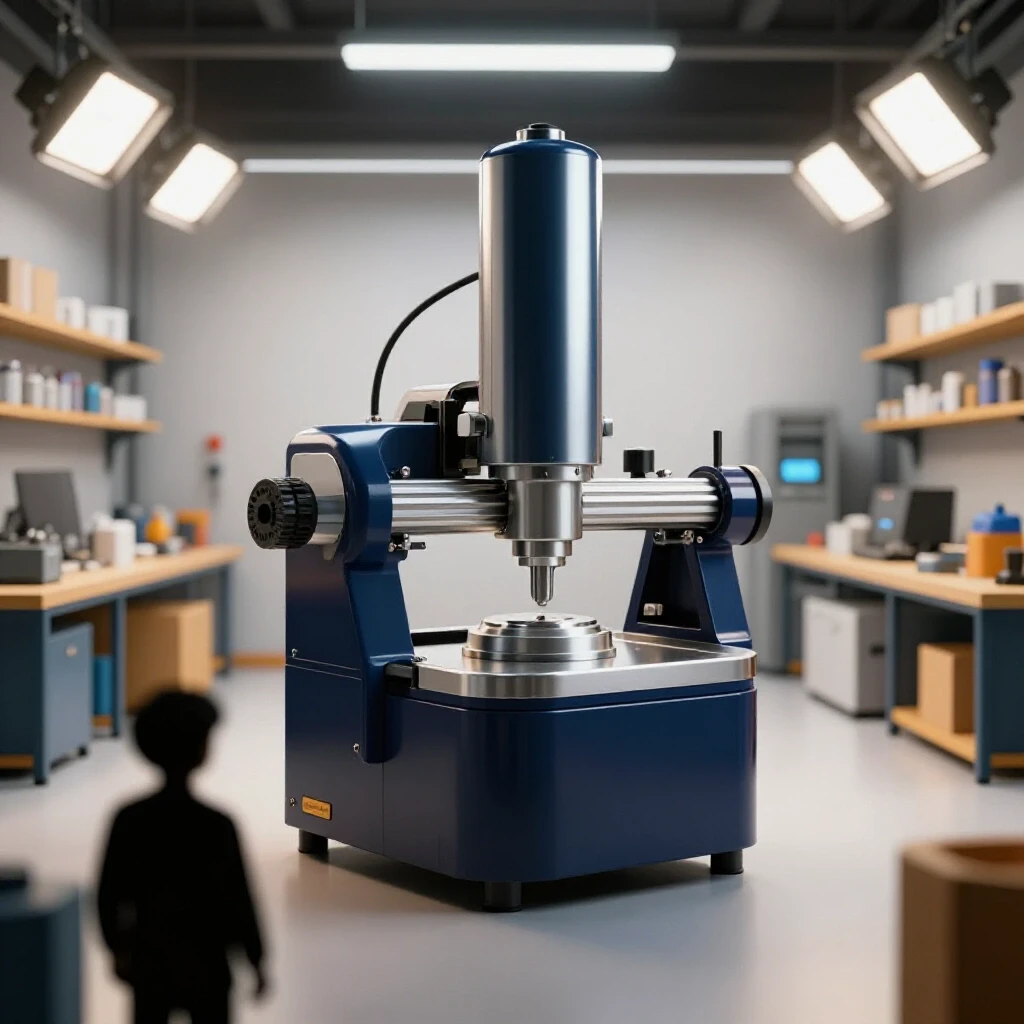
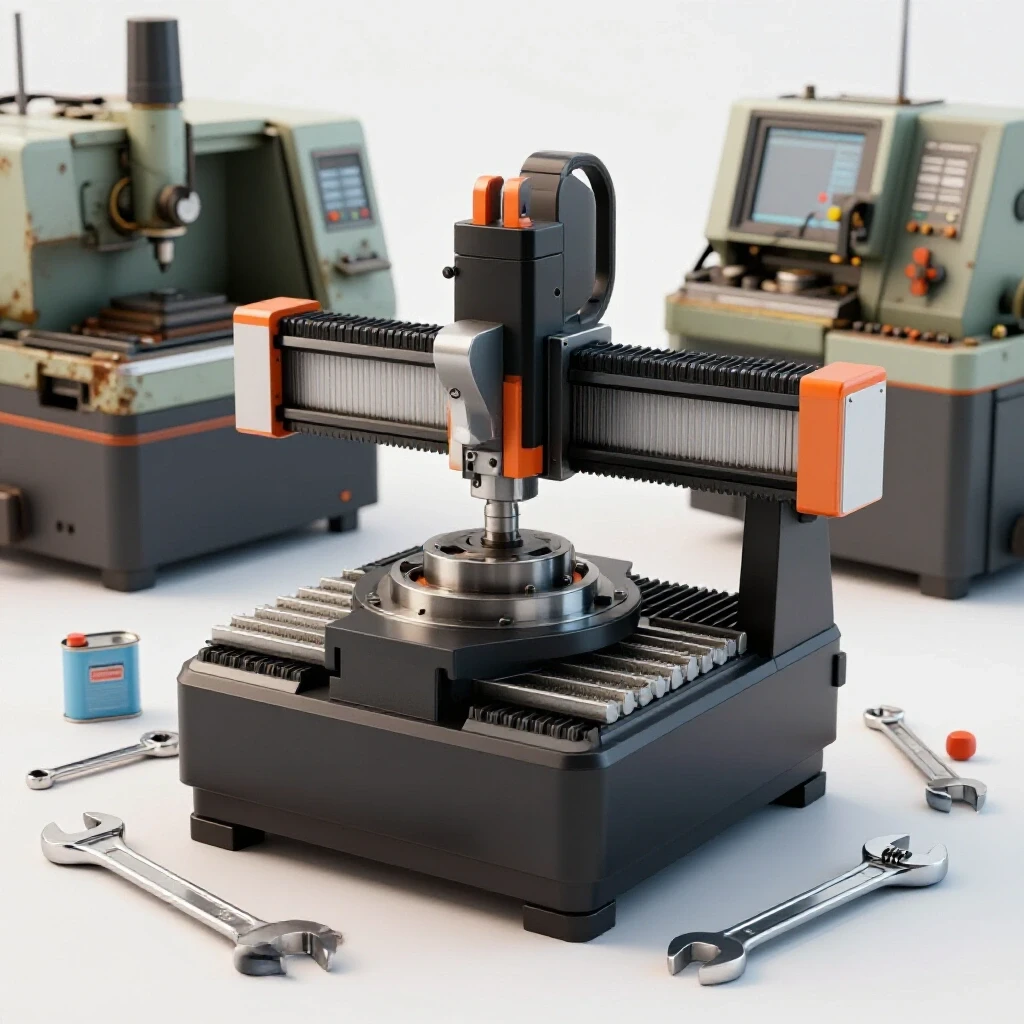
Financial Return of Adding a CNC Mill to Your Shop (Analysis)
Transitioning from a manual workshop to an automated one is a significant milestone for any fabricator. I remember the first time I sat down to look at the numbers for a vertical machining center. At the time, I was running a small side-hustle metalworking shop out of a rented garage. I was bidding on jobs by guessing, and quite frankly, I was barely making enough to cover my material costs. The anxiety of potentially spending tens of thousands of dollars on a machine is real, especially when you are not sure if your current job costing is even accurate.
Many shop owners in the 35 to 55 age range face this same crossroads. You have the skills, and you have the clients, but you are limited by your own two hands. Adding a computer-controlled mill seems like the logical next step to increase production. However, the true economic impact of this investment goes far beyond the sticker price of the machine. It requires a shift in how you view your time, your overhead, and your pricing strategy.
Determining Your True Shop Hourly Rate
A shop hourly rate is the total amount of money your business must earn for every hour of operation to cover all costs and generate a profit. This metric includes your rent, utilities, insurance, and your own desired salary, divided by the actual billable hours you work each month.
Before you can analyze the value of a new machine, you must understand what it costs to keep your doors open. Most side-hustlers make the mistake of only charging for their labor. In reality, your shop has a “burn rate.” This is the amount of money you spend even if no chips are flying. For a small shop, a realistic rate usually falls between $65 and $120 per hour. If you are charging less than this, you are likely subsidizing your customers’ projects with your own pocketbook.
To find your rate, list every monthly expense: – Rent or workshop mortgage: $800 – Utilities (Power, Water, Internet): $200 – Insurance and software subscriptions: $150 – Equipment maintenance fund: $100 – Total fixed overhead: $1,250
If you work 20 hours a week on your side business, that is roughly 80 hours a month. However, only about 50 to 60 of those hours are “billable” fabrication time. Dividing $1,250 by 60 billable hours gives you an overhead burden of roughly $21 per hour. Now, add your desired hourly wage (e.g., $45/hr) and a 10% profit margin for future growth. Your starting shop rate should be at least $73 per hour.
Breaking Down the Initial Investment of Milling Automation
The initial investment for a mill includes the machine purchase price, shipping, specialized electrical work, and the first set of work-holding tools. This total cost must be viewed as a capital expense that is recovered over several years through a process called depreciation.
When I bought my first light-commercial CNC mill, I focused too much on the machine price and forgot the “hidden” startup costs. You aren’t just buying a box of metal; you are buying a system. For a reliable, entry-level commercial machine, you might spend $25,000 to $45,000.
- Machine Unit: $30,000
- Rigging and Delivery: $1,500
- Phase Converter or Electrical Upgrades: $2,000
- Basic Tool Holders and Vises: $3,000
- CAM Software Subscription: $500/year
Total Startup Capital: $37,000
To calculate the hourly cost of this machine, we use a five-year recovery cycle. If you run the machine 1,000 hours a year, that is 5,000 hours over five years. Dividing $37,000 by 5,000 hours gives you a machine depreciation cost of $7.40 per hour. This is the amount you must include in every quote just to pay the machine back over its useful life.
Measuring Throughput Gains in Small-Batch Fabrication
Throughput refers to the speed at which you can turn raw material into a finished, sellable product. In a small shop, automation increases throughput by allowing the machine to perform complex movements faster and more accurately than a human operator using manual handwheels.
The real magic of automation isn’t just speed; it is repeatability. On a manual mill, making ten identical brackets takes ten times the effort of making one. With a CNC mill, the “setup” takes time, but the “run time” is consistent and fast. This allows you to take on “batch work” that would be impossible to price competitively otherwise.
| Task Description | Manual Mill Time | CNC Mill Time | Time Savings |
|---|---|---|---|
| Simple Facing & Squaring | 15 Minutes | 4 Minutes | 73% |
| Drilling 10-Hole Pattern | 12 Minutes | 2 Minutes | 83% |
| Complex Pocketing/Contour | 60 Minutes | 10 Minutes | 83% |
| Total for 10 Parts | 870 Minutes | 160 Minutes | 81% |
In this scenario, the machine allows you to finish a day’s worth of manual work in about two and a half hours. This “found time” is where your profit lives. You can use those extra hours to bid on more jobs or focus on higher-level design work.
Managing Tooling Wear and Consumable Expenses
Consumables are items that are used up during the fabrication process, such as end mills, drill bits, coolant, and way oil. Tracking these expenses is vital because they can quickly erode your margins if you do not include a “consumable burden” in your job estimates.
I have seen many shops fail because they didn’t account for the cost of cutting tools. A high-quality carbide end mill can cost $60. If you break one or wear it out on a $200 job, you just lost 30% of your revenue. In side-hustle metalworking, I recommend adding a 5% to 10% burden to every quote specifically for consumables.
- Coolant: A 5-gallon bucket of concentrate might cost $150 and last six months in a small shop.
- Way Oil: Essential for machine health, usually costs $40 per gallon.
- Tooling: Calculate the “cost per edge.” If a $60 tool lasts 100 parts, the tooling cost is $0.60 per part.
- Electricity: While CNC mills look power-hungry, they often cost less than $1.00 per hour to run in a residential or small commercial setting.
Calculating the Break-Even Point for New Machinery
The break-even point is the specific moment when the cumulative profit generated by a new tool equals the total cost of acquiring and operating that tool. Calculating this helps you determine if the machine is a sound investment or a financial burden.
To find your payback period, you need to know your “contribution margin” per hour. This is your shop rate minus your variable costs (materials and consumables). If your shop rate is $80 and your variable costs are $20, your contribution is $60 per hour. If the machine costs $37,000, you need 617 billable hours on that machine to break even.
If you are working 15 billable hours a week, the machine pays for itself in about 41 weeks. This is a very healthy ROI for a piece of industrial equipment. However, if you only have 2 hours of work a week for the mill, the payback period stretches to 3.5 years, which increases your financial risk.
Developing a Profitable Bidding Strategy for Automated Jobs
Fabrication job costing is the process of estimating the total expense of a project to ensure the final price covers all costs and includes a profit. For automated milling, this involves calculating setup time, run time, material costs, and a markup for your expertise.
When I quote a job now, I use a tiered structure. I charge a higher rate for “Setup Time” (when I am thinking and programming) and a slightly lower rate for “Spindle Time” (when the machine is running). This protects me if a customer only wants one part, but keeps me competitive if they want a hundred.
- Material Cost: Always mark up raw metal by 20% to 50%. This covers the time spent ordering, picking up, and handling the material.
- Setup Fee: Charge a flat fee (e.g., $75–$150) to cover programming and tool offsets.
- Run Time: Multiply the machine’s hourly rate by the estimated cycle time.
- Consumable Burden: Add 7% to the total labor cost.
- Final Markup: Add a 10-15% “shop profit” to the entire subtotal.
Strategic Sourcing and Material Management
Sourcing involves finding the most cost-effective way to acquire raw materials and supplies without sacrificing quality. For a small shop, bulk metal sourcing can significantly lower your “cost of goods sold,” which directly increases your profit on every part.
Instead of buying one foot of aluminum at a time from a retail site, look for local metal service centers. Many have “remnant” or “drops” sections where you can buy high-quality material by the pound at a fraction of the cost. If you have a recurring job, buying a full 12-foot bar can save you 30% compared to buying pre-cut pieces.
- Inventory Tracking: Keep a simple spreadsheet of what you have in stock.
- Batching Orders: Combine material orders to save on shipping or delivery fees.
- Scrap Recovery: Collect your aluminum and steel chips. While they won’t make you rich, a few trips to the recycler a year can pay for your shop’s coolant or way oil.
Post-Job Reconciliation and Financial Review
Post-job reconciliation is the act of comparing your original estimate to the actual time and money spent once the project is finished. This is the most important step for improving your small metal shop pricing over time.
I make it a habit to look at my “estimated vs. actual” numbers every Friday. If I estimated a job would take two hours of spindle time, but it actually took three because of a dull tool, I need to know why. Did I underestimate the hardness of the material? Was my feed rate too slow? This data allows you to adjust your metal business ROI calculators for the next quote, ensuring you don’t repeat the same mistake.
Essential Tools for Shop Financial Management
Managing a side-hustle requires organized record-keeping. You don’t need a degree in accounting, but you do need a system that tracks every dollar.
- QuickBooks or FreshBooks: Excellent for professional invoicing and tracking shop expenses.
- Excel or Google Sheets: The best tool for building custom job estimation templates.
- Fusion 360: Not just for CAD/CAM, but for estimating cycle times before you even touch a piece of metal.
- Paper Shop Logs: Keep a notebook next to the machine to track how long tools last and any unexpected issues.
Key Takeaways for Workshop Owners
Investing in automation is a move toward efficiency and higher profit ceilings. By moving away from “gut-feeling” pricing and toward data-driven job costing, you remove the stress of the unknown. Focus on your shop rate, track your consumables religiously, and always calculate the payback period before signing a check for new equipment. The goal is to make the machine work for you, not the other way around.
Frequently Asked Questions
How do I know if I have enough work to justify a CNC mill? Look at your last six months of manual work. If you spent more than 10 hours a week performing repetitive tasks like drilling patterns or milling pockets, you have enough volume. A machine can often consolidate 40 hours of manual labor into 8-10 hours, allowing you to grow without hiring help.
What is a realistic “consumable burden” for a part-time shop? For most small-scale milling, a 7% burden is a safe baseline. This means if your labor and overhead for a job are $100, you add $7 to cover the wear on your end mills, the coolant evaporated, and the electricity used.
Should I charge more for CNC work than manual work? Usually, yes. While the machine works faster, the “value” of the part is often higher due to better finishes and tighter tolerances. Most shops maintain the same hourly rate but benefit from the increased number of parts produced in that hour.
How do I factor in the cost of CAM software? Software is a fixed overhead cost. If it costs $500 per year, and you work 500 billable hours, the software costs $1.00 per hour. Add this to your shop’s base overhead rate.
What is the most common mistake in pricing CNC jobs? Underestimating “setup time.” It might only take 5 minutes to run a part, but if it took you 2 hours to program it and 1 hour to set up the fixtures, you must bill for those 3 hours. On small batches, setup time is often more expensive than run time.
How often should I recalculate my shop rate? I recommend a review every six months or whenever a major expense changes, such as a rent increase or a new equipment purchase. This ensures your margins stay healthy as inflation affects material and utility costs.
Can I use residential electricity for a commercial-grade mill? Many light-commercial mills run on single-phase 220V power, similar to a clothes dryer. However, larger machines may require a phase converter. Always include the cost of a high-quality rotary phase converter (roughly $1,500–$2,500) in your initial ROI calculation.
How do I track tool life for more accurate bidding? Keep a simple log on the machine. Note the date a new end mill is installed and what material it is cutting. Over time, you will see a pattern—for example, a specific carbide bit might last for 50 linear feet of stainless steel. Use this data to accurately price “tooling wear” on difficult jobs.
Is it better to buy a used machine to save on the ROI timeline? Used machines can have a shorter payback period, but they come with higher maintenance risks. For a side-hustle where your time is limited, a new or factory-refurbished machine with a warranty is often the safer financial bet to avoid unpaid repair hours.
What is the “material markup” supposed to cover? The markup covers the “hidden” labor of procurement. This includes the time spent calling suppliers, the fuel to pick up the metal, the space used to store it, and the risk of a part being scrapped due to a mistake. A 30% markup is standard for most small shops.
(This article was written by one of our staff writers, Michael Hargrove. Visit our Meet the Team page to learn more about the author and their expertise.)