High-Value Concrete Floor Coatings for Welding Shops (Review)
When I first moved my fabrication work from a cramped corner of a shared garage into my own dedicated shop space, I was obsessed with the big numbers. I spent hours calculating the payback period on a new synchronised pulse welder and agonizing over the monthly lease. However, I completely overlooked the ground beneath my feet. Within six months, the bare concrete was pitted from grinding sparks and stained with hydraulic fluid. It wasn’t just an eyesore; it was a financial liability that made cleanup difficult and professional photography for my portfolio look amateur.
I quickly learned that a professional workspace is an asset that requires protection. For those of us balancing a side-hustle or managing a small-scale fabrication business, every dollar spent must generate a return. We don’t have the luxury of “corporate budgets” to fix mistakes. If you are transition-phase side hustler, you know the anxiety of pricing a job. You worry if you are too high and will lose the work, or too low and will end up paying for the privilege of sweating over a welding table.
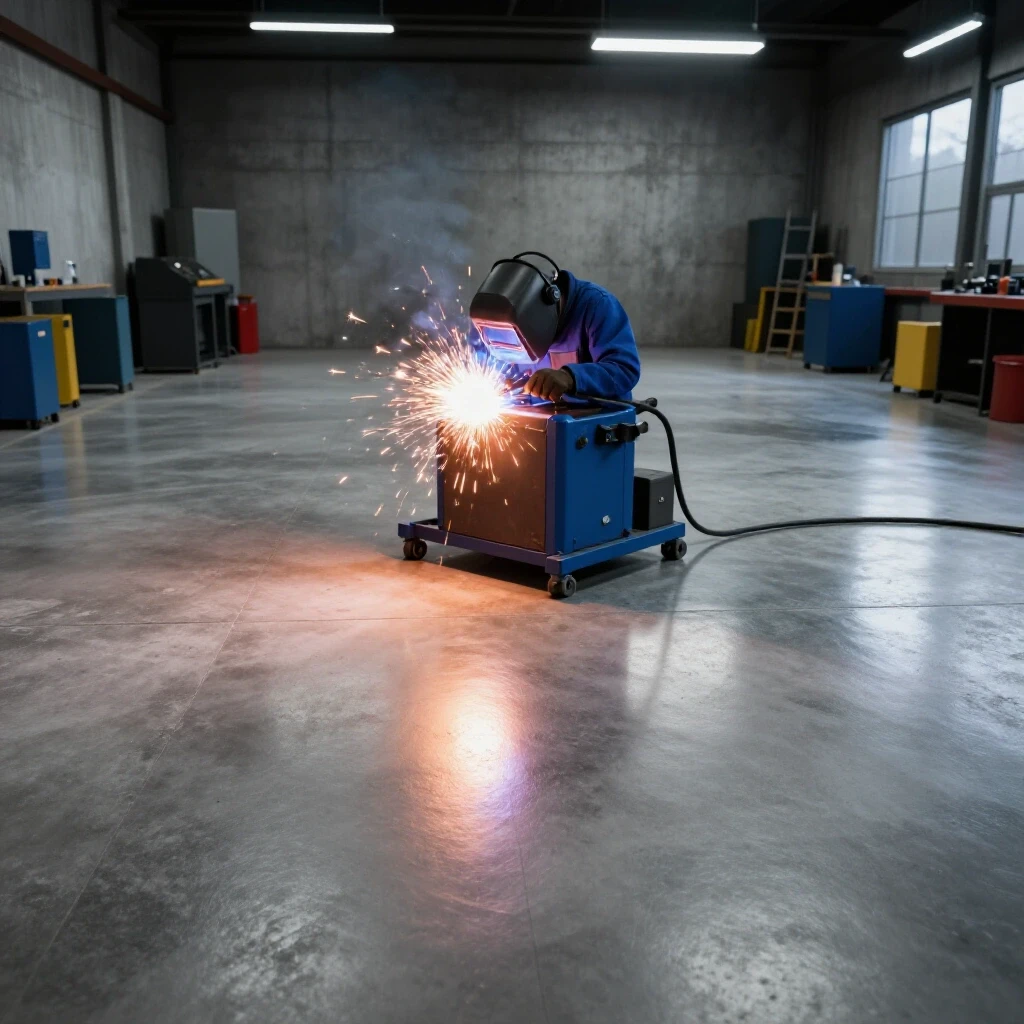
I’ve spent 16 years tracking every penny in the shop. I’ve realized that the efficiency of your workspace—including the durability of your floors—directly impacts your hourly shop rate. In this guide, we will look at how to select heavy-duty concrete sealers for metalworking and, more importantly, how to integrate these capital investments into a profitable business model.
Establishing the Financial Foundation of a Pro-Grade Workspace
A professional workspace foundation involves more than just a solid slab of concrete. It is the practice of quantifying every physical element of your shop as a business expense. This includes understanding how your shop’s physical environment contributes to your total overhead and long-term asset value.
When you start charging for your work, you are no longer just a hobbyist. You are a small-scale manufacturer. This means you must account for “shop burden.” This is the cost of simply having the doors open before you even strike an arc. If you spend $5,000 on a high-solids epoxy system to protect your slab, that isn’t just a “nice to have” feature. It is a depreciating asset that must be factored into your pricing.
In my consulting work, I see many shop owners fail because they ignore these “facility costs.” They think their only costs are metal and welding gas. But what about the property value? What about the three hours you spend every week scrubbing a porous floor because it won’t release oil? If your shop rate is $85 an hour, that dirty floor is costing you over $13,000 a year in lost billable time.
Calculating Your True Shop Rate for Metal Fabrication
A shop rate is the total hourly cost of running your business plus your target profit. It includes rent, utilities, insurance, and equipment wear. Without a precise number, you are likely paying customers to work for them rather than earning a living from your skills.
To find your rate, you need to list every annual expense. This includes the “hidden” ones. Do you have a floor coating that needs a refresh every five years? Add that in. Do you have a yearly inspection for your fire extinguishers? Add that too.
- Fixed Overhead: Rent/Mortgage, Insurance, Property Taxes, Software Subscriptions.
- Variable Overhead: Electricity (welding uses a lot), Heating/Cooling, Shop Supplies (rags, cleaners).
- Labor: What you need to pay yourself to survive.
- Profit Margin: The 10-20% extra that stays in the business for future growth.
If your total annual costs are $40,000 and you plan to work 1,000 billable hours (about 20 hours a week for a side-hustle), your base shop rate is $40 per hour just to break even. To make a profit and account for taxes, you likely need to be charging $75 to $90 per hour.
Selecting Industrial Floor Protection for High-Heat Environments
Industrial floor protection refers to chemical-resistant and spark-proof coatings designed for heavy manufacturing. These systems must withstand grinding sparks, falling steel, and chemical spills. Choosing the right material ensures your concrete remains intact and your workspace stays safe and professional for years.
In a welding environment, standard garage paints are a waste of money. The hot slag from a plasma cutter or the sparks from a 7-inch grinder will melt right through cheap DIY kits. You need a system with high thermal shock resistance and high-solids content.
I generally look at three categories for fabrication shops:
- High-Solids Epoxy: This is the workhorse of the industry. It creates a thick, durable barrier. It is excellent for impact resistance when you drop a heavy piece of square tubing.
- Polyaspartic Coatings: These are great for shops that can’t afford downtime. They cure incredibly fast—sometimes in just a few hours. They also handle UV light better if your shop has large bay doors.
- Urethane Mortars: These are the “nuclear option.” If you are doing heavy industrial fabrication with constant heat and chemical exposure, these provide the best protection, though they are the most expensive.
Comparison of Heavy-Duty Floor Systems for Fabrication
| Feature | High-Solids Epoxy | Polyaspartic | Urethane Mortar |
|---|---|---|---|
| Average Cost (per sq ft) | $3 – $7 | $5 – $9 | $10 – $15 |
| Cure Time | 24-48 Hours | 4-8 Hours | 12-24 Hours |
| Spark Resistance | High | Medium-High | Superior |
| Impact Resistance | Excellent | Good | Superior |
| DIY Friendly? | Yes (with prep) | Difficult | No (Pro only) |
Why Floor Durability Impacts Your Bottom Line
The durability of your shop floor is a direct factor in your operational efficiency. A floor that resists damage prevents costly repairs and reduces the time spent on maintenance. In a small shop, any time spent fixing the facility is time you aren’t finishing a customer’s project.
I once worked with a fabricator who refused to coat his floors. He thought he was saving $4,000. Two years later, he had to move all his heavy machinery—press brakes, lathes, and welding stations—to a storage unit so a crew could grind down his oil-soaked concrete and finally apply a sealer. The move cost him $2,000, the coating cost him $5,000 (prices went up), and he lost two weeks of production.
That “savings” ended up costing him nearly $15,000 in lost revenue and extra expenses. When we look at side-hustle metalworking, we have to think about the “long game.” A durable surface makes it easier to roll heavy material racks. It reflects light better, which reduces the need for expensive high-bay lighting. These small efficiencies add up to a higher net profit at the end of the year.
Calculating the ROI on Shop Floor Investments
ROI, or Return on Investment, measures the gain or loss generated on an investment relative to its cost. For shop upgrades, it is calculated by comparing the cost of the upgrade against the money saved or earned because of it. This helps you decide if a tool or shop improvement is worth the capital.
Let’s look at the math for a 1,000-square-foot shop.
- Initial Investment: $6,000 for a professional-grade spark-resistant coating.
- Expected Life: 10 years.
- Annual Cost: $600.
- Time Saved: 2 hours of cleaning/maintenance per week at a $85/hr shop rate = $170/week.
- Annual Savings: $170 x 50 weeks = $8,500.
In this scenario, the floor pays for itself in less than a year just in time savings. This doesn’t even account for the increased resale value of the property or the professional image that allows you to charge higher rates to premium clients. Using a metal business ROI calculator approach helps remove the emotion from these big purchases.
Why Hidden Consumables Bleed Small Shop Profits
Consumables are items used up during a project, such as welding wire, gas, and grinding discs. Many owners forget to track these, leading to “profit bleed” where small expenses eat the entire margin. Proper tracking ensures these costs are passed to the customer accurately.
I’ve seen many side-hustlers bid a job based on the cost of the steel and their hourly rate. They forget that they’ll go through three flap discs, half a bottle of 75/25 Argon/CO2, and five pounds of MIG wire. On a small $500 job, those consumables might cost $60. If you didn’t bill for them, you just took a 12% pay cut.
To stop the bleed, I recommend a “consumable burden factor.” Based on my 16 years of data, most general fabrication work carries a consumable cost of 5% to 15% of the total material cost. If the steel costs $1,000, I automatically add $100 to $150 to the quote just for the “stuff that disappears.”
Common Consumables to Track
- Welding Gas: Track by the tank exchange cost.
- Abrasives: Grinding wheels, flap discs, and cutoff wheels are high-wear items.
- Filler Metal: Wire spools or TIG rods.
- Chemicals: Anti-spatter spray, cold galvanizing spray, or acetone.
- Electricity: While not a “physical” consumable, heavy welding increases your utility bill significantly.
Building a Custom Job Quote That Covers Every Cost
A custom job quote is a detailed breakdown of all costs associated with a specific project, including materials, labor, overhead, and profit. A well-built quote protects the business from underpricing and provides the customer with a clear understanding of the value they are receiving.
When you sit down to calculate fabrication job costing, use a structured template. Don’t just “eyeball” it. I use a simple spreadsheet that breaks the job into four pillars:
- Materials: The actual cost of the metal, including delivery fees.
- Consumables: Using your burden factor (e.g., 10% of material cost).
- Labor: Estimated hours multiplied by your “Loaded Shop Rate” (which includes your floor maintenance, electricity, and insurance).
- Markup: A percentage added to materials (usually 20-50%) to cover the “cost of money” and sourcing time.
If a customer asks for a “quick estimate,” give them a range, but never a firm price until you’ve run the numbers. Remember, a quote is a contract. If you miss a cost, you are the one who pays for it.
Analyzing Post-Job Profits for Better Future Bidding
Post-job profit analysis is the process of reviewing a completed project to compare the estimated costs against the actual money spent. This practice identifies where your bidding was accurate and where you lost money, allowing you to adjust your pricing for the next job.
Every time I finish a project, I do a “post-mortem.” I look at how many hours I estimated versus how many I actually worked. I look at the pile of spent grinding discs.
If I estimated 10 hours and it took 14, I need to know why. Was the material harder to work with? Did I spend an hour cleaning the floor because I didn’t have a good spark-capture system? This data is gold. It turns “guessing” into “estimating.” Over time, your small metal shop pricing will become more accurate, and your stress levels will drop.
Sourcing Materials and Bulk Strategies for Small Shops
Sourcing strategies involve finding the best balance between material quality, price, and availability. For small shops, this often means moving away from “retail” metal suppliers and building relationships with local industrial wholesalers to reduce the cost per foot.
As a side-hustler, you might be tempted to buy your steel from a big-box home improvement store or a small “hobbyist” metal yard. This is a mistake. The price per foot is often 300% higher than an industrial supplier.
Even if you don’t have a massive warehouse, try to buy in “full sticks” (usually 20 or 24 feet). Most suppliers will give you a better rate if you buy $500 worth of material at once rather than $50. I also recommend keeping a “remnant rack.” Organize your off-cuts by size and type. For small brackets or gussets, using a remnant is 100% profit because the material was already paid for by a previous job.
Digital Tools for Managing Shop Economics
Digital tools for shop management include software and apps designed to track expenses, generate invoices, and manage project timelines. These tools replace paper logs and manual calculations, providing a more accurate and professional way to run a fabrication business.
You don’t need expensive enterprise software to run a profitable side-hustle. Here are five tools I’ve found useful:
- QuickBooks or FreshBooks: For professional invoicing and tracking your “shop burden” expenses.
- Google Sheets: Create your own fabrication job costing templates.
- Evernote or Notion: To keep a digital log of project photos and notes on how long specific tasks took.
- Square: To accept credit card payments on-site (customers love this, and it helps with cash flow).
- Inventory Trackers: Simple apps to log your welding gas levels and wire spools so you never run out mid-job.
Practical Steps for a Profitable Future
If you want to move from “paying for a hobby” to “running a business,” you have to treat your shop like an investment. Start by protecting your concrete. A high-quality protective layer for your fabrication floor is a signal to yourself and your customers that you take your work seriously.
Next, sit down with your bank statements. Calculate your true shop rate. Don’t guess. Know exactly what it costs to keep your lights on. Once you have that number, use it ruthlessly in your bidding.
The goal isn’t just to make cool things out of metal. The goal is to build a sustainable business that rewards your skill and hard work. By tracking your consumables, protecting your assets, and mastering your shop math, you can turn your fabrication passion into a predictable source of income.
FAQ: Managing Shop Costs and Floor Protection
What is the best type of floor coating for a shop that does heavy welding and grinding? For a welding environment, a high-solids epoxy or a polyaspartic system is usually best. These offer high heat resistance compared to standard paints. If you do a lot of heavy dragging of steel, look for a system with an added aluminum oxide or quartz aggregate for extra abrasion resistance.
How do I calculate my hourly shop rate if I only work part-time? You must total all your annual business expenses (insurance, tools, utilities, shop maintenance) and divide them by the number of hours you actually plan to bill customers. If you only work 500 hours a year, your hourly rate will likely be higher than a full-time shop because your fixed costs (like insurance) are spread over fewer hours.
Is it worth it to coat the floor myself, or should I hire a pro? If you have the time and the equipment to properly grind the concrete, a DIY application of a professional-grade kit can save you 50% in labor costs. However, if the prep is done poorly, the coating will peel, and you will lose all that money. For shops over 1,000 square feet, a professional crew is often a better ROI because they have the heavy-duty grinders needed for a perfect bond.
How much should I mark up the metal I buy for a customer? A standard markup is 20% to 50%. This covers your time spent driving to the supplier, the fuel for your truck, and the “carrying cost” of the money you spent before the customer paid the final invoice. For very small orders, a higher markup (up to 100%) is often necessary to make the trip worthwhile.
Why shouldn’t I just use a cheap “garage floor” kit from a hardware store? Those kits are usually water-based and very thin (about 2-3 mils). They are designed for car tires, not hot welding sparks and heavy steel tables. In a fabrication shop, these kits will fail within months, leading to a messy, peeling floor that is harder to fix than bare concrete.
How do I track “hidden” consumables like welding gas? The easiest way is to assign a flat “gas fee” per hour of welding or use a “consumable burden” percentage (usually 10%) added to the material cost. If you want to be precise, note the pressure on your regulator at the start and end of a job to see how many cubic feet you used.
What is the “payback period” for a professional shop floor? Most shop owners find that a professional floor pays for itself in 12 to 24 months. This comes from reduced cleaning time, better lighting efficiency, and preventing the need for expensive concrete repairs caused by oil saturation or heavy impact pitting.
Does a coated floor make the shop more dangerous when wet? It can be slippery if you don’t add an anti-slip additive. When choosing a protective layer for your fabrication floor, always specify a “slip-resistant” texture. This usually involves broadcasting a fine grit into the wet coating to provide traction even if there is a small oil or water spill.
How often does a heavy-duty shop sealer need to be reapplied? A high-quality, professionally applied industrial system should last 7 to 12 years in a typical small-batch fabrication environment. High-traffic areas, like the path to a bay door, may need a “top-coat” refresh every 5 years to maintain the gloss and protection.
How do I factor the cost of the floor into my job quotes? Include it in your “Facility Overhead.” If the floor cost $5,000 and lasts 10 years, that is $500 per year. If you work 1,000 hours a year, you need to add $0.50 to your hourly shop rate just to cover the floor. This is how you ensure your business pays for its own upgrades.
(This article was written by one of our staff writers, Michael Hargrove. Visit our Meet the Team page to learn more about the author and their expertise.)