Write Clear Contract Terms for Custom Welding Work (DIY Plan)
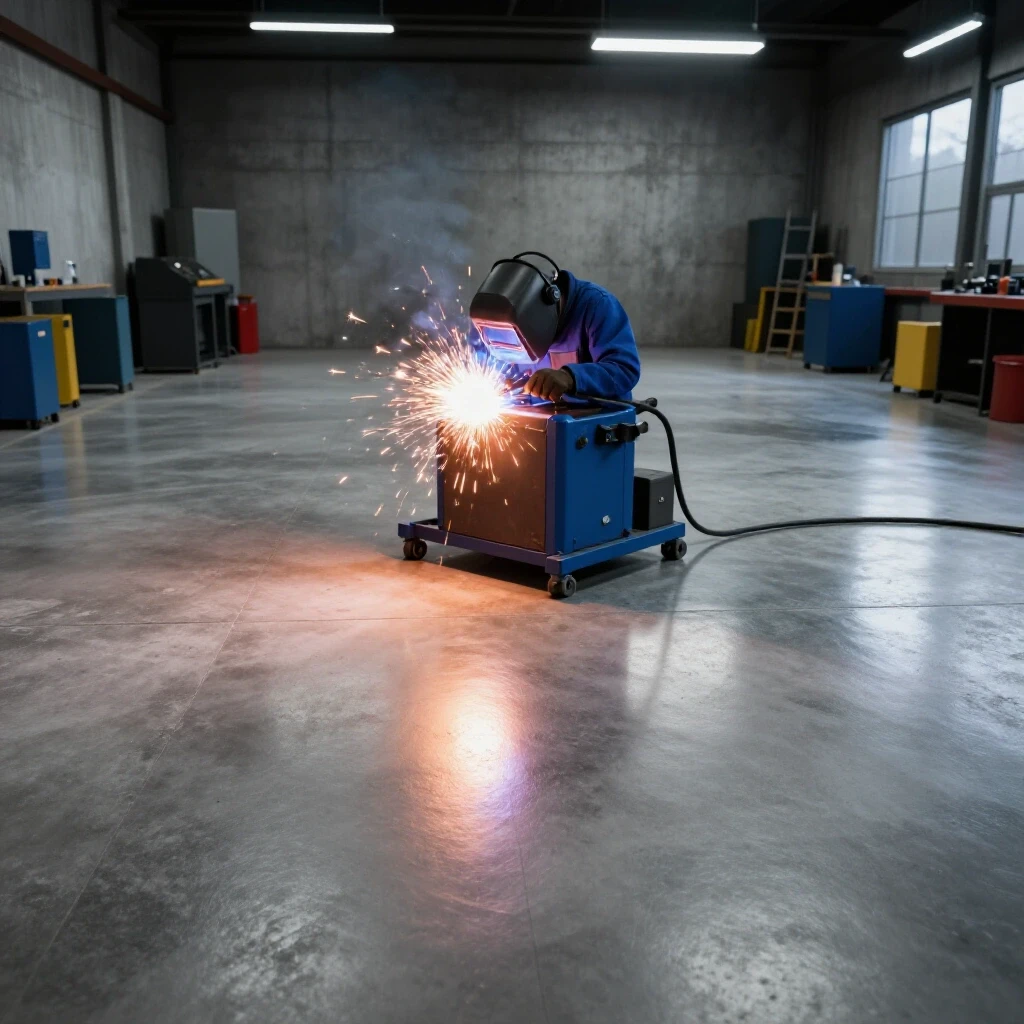
I remember the first time I handed over a custom-built utility trailer to a client. I had spent three weeks of late nights in my garage, burning through sticks and grinding down beads until my shoulders ached. When the client handed me the check, I felt a surge of pride. Then I went home and looked at my bank account. After subtracting the steel, the gas, the grinding wheels, and the extra electricity, I realized I had earned about four dollars an hour. I wasn’t running a side-hustle; I was paying for the privilege of working for someone else.
That experience changed how I look at metalwork. Over the last 16 years, I’ve learned that the difference between a hobby and a profitable small shop isn’t the quality of your welds. It is the quality of your math. Many fabricators struggle with pricing because they estimate based on “gut feeling” rather than documented shop data. If you want to stop bleeding money, you have to treat every project as a series of financial milestones. This guide will help you build a solid framework for your fabrication bids so you can protect your time and your tools.
Establishing Your True Shop Hourly Rate
A shop hourly rate is the total amount of money you must charge for one hour of work to cover all expenses and still make a profit. It is the foundation of every bid and ensures you aren’t just breaking even on your labor.
When I talk to side-hustlers, they often pick a number like $50 because it sounds higher than their day job. But they forget that their day job doesn’t require them to pay for the building, the lights, or the welder. To find your real rate, you need to look at your overhead. Overhead includes everything that doesn’t go directly into the final product, such as shop rent (or a portion of your mortgage), electricity, insurance, and even the heat in the winter.
Interestingly, many small shop owners find their sweet spot between $65 and $120 per hour. This depends on your local market and your specific equipment. If you are using a basic MIG setup, your rate might be lower. If you are doing high-precision TIG work on exotic alloys, your rate should reflect that specialized skill.
| Expense Category | Annual Estimated Cost | Hourly Impact (500 hrs/yr) |
|---|---|---|
| Shop Space (Rent/Utilities) | $3,000 | $6.00 |
| Insurance & Licensing | $800 | $1.60 |
| Consumables (Gas, Wire, Discs) | $1,200 | $2.40 |
| Equipment Maintenance | $500 | $1.00 |
| Total Overhead Burden | $5,500 | $11.00 |
Building on this, you must add your desired take-home pay and a profit margin for the shop itself. If you want to earn $40 an hour and keep $15 an hour for future shop upgrades, your rate is already at $66 before you even strike an arc.
Mapping Machinery Amortization and Tool ROI
Amortized capital is a fancy way of saying you are spreading the cost of a big tool over the years you expect to use it. This prevents a single project from bearing the entire cost of a new plasma cutter or welder.
I once bought a high-end TIG welder for $4,500. If I didn’t factor that into my pricing, I was essentially giving away the “life” of that machine for free. To calculate this, I estimate the machine will last five years. If I work 500 hours a year in my side-hustle, that is 2,500 total hours. Dividing $4,500 by 2,500 hours gives me a machine cost of $1.80 per hour.
This might seem small, but when you add up the welder, the bandsaw, the ironworker, and the air compressor, you might be looking at $5 to $10 an hour just in tool wear. Tracking your metal business ROI calculators helps you see when a tool has officially paid for itself. Once that five-year mark hits and the machine is still running, that $1.80 per hour becomes pure profit.
Why Hidden Consumables Bleed Small Shop Profits
A consumable burden factor is a percentage added to a job to cover “invisible” supplies like shielding gas, welding wire, and abrasive discs. These are the items that are hard to measure per inch but add up quickly over a long weekend.
In my early years, I underestimated how many flap discs I would use on a project. I would bid for the steel and the labor but forget that I’d go through $40 worth of abrasives just to prep the metal for paint. Now, I use a standard 10% to 15% consumable markup on the total material cost.
- Shielding Gas: Calculate the cost of a tank refill and divide by the approximate hours of trigger time.
- Abrasives: Track how many discs you use over a month and compare it to your total sales.
- Electricity: High-voltage welders draw significant power. If your bill jumps $50 when you’re busy, that cost must be passed to the client.
As a result of tracking these costs, you stop guessing. You start knowing that a “simple” handrail project actually requires two full grinding wheels and a quarter-tank of Argon.
Defining Project Scope and Material Specifications
Project scope is a detailed list of exactly what you will do and, just as importantly, what you will not do. Without a clear scope, “scope creep” will eat your profit as the customer asks for “just one more little thing.”
I once agreed to build a set of truck racks. In my head, I was delivering raw steel frames. The customer expected them to be sandblasted and powder-coated. Because I hadn’t defined the finish in our agreement, I ended up eating the $200 coating fee just to keep the relationship.
When you are setting up your fabrication job costing, be specific about: 1. Material Type: Are you using hot-rolled or cold-rolled steel? What is the wall thickness? 2. Weld Finish: Will the welds be left “as-is,” or will they be ground flush and polished? This can double your labor time. 3. Tolerances: Does the piece need to be accurate within 1/16th of an inch, or is “eyeball straight” enough? 4. Delivery: Is the client picking it up, or are you delivering and installing it?
Building a Custom Job Quote and Bidding Model
A professional quote protects both you and the client by putting the financial realities on paper. It moves the conversation from a handshake to a structured agreement.
When I build a quote, I break it down into three main buckets: Materials, Labor, and Shop Fees. I always include a “Material Price Volatility” clause. Since steel prices can swing 20% in a month, I state that the quote is only valid for 7 to 14 days. This protects me from a sudden price hike at the local steel yard.
| Quote Component | Calculation Method | Example (Small Table Base) |
|---|---|---|
| Raw Materials | Actual Cost + 20% Markup | $120 |
| Labor Time | Estimated Hours x Shop Rate | 5 hours @ $80 = $400 |
| Consumables | 10% of Material Cost | $12 |
| Total Bid | Sum of all parts | $532 |
Interestingly, I’ve found that most side-hustlers under-quote their labor by at least 25%. We forget to count the time spent unloading the steel, cleaning the floor, and talking to the customer. If you think a job will take four hours, bid for five.
Sourcing Strategies for Small-Batch Fabrication
Bulk metal sourcing is the practice of buying more material than you need for one job to lower the price per foot. While it requires more cash upfront, it is one of the fastest ways to increase your margins.
If I buy a single 20-foot stick of square tubing, I might pay $4.00 a foot. If I buy ten sticks, the price might drop to $2.80. For a side-hustle metalworking shop, storage is often the limiting factor. However, if you can identify three or four common sizes you use for every project, buying them in bulk can save you hundreds of dollars a year.
Always ask your supplier about “drops” or “remnants.” These are leftover pieces from larger industrial orders. I’ve often found high-quality plate or heavy-wall pipe in the drop bin for 50% of the retail price. Using these for small brackets or gussets is an easy way to boost project profitability.
Analyzing Post-Job Profits and Cost Variance
Post-job reconciliation is the process of looking back at a finished project to see if your estimated costs matched your actual spending. This is the only way to get better at bidding over time.
I keep a simple log for every major project. I write down how much I spent on steel, how many hours I actually worked, and any unexpected expenses. If I bid for 10 hours and it took 14, I need to know why. Was the metal dirtier than expected, requiring more prep? Did my welder break down?
Common rookie mistakes to avoid include: – Failing to charge for the time spent driving to the steel yard. – Forgetting to include the cost of welding gas refills. – Not asking for a deposit (I recommend 50% upfront for materials). – Working without a signed agreement on the project dimensions.
By reviewing these logs, you can adjust your small metal shop pricing for the next client. If you consistently find that your “shop fee” doesn’t cover your grinding discs, it’s time to raise that percentage.
Practical Tools for Shop Management
Managing the business side of a workshop is much easier with the right digital tools. You don’t need expensive enterprise software, but you do need a system.
- Invoicing Software: Tools like Wave or Square allow you to send professional invoices and accept credit cards. This often gets you paid faster than waiting for a check.
- Spreadsheets: A simple Excel or Google Sheets file is perfect for calculating shop rates and tracking tool ROI.
- Time Tracking Apps: Apps like Toggl help you see exactly how much “trigger time” you have versus “grinding time.”
- Inventory Log: Keep a running list of your consumables so you never run out of gas in the middle of a Saturday project.
Using these tools turns your workshop into a data-driven business. It removes the anxiety of wondering if you made money and replaces it with the confidence of knowing your exact margins.
Key Steps for Moving Forward
To optimize your shop’s finances, start by calculating your overhead this weekend. Look at your bills and find out what it really costs to keep your lights on. Once you have that number, you can set a shop rate that actually pays you what you’re worth.
Next, create a simple template for your project bids. Include sections for material specs, finish quality, and payment milestones. When a client sees a professional, detailed quote, they are often more willing to pay a premium because they trust you know what you’re doing.
Finally, remember that your time is your most valuable asset. Every hour you spend in the shop is an hour away from your family or your rest. Make sure those hours are profitable by tracking every penny, from the largest steel beam to the smallest grinding disc.
Frequently Asked Questions
How do I explain a “shop fee” to a customer who only wants to pay for labor?
A shop fee isn’t an extra charge; it is a way to cover the items that are used up during the build, like gas and abrasives. I usually explain it as a “consumables and utilities” charge. Most customers understand that a welder doesn’t run on air and that grinding wheels cost money. If they push back, I simply fold that cost into my hourly rate so it isn’t a separate line item.
Should I charge for the time I spend designing a project?
Yes. Design time is professional labor. If I spend two hours drawing a CAD file or sketching a layout on the shop floor, that is time I am not welding. For custom work, I often charge a flat “Design and Layout” fee that is non-refundable. This ensures I get paid for my expertise even if the client decides not to move forward with the build.
What is a reasonable markup on materials?
A standard markup is between 20% and 35%. This covers the time you spend sourcing, transporting, and storing the metal. If you spend an hour at the steel yard and use your own truck and fuel, you cannot charge the client exactly what you paid at the counter. The markup ensures your procurement costs are covered.
How do I handle a project that takes much longer than I estimated?
If the delay is your fault (like a mistake or a broken tool), you generally have to eat that cost to honor your quote. However, if the client changes the design or adds features mid-build, you should stop and issue a “change order.” This is a brief note stating that the new request will add X hours and Y dollars to the final price. Never do extra work for free.
Is it better to bid a flat “project price” or an hourly rate?
For most custom work, a flat project price is better for the client because they know exactly what they will pay. However, that price must be based on your internal hourly rate calculation. I prefer to give a “fixed bid” based on a clear scope of work. This rewards me for being efficient; if I finish a 10-hour job in 8 hours, my effective hourly rate goes up.
How much of a deposit should I require?
I always ask for 50% upfront. This usually covers 100% of the material costs and a small portion of the labor. This protects you from being stuck with a pile of custom-cut steel if the client disappears. It also ensures the client is “all in” on the project.
How do I factor in the cost of my workshop space if I work out of my home garage?
Even if you don’t pay separate rent, your shop uses space, taxes, and maintenance. A common method is to calculate the square footage of your shop as a percentage of your home. If your shop is 20% of your home’s footprint, you can arguably attribute 20% of your utilities and property taxes to the business. This helps you understand the “true” overhead of your side-hustle.
What should I do if a client asks for a discount because “it’s just a quick job”?
There is no such thing as a “quick job” in fabrication. Every job requires setup, cleaning the table, pulling out the tools, and cleaning up afterward. I have a “minimum shop charge,” usually equal to two hours of labor. This covers the overhead of even the smallest repairs. If a job is truly quick, it still has to be worth the time it takes to open the shop doors.
How often should I raise my shop rates?
You should review your rates at least once a year. If your electricity bill goes up or the cost of welding gas rises, your rate needs to follow. I also suggest raising your rate as your skill level increases. A welder who can produce X-ray quality TIG welds should charge more than someone who is just learning to MIG weld flat plate.
Do I need to include a “finish” specification in every quote?
Absolutely. This is the most common area for disagreement. “Paint-ready” means something different to everyone. Be specific: will it be wire-brushed, sanded to 120 grit, or left with mill scale? If you are sending it out for powder coating, state clearly that the coating is an additional pass-through cost. This prevents you from spending hours on finishing work that wasn’t in the budget.
(This article was written by one of our staff writers, Michael Hargrove. Visit our Meet the Team page to learn more about the author and their expertise.)