How a Dedicated Fabrication Shop Saves You Money (DIY Guide)
I remember the exact moment I realized my side-hustle metalworking was actually costing me money. I had just finished a set of custom steel table legs for a local designer. I charged $400, feeling like I’d made a killing for a Saturday’s work. But when I sat down with my receipts, the reality hit. Between the gas for the welder, the three grinding wheels I chewed through, the electricity, and the $180 in raw steel, my “profit” was barely enough to cover a decent dinner. I hadn’t even factored in the wear and tear on my horizontal bandsaw. That experience changed how I viewed my workshop. I stopped treating it like a hobby and started looking at it as a financial engine.
Transitioning from a hobbyist to a serious fabricator requires a shift in mindset. You are no longer just “making things”; you are managing a small-scale manufacturing facility. To succeed, you must understand the flow of every dollar. This means tracking every inch of welding wire and every kilowatt of power. It means knowing how to price your work so that you aren’t just paying for the privilege of working in your garage. By treating your shop as a dedicated financial asset, you can significantly reduce the cost of your own projects while building a profitable side business.
Establishing a Foundation Through Accurate Shop Rate Calculation
A shop rate is the total cost of operating your workspace for one hour, including labor, utilities, and overhead. It serves as the baseline for every quote you provide and helps you understand the minimum amount needed to keep the doors open. Without this number, you are simply guessing at your profitability.
Calculating your shop rate is the first step in moving toward a professional operation. Most side-hustlers start by picking a number out of the air—often $30 or $40 an hour because it sounds like a good wage. However, a wage is not a shop rate. Your shop rate must cover the “hidden” costs that a standard paycheck doesn’t. This includes the rent or mortgage for the space, the rise in your electric bill when the TIG welder is running, and the eventual replacement of your equipment. For most small fabrication setups, a realistic shop rate ranges between $65 and $120 per hour, depending on your location and equipment.
To find your specific number, list every fixed cost you have for the year. This includes shop rent, annual tool maintenance, and software subscriptions for CAD or invoicing. Divide that total by the number of hours you realistically plan to work in the shop each year. If your fixed costs are $3,000 and you work 500 hours a year, your overhead burden is $6 per hour. Add your desired hourly wage and a buffer for consumables to this number. This gives you a starting point for fabrication job costing that ensures you aren’t losing money on every arc struck.
Identifying Fixed vs. Variable Overhead Costs
Fixed costs are expenses that remain the same regardless of how many projects you complete, such as shop rent or annual property taxes. Variable costs fluctuate based on your workload, including electricity, welding gas, and shop rags. Distinguishing between these two allows for more precise budgeting and project estimation.
In my experience, the biggest mistake is ignoring the variable costs. I once tracked my electricity usage for a month of heavy plasma cutting. My bill jumped by $85, yet I hadn’t included a “power surcharge” in any of my bids. By separating these costs, you can apply a “consumable burden” to your quotes. This is usually a percentage—often 10% to 15%—added to the labor total to cover the “invisible” expenses like electricity and heat.
| Expense Type | Examples | Impact on Pricing |
|---|---|---|
| Fixed | Rent, Insurance, Tool Loans | Added as a flat hourly “burden” |
| Variable | Electricity, Gas, Abrasives | Added as a percentage of the job |
| Labor | Your time, Helper’s time | The core “wage” component |
| Profit | Business growth fund | A markup on the total cost |
Mapping Machinery Amortization and Tool ROI
Amortization is the process of spreading the cost of an expensive tool over its expected lifespan to understand its true cost per project. Calculating a Return on Investment (ROI) helps you determine if a new piece of equipment will actually save money or just become an expensive trophy on the shop floor.
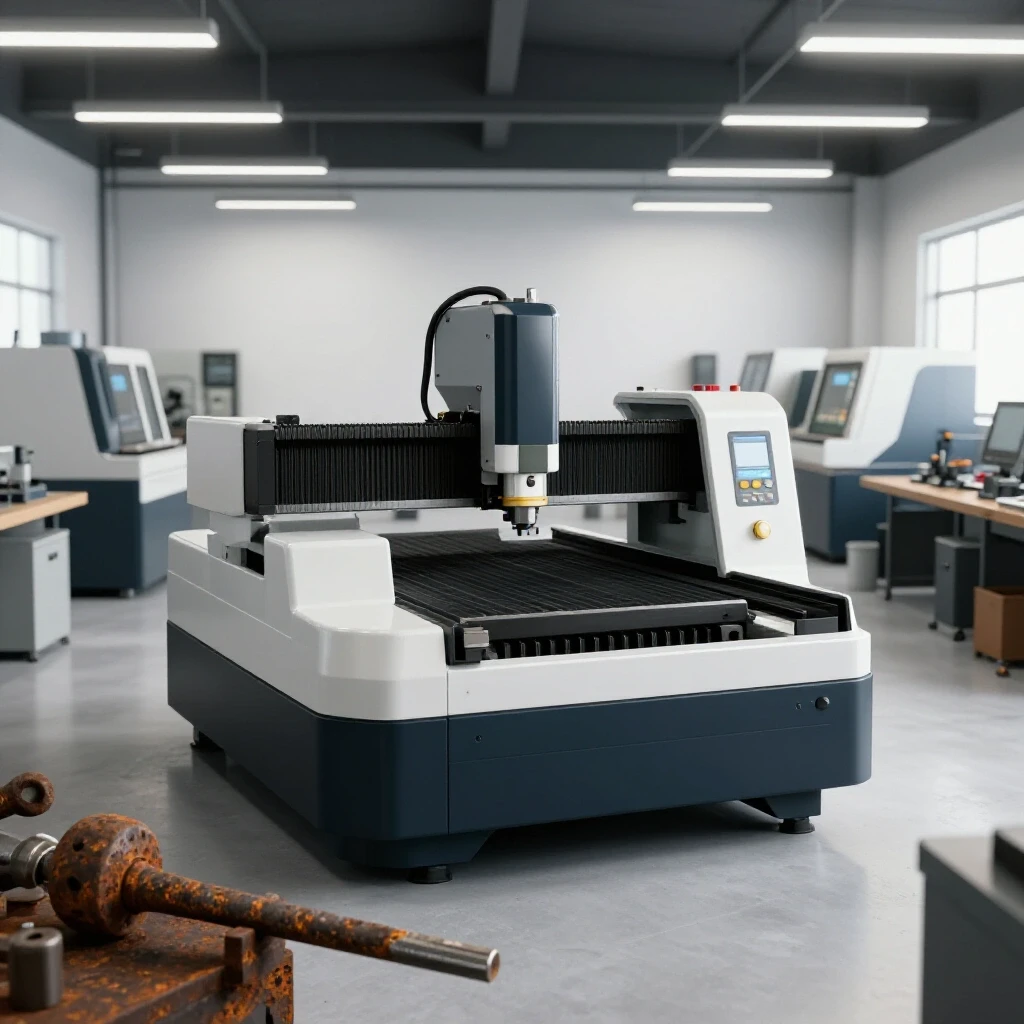
When I bought my first CNC plasma table, it was a major financial leap. To justify the cost, I didn’t just look at the price tag; I looked at the “payback period.” I calculated how many hours of manual cutting and grinding the machine would replace. If the machine cost $8,000 and saved me $200 in labor and consumables per month, the payback period was 40 months. If the machine is expected to last 10 years, the remaining 80 months are pure profit.
For small metal shop pricing, you should include a “machine replacement fee” in your hourly rate. If a $3,000 welder is expected to last 5,000 arc hours, that machine costs you $0.60 every hour it runs. While that seems small, failing to account for it means you won’t have the cash on hand when the machine eventually fails. This methodical approach to equipment ensures that your shop is self-sustaining and that your tool upgrades are driven by data, not desire.
The Three-Year Payback Rule for New Equipment
The three-year payback rule suggests that any major tool investment should pay for itself through increased efficiency or new revenue within 36 months. If the projected income or savings don’t meet this threshold, the investment may be too risky for a small-scale operation.
I use this rule for every upgrade, from cold saws to press brakes. For example, if a high-end cold saw costs $2,500 but reduces my finishing time by 15 minutes per project, I can calculate exactly how many projects I need to complete to break even. If I do 10 projects a month, and my shop rate is $80/hr, I’m saving $20 per project. That’s $200 a month, or a 12.5-month payback. That is a solid investment. If the payback was 60 months, I’d stick with my portable band saw and a steady hand.
Managing Hidden Consumable Burdens in Metalworking
Consumables are the items that are used up during the fabrication process, such as welding wire, shielding gas, shielding lenses, and sanding discs. Because these items are small and used frequently, they are often the most underestimated expense in side-hustle metalworking.
I once consulted for a shop that couldn’t figure out why their bank account was always low despite being constantly busy. We did a deep dive into their welding consumable tracking. It turned out they were spending $400 a month on flap discs and TIG rods that were never included in their quotes. They treated these items as “shop supplies” rather than direct project costs.
To fix this, you need a “Consumable Burden Factor.” For most general fabrication, this is roughly 10% of your labor cost. If you are doing heavy aluminum TIG welding, which uses more gas and expensive filler rod, that factor might jump to 20%. Tracking these items doesn’t have to be complex. I keep a simple whiteboard next to my gas cylinders. Every time I swap a tank or open a new box of 50 grinding discs, I mark it down. At the end of the month, I compare those costs to my total billable hours.
Tracking Consumables by the Hour
A practical way to manage these costs is to establish a “cost per arc hour” or “cost per cut.” By knowing that your welder costs roughly $4.00 per hour in gas and wire, you can accurately reflect this in your fabrication job costing.
- Shielding Gas: Calculate the cost of a tank refill divided by the estimated hours of flow time.
- Abrasives: Track how many flap discs you use on a standard 10-foot weldment.
- Welding Wire/Rod: Use the weight of the spool and your average wire feed speed to find a per-hour cost.
- Saw Blades: Divide the cost of the blade by the number of cuts it makes before needing sharpening or replacement.
Key Takeaway: Consumables are not “overhead”; they are direct project expenses. If you don’t charge for them, you are paying the customer to let you work.
Building a Reliable Job Quote and Estimation Model
A job quote is a formal document provided to a client that outlines the projected costs of labor, materials, and overhead for a specific project. A reliable estimation model uses historical data and standardized formulas to ensure that quotes are both competitive and profitable.
Bidding on work is where most fabricators feel the most anxiety. You don’t want to overcharge and lose the job, but you can’t undercharge and work for free. The secret to accurate small metal shop pricing is a standardized estimation spreadsheet. This takes the emotion out of the process and relies on the math you’ve already established.
My estimation formula follows a strict hierarchy: (Raw Materials + 20% Markup) + (Estimated Labor Hours x Shop Rate) + (Consumable Burden) + (Subcontracted Services). I also add a “Complexity Factor” for jobs that require high-precision fit-ups or difficult positions. This might add 10% to the labor estimate to account for the extra time spent checking squareness or tacking. By using this model, your quotes remain consistent, which builds trust with your clients and protects your margins.
The Importance of Material Markup
Material markup is a percentage added to the cost of raw steel or hardware to cover the time spent sourcing, transporting, and storing the material. It also acts as a buffer against price fluctuations in the metal market.
Many new shop owners feel guilty marking up materials. They think, “I bought it for $100, so I should charge $100.” This is a mistake. You spent time driving to the steel yard, you used your truck and fuel, and you used your floor space to store it. A standard 20% to 30% markup is entirely fair. If a project requires $1,000 in steel, that $200 markup covers your “sourcing labor” and ensures that if the price of steel jumps 5% tomorrow, you aren’t eating that cost.
- List all raw materials and hardware.
- Apply a 20-30% markup to the subtotal.
- Estimate labor hours (be honest about setup and cleanup time).
- Multiply labor by your calculated shop rate.
- Add the 10-15% consumable burden.
- Total all sections for the final bid.
Strategic Material Sourcing and Scrap Management
Material sourcing is the process of finding and purchasing the raw metals needed for fabrication. Strategic sourcing involves buying in bulk or identifying “remnant” opportunities to lower the average cost per foot of material.
In my early days, I would drive to the local big-box hardware store and buy three feet of angle iron for a project. I was paying nearly four times the industrial rate. Once I started buying full 20-foot sticks from a dedicated steel wholesaler, my material costs plummeted. Even if you don’t have a massive rack, buying a few common sizes in bulk—like 1×1 square tubing or 2×2 angle—can save you hundreds of dollars a year.
Scrap management is another area where a dedicated shop saves money. I keep a “remnant bin” organized by material type and size. When a small bracket or gusset is needed, I check the bin first. This “free” material has already been paid for by a previous job’s markup. Over time, these small saves add up to a significant reduction in your overall material spend.
Building Relationships with Local Steel Yards
Establishing a relationship with a local supplier can lead to better pricing, faster delivery, and access to the “drop” pile. Drops are leftover pieces from large industrial orders that are often sold at a steep discount.
I make it a point to visit my steel supplier in person once a month. By being a consistent, easy-to-work-with customer, I often get tipped off when they have a surplus of a certain material. I once picked up 400 pounds of 1/4-inch plate “drops” for half the market price because the supplier wanted them out of the yard. That material turned into a series of heavy-duty welding tables that were almost entirely profit.
- Buy Full Sticks: The price per foot drops significantly when you buy 20-foot or 24-foot lengths.
- Check the Drop Pile: Always ask if they have remnants for sale by the pound.
- Consolidate Orders: Minimize delivery fees or your own fuel costs by ordering for multiple projects at once.
- Standardize Your Materials: Try to design projects around common sizes you already stock.
Post-Job Profit Analysis and Cost Reconciliation
Post-job profit analysis is the practice of reviewing a completed project to compare the estimated costs against the actual expenses. Cost reconciliation helps you identify where your “shop math” was off and how to improve future quotes.
This is the step most people skip because it’s tedious, but it is the most important for long-term survival. After every major project, I sit down with my original quote and my actual time logs and receipts. Did I estimate 10 hours of labor but take 14? Why? Was it a tool failure, or did I underestimate the prep work?
By tracking this “variance,” you can adjust your metal business ROI calculators. If you find that you are consistently 20% over on labor for TIG welding jobs, you need to either raise your shop rate for TIG work or get faster. This feedback loop is what turns a struggling side-hustle into a finely tuned business. It allows you to identify “low-margin traps”—jobs that look profitable on paper but bleed money in reality.
Using Digital Tools for Better Tracking
Modern software has made it much easier to track these metrics without needing a degree in accounting. Using simple apps can save you hours of manual data entry and provide clear visualizations of your shop’s health.
- QuickBooks or FreshBooks: Excellent for tracking expenses, sending invoices, and seeing your overall profit/loss.
- Evernote or Google Keep: Use these for quick “shop notes” on how long a specific process took.
- Excel or Google Sheets: Build your own custom quoting templates that automatically calculate markups and burdens.
- Clockify: A free time-tracking app that lets you log hours against specific projects on your phone.
Key Takeaway: You cannot manage what you do not measure. Post-job analysis is the only way to prove your shop is actually saving you money.
Practical Benchmarks for Shop Success
To ensure your shop is moving in the right direction, it helps to have benchmarks. These are standard industry figures that provide a “sanity check” for your own numbers. While every shop is different, staying within these ranges usually indicates a healthy, sustainable operation.
- Average Shop Rate: $65–$120 per hour (for small/side-hustle shops).
- Material Markup: 20% to 50% (higher for small quantities, lower for large bulk).
- Consumable Burden: 10% to 15% of labor cost.
- Profit Margin Target: 15% to 25% after all expenses and your own wage are paid.
- Project Variation Limit: Aim for actual costs to be within 5% to 10% of your estimate.
If your numbers are wildly different from these, take a close look at your overhead. Are you paying for a shop space that is too large? Is your equipment so old that it’s causing excessive downtime? Or are you simply underpricing your skill set? Adjusting these levers is how you optimize the financial efficiency of your workshop.
Conclusion: Taking the First Step Toward Profitability
Turning your workshop into a financially efficient space doesn’t happen overnight. It starts with a commitment to the numbers. I’ve seen many talented fabricators close their doors because they loved the craft but hated the math. Don’t let that be you. By establishing a true shop rate, tracking your consumables, and analyzing every job, you turn your shop from a “money pit” into a valuable asset.
Start small. This week, track every minute you spend on a single project and every dollar you spend on materials. Compare that to what you charged. That single exercise will likely reveal “hidden” costs you never considered. Over time, these small adjustments lead to a shop that doesn’t just make cool things—it makes a profit.
Frequently Asked Questions
How do I calculate my shop rate if I work out of my home garage? Even if you aren’t paying separate rent, your shop still has costs. Calculate the portion of your property taxes, homeowners insurance, and utilities that apply to the garage space. If your garage is 20% of your home’s square footage, attribute 20% of those costs to the shop. This ensures that the business is “paying its own way” and prepares you for the day you might move into a commercial space.
What is a realistic markup for steel and hardware? For most small shops, a 20% to 30% markup is standard. For very small orders where you have to spend significant time picking up parts, a 50% markup may be necessary to cover your time. The goal is to cover the “hidden labor” of sourcing and the risk of material price changes.
Should I charge for the time I spend quoting a job? Generally, quoting is considered a cost of doing business and is rolled into your overhead. However, if a project requires extensive design work or CAD drawings before a quote can be given, you should charge a “design fee” or “discovery fee.” This can be credited back to the customer if they move forward with the project.
How do I track welding gas usage accurately? The easiest way is to track “arc hours.” Note the flow rate on your regulator (e.g., 20 CFH). If you have a 125-cubic-foot tank, you have roughly 6 hours of actual trigger time. Divide the cost of the refill by 6 to get your per-hour gas cost.
Is it worth buying a CNC plasma table for a side business? It depends on your “payback period.” If you spend 10 hours a week hand-cutting parts that a CNC could do in 1 hour, and your shop rate is $80/hr, you are “saving” $720 a week in labor capacity. At that rate, a $7,000 machine pays for itself in just 10 weeks. If you only cut a few parts a month, it’s likely not a good investment yet.
How do I handle “friends and family” pricing? The best approach is to show them a full, professional quote with your standard shop rate, then apply a “discount” line item at the bottom. This ensures they see the actual value of your work and understand that you are doing them a favor, rather than just being “the guy with the welder.”
What is the “consumable burden,” and why is it a percentage? It is a way to account for items that are too small to track individually, like sandpaper, welding wire, and electricity. Using a percentage (usually 10-15%) of the labor total is a standard industry practice that ensures these “invisible” costs are covered without requiring you to count every inch of wire.
How often should I update my shop rate? You should review your shop rate at least once a year, or whenever you make a major equipment purchase or your utility costs change significantly. In times of high inflation, checking your material and consumable costs every six months is a safer bet.
What is the biggest mistake people make in fabrication job costing? Underestimating “non-arc” time. People often bid based on how long they think they will be welding. They forget about the time spent unloading steel, cleaning the metal, setting up jigs, changing saw blades, and sweeping the floor after the job. Always add a 15-20% buffer to your labor estimate for these tasks.
How can I lower my material costs without buying a massive amount of stock? Look for local “steel drops” or remnants. Many industrial shops sell their offcuts by the pound. Also, try to standardize your designs. If you use the same size of square tubing for three different products, you can buy that one size in larger, cheaper quantities.
(This article was written by one of our staff writers, Michael Hargrove. Visit our Meet the Team page to learn more about the author and their expertise.)