How to Accurately Estimate DIY Metal Fabrication Costs (Fix)
I remember standing in my empty two-car garage back in 2013, clutching a crumpled list of tools and a bank balance that didn’t quite match my ambitions. As a former industrial maintenance technician, I knew what “good” equipment looked like, but I also knew I couldn’t afford the industrial-grade machines I used at work. The anxiety of wasting my limited $2,000 budget on the wrong gear was real. I spent weeks researching, only to find conflicting advice that either suggested I needed a $5,000 welder or that a cheap plastic-housed grinder would suffice. Neither was true.
Over the last 12 years, I have documented every penny spent and every lesson learned while building a functional fabrication space. I discovered that the secret to success isn’t just about finding the cheapest price tag; it is about understanding how to project the total financial outlay for home fabrication before you ever strike an arc. This involves more than just the machine cost. It includes the electricity, the consumables that vanish with every spark, and the safety gear that keeps you out of the emergency room.
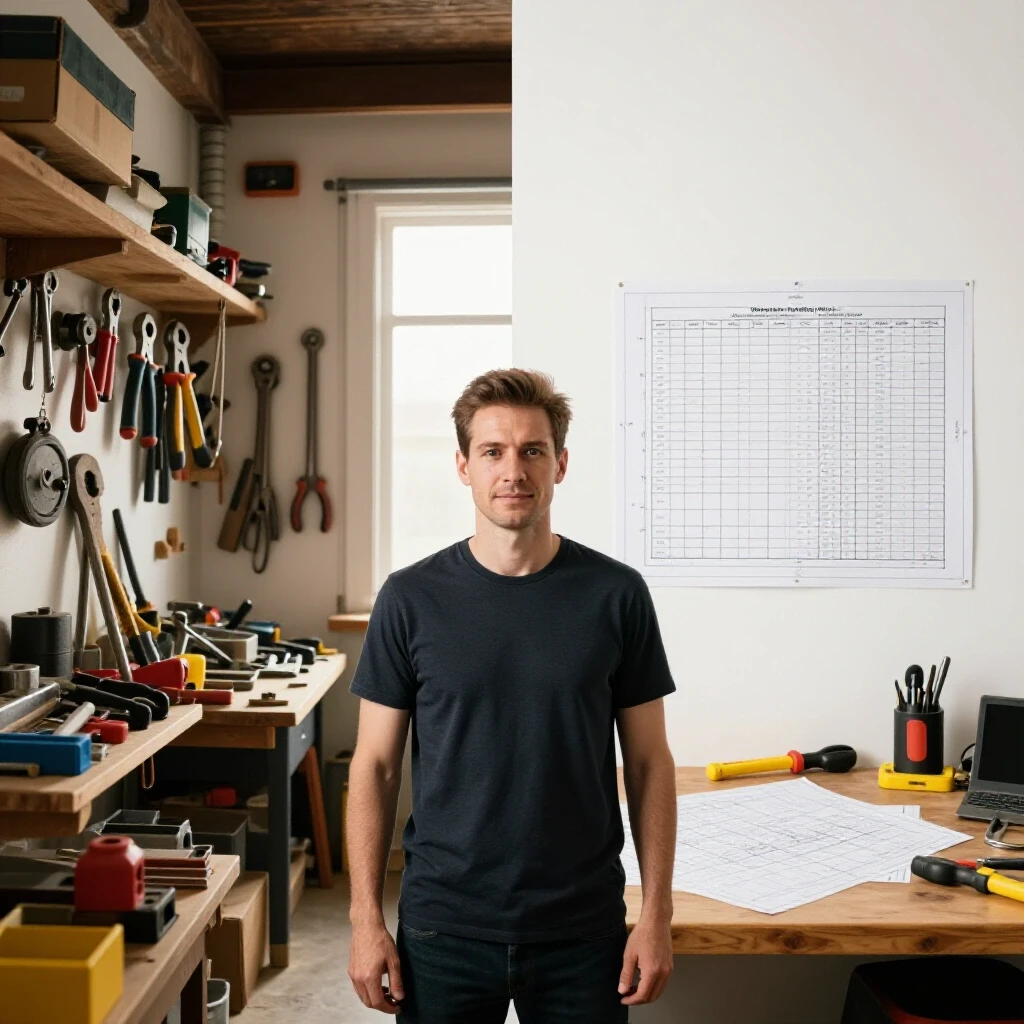
To help you navigate this journey, I have broken down the process of forecasting the price of home metalworking tasks. We will look at how to prioritize your first purchases, how to set up a safe electrical environment, and how to track the ongoing expenses of raw materials and shop supplies. My goal is to help you build a shop that is both capable and fiscally responsible.
Assessing the Foundation: Space and Power Constraints
Before buying a single tool, you must evaluate the physical and electrical limits of your workspace. This initial assessment prevents the common mistake of purchasing a high-draw welder that your home’s electrical panel cannot actually support.
Understanding your workshop’s infrastructure is the first step in determining the financial footprint of a garage workshop. If you buy a welder that requires a 50-amp circuit but your garage only has a single 15-amp outlet shared with the deep freezer, you will face unexpected electrical upgrade costs that can easily reach $500 to $1,000.
Evaluating Electrical Circuit Capacity
Most standard residential garages are wired with 15-amp or 20-amp circuits. A 15-amp circuit is usually sufficient for small grinders or drills, but most entry-level welders will trip the breaker if used at higher settings. I recommend identifying your breaker panel and seeing what is dedicated to the garage.
- 15A Circuit: Suitable for LED lighting, small power tools, and very light-duty inverter welders on low settings.
- 20A Circuit: The minimum I suggest for a functional fab shop. It allows for more consistent performance from 110V welders and larger grinders.
- 240V Outlet: If you plan to weld material thicker than 1/8-inch regularly, budgeting for a 240V NEMA 6-50 or 14-50 outlet is a wise long-term investment.
Defining Your Clean and Dirty Zones
Metalworking creates two types of mess: conductive dust from grinding and hazardous fumes from welding. In a confined space, you must plan your layout to keep these away from sensitive electronics or flammable materials. I use a “clean zone” for layout and measuring and a “dirty zone” for cutting and welding. This organization prevents cross-contamination that can ruin expensive measuring tools or cause fires.
| Zone Type | Primary Activities | Essential Protection |
|---|---|---|
| Dirty Zone | Grinding, Cutting, Welding | Fire-resistant curtains, non-flammable flooring |
| Clean Zone | Measuring, Marking, Assembly | Tool chests, precision squares, marking dyes |
| Storage Zone | Raw Steel, Consumables | Vertical racks, labeled bins for hardware |
Prioritizing the Initial Tool Acquisition Strategy
Setting up a shop all at once is a recipe for overspending on tools you might not use. I advocate for a “staged acquisition” approach, where you buy tools based on the specific requirements of your first three projects.
This method helps in calculating the realistic price of a metalworking project by ensuring every dollar spent contributes directly to a finished piece. For a beginner, the core categories are cutting, joining, and finishing. You don’t need a plasma cutter on day one when a quality angle grinder can handle 90% of your initial needs.
The Essential Starter Tool Sequence
I have categorized these tools based on their impact on your workflow and their typical price-to-utility ratio.
- Safety Gear (The Non-Negotiables): An auto-darkening helmet (ANSI Z87.1 rated), leather gloves, and a respirator with P100 filters.
- Measurement and Layout: A high-quality steel tape measure, a combination square, and a scribe.
- The Workhorse: A 4.5-inch angle grinder. This is the most versatile tool in a budget shop.
- The Joiner: An entry-level Multi-Process or MIG welder. Look for one with a decent duty cycle.
- The Foundation: A sturdy, level work surface. This can be a DIY steel-topped bench built early in your journey.
Understanding Tool Duty Cycles
A “duty cycle” is the amount of time a machine can operate within a 10-minute period before it needs to cool down. For example, a welder with a 20% duty cycle at 90 amps can weld for two minutes and then must rest for eight. Cheaper machines often have very low duty cycles. If you plan to do long seams, a machine that constantly overheats will slow you down, effectively increasing the “time cost” of your project.
Decoding the Hidden Costs of Consumables and Tool Wear
The purchase price of a tool is only the beginning. In metal fabrication, the ongoing expense of “consumables”—items that get used up during the process—often catches beginners off guard.
Budgeting for fabrication consumables and materials requires a shift in mindset. You are not just buying a tool; you are buying the ability to remove or join metal, and that “ability” has a per-inch cost. If you don’t account for grinding wheels, welding wire, and shielding gas, your project budget will vanish before the assembly is even halfway done.
The True Cost of Abrasives
I have found that the cheapest grinding discs often wear out three times faster than mid-range professional discs. While a $1.00 disc looks like a bargain compared to a $3.00 disc, the cheaper one often requires more pressure and creates more heat, leading to a poorer finish and more frequent tool changes.
- Flap Discs: Used for smoothing welds. Budget for roughly one disc per 5-10 feet of heavy grinding.
- Cut-off Wheels: Extremely thin and dangerous if misused. Always check the RPM rating against your grinder’s speed.
- Wire Brushes: Essential for cleaning metal before welding to prevent defects.
Welding Gas and Filler Metals
If you choose MIG welding with shielding gas (GMAW), you will need to lease or buy a high-pressure cylinder. I recommend buying a 40 or 80-cubic-foot tank. Leasing usually doesn’t make sense for a hobbyist.
- Shielding Gas: A 75% Argon / 25% CO2 mix is the standard for steel. Expect to pay $40-$60 per refill.
- Welding Wire: A 2lb or 10lb spool of ER70S-6 wire. The 10lb spool is significantly more cost-effective if your machine can hold it.
- Contact Tips: These are the small copper nozzles the wire feeds through. They are cheap but essential to have in stock, as they wear out or clog.
Calculating the Energy and Maintenance Impact
While electricity is rarely the largest expense in a home shop, it is a measurable factor in the total financial outlay. Additionally, tools require routine maintenance to prevent premature failure, which is a hidden cost often ignored by beginners.
When you are determining the financial footprint of a garage workshop, you should consider the “operating cost per hour.” This includes the power drawn by your welder and compressor, as well as the inevitable replacement of small parts like drill bits and clamps.
Estimating Electricity Usage
Most home shops will not see a massive spike in the utility bill unless they are running high-draw machines for several hours every day. However, it is good to know the math.
Calculation Example: If your welder draws 20 amps at 110 volts, it uses 2,200 watts (2.2 kW). If your local electricity rate is $0.15 per kWh and you weld for a cumulative hour (actual arc-on time), the cost is only $0.33. The real cost is in the consumables, not the power.
Maintenance and Tool Lifespan
In my experience, a well-maintained entry-level tool can last 5-7 years, whereas a neglected one might fail in two. I keep a simple logbook to track when I change oil in my compressor or replace the brushes in my grinders.
- Grinder Brushes: Most grinders come with a spare set. Replace them when they wear down to 1/4 inch to prevent motor damage.
- Welder Liners: The tube the wire runs through can get clogged with dust. Blowing it out with compressed air every few spools of wire saves money on drive motor repairs.
- Rust Prevention: In a garage, humidity is your enemy. Budget for a can of light machine oil or a dedicated rust inhibitor to wipe down your table and tools after each session.
Safety and Ventilation: The Non-Negotiable Expenses
I cannot stress this enough: safety is not where you look for “deals.” An injury or a long-term respiratory issue is the most expensive mistake you can make. When I built my first shop, I allocated 30% of my initial budget specifically to safety and ventilation.
Implementing these standards is critical for a safe, code-compliant workshop layout in a confined space. Following OSHA-adjacent guidelines for personal protective equipment (PPE) and AWS standards for welding fumes ensures that your hobby doesn’t become a health hazard.
Calculating Ventilation Requirements
Welding and grinding produce particulate matter and gases that should not be inhaled. In a standard garage, simply cracking the door is often insufficient. You need active airflow.
- CFM (Cubic Feet per Minute): This measures how much air a fan moves. For a single-car garage (approx. 3,000 cubic feet), you want a fan that can provide at least 10 to 15 air changes per hour.
- Source Extraction: The best way to manage fumes is to catch them at the source. A high-velocity fan positioned to pull fumes away from your face and out a window is a budget-friendly starting point.
- Respirators: Even with a fan, I always wear a low-profile respirator under my welding hood. The cost of a $35 respirator is negligible compared to the cost of lung irritation.
PPE Benchmarks and Ratings
| Item | Required Rating | Why It Matters |
|---|---|---|
| Welding Helmet | ANSI Z87.1+ | Protects eyes from “arc flash” (UV/IR radiation) |
| Safety Glasses | Z87+ | Must be worn under the welding hood for impact protection |
| Gloves | Top-grain Leather | Protects against heat and sharp metal edges |
| Clothing | 100% Cotton or Leather | Synthetic fabrics (polyester) will melt to your skin if hit by a spark |
A Practical Framework for Estimating Individual Project Expenses
Now that the shop is set up, how do you figure out what a specific project will cost? I use a simple five-step framework to ensure I don’t under-estimate and end up with a half-finished project due to lack of funds.
This framework is the “fix” for the common problem of project cost overruns. By breaking the project down into its raw components, you can see exactly where the money is going.
The 5-Step Project Estimator
- Material List + 10%: List every piece of steel needed. Add 10% for “drops” (waste) and mistakes. Call your local steel yard rather than buying from a big-box hardware store; the price difference is often 300%.
- Consumable Count: Estimate how many cutting discs and flap discs you will need. For a small project (like a welding cart), budget for at least two of each.
- Gas and Wire: For every 10 feet of weld, I budget roughly $5 in wire and gas costs.
- Finish and Hardware: Don’t forget the spray paint, primer, or specialized bolts. These small items can easily add $40 to a project.
- The “Shop Fund” Fee: I add a flat 5% to every project estimate to cover the “invisible” costs: electricity, sandpaper, rags, and tool wear.
Case Study: Building a Heavy-Duty Workbench
When I built my primary workbench, I estimated the cost at $250. By using this framework, I realized the real cost was closer to $340.
- Steel Tubing (2×2 square): $180
- Steel Plate Top (3/8″ thick): $100 (Scrap yard find)
- Consumables (4 cut-off wheels, 2 flap discs): $15
- Welding Supplies (Gas/Wire): $15
- Leveling Feet and Hardware: $30
- Total: $340
If I had only budgeted for the steel, I would have been $60 short halfway through the build. This is why meticulous record-keeping is vital.
Actionable Tracking Frameworks and Checklists
To stay organized, I recommend maintaining a few simple digital or paper logs. These tools take the guesswork out of your shop’s finances and help you avoid analysis paralysis.
- The Tool Vetting Checklist: Before buying a tool, ask: Does it fit my current power limits? Do I have a place to store it? Is there a cheaper manual alternative that works just as well?
- Consumable Inventory Log: Keep a small whiteboard in the shop. List when you are down to your last two grinding discs or when your gas tank hits 500 PSI. This prevents emergency trips to the store that waste gas and time.
- Power Load Spreadsheet: List every tool and its amp draw. This helps you understand which tools cannot be run simultaneously (e.g., don’t run the vacuum and the grinder on the same circuit).
- Project Cost Ledger: After every project, write down what you actually spent versus what you estimated. This data is the most valuable tool in your shop for future planning.
Setting up your first fabrication space is a marathon, not a sprint. By focusing on accurate forecasting and prioritizing safety and infrastructure, you can build a shop that serves you for years without breaking the bank. Start small, track everything, and remember that the most important tool in the shop is the one between your ears.
FAQ
What is the most common hidden cost for beginners? The most frequent oversight is the cost of raw material and “drops.” Beginners often buy steel from retail hardware stores, where prices are significantly higher than at local steel service centers. Additionally, the cost of shielding gas and the initial purchase/deposit of the cylinder can be a $200-$300 surprise.
Can I run a welder on a standard 15-amp household outlet? Technically, many small inverter-based welders will run on a 15-amp circuit, but only at low power settings. If you try to weld thicker material, you will likely trip the breaker. For a reliable experience, a dedicated 20-amp circuit is the recommended minimum for 110V welding.
How do I calculate the amount of welding gas I need for a project? Most hobbyists set their gas flow rate to about 20 cubic feet per hour (CFH). If you have a 40-cubic-foot tank, you have roughly two hours of actual “trigger time.” Most small projects involve only a few minutes of actual arc time, so a small tank usually lasts for several projects.
Should I buy a flux-core welder to save money on gas? Flux-core welding (FCAW) is cheaper initially because you don’t need a gas bottle or regulator. However, it creates more smoke, requires more cleanup (slag removal), and the wire itself is more expensive per pound than solid MIG wire. It is excellent for outdoor use but requires better ventilation indoors.
What is the best way to save money on abrasives? Buy in “bulk” packs of 10 or 25 from reputable industrial supply brands rather than buying single discs at the hardware store. The per-unit cost drops significantly, and the quality of the abrasive is usually much higher, meaning each disc lasts longer.
How much should I budget for safety gear? Expect to spend between $200 and $400 for a complete, high-quality starter set. This includes a decent auto-darkening hood ($100-$150), a respirator ($35), leather jacket or sleeves ($50), and quality gloves and safety glasses ($50). Do not compromise on eye or lung protection.
How do I know if a used tool is a good deal? Check for signs of industrial abuse: frayed cords, heavily discolored metal near the motor (indicating overheating), or excessive vibration. For welders, ensure you can still get replacement consumables like tips and liners for that specific model.
What are the minimum CFM requirements for a garage workshop? For a standard two-car garage, you should aim for a fan that moves at least 1,000 to 1,500 CFM to provide adequate air turnover. However, source extraction (pulling the smoke directly away from the weld) is much more effective than just moving air around the room.
Is it worth building my own welding table? Absolutely. Building a welding table is often considered the “rite of passage” for a new fabricator. It allows you to practice your skills, customize the height to your needs, and save hundreds of dollars compared to buying a pre-made heavy-duty industrial table.
How do I track my shop expenses without complex software? A simple spreadsheet or even a dedicated notebook works perfectly. Create columns for “Tool/Material,” “Date,” “Cost,” and “Source.” Reviewing this every few months will show you exactly where your money is going and where you can optimize your spending.
(This article was written by one of our staff writers, Michael Thompson. Visit our Meet the Team page to learn more about the author and their expertise.)