How to Achieve Precise Fit-Up for Structural Tubing (Fix)
I have spent 14 years working on shop floors and inspecting industrial steel frames. Over that time, I have learned that a project is only as strong as its tightest joint. Many people think they can fix a bad cut later, but a gap in your metal is a gap in your safety. When metal tubes do not touch perfectly, the weight of the structure does not move through the frame the way it should. This leads to parts that warp, crack, or fail under pressure.
In my early years, I saw a heavy equipment rack collapse because the horizontal bars were cut just an eighth of an inch too short. The builder tried to fill the space, but the structural integrity was already gone. That failure taught me that precise material alignment is the most important step in fabrication. My goal is to help you avoid those same mistakes by mastering the way you measure, cut, and prepare your metal.
The Importance of Tight Material Alignment
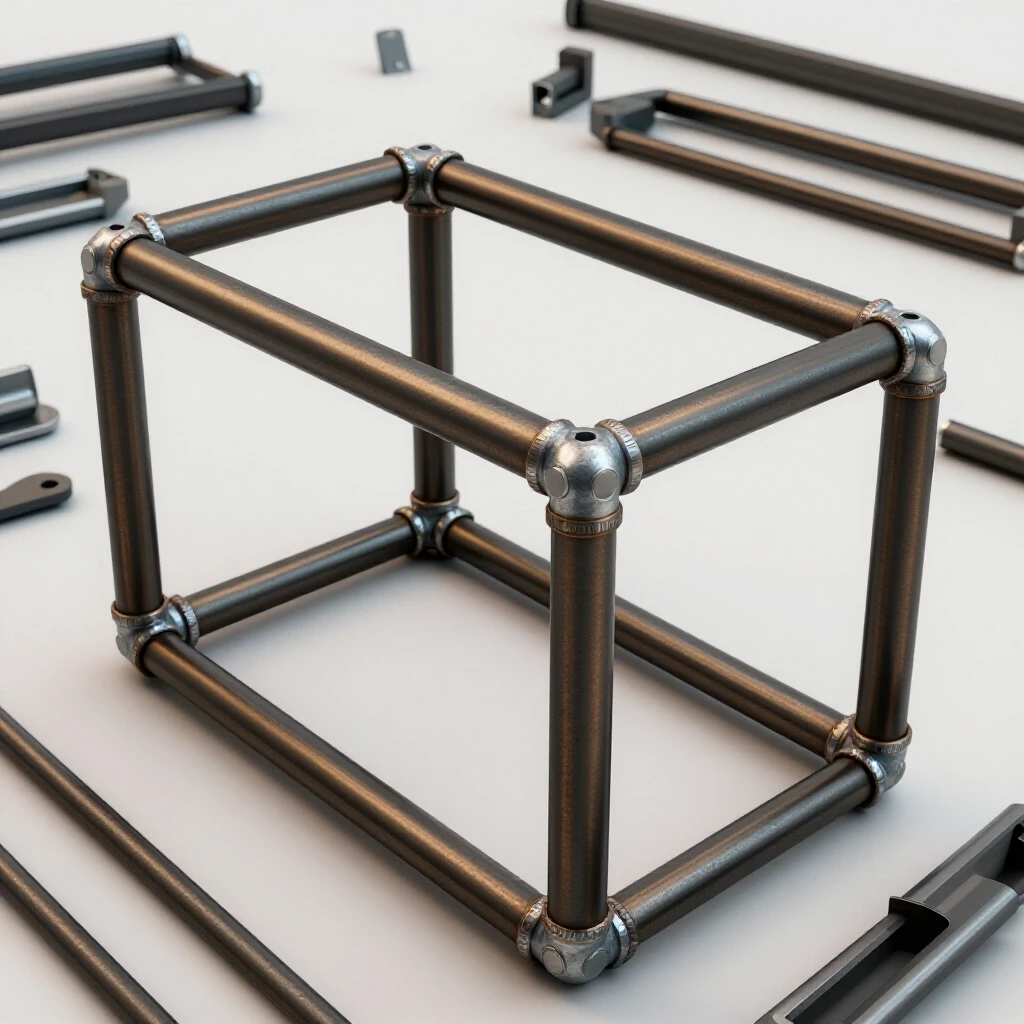
Tight material alignment is the process of ensuring that two pieces of metal meet with no visible gaps or uneven edges. This step is vital because it ensures that weight and stress are spread evenly across the entire surface of the joint. Proper alignment prevents the metal from pulling or twisting during the final assembly process.
When you prepare a frame, you are creating a path for physical forces to travel. If a tube is cut at a wrong angle, the load will focus on a single point instead of the whole face of the metal. This is called a stress riser. In my experience, most structural cracks start at these small points of poor fit. By keeping your gaps below 1/32 of an inch, you ensure the structure acts as one solid unit.
Understanding Tensile Strength and Load Paths
Tensile strength is the amount of pulling force a piece of metal can handle before it breaks. A load path is the specific route that weight takes as it moves through your project down to the ground. When joints are tight, the load path is clear and direct, which keeps the metal within its safe stress limits.
If you have a gap between a vertical post and a horizontal beam, the weight cannot transfer correctly. This puts “shear stress” on the joint, which is a force that tries to slide the pieces past each other. Most hobbyist projects fail because the builder ignored the load path. I always aim for a safety margin of at least 2:1, meaning the joint should be twice as strong as the weight it will hold.
Why Gap Control Prevents Internal Defects
A gap in a structural joint acts like a trap. If the pieces do not touch, it is much harder to keep the assembly square and stable. Large spaces between metal tubes also increase the risk of the heat warping the entire frame. When the metal stays tight, it acts as a heat sink, which helps keep the project straight.
| Gap Size | Risk Level | Consequence |
|---|---|---|
| Under 1/32 inch | Low | Strong joint, minimal warping |
| 1/16 inch | Medium | Increased heat distortion |
| 1/8 inch or more | High | Structural weakness, potential for cracking |
Essential Tools for Accurate Tube Preparation
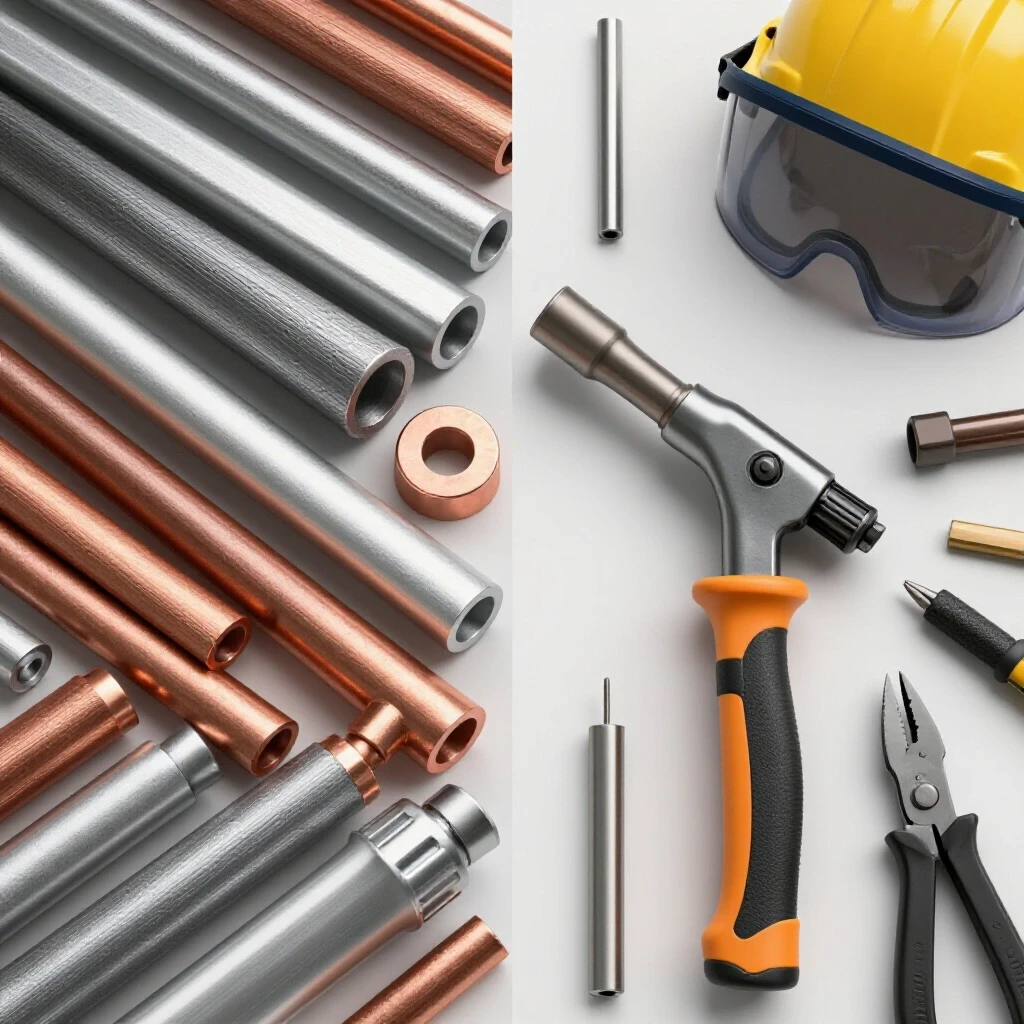
Achieving a precise fit requires a specific set of tools designed for measurement and refinement. You cannot rely on a standard tape measure alone if you want professional results. Using high-quality squares, scribes, and files allows you to see exactly where the metal needs to be trimmed.
I recommend using a “center find” tool and a machinist square for all marking. A standard carpenter’s square is often too large and inaccurate for small tubing. By using a sharp scribe instead of a thick marker, you reduce your margin of error from 1/16 of an inch down to the width of a hair. This level of detail is what separates a shaky rack from a solid industrial-grade structure.
- Machinist Square: Used to check that tube ends are exactly 90 degrees.
- Steel Scribe: Creates a fine line that does not rub off or bleed like ink.
- Digital Calipers: Measures the actual wall thickness and outside width of the tubing.
- Angle Finder: Essential for cutting miters on frames that are not square.
- Deburring Tool: Removes the sharp “burr” left behind by the saw.
- Feeler Gauges: Used to check the size of the gap between two mated tubes.
Mastering the Square Cut and Miter
Mastering the square cut involves using a saw to create a perfectly flat end on a piece of tubing. A miter cut is an angled cut, usually 45 degrees, used to join two tubes at a corner. Both require a steady hand and a saw that is properly calibrated to ensure the faces match perfectly.
One of the biggest mistakes I see is a “wandering” cut. This happens when the saw blade flexes, causing the bottom of the cut to be wider than the top. To prevent this, you must check your saw’s fence with a square before every project. If the fence is off by even one degree, a four-inch tube will have a gap that is impossible to close without heavy grinding.
Accounting for Blade Kerf and Vibration
The kerf is the width of the material that the saw blade turns into dust during a cut. Most abrasive saw blades have a kerf of about 3/32 of an inch. If you do not account for this, your final part will be too short, leading to those dangerous gaps I mentioned earlier.
Vibration is another enemy of a precise fit. If the tubing is not clamped tightly in the saw, it will bounce. This creates a rough, wavy surface on the end of the tube. I always use a secondary clamp or a “V-block” to hold the material steady. This ensures the cut is as smooth as possible, which reduces the amount of grinding you have to do later.
Step-by-Step Guide for a Precise Miter
- Step 1: Clean the metal to remove any oil or mill scale near the cut line.
- Step 2: Mark your line using a scribe and a square, wrapping the line around all four sides.
- Step 3: Set your saw angle and verify it with a digital angle finder.
- Step 4: Position the blade so it just touches the outside edge of your scribed line.
- Step 5: Make the cut using slow, steady pressure to prevent blade flex.
- Step 6: Check the cut against a square to ensure it did not wander.
Manual Refinement and Joint Verification
Manual refinement is the process of using hand tools or grinders to perfect the fit after the initial cut. Joint verification is the final check where you press the pieces together to look for “daylight” or unevenness. This is the stage where you fix the small errors that the saw left behind.
I never assume a cut is perfect right off the saw. I use a flap disc on a grinder to lightly touch up the high spots. By “bluing” the end of the tube with a marker and rubbing it against its mating piece, you can see exactly where the metal is touching. The spots where the marker rubs off are the high points that need to be filed down.
The “No Daylight” Rule for Structural Safety
In my shop, we use the “no daylight” rule. This means that when two pieces of tubing are held together, you should not be able to see light passing through the joint. If you see light, there is a gap. A gap means the load will not be distributed evenly, and the structure could fail under a heavy load.
I use feeler gauges to measure these small spaces. For structural tubing with a wall thickness of 1/8 inch or more, I try to keep the gap under 0.030 inches. If the gap is larger than the thickness of a credit card, I recut the piece. It is better to waste a foot of tubing than to risk a structural failure later.
Heat Affected Zone (HAZ) and Material Prep
The Heat Affected Zone, or HAZ, is the area of metal around a joint that gets hot during the joining process. While we are focusing on the fit-up, you must prepare the metal so the HAZ is clean. This means removing all paint, rust, and oil at least two inches back from the joint.
If the metal is not clean, the fit-up will look good, but the hidden contamination will cause problems inside the material. I use a wire wheel or a clean grinding disc to get the metal down to a bright, shiny finish. This ensures that the surfaces mating together are pure metal, which is essential for a safe build.
Safety Protocols for Metal Preparation
Safety protocols are the rules and gear you use to stay safe while cutting and grinding metal. Metal fabrication involves high-speed blades, flying sparks, and sharp edges. Following a strict safety checklist prevents injuries that could end your hobby or your career.
I have seen many “near-miss” incidents where a piece of metal caught in a saw and flew across the room. This usually happens because the builder was in a hurry or did not secure the material. Always wear your PPE (Personal Protective Equipment) and keep your work area clear of clutter. A clean shop is a safe shop.
Workshop Safety Checklist
- Eye Protection: Use a full-face shield over safety glasses when grinding.
- Hearing Protection: Use earplugs or muffs; metal saws can exceed 100 decibels.
- Hand Protection: Wear leather gloves to handle sharp tubing, but remove them when operating rotating machinery.
- Ventilation: Ensure a gas flow rate of fresh air or use a fume extractor if cleaning chemicals are used.
- Fire Safety: Keep a fire extinguisher within ten feet of your cutting station.
- Footwear: Wear steel-toed boots to protect against dropped heavy tubing.
PPE Shade and Rating Recommendations
When you are inspecting your work or using bright lights to check for gaps, you need to protect your eyes. For general shop work and grinding, clear Z87+ rated glasses are the standard. If you are using high-intensity inspection lamps, a light shade (Shade 3 or 5) can help reduce eye strain.
| Activity | PPE Requirement | Rating/Shade |
|---|---|---|
| Cutting/Grinding | Face Shield + Glasses | ANSI Z87+ |
| Material Handling | Leather Gloves | Cut Level 3 or higher |
| Joint Inspection | High-Intensity Light | Shade 2-3 (Optional) |
| Shop Environment | Ear Protection | NRR 25dB or higher |
Case Study: The 45-Degree Frame Failure
I once inspected a custom-built utility trailer that had developed cracks at every corner. The builder had used 2×2 square tubing but did not get a precise fit on the miters. Because the cuts were not square, there were 1/8-inch gaps at the inside corners of the frame.
The builder had tried to bridge these gaps, but the frame twisted as soon as it was loaded with a lawnmower. The twisting put a huge amount of stress on the “toe” of the joint. Within three months, the metal began to tear. We had to cut the entire frame apart and start over. The lesson was clear: you cannot “fill” your way out of a bad fit-up. If the metal doesn’t touch, the frame won’t hold.
Tracking Framework for Quality Joints
To ensure every joint is safe, I use a simple checklist for every piece of tubing I cut. This keeps me honest and prevents me from rushing. If a piece fails any of these checks, it goes back to the grinder or the scrap pile.
- Measure: Is the length within 1/32 of an inch of the plan?
- Square: Does the machinist square show a 90-degree angle on all sides?
- Deburr: Are all sharp edges removed from the inside and outside?
- Clean: Is the metal shiny and free of mill scale for 2 inches?
- Match: When held against the mating piece, is there “no daylight”?
- Clamp: Is the joint held tightly without forcing the metal into a twist?
Conclusion
Building a safe and sturdy structure starts long before you finish the project. It starts with the very first cut. By focusing on precise material alignment, you are respecting the physics of the metal and the safety of those who will use your project. Remember that gaps are weaknesses, and a scribe is more accurate than a marker.
Take your time during the preparation phase. Use your squares, check your saw angles, and never be afraid to recut a piece that doesn’t fit right. These small habits are what turn a hobbyist into a skilled fabricator. Your projects will be straighter, stronger, and much more professional.
FAQ
What is the maximum acceptable gap for structural tubing? For most home projects using square or rectangular tubing, you should aim for a gap of less than 1/32 of an inch. Anything larger than 1/16 of an inch can lead to significant heat distortion and structural weakness.
How do I stop my saw from cutting at an angle? This is often caused by a dull blade or pushing too hard. A dull blade will “seek” the path of least resistance and bend. Use a sharp blade, check your fence with a square, and let the saw do the work without forcing it.
Why should I use a scribe instead of a permanent marker? A permanent marker line can be 1/16 of an inch wide. If you cut on the “wrong” side of that line, your piece will be short. A scribe line is thin and precise, allowing you to hit your measurements perfectly.
What is mill scale and why must I remove it? Mill scale is the dark, flaky layer of iron oxide found on hot-rolled steel. It is brittle and can hide cracks or prevent a tight fit. You should grind it off until you see shiny metal to ensure a clean mating surface.
How do I account for the saw blade’s kerf? Always measure your piece and mark it, then place the blade on the “waste” side of the line. If you cut directly on the line, your piece will be short by half the width of the blade.
What is the best way to check if a joint is square? Use a machinist square on the inside and outside of the joint. For larger frames, measure the diagonals from corner to corner. If the two diagonal measurements are the same, the frame is square.
Can I use a wood miter saw to cut metal tubing? Only if the saw is specifically rated for metal and you use a dry-cut carbide blade. Standard wood saws spin too fast and can be dangerous when cutting steel. Always check the RPM rating of your saw and blade.
What should I do if I cut a tube too short? If the gap is more than 1/16 of an inch, do not try to use the piece. It is better to use it for a smaller part later and cut a new, full-length piece for the current joint.
How does heat affect my fit-up? Metal expands when it gets hot. If your fit-up is too tight with no room for expansion, or if your gaps are uneven, the metal will warp as it cools. A consistent, tiny gap or a perfectly flush fit is best.
Why is deburring important for fit-up? The “burr” is a small lip of metal left by the saw. It can prevent the two pieces of tubing from sitting flush against each other, creating a false sense of a good fit while leaving a hidden gap.
How do I prevent my tubing from twisting in the clamps? Always clamp your work on a flat surface, like a thick steel table. Use “F-clamps” or “C-clamps” and check the squareness of the tube relative to the table before tightening them fully.
(This article was written by one of our staff writers, James Harlan. Visit our Meet the Team page to learn more about the author and their expertise.)