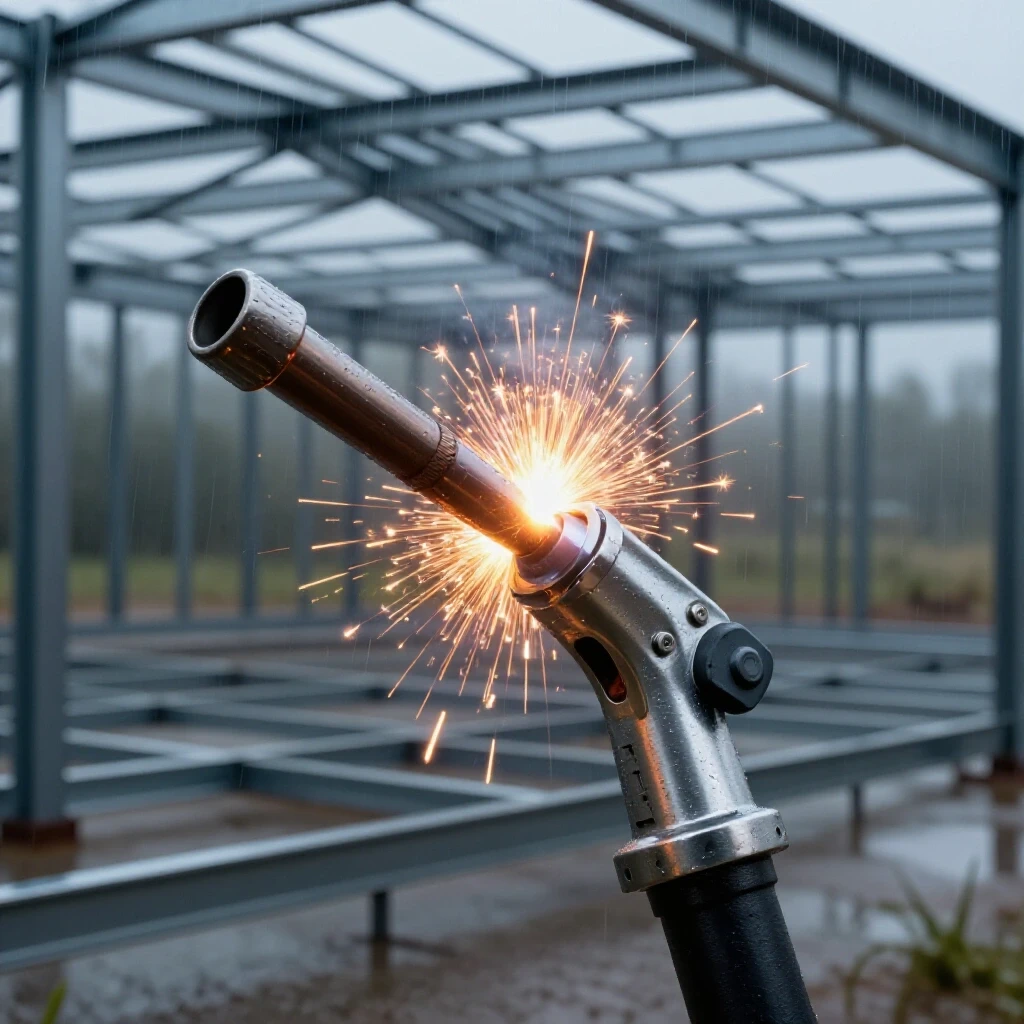
How to Build a Mobile Fastener Box Organizing Rack (Plan)
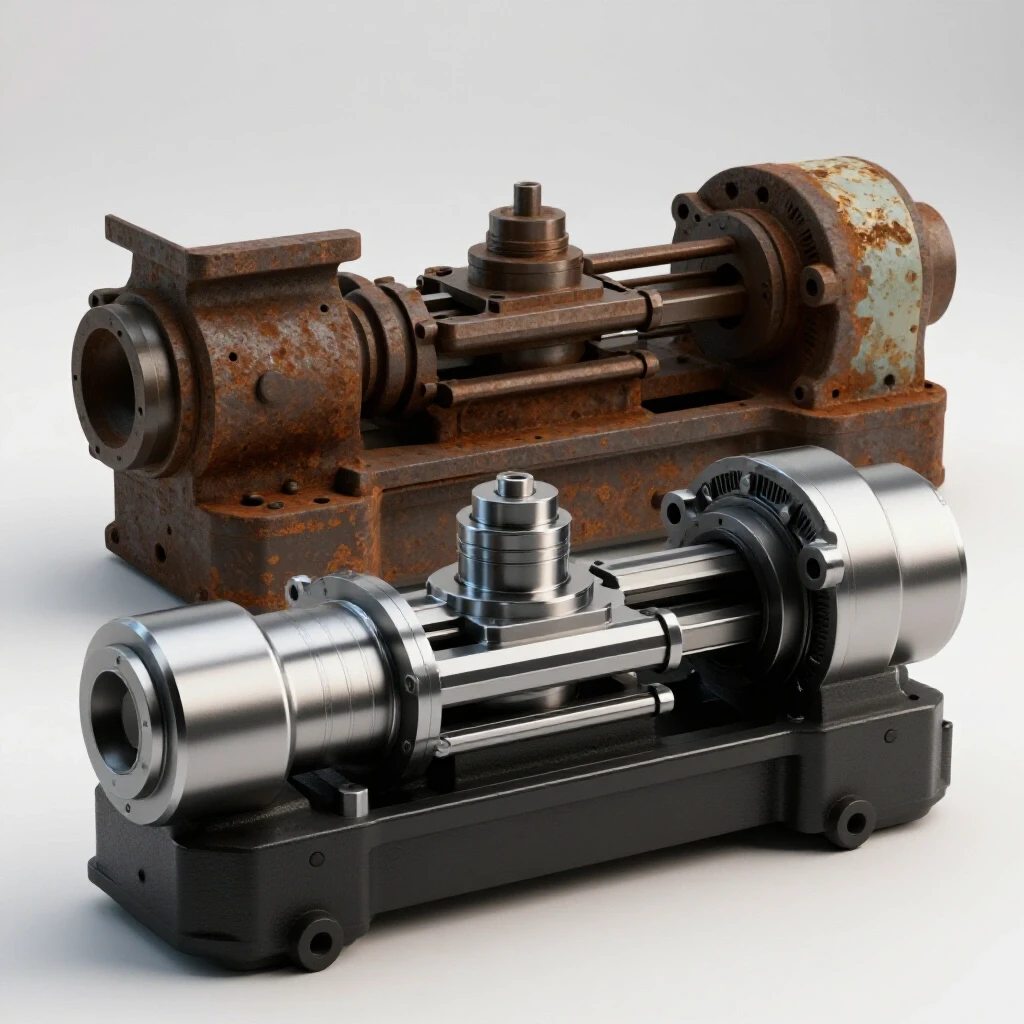
Walking into a workshop to find a 1940s-era lathe in pieces is a sight that fills me with both excitement and a familiar sense of dread. Over the last 18 years, I have dismantled dozens of machines, from massive cast-iron planers to delicate watchmaker’s tools. The common thread in every successful vintage machinery restoration is not just the ability to remove rust, but the discipline to organize the hundreds of unique, often obsolete, fasteners that hold these beasts together. When you are deep into a machine rescue, the last thing you need is a coffee tin full of mixed SAE and non-standard thread bolts.
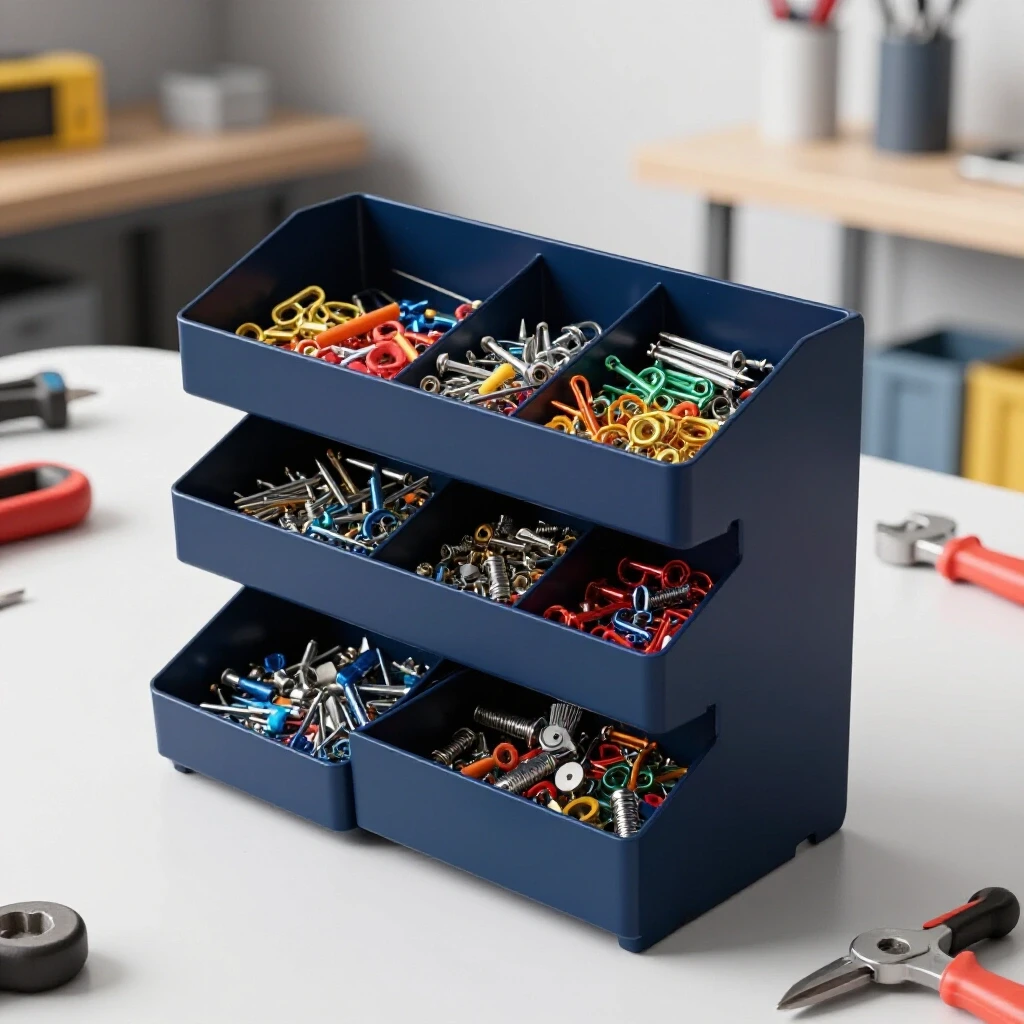
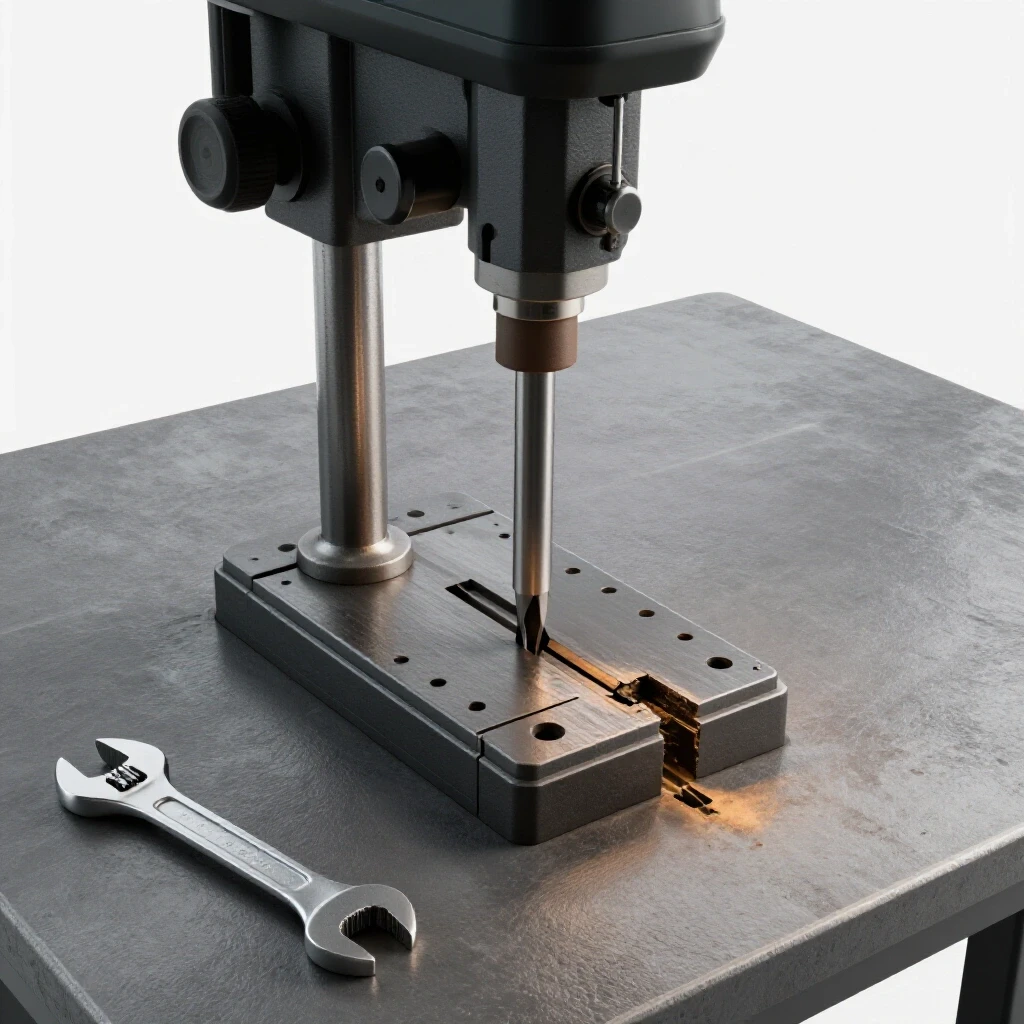
I remember my first major project, a pre-war Buffalo Forge drill press. I was so eager to see the bare metal that I tossed every screw into a single bucket. Three months later, after the chemical stripping and painting were done, I realized I had no idea which shim went behind which bearing housing. That mistake cost me weeks of trial and error. Since then, I have treated the creation of a dedicated, mobile steel storage system as the first step of any serious rebuild. Building a heavy-duty rolling frame to hold categorized bins is a fundamental skill for any restorer who values precision and sanity.
Assessing the Structural Needs for Machine Component Storage
Evaluating the physical requirements of a storage system involves calculating the total weight of steel components and the footprint available in a crowded shop. A well-designed rack must be rigid enough to handle heavy castings without bowing or tipping during transport across a concrete floor.
When I plan a build for organizing parts, I start by looking at the sheer mass of the hardware. A single 14-inch lathe can have over 300 individual fasteners, many of which are made of heavy-duty steel or bronze. If you are also storing small cast-iron brackets or gears, the weight adds up quickly. I prefer using 1-inch or 1.5-inch square steel tubing with a 1/8-inch wall thickness. This provides a high strength-to-weight ratio and a flat surface that is easy to square up during the welding process.
- Weight Capacity: Aim for a frame that can support at least 400 pounds to account for both the fasteners and the weight of the steel rack itself.
- Footprint: A base dimension of 24 inches by 36 inches is usually sufficient to navigate between stationary tools while providing enough surface area for several tiers of bins.
- Mobility: Use 4-inch polyurethane casters. Smaller wheels tend to get stuck on metal chips or cracks in the shop floor.
Designing a Rigid Steel Framework for Component Management
Selecting structural steel profiles like square tubing and angle iron allows for a chassis that is both durable and resistant to the solvents used in restoring classic cast iron. Unlike wooden benches, a steel rack will not soak up cutting oil or degreasers, which is critical when you are working with messy, lubricated parts.
I often use 1-inch angle iron for the internal shelving rails. Angle iron creates a natural “lip” that prevents plastic bins from sliding off when you move the rack. When designing the height, I keep it around 36 to 40 inches. This puts the top bins at a comfortable working height so I can inspect threads or check a pitch gauge without leaning over constantly.
Material Selection for Shop Environments
| Material Type | Typical Dimensions | Application in the Rack | Pros/Cons |
|---|---|---|---|
| Square Tubing | 1″ x 1″ (11ga) | Main vertical pillars and base | High torsional rigidity; requires capped ends. |
| Angle Iron | 1″ x 1″ x 1/8″ | Shelf rails and bin supports | Easy to weld; provides a built-in stop for bins. |
| Sheet Metal | 16-gauge | Top work surface or side panels | Provides a flat area for manuals; adds weight. |
| Flat Bar | 1″ x 1/4″ | Cross-bracing and gussets | Increases stability; prevents the frame from racking. |
Fabrication Techniques for Durable Workshop Support Structures
Practical steps for cutting, squaring, and MIG welding a steel frame ensure the final product is perfectly level. In machine restoration, we often talk about machine levels and classic tool alignment; the same level of care should go into the equipment that supports the work.
I start by cutting all my tubing on a cold saw or a horizontal bandsaw to ensure the ends are perfectly square. If your cuts are off by even a degree, the entire rack will lean, making it difficult to slide bins in and out. Once the pieces are cut, I use magnetic squares to hold the base together. I always tack weld the corners first. If you lay down a full bead immediately, the heat will pull the metal out of alignment as it cools.
- Preparation: Clean the mill scale off the steel at every joint using a flap disc. This ensures a clean weld with no porosity.
- Tacking: Place small tack welds at the top and bottom of each joint. Check for squareness after every four tacks.
- Welding: Use a MIG welder with 75/25 shielding gas. For 1/8-inch steel, I usually set my wire speed and voltage to a medium-high setting to get deep penetration into the root of the joint.
- Grinding: Smooth out any high spots on the welds where the bins will sit. A flush finish is important for the shelf rails.
Integrating the Storage System into the Machine Rescue Process
Using the completed rack to categorize fasteners by assembly group is a vital part of machine disassembly tips. By having a mobile station, you can move the storage right next to the machine as you pull it apart, reducing the chance of losing small pins or custom-threaded bolts.
When I take apart a gearbox, I don’t just throw the parts in a bin. I label each section of the rack. For example, the top row is for the “Headstock,” the middle for the “Quick Change Gearbox,” and the bottom for the “Apron and Carriage.” This systematic approach is the only way to ensure that when it comes time for reassembly, you aren’t guessing which 3/8-16 bolt goes where.
- Tagging: Use small brass tags or wire-on labels for fasteners that look similar but have different lengths.
- Documentation: Keep a clipboard on the top of the rack to note any broken parts or missing oilers that need to be sourced.
- Sub-assembly: Keep related components like gears and their respective keys in the same compartment to prevent losing the “timing” or fit of the parts.
Managing Obsolete Fasteners and Legacy Thread Patterns
One of the biggest hurdles in restoring classic cast iron is encountering “bastard” threads—pitches that are no longer standard. Many pre-war manufacturers used proprietary thread counts to ensure customers had to buy replacement parts directly from them.
As I disassemble a machine, I use a thread pitch gauge on every single bolt. If I find a 1/2-12 thread (which was common before 1/2-13 became the standard), I immediately place it in a dedicated “Legacy” bin on my mobile rack. Knowing exactly what you have allows you to decide whether to chase the threads with a file or if you need to set up a lathe to cut a new fastener from scratch.
Common Vintage Thread Standards
- Whitworth (BSW): Often found on British machinery; features a 55-degree thread angle rather than the 60-degree angle used in the US.
- Model Engineer (ME): Fine threads often used on smaller precision tools.
- Proprietary Pitches: Some early American makers used 1/4-24 or 5/16-22, which are now very difficult to find in hardware stores.
Why Seized Cast Iron Screws Crack Under Force
When you are trying to move a rack into position to begin work, you often find that the fasteners on the machine itself are frozen solid. This is usually due to “galvanic corrosion,” where two different metals have bonded over decades, or simply from old oil turning into a varnish-like glue.
I never use “brute force” as my first option. If a screw doesn’t budge with a standard wrench, I reach for a Kroil or a 50/50 mix of ATF and acetone. I apply the penetrant and let it sit for at least 24 hours. If that fails, I use a localized heat source, like a propane torch, to expand the casting around the bolt. The goal is to break the bond without reaching the critical temperature that would warp the cast iron.
- Chemical Soak: Apply penetrant every few hours.
- Vibration: Lightly tap the head of the bolt with a brass hammer to “shock” the threads.
- Heat: Apply heat to the surrounding metal, not the bolt itself, to utilize thermal expansion.
- Extraction: Use a high-quality, snug-fitting driver to avoid stripping the head.
Servicing Legacy Bearings and Precision Alignment
Once the fasteners are organized in your new steel rack, you can focus on the heart of the machine: the bearings. Many older tools use babbitt bearings or bronze sleeves rather than modern ball bearings. Restoring these requires a high degree of patience and specific measurements.
I check the bearing tolerances using a micrometer and plastigauge. For a typical sleeve bearing on a small lathe, I look for a clearance of 0.001 to 0.002 inches. If the clearance is too wide, the spindle will chatter; if it’s too tight, the friction will create heat and seize the machine. This is where machinery hand scraping comes into play. I use a hand scraper to remove high spots on the bearing surface until I achieve a consistent “frosting” pattern that holds oil effectively.
- Babbitt Bearing Pouring: This involves melting a lead-tin-antimony alloy and pouring it into the bearing housing around the spindle.
- Oil Film Shear: The clearance must be exact so that a thin film of oil can support the spindle under load.
- Alignment Checks: Use a precision machinist level (accurate to 0.0005 inches per foot) to ensure the machine bed is not twisted before you start fitting the bearings.
Chemical Rust Removal and Surface Preservation
Removing machinery rust is a delicate balance. You want to strip the oxidation without etching the healthy base metal. For large castings, I prefer an electrolysis bath. This involves a 12V DC power supply, a plastic tub filled with water and washing soda, and a sacrificial anode.
The process is slow but incredibly safe for the metal. Unlike sandblasting, which can change the dimensions of a precision surface, electrolysis only attacks the iron oxide. After a 24-hour soak, the rust usually wipes off with a stiff nylon brush. Once the part is clean, I immediately dry it and apply a light coat of spindle oil to prevent flash rusting.
Rust Removal Method Trade-offs
| Method | Best For | Risk Level | Precision Impact |
|---|---|---|---|
| Electrolysis | Complex castings with internal cavities | Low | Zero (preserves dimensions) |
| Evapo-Rust | Small parts and fasteners | Very Low | Zero |
| Wire Wheel | Non-precision external surfaces | Medium | Low (can round edges) |
| Chemical Strippers | Heavy paint and grease | High (fumes) | Zero |
Final Assembly and Testing for Factory Tolerances
After months of work, the mobile rack should be nearly empty, and the machine should be coming back together. This is the stage where you verify the classic tool alignment. I use a test bar and a dial indicator to check the runout of the spindle. If the machine was restored correctly, the runout should be well within 0.0005 inches.
I always do a “dry run” of the assembly first. I put the major components together without final torquing to ensure everything moves freely. If I feel a bind, I go back to the rack, find the specific shims for that section, and adjust as needed. The final step is lubrication. I refer to the original manufacturer service manuals to find the modern equivalents for vintage lubricants, as using the wrong oil can ruin a newly scraped bearing in minutes.
- Level the Base: Use the machinist level on the bedways.
- Check Backlash: Measure the play in the lead screws and adjust the nuts.
- Spindle Runout: Use a dial indicator on the internal taper.
- Load Test: Run the machine at low RPMs and check for heat buildup in the bearings.
Frequently Asked Questions
What is the best way to prevent a steel storage rack from rusting in a damp garage? The most effective method is to use a high-quality “machine grey” enamel paint or a dedicated metal primer followed by a topcoat. For the shelf rails where bins slide frequently, I often apply a thin layer of paste wax. This provides a barrier against moisture without being as messy as oil.
How do I identify a thread if my pitch gauge doesn’t match any of the leaves? You are likely dealing with a proprietary or metric thread on an older machine. Use a caliper to measure the outside diameter and count the number of threads over a one-inch span. If it is less than an inch, count over half an inch and double it. This gives you the Threads Per Inch (TPI), which you can then cross-reference with historical databases like the Machinery’s Handbook.
Can I use a MIG welder for thin-wall square tubing without burning through? Yes, the key is to use a “stitch” technique. Instead of one long continuous bead, make a series of overlapping spot welds. This keeps the total heat input low. Also, ensure you are using a smaller diameter wire, like 0.023-inch or 0.030-inch, which requires less current to melt.
Why shouldn’t I just use a wooden rack for my fastener bins? Wood is susceptible to moisture and can warp over time under heavy loads. More importantly, in a restoration shop, you are often dealing with flammable solvents and grinding sparks. A steel rack is fire-resistant and won’t degrade if you accidentally spill degreaser or penetrating oil on it.
How many bearing points per inch (PPI) should I aim for when hand scraping? For most general-purpose machinery like a drill press or a medium lathe, 10 to 20 PPI is the standard. This provides enough contact area to support the load while leaving “valleys” deep enough to hold a reservoir of lubricating oil. High-precision grinders might require 40 PPI or more.
Is it safe to leave parts in an electrolysis bath over the weekend? Generally, yes. Unlike acid dipping, electrolysis is self-limiting. Once the rust (iron oxide) is converted or removed, the process effectively stops. However, the sacrificial anode will continue to degrade, and the water will eventually become very dirty, so I usually recommend checking the progress every 12 to 24 hours.
What casters are best for a rack that will hold heavy steel parts? Look for casters with a “total lock” feature. This locks both the wheel rotation and the swivel mechanism. When you are sorting through hundreds of tiny fasteners, you don’t want the rack drifting away from you. Polyurethane wheels are better than rubber because they won’t develop “flat spots” if the rack sits in one place for a long time.
How do I calculate the load-bearing capacity of my shelf rails? For 1-inch angle iron (1/8-inch thick) spanning 24 inches, the deflection is minimal for standard bin weights. However, if you plan to store heavy lead weights or large chucks, you should add a vertical support in the center of the span. Always over-engineer by a factor of two when building shop furniture.
What is the most common mistake when building a mobile organizational system? The most frequent error is making the rack too tall and narrow. A high center of gravity makes the rack prone to tipping if a wheel catches on a stray bolt or a floor crack. Always keep the heaviest items—like large bolts and heavy castings—on the bottom tier to maintain stability.
How do I clean the “mill scale” off new steel before welding? Mill scale is the dark, flaky layer on hot-rolled steel. It is an insulator and will ruin your weld quality. Use a 40-grit or 60-grit flap disc on an angle grinder to strip the steel down to shiny silver metal. You only need to do this in the areas where you will be welding.
(This article was written by one of our staff writers, Richard Beaumont. Visit our Meet the Team page to learn more about the author and their expertise.)