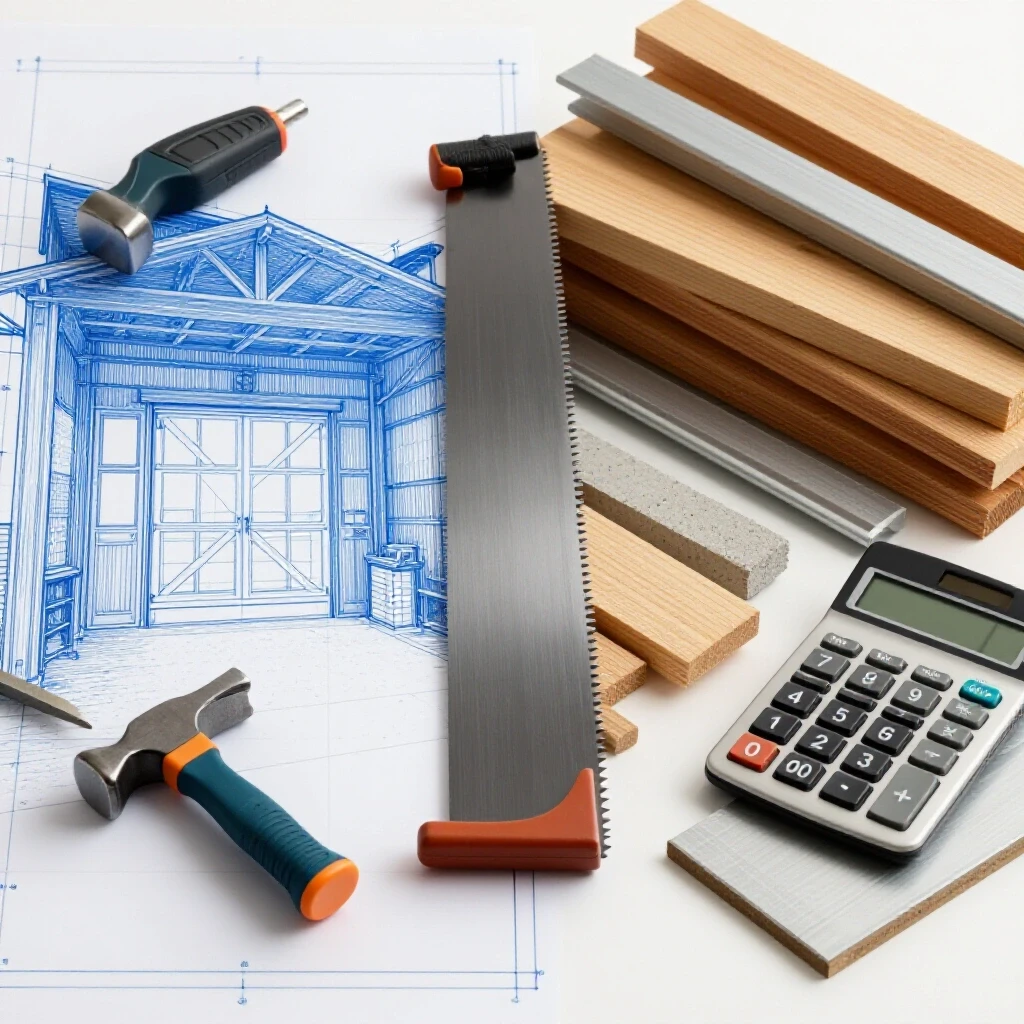
How to Build a Mobile Welding Workstation on Wheels (Plan)
When I first moved from a hobbyist setup to a professional fabrication business, I made a classic mistake. I focused entirely on the welds and ignored the floor. I spent half my day walking back and forth across the shop to grab a different grinder or a fresh box of electrodes. That wasted movement is a silent profit killer. In the world of side-hustle metalworking, your most valuable asset is not your welder; it is your time. If you are not organized, you are essentially paying your customers to let you work for them.
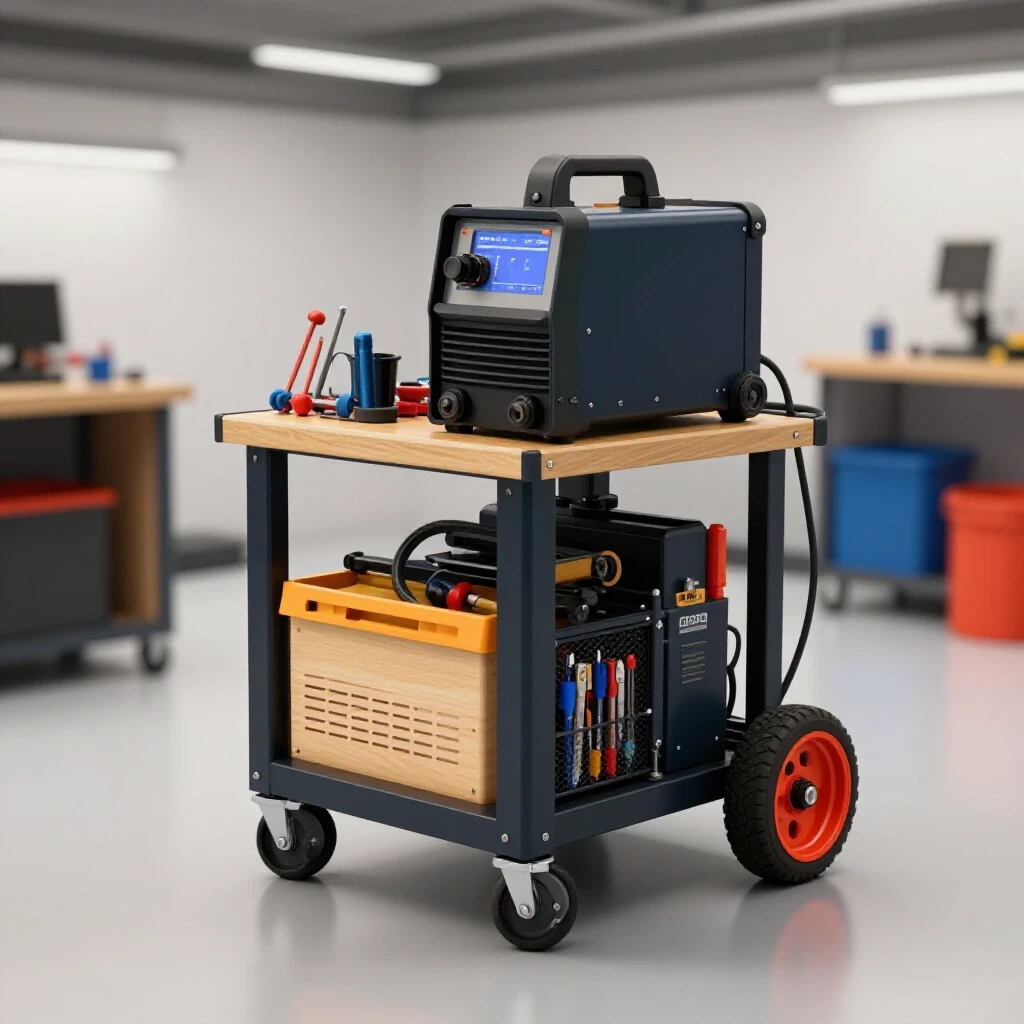
Designing a rolling fabrication hub is the first step toward reclaiming those lost margins. It is more than just a place to put your machine. It is a tool that allows you to bring the entire shop to the workpiece. By creating a centralized, movable base for your equipment, you reduce setup times and improve your shop flow. This transition from a static environment to a mobile one is a fundamental shift in how a professional shop operates.
My goal is to help you move past the “guessing phase” of business ownership. Whether you are building your first piece of shop equipment or scaling up for client work, the financial logic remains the same. Every hour you spend in the shop must be accounted for, and every tool you build must offer a clear return on investment. Let’s look at how to structure your shop finances while building the foundation of an efficient workspace.
Establishing a Professional Shop Rate for Fabrication
A shop rate is the total dollar amount you must charge per hour to cover all costs and generate a profit. It is the heartbeat of your business and dictates whether you stay open or go broke.
Most new fabricators pick a number out of thin air, often around $30 or $40 an hour. They think this is a lot of money because it is higher than their day job’s hourly wage. However, they forget that a business owner must pay for “unbillable” time. This includes cleaning, quoting, and maintenance. A realistic shop rate for a small-scale operation typically falls between $65 and $120 per hour. This range ensures you can cover your overhead, replace worn-out tools, and actually take home a paycheck.
Understanding the Difference Between Labor and Shop Overhead
Overhead represents the ongoing costs of keeping your shop doors open, regardless of whether you are currently welding. This includes rent, electricity, insurance, and the depreciation of your equipment over time.
When you calculate your rate, you must separate your personal take-home pay from the shop’s needs. If you want to earn $40 an hour, your shop rate might need to be $80. The extra $40 covers the “burden” of the shop. This includes the power for your welder, the heat in the winter, and the cost of the floor space your new rolling station will occupy. If you ignore overhead, you are essentially subsidizing your clients’ projects with your own savings.
How to Calculate Your Hourly Shop Burden
The shop burden is the total of all monthly fixed costs divided by the number of hours you spend doing billable work for clients. It shows you exactly how much it costs to turn the lights on every hour.
To find this number, add up your monthly bills: rent, utilities, insurance, and software subscriptions. Then, estimate how many hours a month you actually spend on paid fabrication. If your bills are $500 and you work 20 hours a week (80 hours a month), your burden is $6.25 per hour. This is the baseline you must exceed before you even begin to pay yourself. Tracking this monthly allows you to see if your side-hustle is becoming more or less efficient as you grow.
Designing a Portable Metalworking Bench for Maximum Efficiency
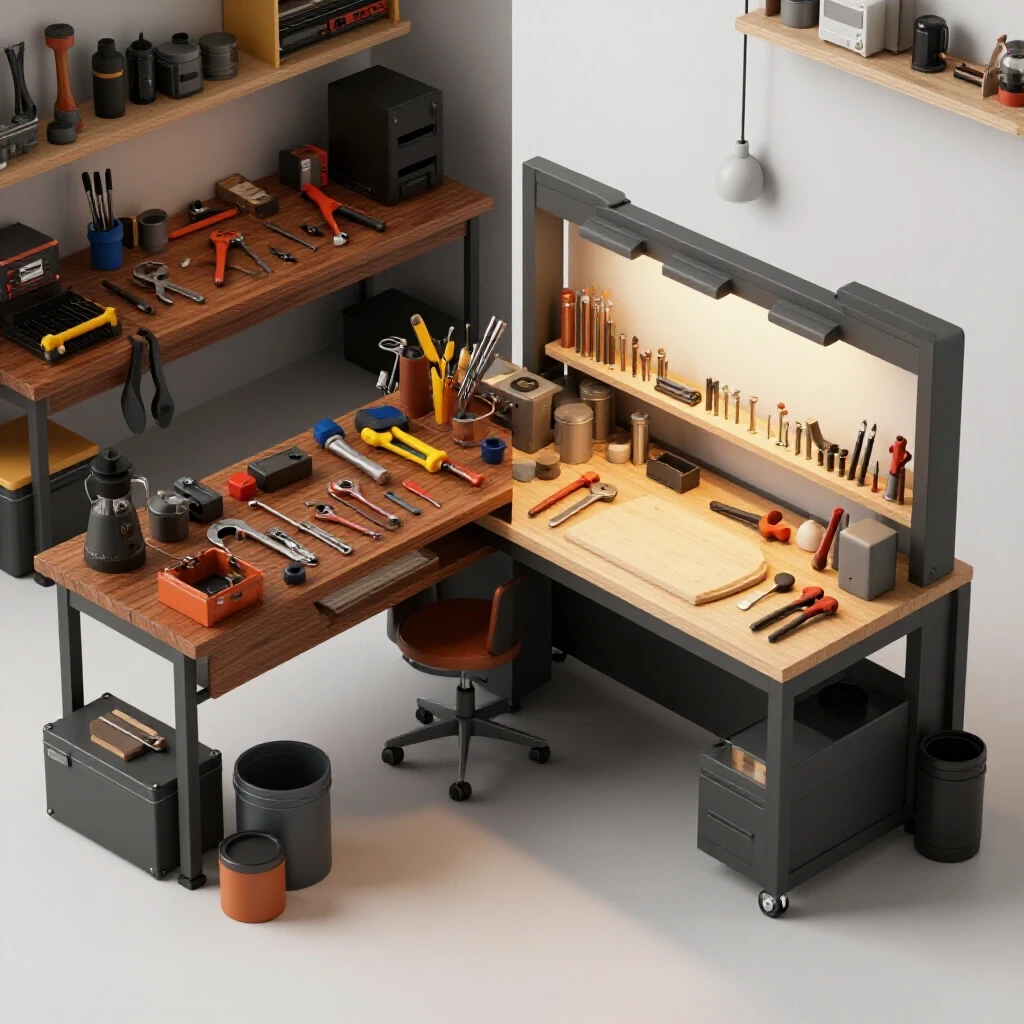
A rolling work center is a strategic asset designed to hold your machine, gas cylinders, and tools in one footprint. It allows you to move your entire operation to the most convenient spot in the shop.
When planning this build, stability is your primary concern. A top-heavy cart is a safety hazard, especially when moving heavy shielding gas tanks. You need a design that keeps the center of gravity low while providing a flat, heavy-duty surface for clamping and tacking. Using standard steel sections like square tubing for the frame and a thick plate for the top ensures the bench remains rigid under heat and heavy loads.
Selecting Heavy-Duty Casters for Shop Mobility
Casters are the foundation of any mobile shop equipment and determine the weight capacity and ease of movement for your workstation. They must handle the combined weight of the steel frame, the machines, and the project itself.
I recommend using four-inch or five-inch polyurethane wheels with total-lock brakes. Total-lock casters are essential because they lock both the wheel rotation and the swivel. If the bench can still swivel while the wheels are locked, it will drift when you apply pressure during a grind or a heavy fit-up. For a standard mobile bench, look for casters rated for at least 300 pounds each. This gives you a safe working load of 1,200 pounds, which is usually enough for a mid-sized setup.
Layout Strategies for Tool and Consumable Storage
Effective storage on a mobile cart means every tool has a dedicated home, reducing the time spent searching for misplaced items. This organization directly impacts your fabrication job costing by speeding up the work.
Incorporate hooks for your welding lead and ground clamp, as well as a dedicated holster for your MIG gun or TIG torch. Below the main work surface, add shelves or drawers for common items like anti-spatter spray, wire brushes, and spare contact tips. By keeping these consumables within arm’s reach, you eliminate the “walk time” that eats into your hourly profit. A well-organized cart acts as a secondary employee, keeping the workflow moving without interruption.
Why Small Metal Shop Pricing Fails Without Consumable Tracking
Consumables are the items that get used up during a job, such as welding wire, shielding gas, and grinding discs. They are often the most underestimated expense in a small shop.
If you don’t track these items, you are likely losing 10% to 15% of your profit on every job. I have seen many shops bid a project based only on the cost of the raw steel and their labor. Then, they realize they used two full grinding discs and half a bottle of Argon, which were never factored into the quote. To fix this, you must apply a “consumable burden factor” to every estimate you send out.
Implementing a Consumable Burden Percentage
A consumable burden is a flat percentage added to the material or labor cost to cover the small items that are difficult to track individually. It simplifies your quoting process while ensuring these costs are covered.
For most general fabrication, a 15% markup on the material cost is a safe starting point to cover consumables. For example, if the steel for a project costs $200, you would add $30 to the quote for “shop supplies.” This covers your welding gas, wire, and abrasives. If the job involves heavy grinding or specialized TIG welding on stainless steel, you might increase this to 20% or 25%. This ensures that the “hidden” costs of doing business are always paid for by the customer.
| Expense Category | Typical Small Shop Range | How to Track It |
|---|---|---|
| Shop Rate | $65 – $120 / hr | Total Monthly Expenses / Billable Hours |
| Material Markup | 20% – 50% | (Retail Price – Your Cost) / Your Cost |
| Consumable Burden | 15% – 25% | Percentage added to Material Total |
| Equipment ROI | 12 – 24 Months | (Tool Cost / Monthly Profit Increase) |
Tracking Shielding Gas and Wire Usage
Monitoring your gas and wire usage allows you to refine your quotes and identify when a machine might be performing inefficiently. It provides the data needed for an accurate metal business ROI calculator.
One simple way to track this is to note the date you start a new roll of wire or a fresh bottle of gas. Over three months, you will see exactly how much work those supplies supported. If you find that a $50 bottle of gas lasts for 10 billable hours, you know that gas costs you $5 per hour. You can then build that $5 directly into your shop rate or your material markup to ensure it is never a loss.
Calculating the ROI on Your Rolling Workstation
Return on Investment (ROI) is a measure of how quickly a tool or upgrade pays for itself through increased productivity or reduced costs. For a mobile bench, the ROI comes from time savings.
Let’s say building this mobile unit costs you $400 in materials and 8 hours of your time. If your shop rate is $75, the total investment is $1,000. If this cart saves you just 15 minutes of wasted time per day, that is 1.25 hours a week. At $75 an hour, you are “saving” $93.75 per week. In this scenario, the cart pays for itself in less than 11 weeks. This is the kind of math that separates a hobbyist from a business owner.
The Impact of Efficiency on Fabrication Job Costing
Efficiency allows you to complete jobs faster, which either increases your profit margin or allows you to bid more competitively. A mobile workstation is a primary driver of this efficiency.
When you are more efficient, your “effective” hourly rate goes up. If you quote a job for $500 based on 5 hours of work, but your mobile setup allows you to finish it in 4 hours, your hourly rate just jumped from $100 to $125. This extra $25 is pure profit. On the other hand, if you are disorganized and the job takes 6 hours, your rate drops to $83. Mobile organization protects your margins by keeping your actual work time as close to your estimated time as possible.
Analyzing Post-Job Profits to Refine Future Bids
Post-job analysis involves looking at the actual time and materials spent on a project versus what you originally quoted. It is the only way to get better at pricing your work.
After you finish a project using your new mobile setup, sit down with your notes. Did you spend less time looking for tools? Did you use more grinding discs than expected? Use this data to adjust your next quote. If you consistently finish projects faster thanks to your new mobility, you can choose to keep your prices the same and earn more per hour, or lower your prices slightly to win more work. This data-driven approach removes the anxiety from the bidding process.
Essential Tools for Shop Management and Estimation
Managing a shop requires more than just physical tools; you need digital systems to track your money and your time. These tools help you maintain professional standards as you scale.
You don’t need expensive enterprise software to run a successful side-hustle. Simple, focused tools are often better because they are easier to maintain. The key is consistency. If you don’t record your expenses and time every day, the data becomes useless. Here are five resources that can help you manage the financial side of your fabrication business:
- QuickBooks or Wave Accounting: These platforms allow you to track every dollar coming in and going out. Wave is particularly good for side-hustlers because it offers a free tier for basic bookkeeping and invoicing.
- Clockify: This is a free time-tracking app. Use it to “clock in” to every project, including internal shop builds. This will give you a realistic view of how long fabrication tasks actually take.
- Google Sheets (Custom Estimator): Build a simple spreadsheet where you can plug in material costs, estimated hours, and your shop rate. This ensures you never forget to add your consumable burden or material markup.
- Square or PayPal: Having a professional way to accept credit cards or digital payments makes it easier for clients to pay you on time. It also helps you keep your business funds separate from your personal bank account.
- Evernote or Keep: Use these for “job logs.” Snap photos of your material receipts and take notes on any unexpected challenges during a build. This creates a history you can reference for future quotes.
Common Pitfalls in Side-Hustle Metalworking
Many talented fabricators fail because they treat their business like a hobby. They ignore the “boring” parts of shop management until they realize they are losing money.
One major mistake is the “friend and family” discount. While it is tempting to help people out, every hour you spend on a discounted job is an hour you aren’t earning your full shop rate. Another pitfall is failing to account for material waste. You can rarely buy exactly the amount of steel you need; you often have to buy a full 20-foot stick. If you don’t charge the customer for the “drops” or the extra material, you are carrying that cost on your own books.
- Underestimating Setup Time: Always add 15-20% to your time estimate for cleaning, setup, and teardown.
- Ignoring Tool Wear: Grinders, drill bits, and saw blades are expensive. Your shop rate must include a fund for replacing these items.
- Inconsistent Quoting: Use a formula, not a “gut feeling.” A formula ensures your prices remain consistent and fair to both you and the client.
- Poor Material Storage: If you can’t find the steel you already bought, you’ll end up buying it again. A mobile workstation helps keep your most-used materials organized.
Conclusion: Building for Long-Term Success
Fabricating a rolling shop hub is an investment in your future as a business owner. It represents a commitment to organization, efficiency, and professional standards. By taking the time to build your own equipment, you gain a deeper understanding of your shop’s capabilities and your own fabrication speed.
Remember that the goal is not just to build a cart, but to build a profitable business. Every decision you make—from the casters you select to the way you track your welding gas—should be viewed through the lens of financial sustainability. When you master your shop math and optimize your workflow, you move from being a person with a welder to a person with a successful fabrication business.
FAQ: Professional Fabrication and Shop Mobility
What is a realistic hourly rate for a part-time welding business? Most successful side-hustles charge between $65 and $120 per hour. This covers overhead, consumables, and a fair wage. Charging less often leads to “working for free” once you factor in electricity, insurance, and tool wear.
How do I factor in the cost of welding gas for a small job? Instead of tracking every cubic foot, use a “consumable burden.” Adding 15% to 25% to your material total is a standard way to cover gas, wire, and abrasives without complex math on every invoice.
Why shouldn’t I just buy a pre-made welding cart? Building your own allows you to customize the height, storage, and weight capacity for your specific needs. It also serves as a “billable” practice project where you can track your time and refine your fabrication skills.
What size steel is best for a mobile work bench frame? For most small to mid-sized shops, 2-inch square tubing with a 1/8-inch or 3/16-inch wall thickness provides an excellent balance of strength and weight. It is rigid enough to stay flat but not so heavy that it is difficult to move.
How thick should the top plate of a fabrication table be? A minimum of 3/8-inch is recommended for a serious work surface, though 1/2-inch is better for heavy clamping. Thicker plate resists warping from heat and provides a more stable base for hammering or bending.
Do I really need locking casters on all four wheels? Yes. If only two wheels lock, the bench can still pivot or “walk” when you are grinding or pushing on a workpiece. Total-lock casters that freeze both the wheel and the swivel are the best choice for safety.
How do I calculate the ROI on a new piece of shop equipment? Divide the total cost of the tool by the amount of time it saves you per month (multiplied by your shop rate). If a $1,000 tool saves you $100 worth of time each month, your ROI period is 10 months.
What is “material markup” and why is it necessary? Material markup (usually 20-50%) covers the time you spend sourcing, picking up, and handling the steel. It also accounts for the risk of a mistake or material waste that you cannot bill to the client.
How can I track my time effectively without it being a chore? Use a simple app like Clockify or even a physical notebook on your bench. The key is to record your “start” and “stop” times for every task, including prep and cleanup, to see your true productivity.
Should I charge for the time spent quoting a job? Generally, you do not charge for the quote itself, but you must build that “unbillable” time into your hourly shop rate. If you spend 5 hours a week quoting, your shop rate for the other 35 hours must be high enough to cover that time.
(This article was written by one of our staff writers, Michael Hargrove. Visit our Meet the Team page to learn more about the author and their expertise.)