How to Build a Sliding Cargo Divider for Truck Beds (Plan)
I have spent thirteen years in prototype shops and home garages, and I can tell you that the most frustrating moment in fabrication is not the cutting or the grinding. It is the moment you unclamp a project and watch it spring out of square. I remember building a custom utility trailer frame early in my career. I had measured every piece to the sixteenth of an inch. I clamped it down tight and welded every joint from top to bottom. When I released the clamps, the frame had bowed nearly an inch. It was a humbling lesson in the physics of heat.
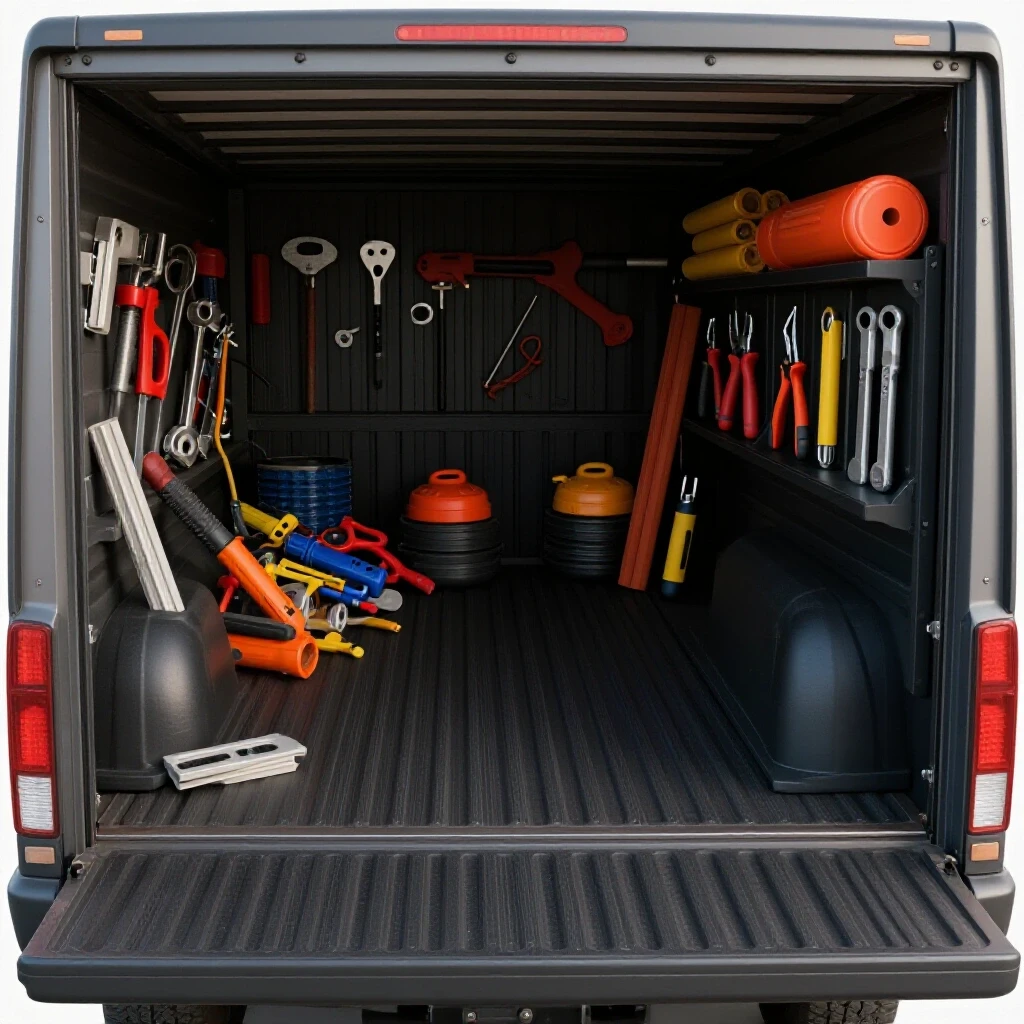
Now, when I approach a project like an adjustable truck bed partition, I focus on the layout and the sequence. A movable cargo barrier needs to slide smoothly along the bed rails. If the frame is twisted or the rails are not parallel, the whole system will bind. To build a durable, functional unit, you have to plan for metal movement before you ever pull the trigger on your welder. This guide focuses on the technical side of custom fabrication projects, ensuring your layout remains accurate from the first cut to the final bead.
Planning the Layout and Calculating Material Kerf
Kerf is the width of the material that is turned into dust or chips by your cutting tool. When you are planning a cut list for a metal partition, ignoring the kerf can lead to a frame that is too short or too narrow. Planning for this ensures your final assembly matches your blueprints within a 1/16th-inch tolerance.
Before I spark up the saw, I create a detailed cut list. For a truck bed divider, you are often working with square tubing. If you use a standard abrasive chop saw, your kerf might be 1/8 of an inch. If you use a cold saw or a bandsaw, it might be as thin as 0.060 inches. If you have ten cuts to make, and you don’t account for a 1/8-inch kerf, your final piece of steel will be over an inch shorter than you intended.
I always mark my steel with a scribe or a fine-point silver pencil. Soapstone is too thick for precision work; the line itself can be 1/16th of an inch wide. When I cut, I leave the line. This means the blade travels on the “waste” side of the mark. This small habit is the difference between a joint that fits tight and one that has a massive gap you have to fill with weld wire.
Understanding Metal Layout Tips for Precise Fit-Up
Metal layout tips involve the specific techniques used to mark and measure steel to ensure every part fits together without gaps. Proper fit-up is essential because large gaps require more weld metal, which leads to more heat and increased metal warping.
I use a “story pole” for projects involving repetitive measurements. This is just a scrap piece of wood or steel where I mark the exact locations for holes or brackets. By using a story pole instead of a tape measure for every piece, I eliminate the “incremental error” that happens when your tape measure hook is slightly bent or you read the 1/8-mark incorrectly on one of the four rails.
Calculating Kerf Allowances by Cutter Type
The amount of material lost during a cut depends entirely on the tool you choose. Choosing the right tool for the job helps maintain accurate square cuts and reduces the amount of time you spend grinding ends to the correct length.
| Tool Type | Average Kerf Width | Accuracy Level | Best Use Case |
|---|---|---|---|
| Abrasive Chop Saw | 1/8″ (0.125″) | Moderate | Rough cutting long stock |
| Portable Band Saw | 0.045″ – 0.065″ | High | Precision frame components |
| Plasma Cutter | 0.060″ – 0.100″ | Moderate | Plate steel and brackets |
| Angle Grinder (Thin) | 0.040″ – 0.045″ | Low (Manual) | Small notches or trimming |
| Cold Saw | 0.080″ – 0.100″ | Very High | Final assembly components |
Selecting Structural Steel for the Divider Frame
Selecting the right wall thickness and profile, like square tubing or angle iron, determines the strength-to-weight ratio of your project. It also dictates how much heat the metal can soak up before it begins to twist or bow during the welding process.
For an adjustable cargo barrier, I typically choose 1-inch or 1.25-inch square tubing with a 1/8-inch (11-gauge) wall thickness. Thin-wall tubing, like 16-gauge, is lighter but very easy to blow through with a welder. It also warps much faster because it lacks the structural mass to resist the “pull” of a cooling weld. 1/8-inch steel provides a good balance. It is thick enough to handle deep penetration but light enough that the finished divider isn’t a chore to move.
I also look for “pickled and oiled” (P&O) steel if possible. Standard hot-rolled steel has mill scale, which is a hard, flaky blue-grey coating. You must grind this scale off at every weld point. If you don’t, the scale will contaminate your weld, leading to porosity and a weaker joint. Starting with cleaner steel saves hours of prep time in a custom fabrication project.
Constructing Rigid Workshop Jigs and Alignment Fixtures
Jigs and fixtures are temporary frameworks that hold your steel components in precise alignment during the tacking process. They prevent the metal from shifting under its own weight or moving when the first arc is struck, which is critical for maintaining squareness.
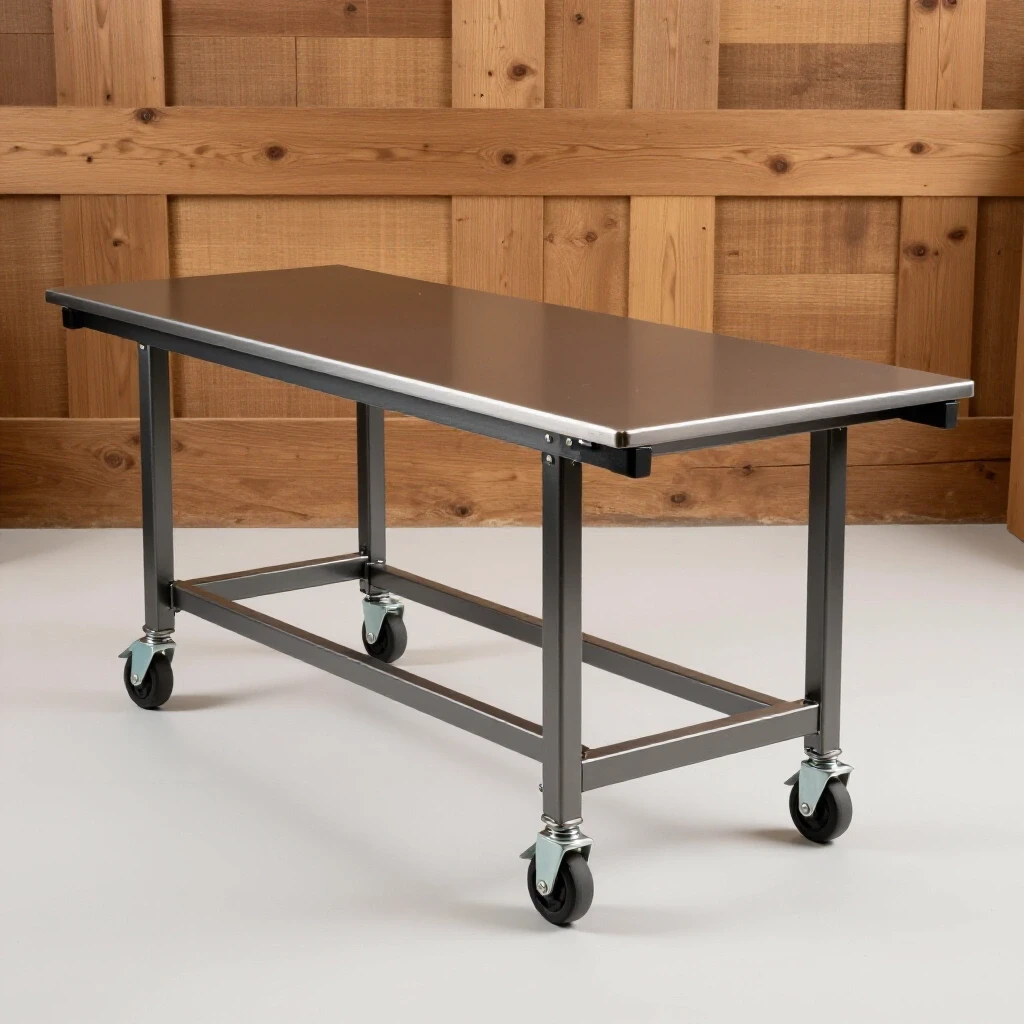
I don’t have a $5,000 professional welding table. Instead, I use a flat section of my concrete garage floor or a heavy-duty wooden workbench topped with a 1/4-inch steel plate. To keep the partition frame square, I use “squaring blocks.” These are just scraps of heavy angle iron that I clamp to the table at 90-degree angles. By pushing my tubing into these blocks, I can ensure the frame is square before I ever touch the welder.
Workshop jigs and fixtures don’t have to be complicated. For the sliding mechanism of the divider, I use spacers. If the divider needs to clear the bed floor by exactly two inches, I cut two blocks of wood or steel at exactly two inches. I rest the frame on these blocks during assembly. This guarantees the height is consistent across the entire width of the truck bed.
Using Clamping Layouts to Prevent Shifting
A clamping layout is the strategic placement of clamps to hold a workpiece against a jig. Using too few clamps allows the metal to expand and “walk” away from your marks, while the right layout keeps everything locked in place during the initial tacking phase.
- Place clamps within 2 inches of every corner joint.
- Use “F-style” clamps for vertical pressure and “C-clamps” for side pressure.
- Always check for square again after the first clamp is tightened.
- If you are welding a long rail, clamp it in the center to prevent “crowning” (bowing upward).
Implementing Accurate Square Cuts and Prep
Precise cuts are the foundation of any square structure. If your ends aren’t perfectly 90 degrees, the gaps will fill with weld metal, leading to uneven shrinkage and a frame that looks like a trapezoid instead of a rectangle once it cools.
When I cut square tubing for the partition, I use a speed square to check the saw blade’s alignment with the fence. Even a one-degree error on a 60-inch wide truck bed will result in a gap of nearly an inch at the far end. If I find a cut is slightly off, I don’t try to “fill it with weld.” I use a belt sander or a flap disc on an angle grinder to true up the face.
The “fit-up” is the most important part of metal warping solutions. If the two pieces of metal are touching tightly across the entire joint, the weld has less room to pull the metal inward. I aim for a fit-up so tight that I can’t see light through the joint. This requires patience, but it saves you from having to straighten the frame later.
Strategic Tacking and Weld Sequencing Layout
Weld sequencing is the specific order in which you apply beads to distribute heat evenly. Strategic tacking involves small, localized welds that secure the structure before the final, high-heat passes are made, preventing the frame from pulling out of alignment.
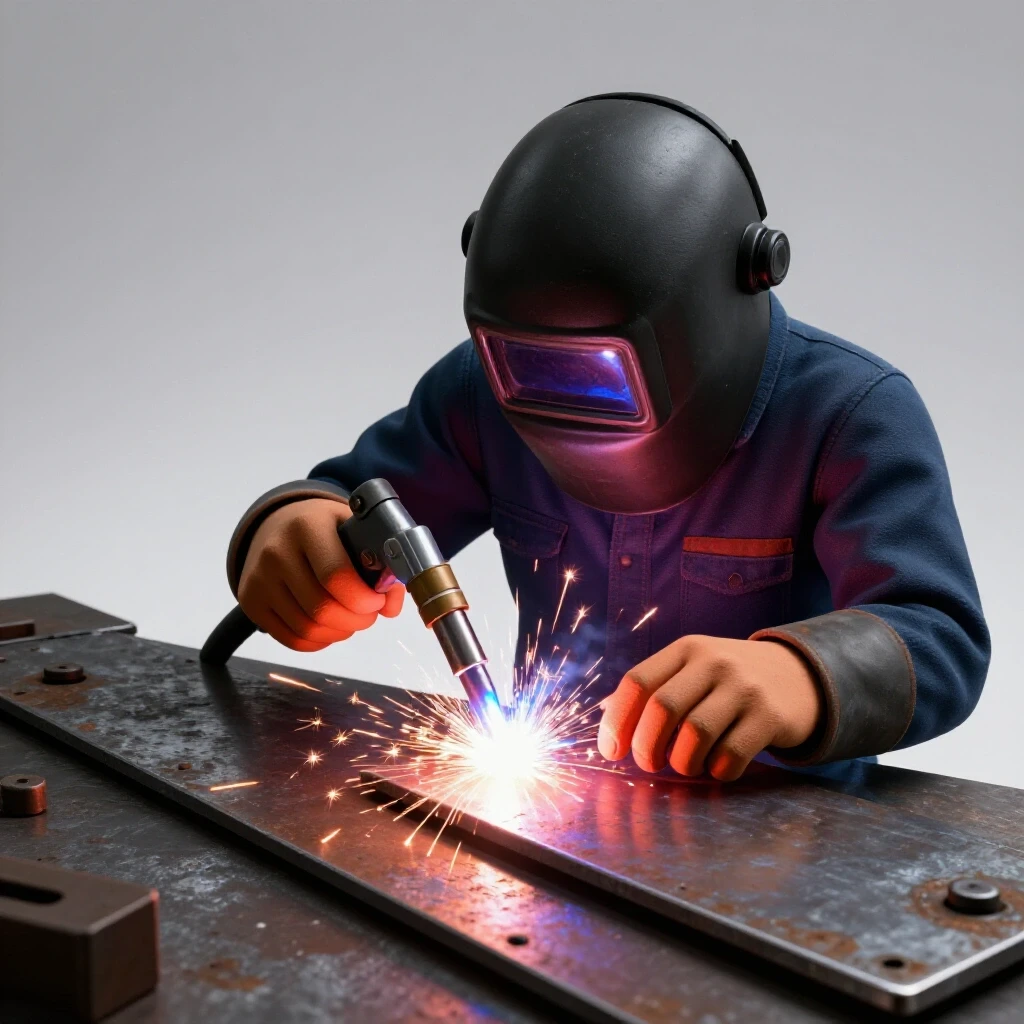
I never weld a joint completely in one go. I start with “tacks” at every corner. A tack weld should be about the size of a pencil eraser. For a square tube joint, I place one tack on the top, then one on the bottom, then one on each side. I do this for all four corners of the frame. After tacking, I measure the diagonals of the frame. If the measurements are the same, the frame is square. If they are off, I can easily break a small tack with a hammer and adjust the frame.
Once the frame is tacked and square, I follow a weld sequencing layout. I weld one side of a joint, then move to the diagonally opposite corner of the entire frame to weld that side. This “cross-pattern” prevents one side of the project from getting too hot. If you weld all the joints on the left side first, the metal will expand and push the right side out of alignment.
Weld Sequencing and Distortion Control Benchmarks
Managing heat is about timing and location. The following table shows how I sequence my work to keep the partition frame straight.
| Fabrication Phase | Action | Purpose | Tolerance Target |
|---|---|---|---|
| Initial Tacking | 4 tacks per joint (top, bottom, sides) | Secure alignment without high heat | +/- 1/32″ |
| Root Pass (Corners) | Weld 1″ beads on opposite corners | Establish structural base | +/- 1/16″ |
| Vertical Welds | Alternate sides of the tubing | Balance the “draw” of the metal | No visible bow |
| Final Caps | Allow to cool to touch between passes | Prevent “heat soak” warping | +/- 1/16″ |
| Cooling | Leave clamped until completely cool | Set the final shape | Final spec |
Managing Thermal Expansion and Metal Warping Solutions
Metal expands when heated and contracts as it cools. Understanding this movement allows a fabricator to “pre-bend” or clamp a piece so it pulls into the desired final position rather than away from it during the cooling process.
When you weld a joint, the liquid metal is at its largest volume. As it cools and turns back into a solid, it shrinks. This shrinkage acts like a powerful winch, pulling the two pieces of steel toward the weld. In a truck bed divider, this usually results in the side rails pulling inward.
To combat this, I sometimes use “pre-setting.” If I know a weld will pull a rail inward by 1/8 of an inch, I might clamp it so it starts 1/8 of an inch “too wide.” This is an advanced move that takes practice. For most builders, the best solution is to use plenty of clamps and to keep the heat input low. If the steel starts to turn a dull cherry red far away from the weld, you are moving too slowly and putting too much heat into the part.
The Role of Heat Sinks in Distortion Control
A heat sink is a large piece of conductive material, like a block of copper or a thick slab of aluminum, placed near the weld zone. It absorbs the excess heat from the steel, preventing it from spreading and causing the rest of the frame to warp.
- Clamp a thick aluminum bar behind a butt weld to soak up heat.
- Use copper “backing bars” for thin-wall tubing to prevent burn-through.
- Let the project air cool; never quench a structural weld with water, as this can make the steel brittle and cause immediate cracking.
Assembling the Sliding Track and Locking Mechanism
The sliding system relies on parallel rails and a locking pin assembly to secure the divider at different points. Proper alignment here is critical; even a 1/8-inch deviation over the length of the bed can cause the entire unit to bind or rattle.
I build the sliding brackets as separate sub-assemblies. These brackets usually wrap around a rail or sit inside a track. I use a “spacer shim” during the welding of these brackets. For example, if my rail is 1 inch wide, I use a 1-1/8 inch spacer when welding the bracket. This 1/8-inch of “play” ensures that even if the frame warps slightly, the bracket will still slide.
The locking pins are the most common point of failure. If the holes in the rails don’t line up with the pins on the divider, the system is useless. I prefer to weld the divider frame first, then slide it into position and use the divider’s own pin-sleeves as a guide to drill the holes in the rails. This “match-drilling” technique ensures that the pins will always find their home.
Final Straightening and Post-Weld Adjustments
No matter how careful you are, some warping is inevitable. Post-weld adjustments involve using controlled heat or mechanical force to bring a project back into its required dimensions after all the welding is complete.
If the partition has a slight bow, I use a “flame straightening” technique. I use an oxy-acetylene torch to heat a small spot on the side opposite the bow. As that spot cools, it shrinks and pulls the metal back toward straight. This requires a very light touch. You can also use a heavy-duty shop press or a hydraulic jack to “cold-straighten” a frame, but you must be careful not to crush the tubing.
Finally, I check all moving parts. I slide the divider from the tailgate to the cab. If I feel a tight spot, I look for a weld bead that might be protruding or a rail that has bowed inward. A quick pass with a flap disc usually clears up any mechanical interference.
Build Log: The “Weekend Warrior” Cargo Barrier
I recently documented a build for a mid-sized truck. The goal was a divider that could hold a 100-pound toolbox in place but be removed easily.
- Material Sourcing: I bought three 20-foot sticks of 1″ x 1/8″ square tubing. Total cost was $114 at a local steel yard.
- The Cut List: I accounted for a 1/8″ kerf on my chop saw. I cut the main horizontal rails and the vertical supports.
- The Jig: I clamped four squaring blocks to my steel table. I checked the diagonals of the rectangle; both were exactly 64-3/16 inches.
- The Tacks: I placed 1/4-inch tacks on the “outside” corners first. This holds the frame open while I tack the “inside” corners.
- The Sequence: I welded the top face of corner A, then the bottom face of corner C (the opposite corner). I waited two minutes between corners.
- The Obstacle: I noticed the middle horizontal bar started to “frown” (bow down). I had to clamp a straight-edge to it and add a small vertical support to pull it back up before final welding.
- Final Result: The frame stayed within 1/16th of an inch of square. It slides smoothly on the side rails without any “chatter.”
FAQ: Frequently Asked Questions
How do I prevent the divider from bowing in the middle? Bowing usually happens because of “longitudinal shrinkage” along the long horizontal welds. To prevent this, use shorter “stitch welds” (1-inch beads with 2-inch gaps) instead of one continuous bead. You can also add a vertical center support to increase the frame’s stiffness.
What is the best steel for a lightweight partition? 1-inch square tubing with a 1/8-inch wall (11-gauge) is the gold standard. It is strong enough to resist bending under load but light enough for one person to lift. If weight is a major concern, you can use 14-gauge, but you must be very careful with heat control to avoid warping.
How much gap should I leave for the sliding rails? I recommend a total clearance of 1/8-inch (1/16-inch on each side). This is enough to allow for thermal expansion of the metal on a hot day and for small amounts of road grit or debris that might get into the tracks.
Why did my frame warp after I took it out of the clamps? This is called “spring-back.” The internal stresses from the cooling welds were being held in check by the clamps. Once released, those stresses found a way to move the metal. To avoid this, let the project cool completely to room temperature before removing any clamps.
Can I use a flux-core welder for this project? Yes, but flux-core produces more heat than MIG (gas-shielded). You will need to be even more disciplined with your weld sequencing and allow for longer cooling times between passes to manage the heat-affected zone (HAZ).
How do I ensure the locking pins line up on both sides? The best way is to “match-drill.” Build the divider, place it in the rails, and drill through both the divider bracket and the rail at the same time. This ensures the holes are perfectly concentric.
What is the best way to cut 40-degree angles for the bracing? Use a miter saw or a protractor to mark the angle. Remember that most chop saws show the “complementary” angle. If you need a 40-degree angle, you may need to set your saw to 50 degrees depending on the scale. Always test on a scrap piece first.
How do I calculate the total length of steel needed? Add up all the lengths on your cut list, then add 10% for “drop” (waste) and kerf. If your total is 18 feet, buy a 20-foot stick. It is much better to have a 2-foot scrap than to be 2 inches short on your last rail.
Should I weld the entire joint at once? No. For square tubing, weld one side, move to a different joint, and let the first one cool. Breaking the weld into smaller segments prevents the heat from building up in one area and pulling the frame out of square.
How do I fix a frame that is slightly out of square? If it is off by less than 1/8-inch, you can often “pull” it square using a ratcheting tie-down strap and then adding a diagonal brace. If it is significantly off, you may need to cut the welds on one corner, re-square it, and re-weld.
Building a partition for a truck bed is a great way to hone your fabrication skills. It requires a mix of precision measurement, smart tool use, and an understanding of how heat changes metal. By focusing on your layout and sequencing, you can create a tool that is both professional in appearance and perfectly functional. Don’t rush the prep work; the time you spend with a square and a clamp is just as important as the time you spend with the welder.
(This article was written by one of our staff writers, Robert Kline. Visit our Meet the Team page to learn more about the author and their expertise.)