How to Calibrate a Metal Cutting Miter Saw Fence (DIY Guide)
I once spent three days chasing a “welding porosity” issue on a series of structural frames. The beads looked like Swiss cheese, and I was convinced my shielding gas was contaminated or my flow rate was off. After swapping regulators and scrubbing the base metal to a mirror finish, the porosity remained. It wasn’t until I grabbed a machinist square that I found the culprit. My miter saw’s rear guide was out of alignment by less than a degree. This tiny error created a wedge-shaped gap in my fit-up. During the weld, that gap sucked in atmospheric air, causing the very porosity I was trying to fix.
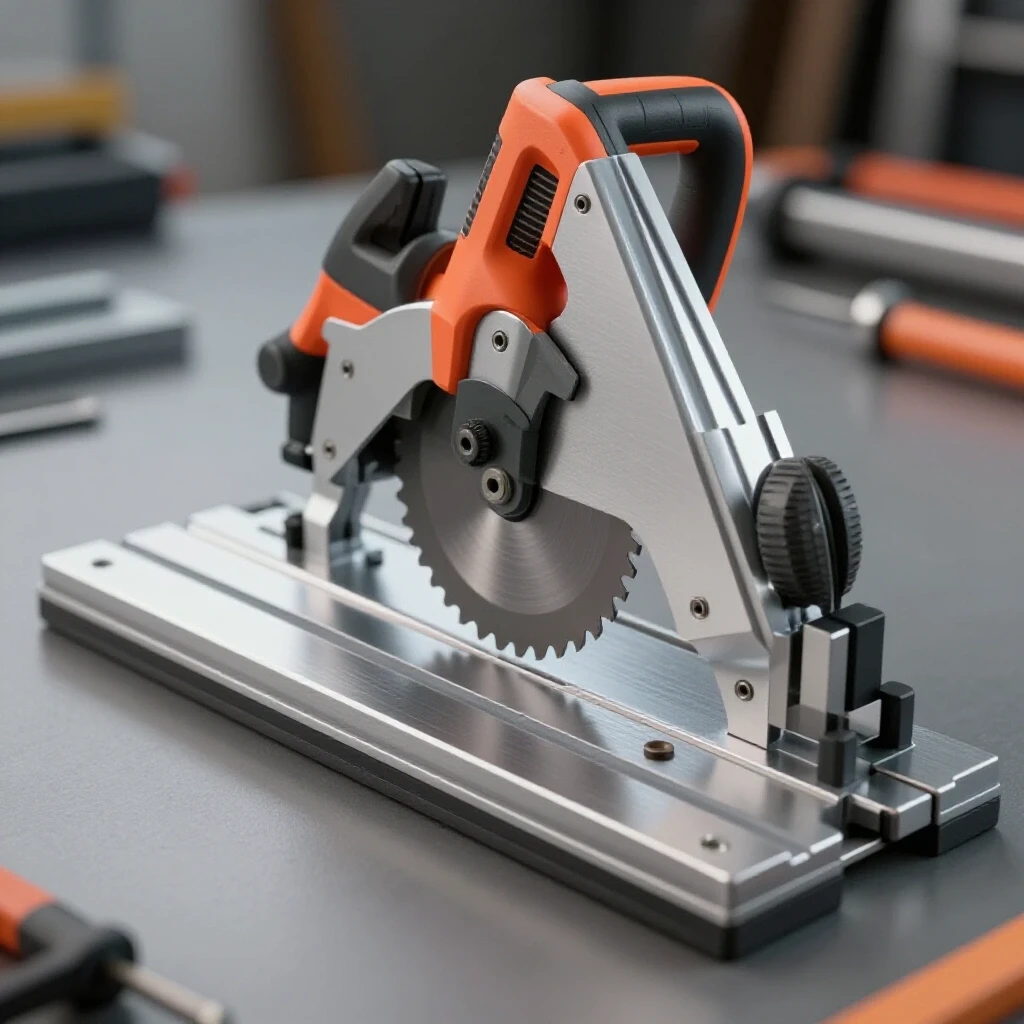
In my 15 years as a diagnostic specialist, I have learned that most fabrication failures are not caused by the process you are currently looking at. They are caused by a mechanical error three steps back in the workflow. When your cuts are not square, your joints do not close. When joints do not close, you deal with heat distortion, tool chatter, and structural weakness. Restoring the perpendicularity of your saw’s backstop is not just about making a pretty cut; it is about eliminating the root cause of downstream fabrication headaches.
Foundations of Precision: Isolating Mechanical Variables
Before turning a single bolt, you must understand that a miter saw is a system of intersecting planes. If the rear guide is not perfectly perpendicular to the blade’s path, every subsequent measurement in your project will be flawed. We begin by isolating the fence from other variables like blade wobble or table debris.
This diagnostic phase involves cleaning the work surface and checking for mechanical obstructions. You cannot achieve a tolerance of 0.002 inches if there is a sliver of metal shavings trapped behind the guide rail. I always start by stripping the machine down to its bare components to ensure I am measuring the machine, not the mess.
- Clean the interface: Remove all metal dust and burrs from the fence and the table.
- Inspect the fasteners: Check the mounting bolts for the rear guide. If they are stretched or stripped, the fence will drift under the pressure of heavy steel stock.
- Check the pivot: Ensure the saw arm has no lateral play. If the head of the saw moves side-to-side, adjusting the fence is a waste of time.
Verifying the Flatness of the Saw Table and Rear Guide
A common mistake I see in shops is assuming the fence is a perfectly straight line. Over time, heavy metal stock can bow the center of a fence, or a factory casting might have a slight crown. If your fence is not flat, your material will “rock” during the cut, leading to inconsistent angles that look like tool chatter.
To diagnose this, you need a high-quality straight edge. Lay the straight edge across the length of the fence. Use a feeler gauge to check for gaps between the straight edge and the fence face. If you can slide a 0.005-inch gauge anywhere along that line, the fence needs to be shimmed or replaced before you can calibrate the angle.
| Symptom | Probable Mechanical Cause | Diagnostic Step |
|---|---|---|
| Gap at the top of a miter joint | Fence is angled backward (Out of plumb) | Check fence-to-table squareness with a 2-3-4 block. |
| Gap at the bottom of a miter joint | Fence is angled forward | Adjust the vertical stop or shim the fence base. |
| Curved or “wandering” cut | Fence is bowed or not flat | Use a straight edge and feeler gauges across the fence face. |
| Intermittent angle errors | Loose fence mounting bolts | Check torque on all guide rail fasteners. |
Squaring the Guide to the Blade Path
Once you have confirmed the fence is flat, the next step is to ensure it sits at a perfect 90-degree angle to the blade. This is the heart of the calibration process. In my experience, relying on the factory-printed scale is a recipe for failure. Those scales are often stickers or thin stampings that can shift.
To perform this adjustment, loosen the bolts that secure the fence to the table. Place a machinist square against the face of the fence and the body of the blade. Be careful to avoid the carbide teeth, as they sit wider than the blade body and will throw off your reading. I prefer using a digital dial indicator mounted to a magnetic base for this, as it allows me to sweep the blade and see exactly where the deviation occurs.
- Loosen the primary fasteners: Give the fence enough room to move, but keep it snug enough that it doesn’t flop around.
- Set the 90-degree baseline: Use a known-square reference tool.
- Tighten in a pattern: Much like a cylinder head, tighten the fence bolts in a center-outward pattern to prevent the metal from “walking” as you apply torque.
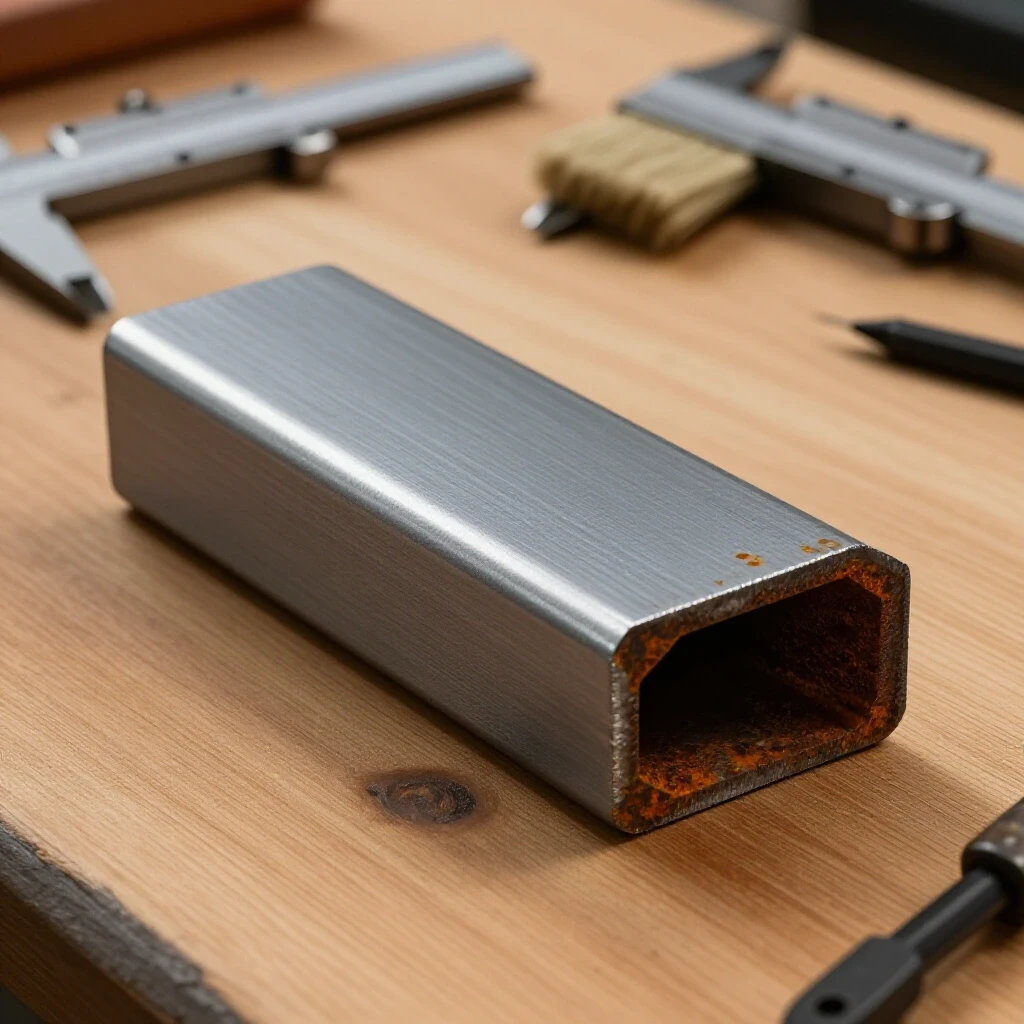
- Verify with a test cut: Use a piece of scrap rectangular tubing. Cut it, flip one side 180 degrees, and butt them together on a flat surface. Any error will be doubled, making it easy to see.
Resolving Mechanical Play and Vibrational Drift
Metal cutting involves significantly higher forces than woodworking. The vibration from a cold saw or an abrasive saw can cause the fence to migrate over time. This “vibrational drift” is a silent killer of productivity. If you find yourself recalibrating every week, you likely have an issue with the locking mechanism or the material of the fence itself.
In many mid-grade saws, the fence is made of thin aluminum. When you clamp a heavy piece of 2×2 inch steel tubing against it, the fence can actually flex. I often troubleshoot this by measuring the fence position before and after clamping the workpiece. If the fence moves more than 0.003 inches under clamping pressure, you need to reinforce the backstop or replace the mounting hardware with higher-grade bolts.
- Check the detent plate: The notched plate that clicks into common angles (0, 22.5, 45) can wear out. If there is “slop” in the 90-degree notch, the fence will never stay true.
- Inspect the locking handle: Ensure the friction lock is actually biting into the metal. If the surface is polished smooth from use, scuff it with 80-grit sandpaper to increase grip.
- Torque specs: Use a torque wrench to ensure the fence bolts are tightened to the manufacturer’s specification, usually around 15-20 ft-lbs for smaller saws.
Troubleshooting Common Alignment Errors in Metal Fabrication
When a saw is misaligned, it creates a cascade of issues that can be hard to track down if you aren’t looking at the big picture. For example, “tool chatter” is often blamed on a dull blade or a weak motor. However, if the fence is not square, the blade is effectively trying to cut a path wider than its own kerf. This creates lateral pressure, causing the blade to vibrate or “chatter” against the material.
I once worked with a fabricator who was losing teeth on his expensive carbide blades every week. He thought it was a metallurgical defect in the blades. We tracked it back to a fence that was angled just 0.5 degrees off-center. This caused the back of the blade to rub against the cut on every pass, overheating the carbide and causing it to shatter.
Diagnostic Comparison: Alignment vs. Material Issues
| Issue | Alignment Root Cause | Material/Tool Root Cause |
|---|---|---|
| Excessive Burr | Fence is not square to the blade path | Blade is dull or feed rate is too high |
| Wavy Cut Surface | Fence is vibrating or loose | Spindle bearings are worn (Backlash) |
| Blade Binding | Fence is “pinching” the blade at the end of the cut | Material has internal tension (Cold rolled stress) |
| Miter Gap | Fence angle is incorrect | Material is not held flat against the table |
A Systematic Checklist for Restoring Saw Accuracy
To maintain a high-functioning shop, you need a repeatable process. I use this checklist every time I move a saw or after every 50 hours of heavy cutting. This ensures that “mechanical gremlins” don’t have a chance to ruin a project.
- Debris Clear-out: Use compressed air to blow out the miter scale and the area behind the fence.
- Squareness Check: Use a machinist square to check the 90-degree and 45-degree stops.
- Fastener Audit: Hand-check every bolt on the rear guide for tightness.
- Table Leveling: Ensure the saw is sitting on a flat surface; a twisted frame will twist the fence.
- Stop Block Calibration: If you use a flip-stop for repeatable lengths, verify that it is parallel to the fence.
- Test Cut and Flip: Perform the 180-degree flip test on a 4-inch wide piece of flat bar.
- Log the Results: Keep a small notebook with the date and the amount of adjustment needed. If it’s always moving the same way, you have a structural wear issue.
Diagnosing Vertical Perpendicularity (The Plumb Test)
While we often focus on the horizontal angle of the fence, the vertical alignment is just as critical. If the fence is leaning forward or backward, your cut will be “out of plumb.” This is particularly problematic when welding thick-walled tubing, as it creates an uneven root gap that leads to poor weld penetration.
To diagnose this, place a square against the table and the vertical face of the fence. If you see light through the gap, the fence is not perpendicular to the table. Some saws allow for a “tilt” adjustment on the fence itself. If yours does not, you may need to use thin brass shims (between 0.001 and 0.005 inches) behind the fence mounting points to tip it back into a true vertical position.
Conclusion: The Impact of Precision on Your Workflow
Mastering the alignment of your cutting equipment is the difference between a fabricator who struggles with fit-up and one who breezes through assembly. When your rear guide is perfectly calibrated, your weld prep time drops significantly. You no longer have to “fill the gap” with extra weld wire, which reduces heat input and prevents the material warping that plagues so many shops.
By following a systematic diagnostic path—checking for flatness, isolating the blade path, and securing against vibration—you turn your miter saw from a “rough-cut” tool into a precision instrument. Remember, in metalworking, an error of a few thousandths of an inch at the saw becomes a quarter-inch error by the time you reach the end of a ten-foot frame. Take the time to calibrate; your welder (and your sanity) will thank you.
Frequently Asked Questions
Why does my miter saw fence move even after I tighten the bolts?
This is usually caused by “bolt creep” or a lack of surface friction. In many cases, the underside of the fence or the table surface is too smooth. I recommend checking for any oil or grease on the mounting surfaces. If the problem persists, use hardened washers to distribute the clamping force more evenly, or check if the bolts are bottoming out in their holes before they fully clamp the fence.
How do I calibrate the 45-degree angle if the 90-degree is already set?
On most saws, the 45-degree accuracy depends on the 90-degree baseline. Once your 90 is locked in, move the saw to the 45-degree detent. Use a dedicated 45-degree machinist square or a combination square that has been verified for accuracy. If the 45 is off while the 90 is perfect, you may need to adjust the individual detent stop or the pointer on the scale.
Can I use a standard carpenter’s square for this process?
I strongly advise against it for metal fabrication. Carpenter’s squares are designed for wood, where a 1/32-inch error is often acceptable. In metalworking, we need much tighter tolerances. A machinist square or a “1-2-3 block” is much more reliable because they are ground to tolerances of 0.0005 inches or better.
What is the “Five-Cut Method” and does it work for metal?
The five-cut method involves cutting a square piece of material four times, rotating it 90 degrees each time, and then taking a thin fifth sliver. By measuring the thickness of the fifth cut at both ends with a micrometer, you can calculate the exact angular error. It works exceptionally well for metal, provided you use a stable piece of aluminum or steel plate that won’t flex during the process.
How does a misaligned fence cause welding porosity?
As mentioned in my opening story, a misaligned fence creates uneven gaps in your joints. During welding, these gaps can act as a venturi, drawing in oxygen and nitrogen from the surrounding air. This atmospheric contamination gets trapped in the molten weld pool as it cools, resulting in “porosity” or holes in the weld bead.
My fence is two separate pieces. How do I make them co-linear?
This is a common challenge with “sliding” miter fences. The best way to align them is to use a long, verified straight edge that spans both pieces. Clamp the straight edge to the fixed side of the fence, then bring the adjustable side up to meet it. Ensure there is no “step” or “gap” where the two pieces meet, or your material will snag and shift during the cut.
Does the thickness of the metal I’m cutting affect the calibration?
Indirectly, yes. Heavier, thicker metal puts more lateral stress on the fence. If your saw was calibrated using a thin piece of sheet metal, it might flex when you throw a heavy piece of 4-inch channel on it. I always recommend doing a final verification cut using material that matches the weight and profile of your actual project.
What is the maximum allowable tolerance for a metal-cutting fence?
For general fabrication, I aim for a deviation of no more than 0.003 inches over a 6-inch span. For high-precision work, such as aerospace or high-pressure piping, you may need to get that down to 0.001 inches. If your saw cannot hold these tolerances, it may have internal wear in the pivot arm or the motor arbor.
Should I use thread-locking fluid on my fence bolts?
I generally avoid permanent (red) thread-locker because you will need to adjust the fence again in the future. However, a medium-strength (blue) thread-locker can be very helpful in high-vibration environments to prevent the bolts from backing out during a long production run.
Why does my saw cut square on the first inch but drift afterward?
This usually indicates that the fence is not parallel to the blade’s travel (the “stroke”). Even if the fence is square to the blade at rest, if the saw arm travels on a slightly diagonal path, the cut will drift. This requires checking the “heel” of the saw, which is the alignment of the motor and blade assembly relative to the pivot point.
(This article was written by one of our staff writers, Paul Whitaker. Visit our Meet the Team page to learn more about the author and their expertise.)