How to Clean and Remove Weld Heat Tint on Stainless (Guide)
I have spent the last 18 years walking the floors of fabrication shops, often called in when a process that worked yesterday suddenly fails today. One of the most common calls involves the final stages of a build, specifically when a team is struggling to restore the professional finish and corrosion resistance of stainless steel after it has been joined. It is a frustrating moment. You have done the hard work of aligning the structure and ensuring the integrity of the joints, but the surface is marred by thick, colorful oxidation that refuses to budge or, worse, leads to “tea staining” and corrosion weeks later.
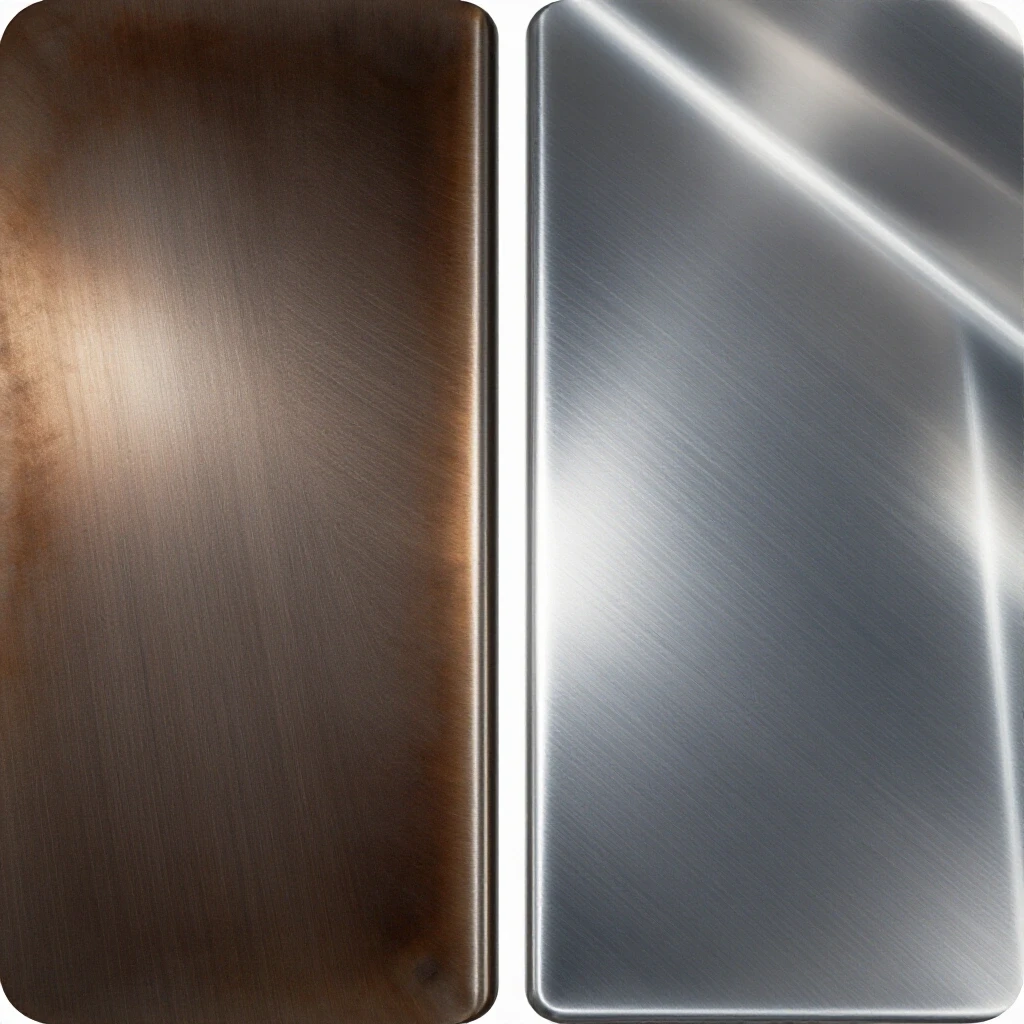
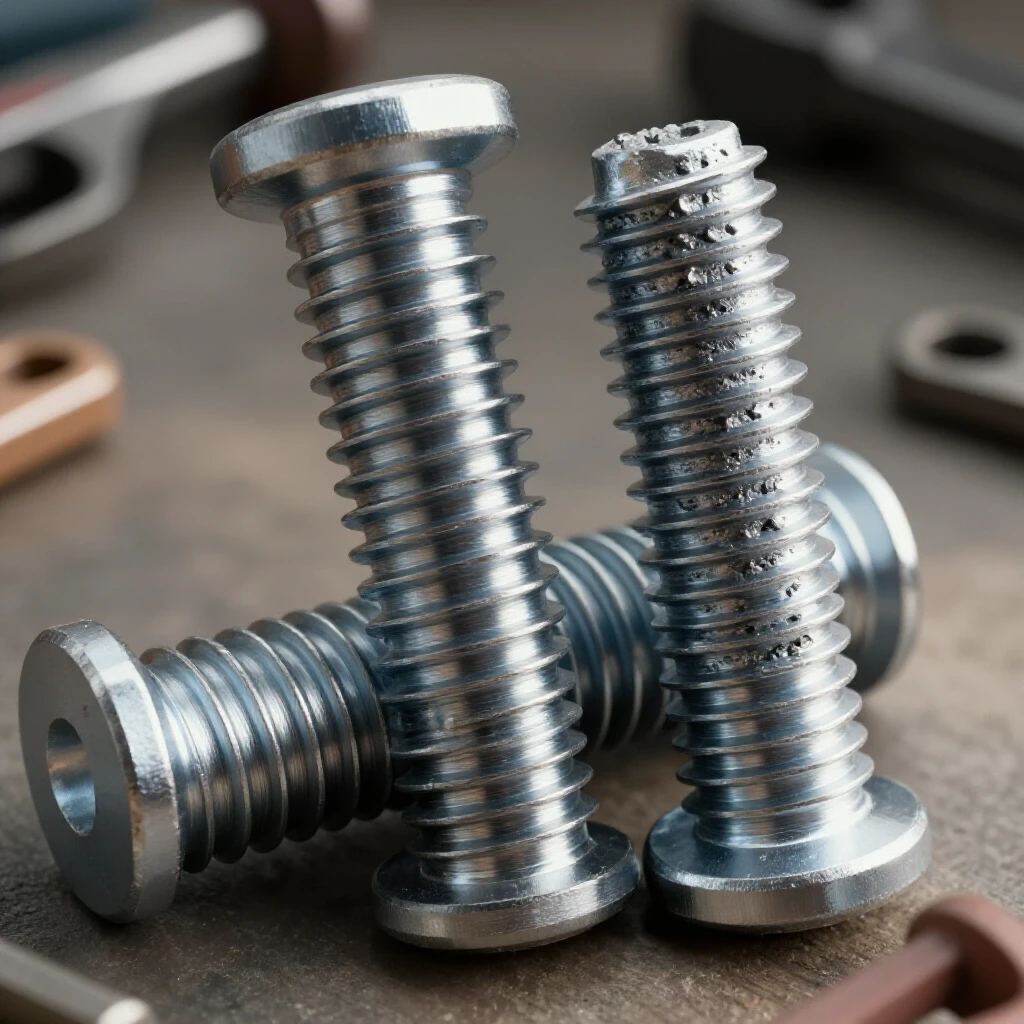
In my experience, many fabricators treat the removal of thermal discoloration as an afterthought—a quick scrub with whatever is lying around. This is where the trouble begins. When we ignore the underlying chemistry of the metal, we invite failure. Stainless steel relies on a microscopic layer of chromium oxide to stay “stainless.” When high heat is applied, that layer thickens and changes, creating those familiar blues, purples, and straws. But beneath that color is a layer of steel that has been depleted of its chromium. If you don’t remove that depleted layer systematically, your part will rust.
I approach surface restoration just like I approach a vibrating lathe or a misaligned mill: through observation, isolation of variables, and a step-by-step diagnostic process. We aren’t just “cleaning” the metal; we are performing a metallurgical repair. This guide will walk you through the systematic methods I use to diagnose the severity of oxidation and the most effective ways to restore the material to its original state.
Establishing a Diagnostic Framework for Surface Restoration
A diagnostic framework is a structured approach used to identify the root cause of a material or mechanical failure and determine the most efficient path toward a permanent solution.
Before you reach for a grinder or a chemical bottle, you have to look at the “patient.” Not all oxidation is the same. I start by categorizing the discoloration based on its thickness and the geometry of the part. A light straw color on a thin-walled 304 tube requires a different level of aggression than a dark blue or black oxide on a heavy 316L plate.
If you choose a method that is too aggressive, you ruin the surface finish and create more work in the polishing phase. If you are too passive, you leave behind the chromium-depleted layer, and the part will fail in the field. I use a simple three-step diagnostic check:
- Identify the Alloy: 300-series and 400-series steels react differently to chemicals and abrasives.
- Assess the Color Spectrum: Darker colors (blue/black) indicate deeper chromium depletion than lighter colors (yellow/straw).
- Determine the Final Surface Requirement: Is this a food-grade finish (Ra 32 or better) or a structural component where aesthetics matter less than corrosion resistance?
By isolating these variables, we can choose the right tool for the job rather than guessing. This reduces downtime and prevents the “re-work loop” that kills shop productivity.
Mechanical Methods for Eliminating Surface Oxidation
Mechanical restoration involves using physical force and abrasives to grind away the oxidized layer until the unaffected base metal is exposed.
I often see shops run into trouble here because of cross-contamination. I remember a project where a team was cleaning up 304 stainless railings using wire wheels they had previously used on mild steel. Within three days, the stainless was covered in rust spots. The diagnostic lesson? Never use a tool on stainless that has touched carbon steel.
When using mechanical methods, you are essentially “machining” the surface at a micro-level. You need to remove enough material to get past the chromium-depleted zone, which is typically only a few microns deep. However, if you are working with tight tolerances—say, a bearing fit or a sealing surface—you must be careful not to remove too much.
- Stainless Steel Wire Brushes: Use only new, dedicated brushes. They are best for light discoloration in hard-to-reach corners.
- Non-Woven Abrasive Pads: These are excellent for maintaining a brushed finish. They don’t load up as quickly as sandpaper.
- Flap Discs and Sanding Belts: Use these for heavy, dark oxides. Start with a 120-grit and move up to a 240-grit to blend the surface.
One metric I always keep in mind is the surface roughness, measured in Ra (Roughness Average). If you are working on food-grade equipment, you cannot leave deep scratches where bacteria can hide. A mechanical approach often requires a secondary polishing step to meet these standards.
Troubleshooting Mechanical Finish Failures
| Symptom | Probable Root Cause | Corrective Action |
|---|---|---|
| Surface turns brown/rusty after cleaning | Carbon steel contamination | Use new, dedicated stainless abrasives; passivate with citric acid. |
| Visible “swirl” marks or deep scratches | Abrasive grit too coarse | Step through grits (e.g., 120 to 180 to 240) without skipping. |
| Metal feels “wavy” or uneven | Excessive pressure/dwelling in one spot | Keep the tool moving; use a lighter touch with higher RPM. |
| Tool chatter or vibration | Unbalanced disc or loose spindle | Check tool runout; ensure the workpiece is rigidly clamped. |
Chemical Remediation and Pickling Processes
Chemical pickling is the use of strong acids to dissolve the oxide scale and the chromium-depleted layer, leaving behind a clean, chemically active surface.
In my years of troubleshooting, I have found that pickling is the most misunderstood process. Many people think of it as a “wash,” but it is a controlled chemical reaction. Pickling pastes usually contain a mix of hydrofluoric and nitric acids. These are dangerous chemicals that require full PPE: face shields, acid-resistant gloves, and proper ventilation.
The “diagnostic” part of pickling is managing the dwell time. If you leave the paste on too short, the oxidation remains. If you leave it on too long, you can cause “over-pickling,” which results in a dull, grey, pitted surface that is very hard to fix.
I once consulted for a shop that was seeing inconsistent results with their pickling paste. We found that the shop temperature was dropping to 50 degrees Fahrenheit at night. The chemical reaction slowed down so much that their usual 30-minute dwell time wasn’t enough. We adjusted the process by monitoring the ambient temperature and increasing the dwell time by 15 minutes for every 10-degree drop below 70 degrees.
- Application: Apply the paste evenly with an acid-resistant brush.
- Dwell Time: Typically 15 to 60 minutes, depending on the alloy and temperature.
- Neutralization: This is critical. You must use a neutralizing wash (like a baking soda solution) to stop the reaction before rinsing with water.
Electrochemical Cleaning: The Systematic Approach
Electrochemical cleaning uses a combination of electrical current and a mild electrolyte solution to lift oxidation and promote the formation of a new passive layer.
This is my preferred method for high-precision work because it is faster than pickling and less messy than mechanical grinding. It works on the principle of electrolysis. You have a power source, a grounding clip, and a wand with a conductive brush or pad. When the wand touches the metal, the current flows through the electrolyte, breaking the bond between the oxide and the steel.
When troubleshooting an electrochemical setup, I look at the electrical variables. If the process is slow, I check the ground connection. A poor ground creates high resistance (measured in Ohms), which drops the effective voltage at the wand.
I also look at the “back-EMF” or feedback from the machine. Modern units often have digital displays. If the amperage is spiking, you might be shorting out the brush against the metal, which can cause “arcing” or small pits in the surface.
- Set the voltage based on the material thickness (usually 12V to 30V).
- Ensure the electrolyte is fresh; contaminated fluid won’t conduct as well.
- Keep the brush moving in a circular motion to avoid “ghosting” or uneven stripes.
Comparing Restoration Methods for Shop Efficiency
| Method | Speed | Safety Risk | Surface Finish Impact | Best Use Case |
|---|---|---|---|---|
| Mechanical | Moderate | Low (Dust) | High (Changes texture) | Heavy structural parts; non-critical finishes. |
| Chemical (Pickling) | Slow | High (Acid burns) | Moderate (Dulls surface) | Complex geometries; large batches. |
| Electrochemical | Fast | Moderate (Fumes) | Low (Polishes surface) | High-end decorative; food-grade; precision parts. |
The Role of Passivation in Long-Term Reliability
Passivation is a post-cleaning process that involves treating the stainless steel with a mild oxidant, like nitric or citric acid, to remove free iron and accelerate the growth of the protective chromium oxide layer.
I cannot stress this enough: removing the color is only half the job. Once the metal is bare, it is “active.” If you leave it alone, it will eventually passivate on its own by reacting with oxygen in the air, but this takes 24 to 48 hours. During that time, the metal is vulnerable. If a piece of iron dust lands on it, or if it gets wet, it will rust.
In the field, I use a simple “water break test” to diagnose if a surface is truly clean and ready for passivation. If you spray water on the metal and it sheets off evenly, it is clean. If it beads up, there is still oil or oxidation present.
For a systematic passivation process: * Clean the surface thoroughly to remove all oils (degrease). * Apply a citric acid solution (usually 4% to 10% by weight). * Let it sit for 20 to 30 minutes at room temperature. * Rinse with deionized or distilled water if possible, as tap water can contain chlorides that trigger corrosion.
Troubleshooting Common Surface Defects After Cleaning
Sometimes, even after following the steps, the surface doesn’t look right. This is where your diagnostic skills come into play. You have to look at the symptoms and trace them back to the variable that changed.
One issue I often see is “white staining” after using an electrochemical cleaner. This is usually caused by the electrolyte drying on the surface before it was rinsed. The fix is simple: rinse more thoroughly and use a clean microfiber cloth to dry the part immediately.
Another common problem is “pitting” after pickling. This is almost always caused by leaving the acid on too long or using a concentration that was too high for the specific alloy. If you see pitting, you have to go back to mechanical methods to grind the pits out, which is a major time sink. This is why I always recommend testing a small, inconspicuous area first. It is the same principle as checking the backlash on a mill before a critical cut—you verify the machine’s state before you commit to the work.
Checklist for Maintaining Surface Integrity
To keep your shop running efficiently and avoid these “gremlins,” I recommend a standard operating procedure (SOP) for every stainless job.
- Tool Separation: Color-code your grinders and brushes. Blue for stainless, red for carbon steel.
- Chemical Logging: Mark the date on every bottle of pickling paste. These chemicals lose potency over time.
- Equipment Calibration: Once a month, check the output of your electrochemical cleaner with a multimeter to ensure the voltage settings are accurate.
- Surface Inspection: Use a 10x jeweler’s loupe to inspect the cleaned area. If you can still see dark specks in the grain of the metal, the chromium-depleted layer is still there.
- Environmental Control: Keep your stainless work area away from your grinding station for mild steel. Airborne iron dust is the number one cause of “mysterious” rust on stainless.
Advanced Diagnostic Tools for the Modern Shop
While a good eye is your best tool, modern technology has made our jobs much easier. I now use a few digital tools that I didn’t have 15 years ago.
- Digital Surface Roughness Tester: This allows me to give a client a hard number (Ra) for the finish, proving it meets their specs.
- Infrared Heat Tracking: While this is used during the joining phase, it helps me predict where the heaviest oxidation will be, allowing me to prep the cleaning station in advance.
- Smartphone Spectrometers: There are now apps and attachments that can help identify the “signature” of different oxides, though they are still a bit experimental for shop use.
By using these tools, we move away from “I think it’s clean” to “I know it’s restored.” That certainty is what separates a master fabricator from a hobbyist.
Frequently Asked Questions
Why does my stainless steel rust even after I removed the heat tint? This usually happens because the “chromium-depleted layer” wasn’t fully removed. The color is just the top layer of oxidation. Beneath that, the steel has less chromium than it needs to stay stainless. You must remove a small amount of the base metal (usually a few microns) via pickling or electrochemical cleaning to reach the “healthy” steel.
Can I use a standard steel wire brush if I’m in a hurry? Never. A carbon steel brush will leave tiny particles of iron embedded in the stainless surface. These particles will rust almost immediately when exposed to moisture, leading to a phenomenon called “seeded corrosion.” Always use dedicated stainless steel or brass brushes.
What is the “water break test” and why does it matter? The water break test is a simple way to check for surface cleanliness. If water sheets off the metal in a continuous film, the surface is free of oils and contaminants. If it beads up like a waxed car, there is still a film present that will prevent chemicals from working or passivation from occurring.
Is citric acid as effective as nitric acid for passivation? For most shop applications, yes. Citric acid is much safer to handle and is becoming the industry standard. However, it is primarily a “chelating agent” that removes free iron. It doesn’t “pick up” heavy oxidation like nitric acid does. Use citric acid for the final passivation step, not for heavy cleaning.
How do I know if I have “over-pickled” the metal? The surface will look dull, frosty, or grey, and it may feel rough to the touch. In extreme cases, you will see microscopic pitting. If this happens, you will need to mechanically polish the surface to restore the shine.
What causes “arc strikes” during electrochemical cleaning? Arcing happens when there is a direct short between the wand and the workpiece, often because the brush is worn out or there isn’t enough electrolyte fluid to act as a buffer. It can also happen if the voltage is set too high for the surface area of the brush.
Do I need to neutralize the surface after using an electrochemical cleaner? Yes. Most electrolytes are acidic. If you don’t neutralize and rinse thoroughly, the salts from the dried electrolyte can cause spotting or even minor corrosion over time.
Can heat tint be removed with just a polishing compound? Only if the tint is very light (straw color). Polishing compounds are designed to refine a surface, not to remove thick oxide layers. For darker colors, you need a more aggressive mechanical or chemical approach first.
How long should I wait after cleaning before the part is “safe” from rust? If you have passivated the part chemically, it is protected almost immediately after drying. If you are relying on natural air passivation, you should wait at least 24 to 48 hours in a clean, dry environment before exposing the part to harsh conditions or moisture.
Why did my electrochemical brush turn black? This is a sign of carbon buildup or “burning” of the electrolyte. It usually means you are using too much current or not enough fluid. It can also happen if you are cleaning very dirty or oily metal. Always degrease the part before you start the electrochemical process.
What is the best way to clean inside a tight corner? Electrochemical cleaning with a brush-style wand is usually the best option for tight geometries. If that isn’t available, a pickling paste is the next best choice because the liquid can reach where a grinding wheel cannot.
Does the grade of stainless (304 vs 316) change the cleaning process? The steps are the same, but 316 is more resistant to chemicals. You might find that 316 requires a slightly longer dwell time for pickling paste or a slightly higher voltage for electrochemical cleaning compared to 304.
(This article was written by one of our staff writers, Paul Whitaker. Visit our Meet the Team page to learn more about the author and their expertise.)