How to Create a Sequential Project Assembly Plan (DIY Plan)
I have spent the last fourteen years looking at steel through a magnifying glass and a welding hood. In that time, I have seen projects that looked perfect on the surface fail under the weight of a single person. I have watched heavy frames twist like pretzels because a builder forgot to account for the way heat moves through a joint. These failures are rarely the result of bad luck. Usually, they stem from a lack of a clear, staged approach to the build process.
When I first started in the shop, I thought fabrication was just about the spark and the bead. I quickly learned that the actual welding is only about ten percent of a successful project. The rest is a rigorous process of planning, measuring, and verifying. My background in mechanical engineering taught me the math, but the shop floor taught me the reality of physical forces. If you are worried about your project cracking or warping, you are already thinking like a good fabricator. That anxiety is simply a respect for the laws of physics.

To build something that lasts, you need a logical order of operations. This means breaking a complex build into manageable, verifiable phases. We start with the physics of the metal, move into the preparation of the shop environment, and finish with a series of diagnostic checks. By following a structured roadmap, you can identify a potential failure while it is still a pencil mark on the floor, rather than a crack in a finished weld.
Analyzing Structural Metal Load Capacity and Material Stress
Before you ever strike an arc, you must understand how your chosen material will react to the forces you intend to place upon it. Structural metal load capacity refers to the maximum amount of weight or pressure a component can handle before it deforms or breaks. Knowing these limits prevents catastrophic failures in heavy builds like equipment trailers or shop cranes.
In my early years, I assisted on a failure analysis for a custom-built mezzanine that had sagged nearly three inches. The builder had used A36 mild steel, which is standard, but they hadn’t accounted for the “yield strength.” Yield strength is the point where the metal stops acting like a spring and starts staying bent. For A36 steel, this is typically around 36,000 PSI. If your design pushes the metal to 35,000 PSI, you have almost no safety margin.
I always recommend a safety factor of at least 2:1 for static loads and 4:1 for anything that moves or supports people. This means if you expect a shelf to hold 500 pounds, you should design it to hold 2,000 pounds. This covers you for material inconsistencies and minor welding defects that might reduce the total strength.
| Material Type | Yield Strength (PSI) | Typical Use Case | Risk Factor |
|---|---|---|---|
| A36 Mild Steel | 36,000 | General Framing | High Weldability |
| 6061-T6 Aluminum | 35,000 | Lightweight Brackets | High Heat Sensitivity |
| 4130 Chromoly | 63,000 | High-Stress Frames | Brittle if Cooled Fast |
| Grade 50 Steel | 50,000 | Heavy Equipment | Requires High Power |
Building on this, we must look at the “load path.” This is the route that weight takes through your project down to the ground. If a joint is not aligned correctly, the weight creates “shear stress,” which tries to slide the metal apart rather than pushing it together. A well-ordered build ensures that every piece of metal is positioned to support the next one efficiently.
Organizing Your Workshop Safety Checklist and Layout
A safe workspace is the foundation of technical accuracy. A workshop safety checklist is a formal list of inspections you perform on your tools, gear, and environment before any fabrication begins. This ensures that you aren’t distracted by a fire or a tripping hazard while you are trying to maintain a precise weld pool.
Garage fabrication safety is often overlooked because the setting feels familiar. However, the stakes are high. I once saw a small fire start because a fabricator didn’t notice a pile of oily rags ten feet behind his grinding station. Sparks can travel surprisingly far. Your layout should have a dedicated “hot zone” for cutting and welding, away from any flammable liquids or sawdust.
One of the most critical parts of your safety setup is the welding gas flow rate. If you are using MIG or TIG, your shielding gas protects the molten metal from the air. I generally set my flow meter between 15 and 20 CFH (cubic feet per hour). If the flow is too low, you get “porosity,” which are tiny bubbles in the weld that act like Swiss cheese, ruining the structural integrity. If it is too high, it can actually create turbulence that pulls air into the weld.
- Check all gas hoses for leaks using soapy water.
- Ensure your welding helmet lens is clean and rated for the shade you need (usually Shade 10 to 13).
- Verify that your fire extinguisher is charged and within reach.
- Clear a five-foot radius around your welding table of all trip hazards.
Interestingly, ventilation is just as much about weld quality as it is about your lungs. Strong cross-breezes can blow away your shielding gas, leading to hidden internal defects. I use welding screens to block wind while keeping my exhaust fans running to pull fumes away from my face.
Precision Material Preparation and the Heat Affected Zone
The quality of your final product is determined by the work you do before you turn on the welder. Material preparation involves cleaning the metal and shaping the joints to ensure deep penetration. If you weld over mill scale—that dark, flaky layer on new steel—you are essentially welding over dirt.
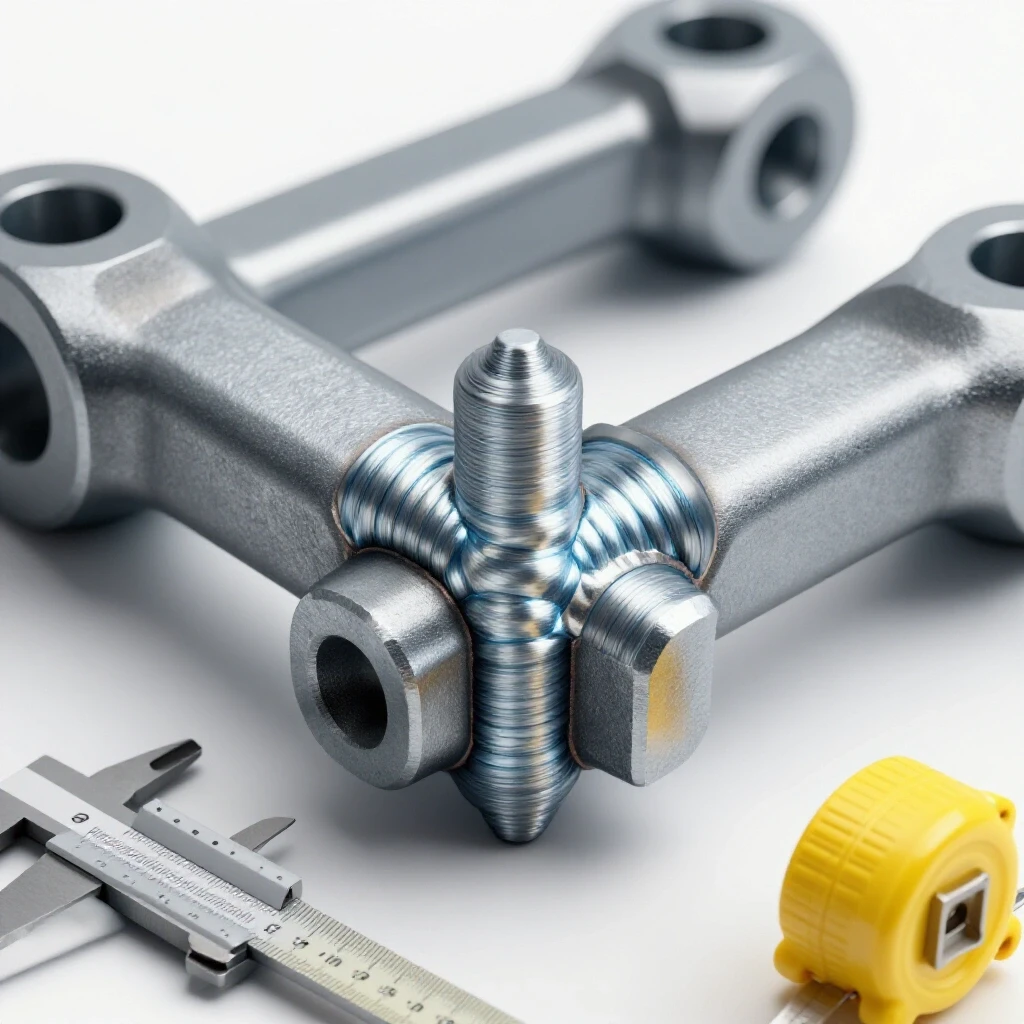
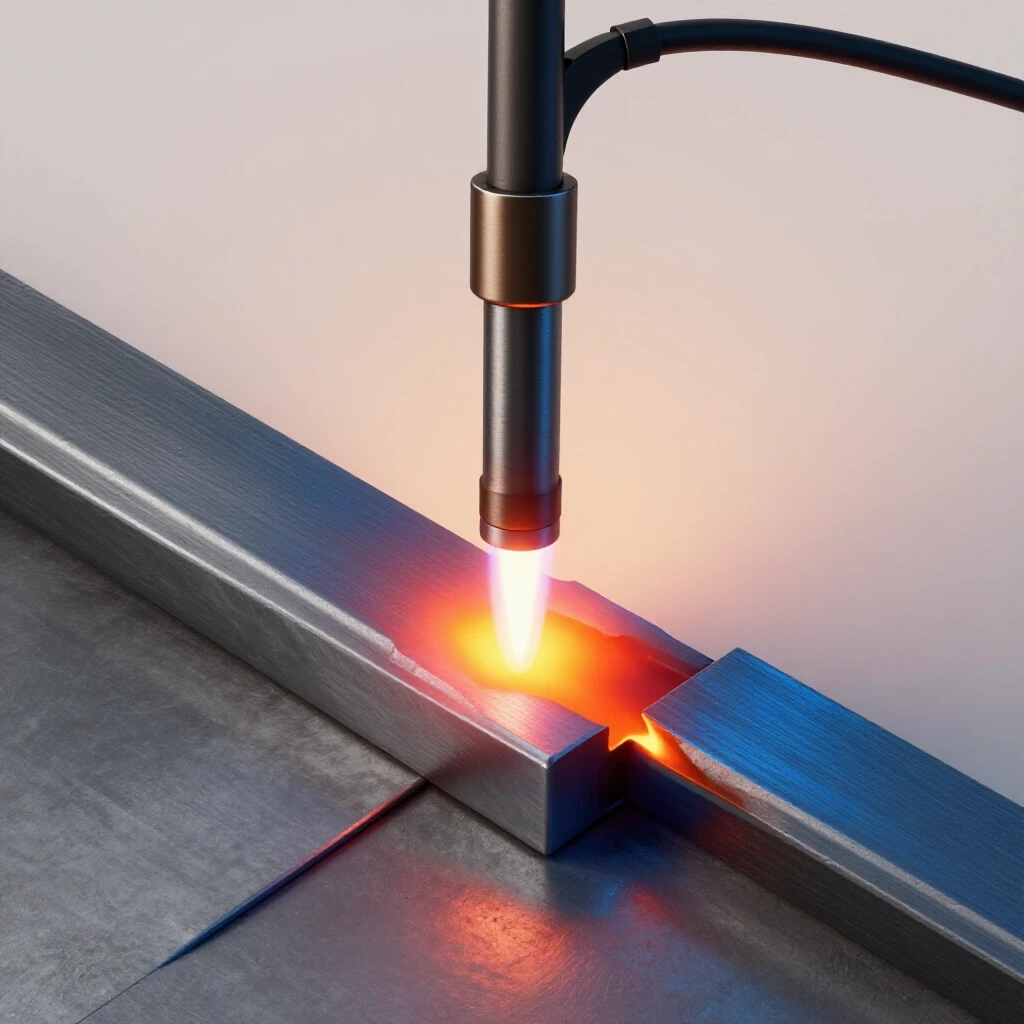
When you heat metal, you create a “Heat Affected Zone” (HAZ). This is the area of the base metal that didn’t melt but was heated enough that its internal structure changed. This zone is often the weakest point of a project. If you spend too much time in one spot with the welder, the HAZ grows larger and more brittle. This is why we use a sequential approach: we prep the joints perfectly so we can weld quickly and move on.
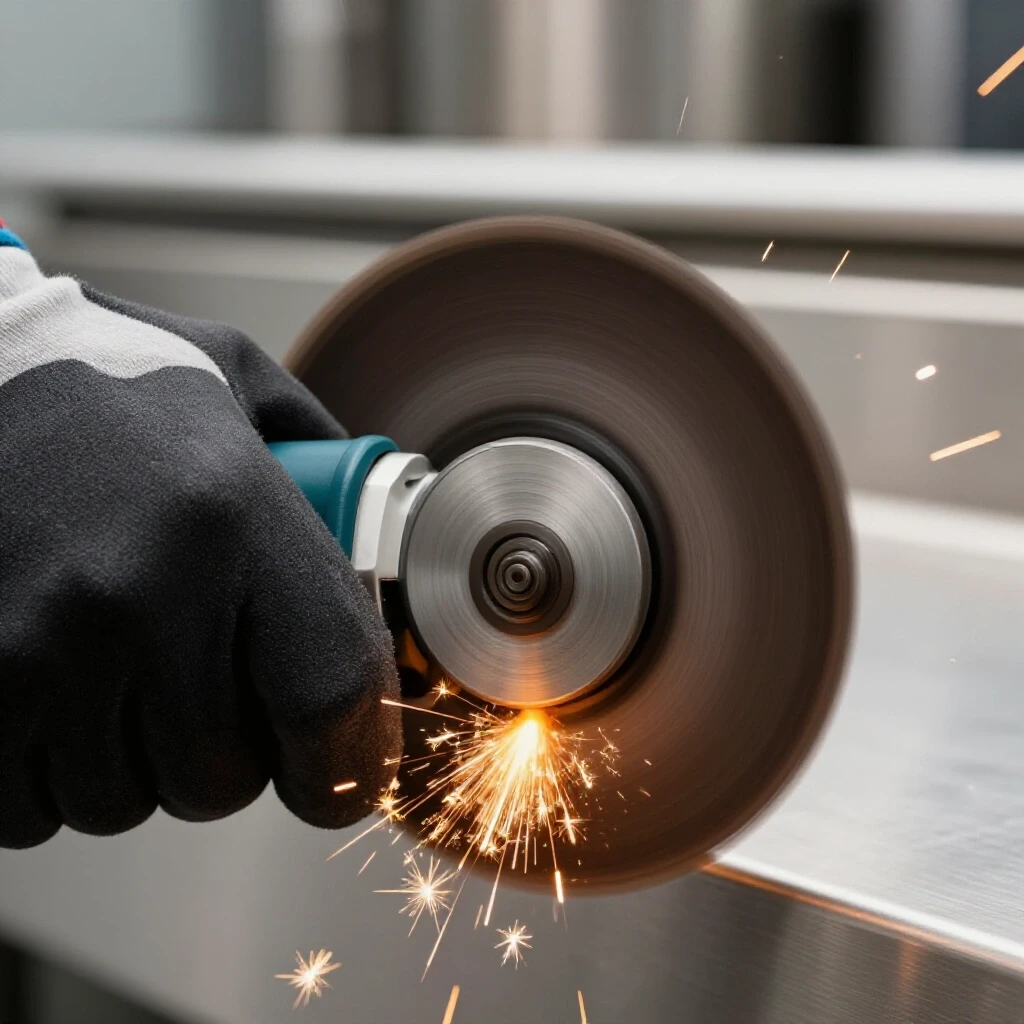
For any metal thicker than 1/8 inch, you should grind a bevel into the edges. This creates a “V” shape where the two pieces meet. This allows the weld to start at the very bottom of the joint rather than just sitting on top. A weld that doesn’t penetrate all the way through is just a “glue job” and will eventually fail under stress.
- Remove all mill scale, rust, and oil at least two inches back from the joint.
- Grind a 30 to 45-degree bevel on thick materials.
- Ensure a “root gap” of about 1/16 inch to allow the weld to flow through.
- Use a dedicated stainless steel brush for aluminum to avoid cross-contamination.
As a result of proper prep, your welder will require less voltage to get a strong bond. This keeps the HAZ small and keeps the metal from warping out of shape. I have seen many fabricators try to “fix” a bad fit-up with more heat, but that only leads to more distortion and a weaker structure.
Staged Fit-Up and Controlling Thermal Distortion
The most frustrating part of metalwork is finishing a project only to find it is crooked. Thermal distortion happens because metal expands when it gets hot and shrinks when it cools. If you weld one side of a frame completely before starting the other, the shrinking metal will pull the entire structure out of square.
I use a “tack and check” method. This involves making tiny, temporary welds at the corners of my joints. After every few tacks, I use a framing square to verify the alignment. If the metal has moved, I can easily break a small tack and reset the piece. If I had done a full weld, I would have to spend an hour with a grinder to fix the mistake.
Clamping is your best defense against movement. I never trust a single clamp. I use “strongbacks” or heavy pieces of scrap metal clamped across a joint to keep it flat while I work. Building on this, you should always weld in a sequence that balances the heat. If you weld the top-left corner, your next weld should be the bottom-right. This distributes the pulling forces evenly across the frame.
- Use heavy C-clamps or F-clamps to lock pieces to a flat table.
- Place tacks every 2 to 4 inches on long seams.
- Check for squareness after every four tacks.
- Allow the metal to cool to the touch before doing the final weld passes.
In my experience, the “clamping time” is usually three times longer than the “welding time.” It feels slow, but it saves you from the material costs of a ruined project. A frame that is welded out of sequence can easily pull an inch out of square over a six-foot span.
Welding Defect Troubleshooting and Visual Inspection
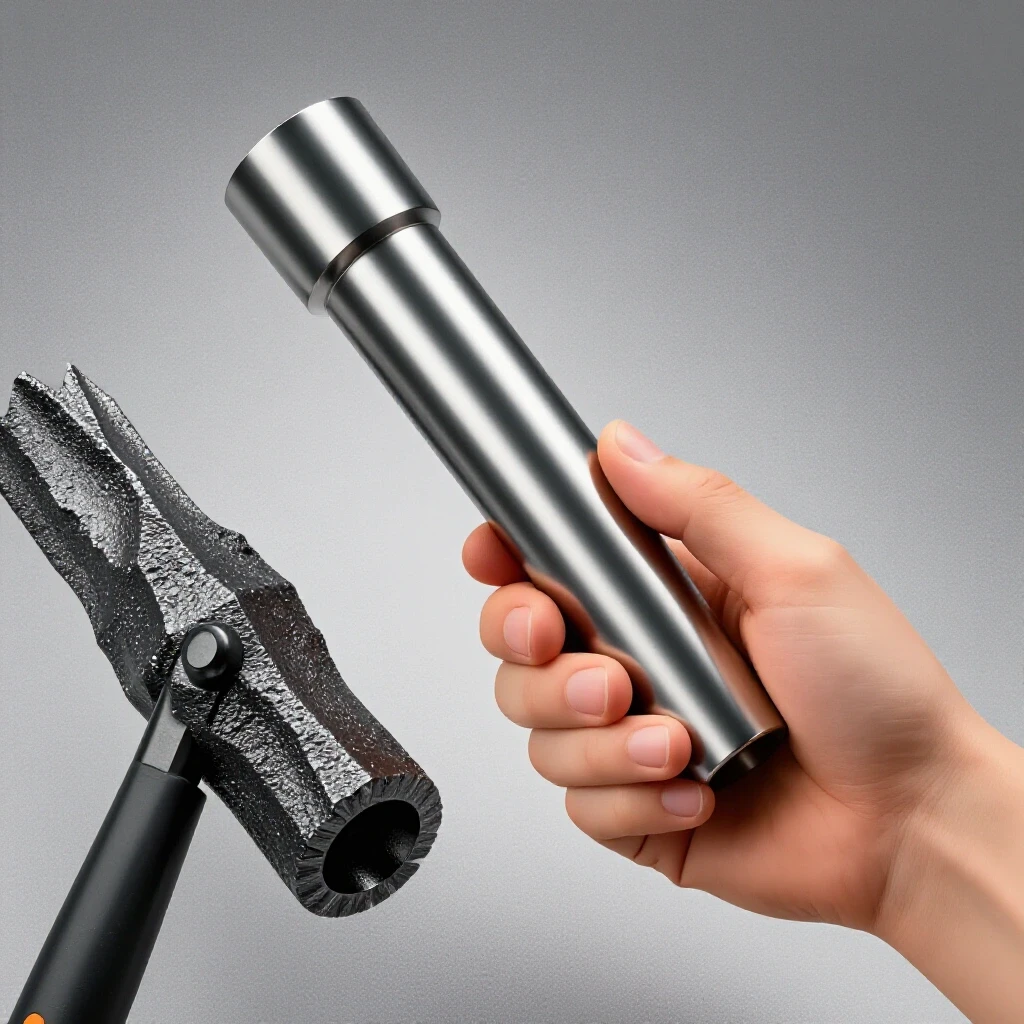
Once the welding begins, you must act as your own inspector. Welding defect troubleshooting is the process of identifying flaws like cracks, holes, or “undercut” while the project is still on the bench. Identifying these issues early is the only way to ensure structural safety.
The most common issue I see in home shops is “undercut.” This happens when the welder melts away the base metal at the edge of the weld but doesn’t fill it back in with the rod or wire. It looks like a small gutter running alongside your bead. This gutter creates a “stress riser,” a place where a crack is almost guaranteed to start. If you see undercut, you must turn down your heat or change your torch angle.
Another silent killer is “lack of fusion.” This is when the weld looks beautiful on the outside but didn’t actually bond to the base metal. It usually happens because the metal was too cold or the welder moved too fast. You can often spot this by looking at the “toes” of the weld; they should blend smoothly into the flat metal, not sit on top like a bead of water on a waxed car.
| Defect Name | Visual Indicator | Root Cause | Structural Consequence |
|---|---|---|---|
| Porosity | Small pinholes | Low gas flow or wind | Drastic loss of strength |
| Undercut | Grooves at weld edges | Too much heat/bad angle | High risk of cracking |
| Slag Inclusion | Dark spots inside weld | Poor cleaning between passes | Brittle internal spots |
| Cold Lap | Overlapping edges | Not enough heat | No structural bond |
To verify your work, I recommend a simple “dye penetrant kit.” You spray a red dye on the weld, wipe it off, and then spray on a white developer. If there is a crack too small for your eyes to see, the red dye will bleed out through the white powder. It is a professional-grade test that costs very little but provides immense peace of mind.
Final Assembly and Structural Load-Testing Protocols
The final stage of any build is the verification of the completed structure. Structural load testing is the controlled application of weight to a project to ensure it performs as designed. This is not about trying to break the project; it is about proving it is safe for its intended use.
I never put a new project into service at full capacity immediately. I use an incremental approach. For a shop bench, I might start with 100 pounds and check for any “creaking” or visible deflection. Then I move to 250 pounds. If the metal bounces back to its original shape when the weight is removed, it is still within its “elastic range.” If it stays bent, the design has failed.
During this phase, I also look for “brittle fracture.” This is a sudden break that happens without the metal bending first. It is common in welds that were cooled too quickly or made with the wrong filler metal. If you hear a loud “ping” during a load test, stop immediately. That sound is a grain of steel snapping, and it means the structure is unsafe.
- Clear the area of all bystanders before applying weight.
- Use “dead weight” like sandbags or water jugs rather than something expensive or fragile.
- Measure the distance from the floor to the center of your beam before and during the test.
- Check all joints for “flaking paint,” which is a sign that the metal underneath is stretching too much.
Next steps involve a final cleanup and a coat of primer. Exposed steel will begin to oxidize (rust) within hours in a humid shop. Rust is not just ugly; it eats away at the thickness of the metal, slowly lowering your load capacity over time. A high-quality industrial paint is your final layer of structural protection.
Conclusion
Building with metal is a balance between the heat of the torch and the cold logic of engineering. By following a staged process—from analyzing stress thresholds to final load testing—you remove the guesswork that leads to failure. I have learned through my own mistakes that the “slow” way of measuring, clamping, and inspecting is actually the fastest way to a finished project.
Your goal isn’t just to stick two pieces of metal together. Your goal is to create a structure that you can trust with your safety and your hard-earned money. Treat every weld as a data point and every project as a lesson in material science. When you respect the physics of the shop, the shop will respect your work.
Frequently Asked Questions
What is the most common reason a DIY metal project fails?
Most failures occur because of poor joint preparation or “cold” welds. If the mill scale isn’t removed, the weld cannot bond to the actual steel. This creates a joint that looks solid but can snap under a sudden load. Always grind your metal until it is bright and shiny before welding.
How do I know if my welding gas flow rate is correct?
Listen for a gentle hiss at the torch. For most indoor shop work, 15 to 20 CFH is ideal. If you see tiny holes (porosity) in your weld, increase the flow. If the weld looks “sooty” or black, you might have a leak in your gas line or a draft blowing the gas away.
Is A36 steel strong enough for a car trailer?
A36 is the industry standard for general fabrication, but its strength depends on the “section modulus” (the shape and thickness of the beams). For a trailer, you must calculate the load paths and ensure your safety factor is at least 3:1 to account for the bouncing and vibrations of road travel.
Why does my metal warp even when I use clamps?
Metal shrinks as it cools, and that force is incredibly strong—often strong enough to bend thick plate. To prevent this, use a “staggered welding” sequence. Move from one side of the project to the other to keep the heat input balanced across the entire structure.
What is a “Heat Affected Zone” and why should I care?
The HAZ is the area next to your weld that got hot but didn’t melt. This heat changes the grain structure of the metal, often making it softer or more brittle than the rest of the piece. Minimizing heat input by welding efficiently helps keep the HAZ small and the project strong.
How can I check for cracks without an X-ray machine?
You can use a “visual liquid penetrant” test. It involves a cleaner, a red dye, and a developer. The dye seeps into any cracks, and the developer pulls it out so you can see a bright red line. It is a very effective way to find hidden defects in your shop.
What PPE do I need for heavy grinding and welding?
At a minimum, you need a welding helmet with a Shade 10-13 lens, fire-resistant clothing (cotton or leather), and safety glasses under your helmet. For grinding, always use a full-face shield over your safety glasses, as sparks can bounce under the rim of the glasses.
How do I calculate the safety factor for my project?
Divide the “breaking strength” of your material by the “maximum expected load.” If your steel can hold 10,000 pounds and you plan to put 2,500 pounds on it, you have a 4:1 safety factor. For anything structural, never go below a 2:1 margin.
Can I weld aluminum to steel for a bracket?
No, you cannot traditionally weld aluminum to steel. They have different melting points and will not form a structural bond. They will create a brittle “intermetallic” layer that fails instantly. Instead, use a bolted connection with a sleeve to prevent galvanic corrosion.
What is “undercut” in a weld?
Undercut is a groove melted into the base metal right at the edge of the weld bead. It acts like a perforation in a piece of paper, giving a crack a perfect place to start. It is usually caused by having your welder set too hot or moving the torch too slowly.
(This article was written by one of our staff writers, James Harlan. Visit our Meet the Team page to learn more about the author and their expertise.)