How to Estimate Custom Metal Project Build Times (DIY Guide)
I remember the exact moment I realized my shop was out of control. I was standing over a half-finished steel frame, surrounded by offcuts, tripping over an extension cord, and realizing a project I thought would take six hours had already eaten twelve. My background in manufacturing operations told me I had a flow problem, but my tired back told me I had a planning problem. Scaling a home-based fabrication shop from a hobby to a high-output operation is a stressful transition. You have the skills, but suddenly the physical limits of your space, your power supply, and your lungs start to dictate your productivity.
To move from guessing to precise forecasting, you have to stop looking at a project as a single task. Instead, you must see it as a series of manual movements through a physical space. Over the last 20 years, I have evolved my setup from a basic welder in a corner to a layout designed for maximum throughput. This guide focuses on how to look at your shop as a system to accurately predict how long a build will take. We will look at how your floor plan, your electrical capacity, and your manual labor steps all fit together to create a reliable schedule.
Mapping Material-Flow Loops for Better Time Accuracy
Material-flow loops are the physical paths that steel and people take through your shop during a build. Mapping these loops involves tracing the journey from raw stock storage to the cutting station, then to the fabrication table, and finally to the finishing area. Understanding these paths helps you identify where wasted movement adds hidden minutes to every hour of work.
When I first reorganized my shop, I used a piece of chalk to draw my walking paths on the floor during a standard build. I was shocked to see that I walked nearly a mile just to build a small utility cart. In a micro-manufacturing environment, every foot of travel is a second of lost time. If you have to move a heavy welding table just to get a 20-foot stick of tubing off the rack, your estimation is already wrong. You aren’t just estimating welding time; you are estimating material handling time.
A linear flow pattern is the goal for most advanced shops. This means material enters one end of the shop and exits the other as a finished product. If your space is tight, a U-shaped flow also works. The key is to avoid “back-tracking,” where you have to move a part back to a station it has already visited. This creates bottlenecks. If your grinder is across the room from your welding table, you will spend 15% of your day just walking.
| Layout Type | Movement Efficiency | Best For | Estimated Time Impact |
|---|---|---|---|
| Random/Stationary | Low | Single-item hobby work | +30% wasted time |
| U-Shaped Flow | Medium-High | Small garage shops | +10% wasted time |
| Linear Flow | High | Long, narrow shops | 0% baseline |
| Cell-Based | Very High | Repetitive small parts | -5% efficiency gain |
To improve your forecasting, measure the distance between your primary workstations. If your saw is more than ten feet from your material rack, add a 5% “handling tax” to your initial cutting estimate. These small adjustments are the difference between finishing on Friday and working through the weekend.
Breaking Down the Build: The Component Method of Forecasting
The component method is a way to predict project duration by splitting the work into discrete manual steps. Instead of looking at a “gate,” you look at “ten cuts, four grinds, and twenty-eight inches of weld.” By assigning a time value to these small, repeatable actions, you create a much more accurate picture of the total labor required.
I spent years overestimating how fast I could work because I forgot to account for the “invisible” tasks. These include things like changing saw blades, cleaning mill scale, and squaring up jigs. In a professional workflow, the actual welding often accounts for less than 20% of the total build time. The rest is prep and fit-up. If you don’t account for the time it takes to wipe down oily steel or deburr an edge, your schedule will collapse before the first arc is struck.
Stock Layout and Initial Cutting Phases
Stock layout is the process of measuring, marking, and preparing raw material for its first cuts. This phase includes the time spent verifying your cut list and the physical act of moving heavy steel onto the saw or cutting table. It is the foundation of the project, and errors here will multiply the time needed in later stages.
In my shop, I found that I was losing twenty minutes per project just searching for a tape measure or a scribe. Now, I use a dedicated layout station. For an advanced shop, you should estimate layout time based on the number of unique parts. A project with fifty identical pieces is much faster to lay out than a project with fifty unique angles. For manual cold-sawing or bandsawing, I usually allot two minutes per cut for standard structural steel, which includes the time to reset the stop and clear the chips.
Fit-Up and Tack Welding: The Variable Time Sinks
Fit-up is the most unpredictable part of custom fabrication, involving the alignment and temporary securing of parts before final welding. This stage requires jigs, clamps, and constant checking for squareness. Because manual fit-up depends on the complexity of the geometry, it is often where the most time is lost due to “fiddling” with parts that don’t quite line up.
I recommend using a “complexity multiplier” for fit-up. If you are working on a 2D frame on a flat table, your fit-up time might be equal to your welding time. If you are working on a 3D structure like a roll cage or a complex bracket, your fit-up time could be three or four times longer than the welding itself. To estimate this, count the number of joints. For a standard 90-degree joint, allow five minutes for fit-up. For a compound angle, allow fifteen.
Environmental Factors: How Power and Air Quality Impact Stamina
Environmental factors include the shop’s electrical capacity and the effectiveness of its ventilation systems. These aren’t just safety concerns; they are productivity drivers. A shop that is too hot, too smoky, or plagued by tripped breakers will see a sharp decline in manual labor efficiency as the day progresses.
If you are running a high-output shop on a single-phase residential service, you are likely hitting a ceiling. Many professional-grade tools, like larger air compressors or heavy-duty welders, run more efficiently on 3-phase power. When your equipment is underpowered, it runs hotter and requires more frequent cooling breaks. This adds “forced downtime” to your project that is hard to track but easy to feel at the end of a long day.
Integrating 3-Phase Power for Consistent Tool Performance
A 3-phase power converter is a device that allows you to run industrial 3-phase machinery on a standard single-phase residential or shop supply. There are two main types: static converters and rotary phase converters. For a fabrication shop where tool loads change constantly, a rotary phase converter is usually the better choice because it provides more balanced power.
When I installed my first 10HP rotary phase converter, my estimation accuracy improved because my tools stopped failing. A bandsaw running on 3-phase power has more torque and is less likely to stall in heavy plate. This consistency allows you to set a “pace” for your work. If you are constantly resetting breakers or waiting for a single-phase compressor to catch up so you can use your plasma cutter, you need to add a 20% “equipment lag” to your time estimates.
- Rotary Phase Converter: Best for varying loads; provides 95-100% of rated motor power.
- Static Converter: Cheaper but only provides about 60-70% of the motor’s power; not recommended for heavy fabrication.
- VFD (Variable Frequency Drive): Great for single machines like a lathe or mill, but harder to use for a whole shop circuit.
Designing High-Volume Air Filtration to Reduce Fatigue
Air filtration in a metal shop involves moving a specific volume of air (measured in Cubic Feet per Minute or CFM) to remove welding fumes, grinding dust, and plasma smoke. Proper duct design ensures that the air moves fast enough to keep particles from settling in the pipes. This is critical because poor air quality leads to physical fatigue, which slows down your manual work speed.
I noticed that after four hours of welding in a poorly ventilated shop, my “inches per minute” of welding dropped by nearly 30%. I was tired, my eyes were itchy, and I was taking more breaks. To estimate your project times accurately, you must assume a clean environment. For a standard welding station, you want at least 1,000 CFM of extraction at the source. If you are grinding, you need even more to overcome the “static pressure” or resistance created by the ductwork and filters.
| Tool Type | Recommended CFM | Duct Diameter | Static Pressure Goal |
|---|---|---|---|
| MIG/TIG Station | 600 – 800 | 6 inch | 2.0 – 3.0 SP |
| Grinding Bench | 1,000 – 1,200 | 7 inch | 3.5 – 4.5 SP |
| Plasma Table | 1,500 – 2,000 | 8 inch | 4.0 – 5.0 SP |
Tracking Your Benchmarks: The Secret to Reliable Predictions
Benchmarking is the process of recording how long specific tasks actually take in your specific shop environment. It moves you away from “industry standards” and toward “your standards.” Since every fabricator has a different pace and every shop has a different layout, your own historical data is the only metric that truly matters.
I keep a simple logbook next to my welding table. Every time I start a major phase—like cutting a full set of parts—I jot down the start and end times. Over six months, I realized that I was consistently 15% slower at grinding than I thought I was. This data allowed me to adjust my future estimates. If you don’t track your actuals, you are just repeating the same mistakes in your planning.
- The Stopwatch Method: Use a simple timer for repetitive tasks like drilling holes or prepping joints.
- The Percent-Complete Check: At the end of each day, estimate what percentage of the project is done and compare it to your hours worked.
- The “Post-Mortem” Review: When a project is finished, sit down for five minutes and identify exactly where the time “leaked” out. Was it a tool failure? A missing measurement? A messy workbench?
By building a personal database of these times, you can eventually look at a blueprint and know, within a 10% margin, exactly how many hours of “hood time” and “bench time” will be required. This level of precision is what separates the advanced shop owner from the hobbyist.
Optimizing the Final Workflow: From Layout to Commissioning
The final workflow optimization involves the fine-tuning of your shop’s physical layout and equipment settings to ensure a smooth transition from parts to a finished product. This includes leveling your heavy work surfaces and ensuring your material handling tools, like carts and cranes, are positioned for immediate use. When everything is “commissioned” or ready for action, the friction of starting a project disappears.
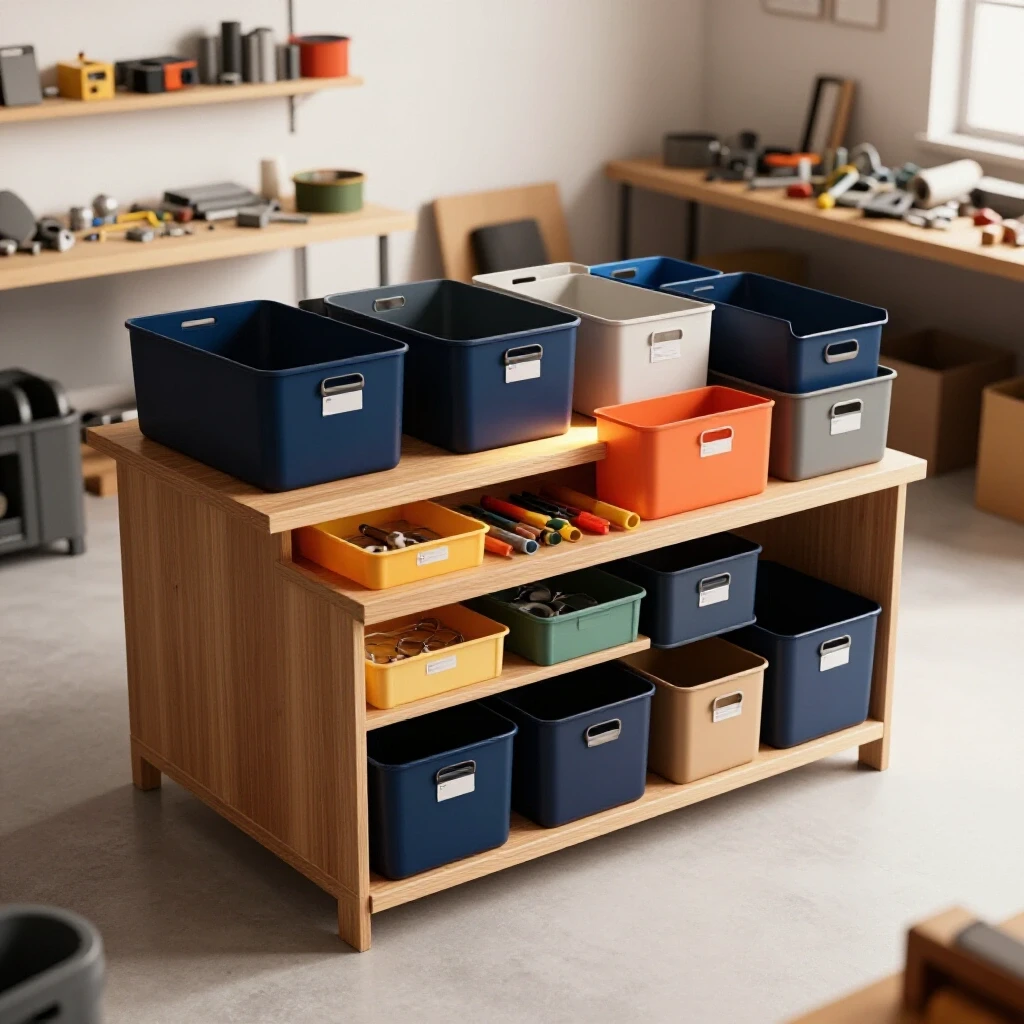
In my experience, the last 5% of a project—the cleaning, the final inspection, and the tool reset—is often forgotten in estimates. I call this the “commissioning phase.” If you have a project that needs to be delivered, you must account for the time it takes to clean the shop after the build so the next project can start. A cluttered shop is a slow shop. I always add a “reset hour” to every project estimate to ensure the floor is swept and the tools are back in their shadows.
- Machine Spacing: Maintain a 3-foot minimum access zone around all major tools for safety and maintenance.
- Floor Load Ratings: Ensure your concrete can handle the concentrated weight of new, heavier machinery or material racks.
- Tooling Files: Keep a physical or digital folder for each project that includes the specific settings used (gas flow, wire speed, blade TPI) to speed up future similar builds.
Frequently Asked Questions
How do I account for mistakes in my build time estimate? I recommend adding a “buffer” of 15% to 20% for any custom project you haven’t built before. This covers the time spent rethinking a joint or fixing a minor weld error. As you become more familiar with a specific type of build, you can reduce this buffer to 5%.
Is 3-phase power really necessary for a home-based shop? It isn’t strictly necessary, but it is a game-changer for productivity. Industrial 3-phase motors are simpler, more durable, and more efficient. If you are scaling up to larger saws or compressors, a rotary phase converter is one of the best investments for reducing equipment-related downtime.
How do I calculate the CFM I need for my dust collector? You need to know the requirements of your tools and the “static pressure loss” of your pipes. Generally, a 1,200 CFM collector is the minimum for a shop with multiple stations. Remember that every bend in your ductwork reduces the actual air moved at the tool.
Why does my grinding take so much longer than my welding? This is common. Grinding is a manual, high-effort task that is often underestimated. To speed it up, focus on your welding technique to minimize spatter and over-welding. Also, ensure you are using the correct grit and type of abrasive for the material.
What is the best way to organize a small shop for better flow? Start with your heaviest tool and build around it. Ensure that material moves in one direction. Use mobile bases for tools that aren’t used every day, but keep your primary “work cell” (saw, table, welder) fixed and optimized for minimal foot traffic.
How can I reduce physical fatigue during long fabrication projects? Invest in anti-fatigue mats, proper lighting, and high-quality air filtration. If you are breathing clean air and standing on a cushioned surface, your manual work pace will remain consistent throughout the day, making your time estimates more accurate.
Should I include shop cleanup in my project estimate? Yes, absolutely. A project isn’t finished until the shop is ready for the next one. If you don’t account for the 30-60 minutes of cleaning, that time will eventually eat into your next project’s schedule, causing a “snowball effect” of delays.
How do I estimate time for a material I’ve never worked with before? Double your standard prep and welding times. Different metals, like stainless steel or aluminum, require different cleaning procedures, heat management, and filler materials. Your first time working with them will involve a significant learning curve.
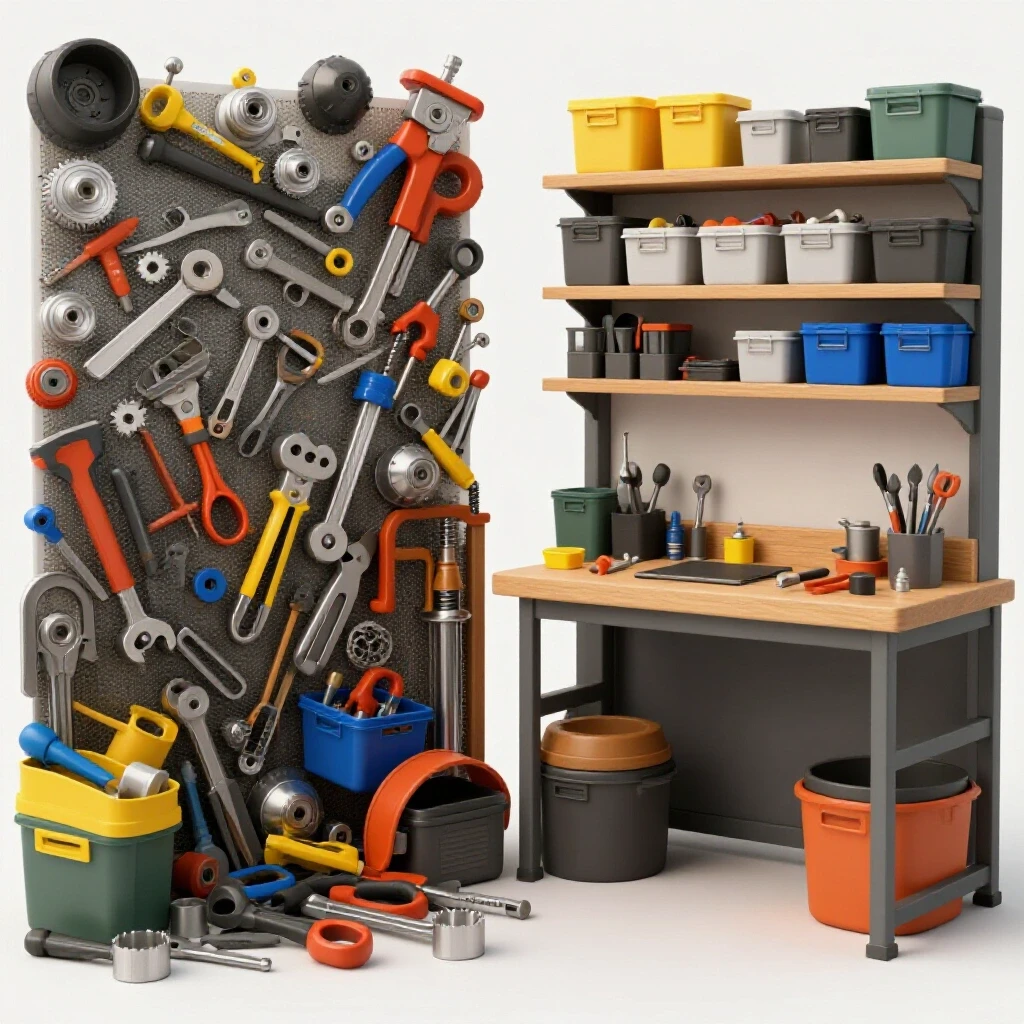
What is the most common “time-killer” in a fabrication shop? Searching for tools. If you have to walk across the shop to find a 1/2-inch wrench or a specific grinding disc, you are bleeding time. Implement a “shadow board” or a dedicated tool cart for each workstation to keep everything within arm’s reach.
How do I know if my shop layout is actually efficient? Track your “steps per project” using a simple pedometer or phone app. If you can reduce your daily step count while maintaining the same output, your layout is improving. Efficiency in a shop is often measured by how little you have to move, not how much.
(This article was written by one of our staff writers, Edward Sinclair. Visit our Meet the Team page to learn more about the author and their expertise.)