Essential Tools for a Beginner Metalworking Shop (Checklist)
When I first stepped into my empty two-car garage back in 2013, I had exactly $2,000 in my pocket and a lot of nerves. I had spent years as an industrial maintenance tech, fixing massive machines in factories, but building my own space from scratch felt different. The financial anxiety was real. I worried about blowing my budget on a shiny tool that would just collect dust while I lacked the basics to actually finish a project. Over the last decade, I have learned that a functional shop is not about having the most expensive gear; it is about having a smart plan and the right foundational items.
Setting up a fabrication area on a budget requires a shift in mindset. You have to move away from the “more is better” approach and focus on “better is more.” In those early days, I made the mistake of buying a cheap, underpowered welder that tripped my breakers every ten minutes. It taught me that understanding your power limits and workspace flow is just as important as the tools themselves. This guide is built on those lessons, designed to help you avoid the pitfalls of analysis paralysis and build a space that is safe, efficient, and affordable.
Evaluating Your Physical Space and Airflow
Establishing a safe environment for metalwork begins with a hard look at your floor plan and the air you breathe. You need enough room to move around a project safely while ensuring that the fumes and dust generated by grinding and welding do not linger in your living space.
Calculating Garage Workshop Ventilation Needs
Ventilation is the process of replacing stale, contaminated air with fresh outdoor air to maintain a safe breathing environment. In a home shop, this usually involves a mix of natural airflow from open doors and mechanical help from exhaust fans to pull out welding smoke and metal dust.
When I started, I thought opening the garage door was enough. I was wrong. On a windless day, the smoke from even a small welding project just hangs at eye level. To stay safe, you should aim for at least 15 to 20 air changes per hour. If your shop is 400 square feet with 8-foot ceilings, you have 3,200 cubic feet of space. To clear that air 20 times an hour, you need a fan system that moves about 1,000 Cubic Feet per Minute (CFM).
- Natural Ventilation: Use two openings to create a cross-breeze.
- Mechanical Exhaust: Place a high-velocity fan near your welding area to pull smoke away from your face.
- Filtration: Consider a simple box fan with a high-efficiency furnace filter for general dust, but do not rely on it for welding fumes.
Designing a Starter Metal Workshop Layout for Safety
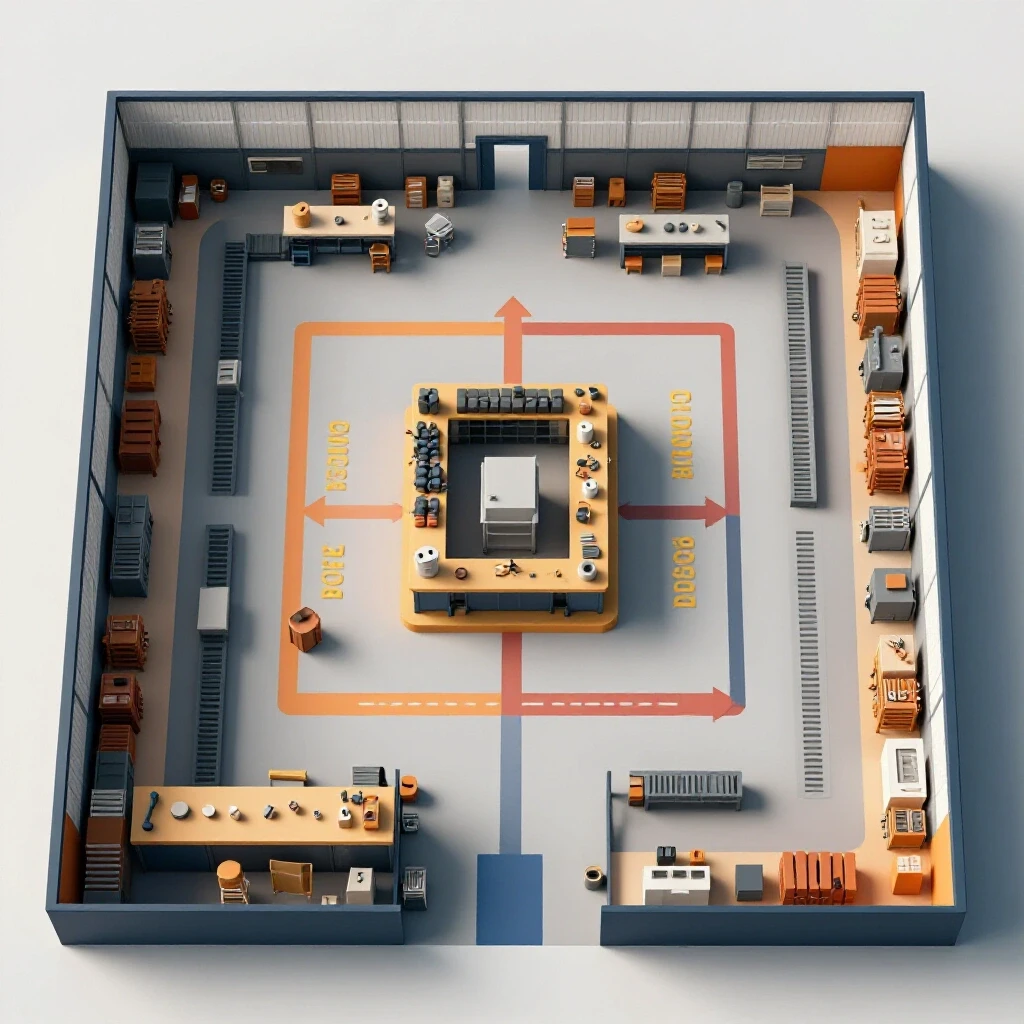
A shop layout is the strategic arrangement of tools and work surfaces to maximize efficiency and minimize hazards. A good plan separates “dirty” tasks like grinding from “clean” tasks like measuring or painting to prevent cross-contamination and fire risks.
I recommend the “Zone Method.” Divide your garage into three areas: the Hot Zone (welding and cutting), the Cold Zone (measuring and assembly), and the Storage Zone. Keep your flammable materials, like cardboard or wood, at least 35 feet away from the Hot Zone, as per basic fire safety standards. This prevents stray sparks from starting a fire while you are focused on your work.
| Zone Type | Primary Activities | Safety Requirements |
|---|---|---|
| Hot Zone | Welding, Grinding, Torch Cutting | Fire-resistant flooring, 35ft spark clearance |
| Cold Zone | Layout, Measuring, Hand Filing | High-intensity lighting, clean surfaces |
| Storage Zone | Material Racks, Tool Chests | Vertical storage to save floor space |
Managing Electrical Capacity and Power Safety
Your home electrical system is the heartbeat of your shop, but it has limits. Before buying any powered equipment, you must understand how much energy your garage can handle without melting wires or constantly resetting breakers.
Understanding Beginner Welder Power Requirements
Power requirements refer to the voltage and amperage a tool needs to run at full capacity. Most household outlets are 120 volts (V) and rated for 15 or 20 amps (A), which limits the thickness of metal you can weld and the duration you can work.
In my first shop, I shared a 15A circuit with the garage door opener and a freezer. Every time the freezer kicked on while I was welding, the lights went out. For a reliable setup, I suggest a dedicated 20A circuit for your primary tools. If you plan on welding metal thicker than 1/8 inch, you might eventually need a 240V outlet, but for most starters, a high-quality 120V machine is a great way to stay within a budget.
- 120V / 15A: Good for light grinding and small 120V welders on low settings.
- 120V / 20A: The standard for a functional home shop; handles most entry-level welders.
- 240V / 30A-50A: Necessary for heavy-duty welding and large air compressors.
Essential Workshop Electrical Setup Checklists
An electrical checklist is a systematic way to verify that your power distribution is safe and compliant with basic home standards. This involves inspecting cords, outlets, and the load on each circuit to prevent electrical fires.
- Identify Dedicated Circuits: Map out which outlets are on which breakers.
- Check Cord Gauges: Use 12-gauge extension cords for any high-draw tools like grinders or welders.
- Install GFCI Outlets: These protect you from shocks in damp environments like a garage.
- Monitor Duty Cycles: Understand that your tools need “rest” time to cool down, especially on lower-amperage circuits.
Prioritizing Foundational Hand Tools and Measuring Gear
While power tools get all the glory, your hand tools do the heavy lifting of precision and finishing. Investing in a solid set of manual instruments allows you to work accurately and develops the “feel” for the metal that machines cannot teach.
Choosing Budget Metalworking Tools for Accurate Layouts
Layout tools are the instruments used to mark lines, centers, and angles on raw metal before any cutting begins. Accuracy at this stage is the difference between a project that fits together and one that ends up in the scrap pile.
I always tell beginners to spend a little more on a good combination square and a carbide-tipped scribe. A cheap plastic ruler will warp or wear down, leading to mistakes. Metalwork is a game of fractions; if your marks are off by 1/16th of an inch, your final piece might be off by half an inch after several steps.
- Steel Rule: A 12-inch stainless steel rule is durable and easy to read.
- Combination Square: Look for one with a cast-iron head for better stability.
- Scribe: A sharp point is better than a pencil because it does not rub off and provides a physical groove for your saw to follow.
- Center Punch: Used to create a dimple so your drill bit does not wander.
Manual Cutting and Shaping Essentials
Manual cutting tools are non-powered devices like hacksaws and files used to remove material. These tools are affordable, quiet, and offer a level of control that high-speed power tools often lack.
A standard hacksaw with a high-quality bi-metal blade can cut through almost any mild steel you will use in a home shop. It takes more physical effort, but it is safer for a beginner and much cheaper than a metal-cutting bandsaw. I also recommend a set of “bastard” files (a term for a medium-coarseness cut) to clean up sharp edges. This is not just for looks; it is a safety requirement to prevent cuts during assembly.
Building a Functional Fabrication Workbench
Your workbench is the foundation of every project you will ever build. In metalworking, a bench must be more than just a table; it needs to be a heavy, heat-resistant platform that can handle the force of a hammer and the heat of a welding torch.
Selecting Affordable Fabrication Tools for Workholding
Workholding refers to any device, like a vise or a clamp, that holds your workpiece securely while you work on it. If your metal moves while you are cutting or welding, the result will be inaccurate and potentially dangerous.
For a starter shop, a 4-inch or 5-inch bench vise is the most important tool you will buy after your welder. It acts as a third hand. When I started, I used cheap C-clamps from a bargain bin. They bent the first time I applied real pressure. I learned to invest in “F-style” welding clamps, which are faster to use and much stronger.
- Bench Vise: Choose one with a swivel base for better positioning.
- C-Clamps: Good for holding parts flat to the table.
- F-Clamps: Ideal for reaching over edges and providing quick pressure.
- Locking Pliers: Great for holding small parts near heat.
Implementing Safety Protocols and Protective Gear
In my 12 years of shop work, the only times I got hurt were when I tried to save five minutes by skipping a safety step. Metalworking involves hot sparks, sharp edges, and intense light. You cannot afford to cut corners on your personal protection.
Mandatory PPE for Novice Metalworkers
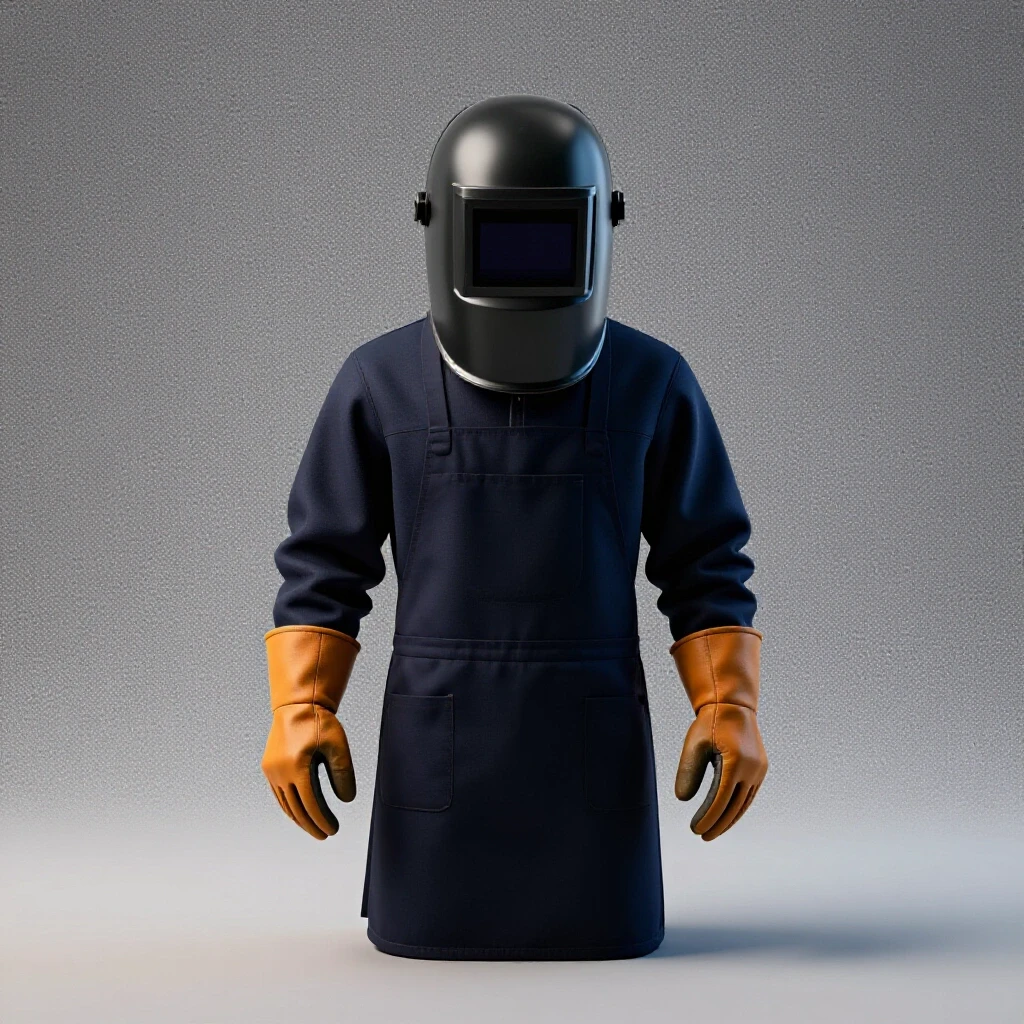
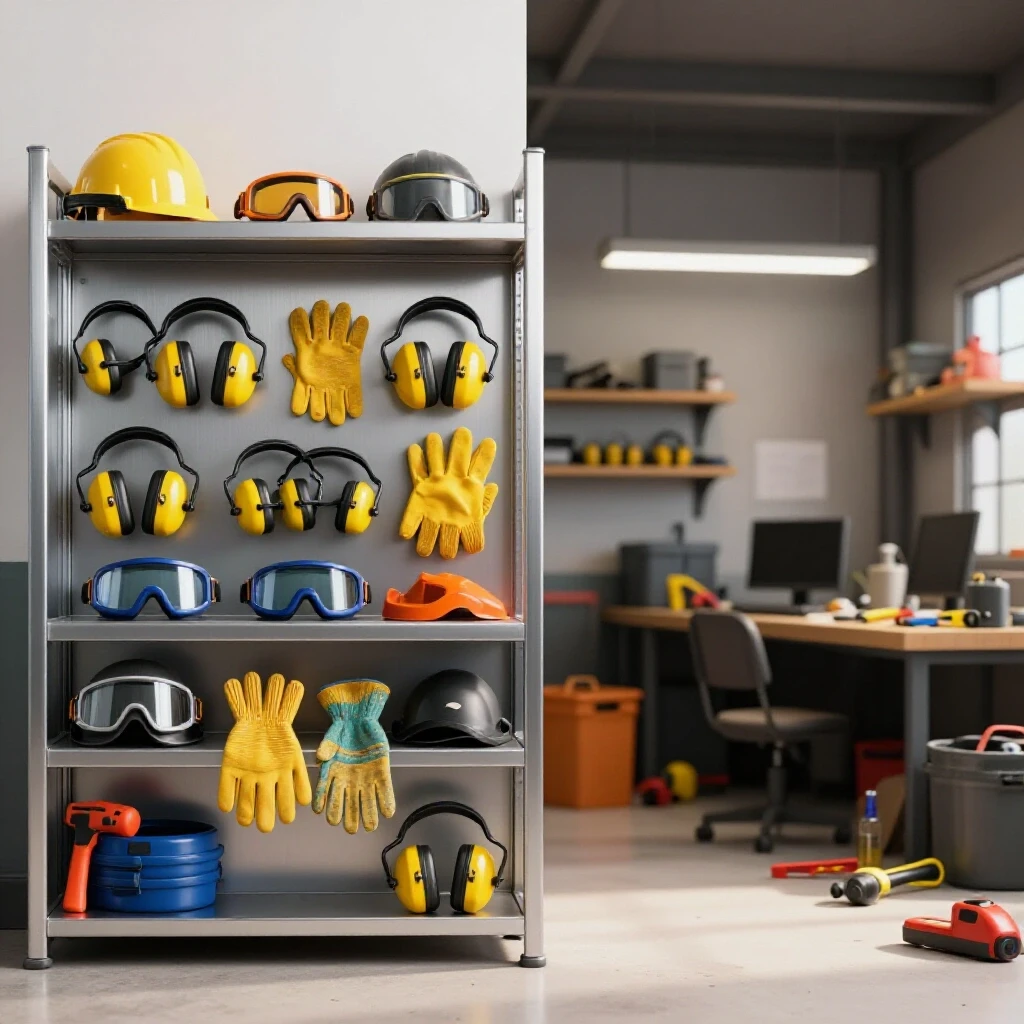
Personal Protective Equipment (PPE) includes clothing and gear designed to shield the body from workplace hazards. This is the one area where you should never look for the “cheapest” option; look for the best value that meets safety standards.
Your eyes and lungs are your most valuable tools. Always look for the ANSI Z87.1 rating on safety glasses, which ensures they can handle high-speed impacts. For welding, a shade 10 or 11 lens is standard for protecting your eyes from “arc flash,” which is essentially a sunburn on your eyeballs.
- Safety Glasses: Must be worn at all times, even under a welding helmet.
- Welding Gloves: Heavy leather protects against heat and sparks.
- Hearing Protection: Grinders can reach 110 decibels; earplugs or muffs are a must.
- Natural Fiber Clothing: Wear 100% cotton or leather. Synthetic fabrics like polyester can melt to your skin if hit by a spark.
Fire Safety and Shop Maintenance
Fire safety involves the tools and habits used to prevent and extinguish accidental fires. In a garage, this means having the right equipment on hand and keeping the floor clear of “tripping hazards” and “fuel sources.”
I keep a 10-pound ABC-rated fire extinguisher mounted right by the exit door. Never put it deep in the shop where a fire might block your path to it. Also, get into the habit of a “fire watch.” This means staying in your shop for 30 minutes after you finish welding or grinding to make sure no hidden sparks are smoldering in a corner.
Tracking Costs and Avoiding Buyer’s Remorse
One of the biggest hurdles for beginners is the “hidden costs” of metalworking. You buy a grinder for $50, but then you realize you need $100 worth of wheels, a face shield, and a dedicated circuit to run it properly.
Why Cheap Abrasives Cost More in the Long Run
Abrasives are the consumable discs used for cutting and grinding metal. While a bargain-brand disc might cost $1, it may only last for two cuts, whereas a $3 high-quality ceramic disc might last for twenty.
In my tracking logs, I found that I was spending 40% more per year by buying the cheapest consumables. High-quality abrasives also cut cooler and faster, which puts less strain on your power tools and your arms. When budgeting, I suggest allocating about 20% of your initial funds specifically for high-quality consumables and safety gear.
A Framework for Tooling-to-Machine Cost Ratios
A cost ratio is a way to balance your spending between the “big” machines and the smaller accessories needed to use them. A common mistake is spending 90% of the budget on a welder and having no money left for the helmet, gas, or wire.
| Item Category | Suggested Budget % | Why It Matters |
|---|---|---|
| Primary Machine | 40% | The welder or main power tool. |
| Safety Gear | 20% | You cannot work if you are injured. |
| Workholding | 15% | Accuracy depends on stability. |
| Measuring/Layout | 10% | Prevents wasted material. |
| Consumables | 15% | Blades, wire, and gas for the first year. |
Actionable Steps for Your First 30 Days
Once you have your space and your initial gear, the goal is to get moving without overcomplicating things. I have found that the best way to learn is through small, manageable tasks that test your shop’s setup.
- The Floor Test: Clear a 10×10 area. Sweep it twice. If you have sawdust or wood scraps, move them out.
- The Power Check: Plug in your most powerful tool (likely a grinder) and run it. Check if the lights flicker. If they do, you need to look at your circuit load.
- The First Cut: Use your hacksaw to cut a 1-inch piece of square tubing. Use your square to check if it is straight. This teaches you the importance of layout.
- The Clean-Up: Develop a 5-minute cleaning routine at the end of every session. A clean shop is a safe shop.
Building a workshop is a marathon, not a sprint. My shop today looks nothing like it did in 2013, and that is okay. I replaced tools as they broke and upgraded my power as my skills grew. By starting with the basics and focusing on safety and accuracy, you are building a foundation that will last as long as the metal projects you create.
FAQ: Common Questions on Starting a Home Metal Shop
What is the absolute minimum space I need for a metal shop? You can start in a space as small as 50 square feet for bench-top work, but for general fabrication, a 10×10 foot area (100 square feet) is the practical minimum. This allows for a workbench and enough “swing room” to handle 20-foot lengths of steel tubing.
Can I weld on a wooden workbench if I cover it with metal? While people do it, I do not recommend it for beginners. Wood is a fuel source. A better budget option is to buy a folding metal sawhorse or a small dedicated welding table. If you must use a wood bench, use a thick piece of cement backer board under a steel plate to provide a heat barrier.
How do I know if my garage wiring is heavy enough for a welder? Look at your circuit breaker panel. Most home outlets are on 15A breakers. If you see a “20” on the switch, you have a 20A circuit. If you are unsure, consult an electrician. Never replace a 15A breaker with a 20A breaker without ensuring the wire gauge (must be 12-gauge) can handle it.
Is a 4.5-inch angle grinder better than a hacksaw for a beginner? An angle grinder is faster but much more dangerous. It creates high-speed sparks and dust. I recommend starting with a hacksaw to learn how metal behaves, then adding a grinder once you have established your Hot Zone and have a full face shield.
Do I really need a dedicated circuit for my shop? It is highly recommended. If your welder is on the same circuit as your kitchen fridge or home computer, the voltage drop when you start an arc can damage sensitive electronics or cause the fridge compressor to fail over time.
What is the best way to store metal in a small garage? Store metal vertically in a corner or horizontally on wall-mounted brackets. Keeping it off the floor prevents tripping and keeps the metal away from ground moisture, which causes rust. Always label your different types of steel (e.g., mild steel vs. aluminum) with a paint pen.
How often should I replace my safety glasses? Replace them as soon as they become scratched. Scratches cause glare and eye strain, which can lead to mistakes. Since basic ANSI Z87.1 glasses are inexpensive, I usually keep three pairs on hand so I always have a clear view.
Why shouldn’t I buy the cheapest welder available online? Very cheap welders often have poor “arc stability” and very low duty cycles (the amount of time you can weld before the machine shuts down to cool). A low-quality machine makes it much harder to learn and can lead to “cold welds” that look okay but have no structural strength.
(This article was written by one of our staff writers, Michael Thompson. Visit our Meet the Team page to learn more about the author and their expertise.)