How to Calculate Metal Sheet Bending Allowances (DIY Guide)
I remember standing over a scrap bin filled with three ruined panels of 10-gauge 304 stainless steel. Each one was supposed to be a precision shroud for a custom gearbox, but they were all short by exactly 1/8 of an inch. In my 18 years of troubleshooting fabrication issues, I have learned that “guessing and checking” is the most expensive way to run a shop. When a part doesn’t fit, it is rarely a ghost in the machine; it is usually a failure to account for how metal physically behaves when it is forced into a corner.
Metal is not a static material. When you bend a sheet, the fibers on the outside of the turn stretch to their limit, while the fibers on the inside compress. Somewhere in the middle of that cross-section lies a “neutral axis” that stays the same length. If you do not find that axis and calculate the extra material it consumes, your flat patterns will never be accurate. Mastering the math behind material elongation is the only way to move from “close enough” to “right the first time.”
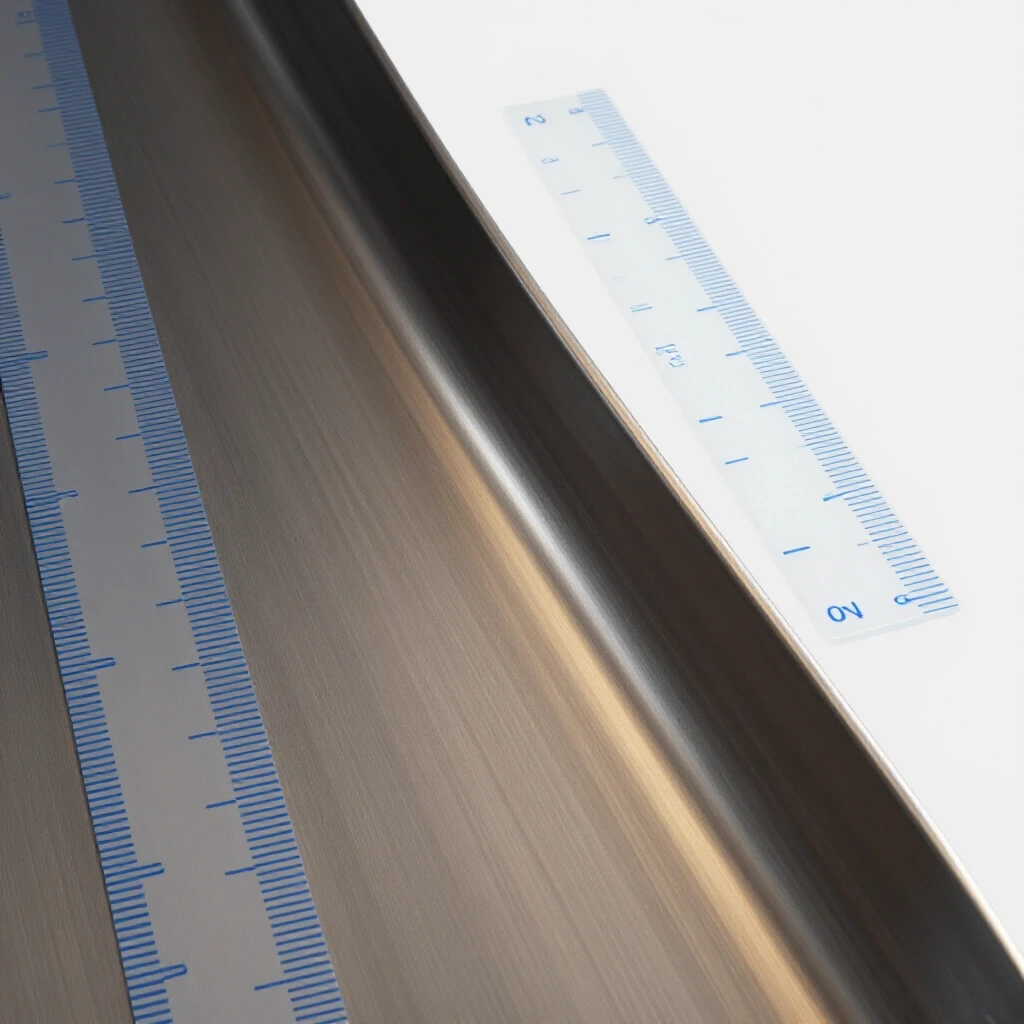
Mastering the Mechanics of Material Elongation
Material elongation is the physical stretching of metal fibers during the forming process. When a sheet is bent, the outer surface is under tension and the inner surface is under compression. This transition creates a change in the total length of the part that must be accounted for during the initial layout phase.
To troubleshoot why your parts are coming out the wrong size, you have to understand the neutral axis. This is an imaginary line within the thickness of the metal that neither stretches nor shrinks. In a perfect world, this line would stay right in the center, but in reality, it shifts toward the inside of the bend.
If you are seeing parts that are consistently too long, your math likely assumes the metal is stretching more than it actually is. If they are too short, you are not accounting for enough stretch. Most diagnostic errors in manual layout stem from ignoring the relationship between the inside radius and the material thickness.
- Tension: The outer layer of the metal expands.
- Compression: The inner layer of the metal bunches up.
- Neutral Axis: The area that remains constant in length.
- Springback: The tendency of the metal to return to its original shape after the load is removed.
The Core Formula for Determining Flat Pattern Lengths
The standard formula for calculating the extra material needed for a bend is (π/180) × Angle × (Radius + K-factor × Thickness). This equation allows a fabricator to predict the exact length of the neutral axis through the arc of the bend. It is the foundation of all manual layout work in a precision shop.
When I am troubleshooting a dimensional error, I always start by breaking this formula down into its individual variables. You cannot find a solution if you are treating the whole equation as a single black box. For example, the constant 0.01745 (which is π/180) is fixed, but your measured inside radius and your K-factor are variables that change with every setup.
If you are working with a 90-degree bend, the formula simplifies slightly, but the logic remains the same. You are essentially finding the circumference of a circle and then taking a specific slice of it. If your finished part is off by 0.020 inches, checking your radius measurement is the first step in the diagnostic process.
Understanding the K-Factor Variable
The K-factor is a ratio that represents the location of the neutral axis relative to the material thickness. It is expressed as a decimal, typically ranging from 0.3 to 0.5. This number tells you how far the neutral axis has shifted toward the inside of the bend during the forming process.
If you use a K-factor of 0.5, you are assuming the neutral axis is perfectly centered. For most common shop materials like mild steel or aluminum, a value of 0.447 is a standard starting point. However, if the material is very hard or the bend radius is very tight, that number will shift.
- 0.33: Used for very sharp bends where the radius is less than the thickness.
- 0.447: The “standard” for average bends in mild steel.
- 0.50: Used for large, sweeping bends where the radius is much larger than the thickness.
Calculating the Inside Radius Accurately
The inside radius is the distance from the center of the bend’s arc to the inner surface of the metal. It is not always the same as the radius of your tooling. Factors like material springback and the width of your lower die can cause the actual radius to differ from your theoretical calculations.
To diagnose a radius issue, I use a set of radius gauges or a drill bit of a known size to check the finished part. If you planned for a 0.125-inch radius but the part actually formed at 0.140 inches, your flat layout will be wrong. This is a common source of “creeping” errors where the first bend is fine, but the fifth bend is off by a significant margin.
Step-by-Step Manual Layout Math
Performing manual layout math requires a systematic approach where each bend is calculated individually before being summed into a total flat length. This process involves identifying the “leg lengths”—the flat sections of the part—and adding the calculated material compensation for each corner.
I have found that the most common mistake is double-counting the material in the corners. You must measure your flat legs only up to the point where the bend begins (the tangent point). If you measure to the imaginary intersection of the two legs (the apex), you are including material that doesn’t actually exist in the final part.
- Determine the Leg Lengths: Measure the flat sections of your part from the edge to the start of the bend.
- Identify the Angle: Most bends are 90 degrees, but always verify with a protractor.
- Measure Thickness: Use calipers to get the exact thickness, such as 0.062 inches for 16-gauge steel.
- Select K-Factor: Start with 0.447 unless you have data suggesting otherwise.
- Run the Calculation: Multiply 0.01745 by the Angle by the sum of the Radius and (K-factor times Thickness).
- Sum the Totals: Add all leg lengths and all bend compensations together.
Troubleshooting Common Dimensional Faults
Dimensional faults in bent parts are often the result of inconsistent material properties or mechanical wear in the shop equipment. When a part is out of tolerance, a fabricator must isolate whether the error is mathematical, mechanical, or metallurgical. This requires a process of elimination that starts with the most easily measured variables.
In one case, I was helping a shop diagnose why their aluminum brackets were cracking and coming out short. We discovered they were using a radius that was too tight for the material’s temper. The metal was “necking”—thinning out at the bend—which changed the K-factor and ruined the accuracy of their layout.
| Symptom | Potential Root Cause | Diagnostic Step |
|---|---|---|
| Part is consistently too long | K-factor is set too high | Reduce K-factor by 0.02 and re-test |
| Part is consistently too short | K-factor is set too low | Increase K-factor by 0.02 and re-test |
| Bend is cracking on the outside | Radius is too tight | Increase inside radius to at least 1x thickness |
| Angle is inconsistent | Material springback | Check material grain direction and hardness |
The Impact of Grain Direction on Precision
The grain direction of a metal sheet is created during the rolling process at the mill. Bending “with the grain” (parallel to the rolling direction) is easier but more prone to cracking and offers different elongation than bending “across the grain” (perpendicular). This variance can throw off your calculations by several thousandths of an inch.
If you are troubleshooting a batch of parts where half are correct and half are wrong, check the orientation of the blanks on the sheet. I always recommend layout out parts so the bends occur across the grain. This provides more consistent results and reduces the risk of structural failure in the corner.
Case Study: Isolating an Intermittent Sizing Issue
I once worked on a project involving a series of stainless steel enclosures. The fabricator was hitting his marks on the first ten units, but the next five were off by 0.045 inches. This was a classic “ghost” problem that was causing significant downtime and material waste.
We started by checking the material thickness. We found that the second pallet of steel was 0.005 inches thicker than the first. While that sounds small, when you have four bends per part, that error compounds. By adjusting the manual layout math to account for the new thickness and a slightly different K-factor, we brought the parts back into tolerance.
- Observation: Inconsistent part lengths across different batches.
- Isolation: Measured material thickness with micrometer; found 0.005-inch variance.
- Testing: Ran a test strip with updated calculations.
- Solution: Implemented a “first-article” check for every new material shipment.
Essential Tools for Diagnostic Layout Work
To perform high-level diagnostic work on sheet metal, you need tools that provide precision beyond a standard tape measure. Accurate calculations are useless if your measurements of the physical part are flawed. A systematic fabricator relies on calibrated instruments to verify every stage of the bending process.
I keep a dedicated “diagnostic kit” for these issues. It includes a digital micrometer for thickness, a set of radius gauges, and a high-quality protractor. If I suspect the machine is at fault, I also use a dial indicator to check for “deflection” or movement in the tooling during the bend.
- Digital Calipers: For measuring leg lengths and material thickness to 0.001 inches.
- Radius Gauges: To verify the actual inside radius of a formed part.
- Protractor/Bevel: To ensure the bend angle is exactly what the formula requires.
- Test Strips: Always keep scrap of the same material for “test bends” before the final piece.
- Micrometer: For more precise thickness readings than calipers can provide.
Advanced Diagnostic Math: The Empirical Test
When standard formulas fail, the best way to find your exact layout requirements is through an empirical test. This involves taking a strip of material of a known length, bending it, and then measuring the final dimensions. This “real-world” data allows you to back-calculate the exact K-factor for your specific machine and material.
Start with a piece exactly 4.000 inches long. Bend it at 90 degrees in the center. Measure the two resulting legs (let’s say they are 2.100 and 2.100). The total length is now 4.200. The “extra” 0.200 inches is your bend deduction. You can then use this to find the precise K-factor that matches your shop’s unique conditions.
- Step 1: Cut a sample strip to an exact length (e.g., 6.000 inches).
- Step 2: Perform a 90-degree bend.
- Step 3: Measure the outside dimensions of both legs.
- Step 4: Subtract the original length from the sum of the legs to find the “Bend Deduction.”
Maintaining Machinery for Consistent Results
Even the best math cannot overcome a machine that is out of alignment. If your press or brake has worn bushings or uneven clamping pressure, the radius will vary from one end of the part to the other. This mechanical “drift” is a common reason why calculations seem to fail intermittently.
I recommend a monthly alignment check. Use a dial indicator to ensure the ram is parallel to the bed within 0.002 inches. Check your tooling for “crowning” or wear in the center of the die. If the tool is worn, it will create a larger radius than you calculated, leading to parts that are consistently out of spec.
- Check Tooling: Look for pits, flat spots, or deformation in the radius.
- Monitor Pressure: Ensure clamping force is consistent across the entire length.
- Verify Parallelism: Use a master square or dial indicator on the backgauge.
Troubleshooting FAQ
Why does my stainless steel require a different calculation than mild steel?
Stainless steel has a higher rate of work-hardening and more springback. This often results in a larger actual inside radius than mild steel when using the same tooling. You must measure the resulting radius and adjust your K-factor—usually slightly higher—to maintain accuracy.
How do I measure the inside radius if I don’t have gauges?
You can use a set of drill bits as a “go/no-go” gauge. Find a drill bit that fits perfectly into the curve of the bend without leaving a gap. The diameter of that bit is your inside radius. This is a quick and reliable way to verify your layout math in the field.
What is the most common mistake in manual bend layout?
The most frequent error is measuring the “leg lengths” to the outside corner of the part instead of the tangent point where the bend starts. This adds the thickness of the material to your calculation twice, resulting in a part that is much too long.
Does the width of the bottom die affect the calculation?
Yes. A wider bottom die will result in a larger inside radius, even if the top punch is the same. If you change your die set, you must recalculate your material elongation based on the new radius the wider die produces.
Why is my part length different when I bend with the grain?
Bending with the grain allows the metal to stretch more easily, which can slightly shift the neutral axis. This usually results in a smaller K-factor. If precision is critical, you should always orient your parts the same way on the sheet to keep the elongation consistent.
What should I do if my calculated part is off by less than 1/32 of an inch?
First, check your material thickness with a micrometer. A variation of just 0.003 inches in thickness can cause a small but noticeable error. If the thickness is correct, adjust your K-factor by 0.01 or 0.02 and run another test piece.
Can I use the same K-factor for all aluminum alloys?
No. Softer alloys like 3003 behave differently than harder, heat-treated alloys like 6061-T6. Harder alloys tend to have less stretch before they fracture, requiring a larger radius and a different compensation value in your math.
How does springback affect my flat pattern?
Springback doesn’t change the amount of material needed, but it does change the final angle. If you have to over-bend the part to reach 90 degrees, you are technically creating a tighter radius for a moment. However, for most manual troubleshooting, focusing on the final, relaxed radius is the standard practice.
Why do my bends look “lumpy” or uneven?
This is often a sign of tool chatter or insufficient clamping pressure. If the material moves during the bend, the neutral axis shifts inconsistently. Ensure your material is held firmly and that your tooling is clean and free of debris.
Is there a “universal” K-factor for all DIY projects?
While 0.447 is a great starting point for mild steel, there is no true universal number. Every shop, every machine, and every batch of material has slight variations. The most successful fabricators use the standard formulas as a baseline and then refine them through empirical testing.
How can I account for multiple bends in one part?
You must calculate the compensation for each bend separately. If a part has four bends, you will have five flat leg sections and four bend allowances. Add all nine values together to get your final flat pattern length. Never try to “eyeball” the total; the errors will compound.
What is the “Neutral Axis” exactly?
It is the specific layer within the metal thickness that experiences zero strain—no stretching and no compression. Because its length never changes, we use it as the “golden rule” for determining how much total flat sheet is required to form a specific shape.
(This article was written by one of our staff writers, Paul Whitaker. Visit our Meet the Team page to learn more about the author and their expertise.)