How to Extend the Lifespan of Your MIG or TIG Welder (Tips)
When I first started my fabrication business sixteen years ago, I looked at my MIG welder as a one-time purchase. I figured once the check cleared, that machine was a permanent fixture of my shop, like the concrete floor. It wasn’t until four years later, when the power source began overheating on simple jobs, that I realized I hadn’t accounted for the “hidden decay” of my primary asset. I hadn’t built a replacement fund into my fabrication job costing, and I certainly hadn’t spent enough time on basic equipment preservation. That oversight cost me two weeks of production and a significant chunk of my annual profit.
For those of you managing a side-hustle or a small shop, your welding machine is more than a tool; it is a capital investment that dictates your shop’s hourly rate. If you don’t take care of it, you aren’t just risking a breakdown; you are actively shrinking your profit margins. Every hour you spend fighting a bird-nested wire or a clogged liner is an hour you aren’t billing a client. This guide focuses on the financial and practical realities of keeping your power source in peak condition to ensure your business remains profitable over the long haul.
Determining Your True Shop Rate Through Equipment Reliability
The hourly rate covers more than your time; it covers the wear and tear on your primary assets. When you keep your power source in peak condition, you stabilize your overhead costs and prevent the sudden, unbudgeted expenses that can sink a small fabrication business’s monthly profit goals.
Calculating a shop rate is often where new fabricators fail. They see a local shop charging $100 an hour and think they can just charge $50 to get the work. However, if you haven’t factored in the eventual replacement of your welder, you are essentially “eating” your machine to pay your rent. A reliable machine allows for a consistent shop rate because you aren’t padding your quotes to cover the risk of equipment failure.
In my consulting work, I use a simple formula to help owners understand how equipment health impacts their bottom line. We look at the total cost of the machine, the expected hours of “arc-on” time, and the maintenance costs. When you neglect the machine, that “expected hours” number drops, which forces your equipment reserve fee to go up. To keep your prices competitive, you must keep your machines running longer.
| Cost Component | Impact of Well-Maintained Machine | Impact of Neglected Machine |
|---|---|---|
| Machine Reserve Fund | $1.50 per hour (10-year life) | $3.00 per hour (5-year life) |
| Consumable Burden | 5% of job cost | 12% of job cost (due to waste) |
| Downtime Risk | Low (Planned maintenance) | High (Emergency repairs) |
| Total Hourly Overhead | Lower / Predictable | Higher / Volatile |
Calculating Machine Amortization and the Value of Durability
Amortization is the process of spreading the cost of an expensive tool over its useful life. By performing regular internal cleanings and protecting your welder from the elements, you extend that useful life, effectively lowering your hourly equipment cost and increasing the net profit on every job you bid.
When you buy a $3,000 TIG welder, you shouldn’t see it as a $3,000 loss in year one. Instead, you should amortize it. If you expect that machine to last 5,000 hours of shop time, its cost is $0.60 per hour. If you can double that lifespan to 10,000 hours through meticulous care, you’ve just lowered your cost to $0.30 per hour. Over a year of side-hustle work, those quarters and dimes add up to hundreds of dollars in “found” profit.
I often tell shop owners to look at their metal business ROI calculators. If your machine dies two years early because you let grinding dust settle on the circuit boards, your return on investment plummets. You are forced to buy a new machine with “after-tax” dollars, which means you have to work twice as hard just to get back to where you were. Maintaining your gear is the easiest way to protect your capital.
Why Hidden Consumables Bleed Small Shop Profits
Consumables like contact tips, gas lenses, and liners are often ignored in initial quotes, but they are the frontline of machine health. When these parts are neglected, the welder has to work harder to maintain a stable arc, which increases internal heat and stresses the transformer or inverter.
I’ve seen many hobbyists-turned-pros lose 10% of their margin because they didn’t track how often they were changing tips or liners. In a side-hustle, where every dollar counts, you need to know your “consumable burden factor.” This is the percentage of every job that goes toward things that get used up. If you keep your machine clean, your consumables last longer, and your burden factor stays low.
Routine Internal Care to Prevent Premature Component Wear
Metal dust and shop debris are conductive and can settle on sensitive internal components, leading to heat buildup or short circuits. Regularly blowing out the power source with low-pressure air ensures that the cooling system works efficiently, protecting the internal electronics from the thermal stress of high-duty cycles.
In a small shop, you are often grinding and welding in the same 200-square-foot area. This is a recipe for disaster. Grinding dust is essentially tiny shards of metal that are pulled into your welder by its cooling fans. Once inside, they coat the boards. I make it a rule to unplug my machines and blow them out with dry, compressed air at least once a month. This simple ten-minute task can prevent a catastrophic board failure.
Interestingly, most people use too much air pressure. You don’t want to use 120 PSI, as that can actually dislodge small components or push dust deeper into tight spots. I recommend a regulated 20-30 PSI. This is enough to move the “fuzz” without damaging the delicate internals. If you do this regularly, you’ll notice the cooling fans run quieter and the machine doesn’t hit its thermal overload as quickly on hot days.
- Unplug the machine before opening the case.
- Use dry air (use a moisture trap on your compressor).
- Focus on the heat sinks and fan blades.
- Check for any loose connections while the case is open.
Optimizing Torch and Cable Management for Long-Term Service
The leads and torches of your MIG or TIG setup are subject to physical stress, heat, and kinking, which can degrade the internal liners and copper wiring. Proper coiling, avoiding sharp bends, and inspecting for insulation nicks prevents electrical resistance and feed issues that strain the machine’s drive motor and power supply.
Your welding leads are the “arteries” of your machine. If they are kinked or frayed, the machine has to “push” harder to get the current to the arc. This creates resistance, which generates heat back at the power source. I’ve seen drive motors in MIG welders burn out prematurely simply because the owner kept the gun lead coiled too tightly while welding, forcing the motor to fight the friction of a kinked liner.
When you finish a job, don’t just throw the cables over the machine. Use large-diameter hooks or “figure-eight” coiling to prevent the copper strands inside from breaking. If you notice the cable getting hot near the machine connection, it’s a sign of a loose fit or a failing lug. Fixing this immediately costs five minutes; ignoring it can melt the output terminal on a $2,000 machine.
- Avoid “tight” coils; aim for a diameter of at least 18 inches.
- Inspect the “neck” of the MIG gun for heat discoloration.
- Ensure ground clamps have strong spring tension and clean contact surfaces.
- Keep leads away from sharp metal edges that can slice the insulation.
Consumable Inspection Intervals and Their Impact on Job Costing
Worn contact tips, clogged nozzles, and degraded electrodes don’t just ruin weld quality; they force the machine to work harder to maintain an arc. Tracking the lifespan of these parts allows you to build a “consumable burden” into your quotes while ensuring the machine isn’t fighting against poor conductivity.
I recommend keeping a small logbook near your welding station. Every time you open a new pack of tips or a new roll of wire, jot down the date and the project. Over six months, you will start to see a pattern. For example, you might find that for every 33 lbs of wire, you use 10 contact tips. This data is gold for fabrication job costing. It allows you to move from “guessing” to “knowing” your costs.
If you are TIG welding, the health of your tungsten electrode is paramount. A contaminated electrode causes arc wander, which forces you to use more amperage to get the same penetration. More amperage means more heat in the torch and more stress on the machine’s cooling system. By keeping your consumables fresh, you are actually protecting the “brain” of your welder.
Consumable Tracking Log Example
| Item | Date Replaced | Project / Hours | Cost |
|---|---|---|---|
| MIG Contact Tip | Oct 12 | Trailer Frame (4 hrs) | $1.25 |
| Drive Rollers | Nov 01 | General Shop (6 months) | $25.00 |
| TIG Gas Lens | Nov 15 | Aluminum Intake (2 hrs) | $8.00 |
| MIG Liner | Dec 20 | Annual Maintenance | $18.00 |
Environmental Controls and Storage Strategies for Shop Assets
Moisture and airborne contaminants are the silent enemies of welding equipment, especially in non-climate-controlled home shops. Using specialized covers and keeping machines away from grinding stations prevents oxidation and particulate buildup, preserving the integrity of the cooling fans and internal boards without requiring expensive repairs.
Humidity is a major factor in small metal shop pricing because it affects material prep and tool longevity. If your shop is damp, your welding wire will develop a thin layer of oxidation. This “rusty” wire acts like sandpaper on your liner and contact tip. It also creates a poor electrical connection, causing the machine to surge. I use a simple canvas cover for my machines when they aren’t in use. It breathes, so it doesn’t trap moisture, but it keeps the dust out.
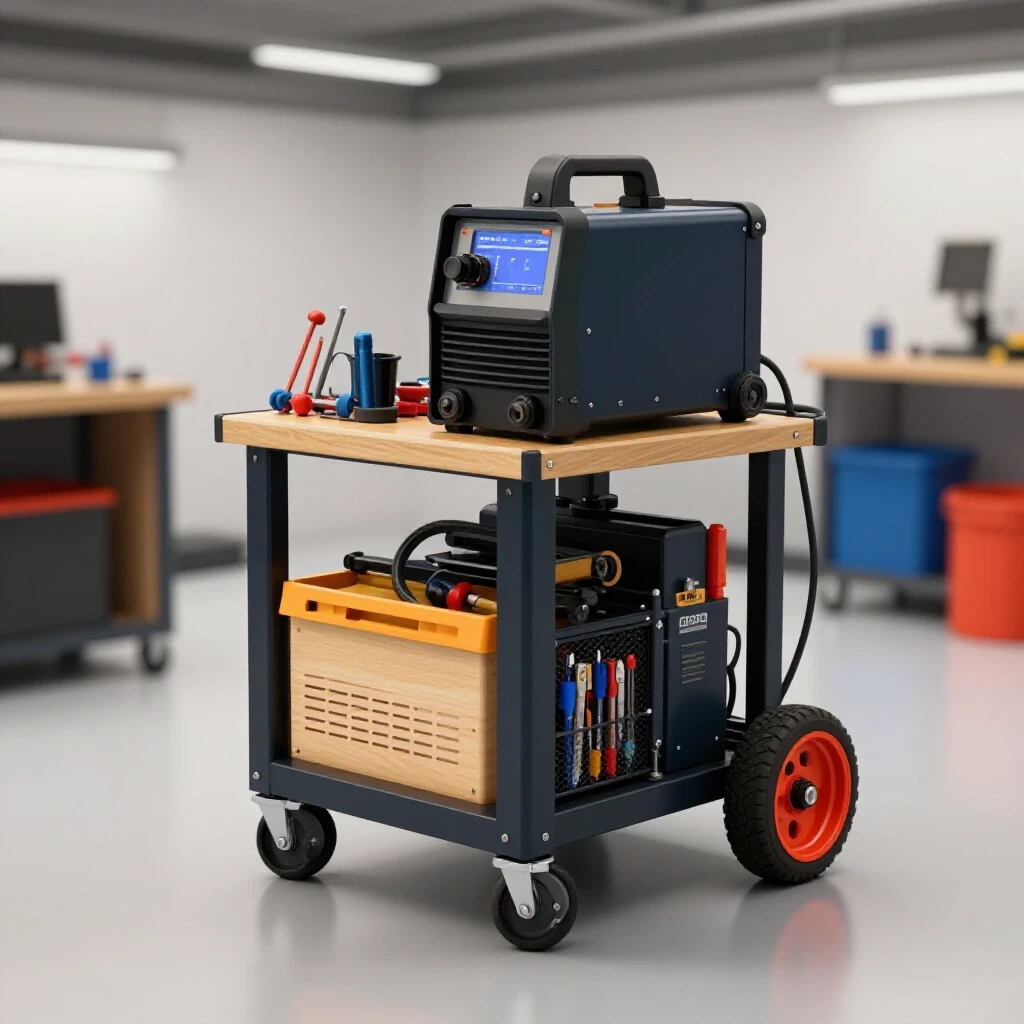
If you work in a garage, try to keep your welder at least six inches off the floor. Concrete can hold moisture, which can migrate into the machine’s base. A simple rolling cart is not just for mobility; it’s a protective barrier. Also, consider the “airflow path.” Never point your grinder toward the back of your welder where the intake fan is located. It sounds simple, but I’ve seen $5,000 machines killed by a single afternoon of heavy grinding nearby.
- Use breathable covers (canvas) rather than plastic.
- Store wire in sealed bags with desiccant packs when not in use.
- Keep the machine on a cart to avoid ground-level moisture.
- Position the machine so the intake fan faces away from work zones.
Tracking Post-Job Maintenance to Refine Your Bidding
Using maintenance logs to adjust future quotes is a hallmark of a professional fabricator. After a large project, reviewing the wear and tear on your equipment helps you determine if your “equipment reserve fee” was high enough to cover the actual costs incurred.
One of the biggest mistakes I made early on was not “reconciling” my jobs. I would finish a project, get paid, and move on. Now, I suggest taking five minutes after a job to inspect the machine. Did the liner get gummed up? Is the nozzle caked in spatter? If a job was particularly hard on the gear—like welding dirty farm equipment—I increase the “machine burden” on the next similar quote.
This data-driven approach removes the anxiety of pricing. When a customer asks why you are $50 more expensive than the guy down the street, you can confidently know it’s because your price includes the cost of maintaining a machine that produces high-quality, reliable welds. You aren’t just selling a weld; you are selling the reliability of your shop.
The ROI of Preventative Care
If you spend 30 minutes a month on maintenance (valued at your shop rate of, say, $80/hr), that’s $40 a month or $480 a year. If that maintenance extends the life of a $2,500 welder from 5 years to 10 years, you save $250 a year in depreciation costs. More importantly, you avoid the “lost opportunity cost” of a machine being down when a $1,000 job walks through the door. In the world of side-hustle metalworking, the most expensive tool is the one that doesn’t work.
- Set a Schedule: Mark your calendar for the first Saturday of every month for a “deep clean.”
- Audit Your Consumables: Check your stock of tips, nozzles, and liners so you never have to pay “emergency” shipping rates.
- Review Your Rates: Once a year, look at your maintenance logs and adjust your hourly shop rate to reflect your actual equipment costs.
FAQ
How does cleaning my welder actually save me money on jobs? Cleaning ensures the cooling system works at 100% efficiency. This prevents the machine from hitting its thermal limit, which would otherwise force you to stop working and wait for it to cool down. In a shop where time is money, avoiding those 15-minute forced breaks keeps your labor costs in line with your estimates.
What is the “consumable burden,” and how do I calculate it? The consumable burden is the total cost of items used up during a job (gas, wire, tips, etc.) divided by the total job cost. For example, if you spend $25 on supplies for a $250 job, your burden is 10%. Tracking this helps you realize that you need to mark up materials or increase your shop rate to maintain your desired profit.
Can I use a shop vac to clean the inside of my welder? It is better to use compressed air to blow dust out rather than a vacuum to suck it. A vacuum nozzle can create static electricity or accidentally bump sensitive internal components. Low-pressure, dry compressed air is the industry standard for clearing out conductive metal dust safely.
How often should I replace my MIG liner? For a side-hustle shop, replacing the liner once a year is a good rule of thumb, or whenever you switch between different wire types (like moving from steel to aluminum). A dirty liner increases friction, which strains the drive motor. Replacing a $20 liner is much cheaper than replacing a $300 drive motor assembly.
Does storing my welder in a cold garage hurt it? The cold itself isn’t the problem; it’s the condensation that happens when the machine warms up. If you bring a cold machine into a warm shop or start welding with it immediately, moisture can form on the internal boards. It’s best to keep the machine covered and let it reach shop temperature before powering it on.
How do I factor “machine life” into my hourly rate? Take the purchase price of the machine and divide it by the number of hours you expect it to last (e.g., $2,000 / 4,000 hours = $0.50 per hour). Add this to your labor, rent, and utility costs. If you maintain the machine well, that “cost per hour” stays low, giving you a better profit margin.
Why shouldn’t I grind metal near my welding machine? Welding machines use fans to pull in air for cooling. If you are grinding nearby, the fan pulls in those metallic sparks and dust. Since this dust is conductive, it can create a bridge between electrical paths on the circuit board, leading to a short circuit that can fry the machine’s “brain.”
What are the signs that my welding leads need attention? If the cables feel excessively hot to the touch, if you see cracks in the rubber insulation, or if the arc becomes unstable despite having good settings, your leads may have internal breakage. High resistance in the leads wastes electricity and puts unnecessary stress on the power transformer.
Should I include a “maintenance fee” in my customer quotes? While you shouldn’t list it as a separate line item, your “Shop Overhead” should include a percentage for equipment upkeep. Most successful small shops add a 5-10% “shop supplies and equipment” fee to every invoice to cover the invisible costs of keeping the lights on and the machines running.
How does a well-maintained machine improve my bidding accuracy? Reliability is the key to accuracy. If you know your machine will perform consistently without wire-feed issues or overheating, you can estimate labor time with much higher confidence. This prevents “under-bidding” a job that ends up taking twice as long due to equipment frustration.
Is it worth buying a cover for my welder? Yes. A $30-$50 cover can prevent hundreds of dollars in damage from dust, moisture, and accidental spills. For a side-hustle owner, this is one of the highest ROI purchases you can make, as it directly extends the time between major service intervals.
How do I track my arc-on time if my machine doesn’t have a meter? You can estimate it based on your wire usage or use a simple plug-in hour meter. Alternatively, many fabricators just track “shop hours” and assume a certain percentage (e.g., 20%) is actual welding time. The key is consistency in your tracking so you can spot trends over time.
(This article was written by one of our staff writers, Michael Hargrove. Visit our Meet the Team page to learn more about the author and their expertise.)