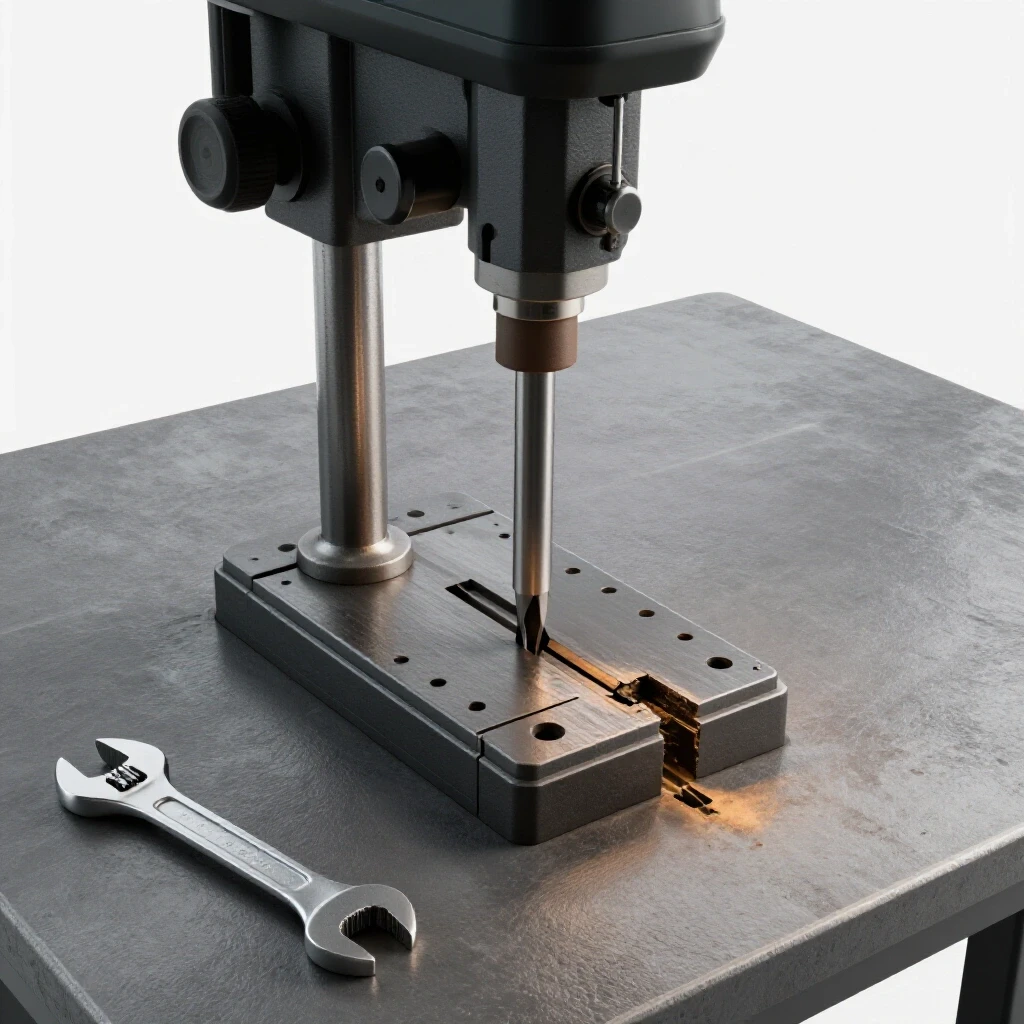
How to Grind and Restore Worn Metal Lathe Bed Ways (Guide)
The smell of old sulfurized cutting oil and the cold touch of seasoned cast iron are familiar comforts to me. Over the last 18 years, I have stood over dozens of neglected machines, each telling a story of decades of hard labor. There is a specific kind of heartbreak in finding a vintage lathe where the carriage stutters or binds because the precision surfaces have been worn into a hollow curve. However, there is an equal amount of satisfaction in bringing that iron back to life. Restoring the flat and prismatic surfaces of a machine tool is a slow, meditative process. It requires more patience than muscle and more observation than force.
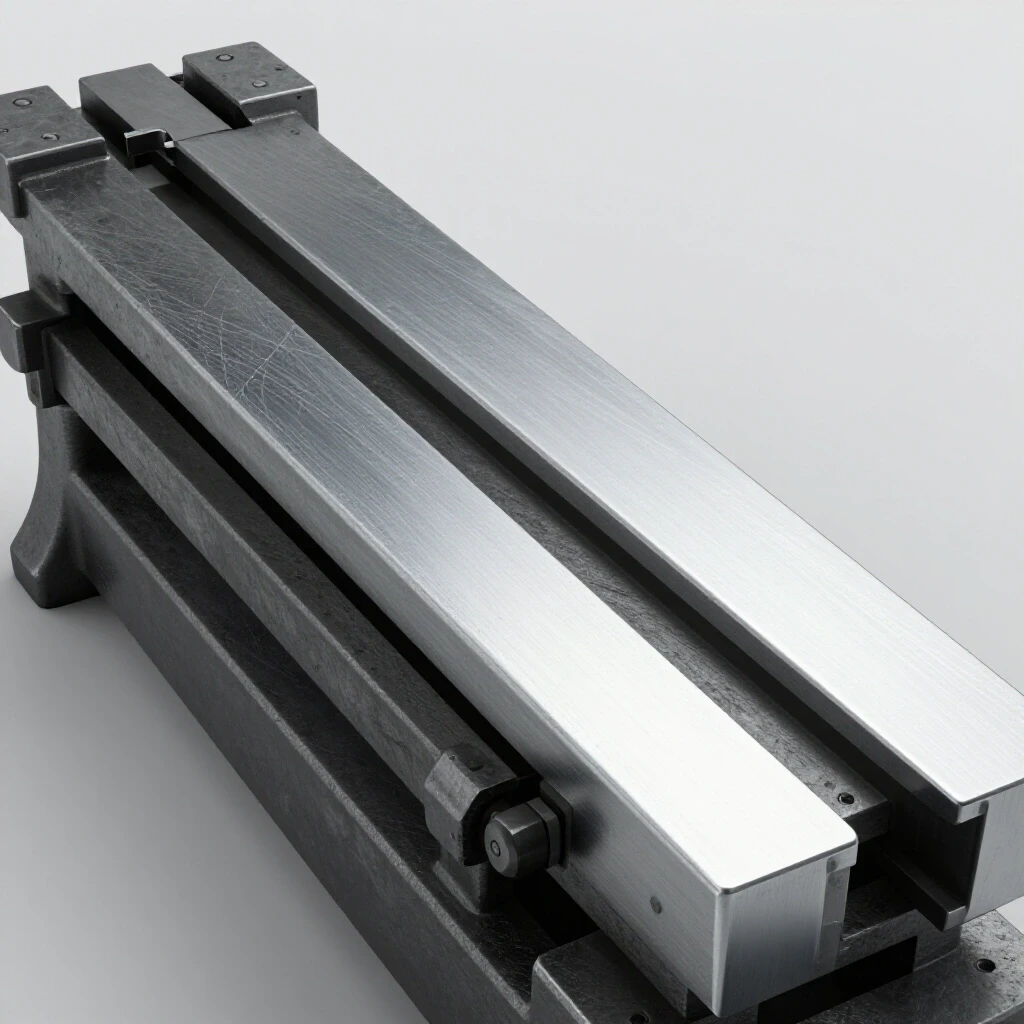
When we talk about vintage machinery restoration, we are often dealing with “the sag.” Most work on a lathe happens near the headstock, meaning the cast iron wears down more in that specific area. This creates a valley that ruins accuracy. To fix this, we don’t need a million-dollar factory grinder. We need a few specialized hand tools, a flat reference surface, and a willingness to measure ten times for every one time we remove metal. My goal is to walk you through the manual correction of these surfaces so your classic tools can once again hold the tight tolerances they were designed for.
Evaluating the Topography of Worn Precision Surfaces
Before any metal is removed, a restorer must understand exactly where the wear exists and how deep it goes. This phase involves using precision measurement tools to map the high and low spots across the length of the machine. It is a diagnostic stage that prevents the mistake of removing too much material from areas that are still true.
Assessment is the foundation of any successful restoration. I usually begin by cleaning the sliding surfaces until they are surgically spotless. Any speck of grit or old grease will throw off your measurements. Once clean, I use a precision machinist’s level—one graduated to 0.0005 inches per foot—to check for “twist.” A lathe bed might look straight, but if one leg is slightly lower than the other, the entire casting can warp. I move the level along the length of the bed, noting any changes in the bubble’s position. This tells me if the bed is physically twisted or if the wear is localized to the sliding tracks themselves.
Next, I employ a “test indicator” mounted on a magnetic base. By sliding a reference block along the ways, I can see exactly where the “valley” begins. On a 1940s-era tool I recently rescued, the wear was nearly 0.008 inches deep near the chuck. That might sound small, but in the world of classic tool alignment, it is a canyon.
- Visual Inspection: Look for “scoring” or deep scratches caused by chips getting under the carriage.
- The Fingernail Test: If you can feel a ridge at the edge of the wear path, the wear is significant.
- Indicator Sweeps: Use a dial indicator to quantify the drop-off in the middle of the bed.
- Straightedge Check: Lay a known-flat steel straightedge across the ways and use feeler gauges to find the gaps.
Essential Metrology Tools for Manual Surface Correction
Correcting cast iron requires a set of reference tools that are flatter than the surface you are trying to fix. You cannot guess your way to precision; you must “transfer” flatness from a known standard to the machine. These tools are the heartbeat of the manual restoration process and represent a significant investment in your workshop’s capabilities.
The most critical tool in my kit is the “Camelback” straightedge. This is a long, heavy cast-iron rib designed to stay rigid and flat. Before I use it, I “ink” it with a very thin layer of Prussian Blue spotting compound. When I lay the inked straightedge onto the lathe ways, the blue pigment transfers only to the high spots. This shows me exactly where I need to focus my efforts.
Another staple is the surface plate, usually made of black granite. While you can’t put a whole lathe on a surface plate, you can use smaller granite blocks to check the flatness of the carriage or the tailstock base. These tools allow you to work in a cycle: mark the high spots, remove a tiny amount of metal, and check again.
| Tool Name | Primary Purpose | Accuracy Metric |
|---|---|---|
| Precision Machinist Level | Detecting bed twist and longitudinal slope | 0.0005″ per 12 inches |
| Camelback Straightedge | Transferring a flat reference to long surfaces | Grade A or B Flatness |
| Prussian Blue | Identifying high spots through pigment transfer | N/A (Visual) |
| Hand Scraper | Removing controlled amounts of cast iron | 10–40 Points Per Inch |
| Dial Test Indicator | Measuring deviations in height or parallelism | 0.0001″ increments |
The Methodology of Manual Hand Scraping
Hand scraping is the process of using a specialized carbide-tipped tool to flake off microscopic amounts of metal. Unlike sanding, which can create rounded edges, scraping allows a restorer to maintain crisp geometry while creating a surface that actually holds oil better. It is the gold standard for restoring classic cast iron to its original glory.
I remember the first time I tried scraping on an old drill press table. I was far too aggressive and ended up with deep gouges. The trick is in the “stroke.” You hold the scraper at a slight angle and use a short, snapping motion. This creates a small “crater.” When you do this across the entire surface, you create a pattern of high and low points. The high points (the “bearing points”) support the weight of the carriage, while the low points act as tiny reservoirs for lubrication.
In machinery hand scraping, we measure success in “Points Per Inch” (PPI). For a standard lathe bed, I aim for about 15 to 20 points of contact per square inch. To achieve this, I apply the blued straightedge, look for the blue marks on the lathe, and scrape only those marks. Then I wipe it clean, re-blue the straightedge, and repeat. It is a repetitive cycle that can take dozens of hours, but it is the only way to ensure the bed is truly flat without the use of heavy industrial machinery.
- Roughing: Use long, heavy strokes to remove the bulk of the “hump” or high spots.
- Semi-Finishing: Shorten the strokes and change the direction of scraping to 45 degrees to create a cross-hatch pattern.
- Finishing: Use very light, tiny strokes to increase the number of contact points (PPI).
- Deburring: After every few cycles, use a fine Arkansas stone to remove any “burrs” or raised edges created by the scraper.
Using Abrasive Stones and Lapping for Final Refinement
While scraping is the primary tool for geometry, manual abrasive stones and lapping compounds are used for final smoothing and “wedding” two parts together. Lapping involves using a fine abrasive paste between two surfaces to wear them into a perfect fit. This must be done with extreme caution, as it is an “uncontrolled” process that can easily ruin your hard work if overdone.
I generally use precision-ground oil stones to “stone down” the ways after scraping. This ensures there are no sharp peaks that could scratch the underside of the carriage. When I encounter a lathe with very light scoring but no significant “sag,” I might skip heavy scraping and use a large, flat abrasive stone to clean up the surface. This is often called “brightening” the ways.
Lapping is reserved for the very end of the project. If the tailstock doesn’t quite sit flat on the newly scraped ways, I might apply a tiny amount of 600-grit clover compound to the base of the tailstock and move it back and forth over a short distance. Interestingly, the goal here isn’t to remove much metal, but to ensure the two surfaces “mate” perfectly. You must be incredibly diligent about cleaning off every trace of lapping compound afterward; if any remains, it will act like sandpaper and destroy your machine the moment you start using it.
- Silicon Carbide Stones: Best for initial cleanup of rust and light burrs.
- Arkansas Stones: Used for fine deburring between scraping passes.
- Lapping Compounds: Only use “non-embedding” compounds on cast iron to prevent the abrasive from getting stuck in the metal pores.
- Cleaning Agents: Use mineral spirits or specialized cleaners to ensure no grit remains.
Verification of Parallelism and Longitudinal Alignment
Once the surfaces are flat, the final challenge is ensuring they are parallel to one another and aligned with the rest of the machine. A lathe bed has multiple “ways”—usually two V-shaped tracks and two flat tracks. If these are not perfectly parallel, the carriage will tighten up or wobble as it moves from one end to the other.
To verify this, I use a “bridge” or a custom-made jig that sits on the ways and holds a dial indicator. As I slide this jig down the bed, the indicator tells me if the distance between the tracks is changing. Even a deviation of 0.001 inches over three feet can cause issues when you are trying to turn a long shaft.
I often refer back to the original manufacturer’s service manuals for “alignment charts.” These historic documents provide the original factory tolerances. For example, a high-quality vintage lathe might have been shipped with a maximum allowable bed twist of 0.0005 inches over the entire length. Achieving this manually is difficult, but by using the “three-wire method” or precision ground cylinders, you can check the “V” ways for consistency.
- The “Two-Collar” Test: Turn a long bar of aluminum without a tailstock. If the diameters at both ends are different, your bed or headstock is out of alignment.
- Parallelism Checks: Use a micrometer to measure the thickness of the bed casting at various points to ensure you haven’t scraped one side thinner than the other.
- King-Way Alignment: This is a specific type of jig used by professional restorers to check multiple planes of alignment simultaneously.
Why Seized Cast Iron Components Require a Thermal Strategy
While working on the precision surfaces, you will inevitably need to remove various brackets or “gibs” that are held in place by decades-old fasteners. These screws are often seized due to “galvanic corrosion,” where two different metals have essentially bonded together over time. Forcing these can lead to a snapped screw, which is a nightmare to drill out of seasoned cast iron.
My rule is simple: never force a fastener on a vintage machine. I use a “thermal release” plan. This involves applying localized heat to the casting around the screw, not the screw itself. Because the casting is larger, it expands slightly, breaking the bond of the rust. I also rely heavily on “penetrating oils” that I mix myself—usually a 50/50 blend of Acetone and Automatic Transmission Fluid (ATF).
| Method | How it Works | Risk Level |
|---|---|---|
| Penetrating Oil (ATF/Acetone) | Dissolves rust and lowers friction | Low (Takes time) |
| Localized Heat (Propane/MAPP) | Expands the casting to break the bond | Medium (Risk of cracking) |
| Impact Driver (Manual) | Uses a hammer blow to turn the screw | Medium (Can strip heads) |
| Cold Chisel / Drilling | Physical removal of the fastener | High (Last resort) |
Standard Benchmarks for Precision Surface Restoration
When you are deep into a restoration, it is easy to lose perspective. You might find yourself chasing a “perfect” surface that doesn’t exist. Having clear benchmarks helps you know when the job is done and the machine is ready for service.
In my experience, a “workhorse” lathe doesn’t need to be better than factory specifications to produce excellent parts. If you can get the bed flat within 0.001 inches and achieve 15 points per inch of bearing contact, you have a machine that will outperform almost anything you could buy new for a similar price.
- Flatness Benchmark: Less than 0.0005 inches of deviation over any 12-inch section.
- Bearing Density: 15–20 PPI for general use; 25–40 PPI for high-precision toolroom lathes.
- Twist Tolerance: The bed should be level within the limits of a 0.0005″/ft machinist level.
- Surface Finish: No visible scoring deeper than 0.002 inches; any deeper scores should be “scraped out” or cleaned to prevent debris buildup.
Maintaining the Geometry: Lubrication and Care
After spending weeks or months restoring the precision of a lathe, the last thing you want is for it to wear out again in a year. The secret to longevity in vintage machinery is proper lubrication and “way wipers.” Most old machines used simple felt pads to wipe away chips and distribute oil.
I always replace old, hardened felt with new, high-density wool felt. I also use a dedicated “Way Oil” rather than standard motor oil. Way oils contain “tackifiers” that help the oil stick to vertical surfaces and prevent “stick-slip”—that jerky motion you feel when trying to move a heavy carriage. By maintaining a consistent oil film, you ensure that the metal surfaces never actually touch each other, preserving your hard work for the next generation of restorers.
As you finish your project, keep a “machinery log.” Note down the measurements you achieved and the dates of your last alignment checks. This documentation is invaluable for future maintenance and adds to the historical record of the tool. Restoring a machine isn’t just about making a tool; it’s about honoring the engineering of the past and ensuring it has a functional future.
Frequently Asked Questions
Can I use a handheld power grinder to speed up the process? No. Power grinders are nearly impossible to control to the tolerances required for machine ways (0.0001″). They generate heat, which can warp the casting, and they often create “low spots” faster than you can react. Stick to hand scraping and stones for precision work.
How do I know if my straightedge is actually flat? You can use the “Rule of Three.” If you have three straightedges and they all “mark” each other perfectly in a round-robin test, they are flat. For most hobbyists, sending a single straightedge to a professional metrology lab for calibration is a safer bet.
What is Prussian Blue, and is there an alternative? Prussian Blue is a non-drying oil-based pigment. A common alternative is “Canode,” which is water-based and much easier to clean up. Both serve the same purpose: showing you where the high spots are during the “spotting” process.
How much material is too much to remove by hand? If you find that you need to remove more than 0.015 inches of material to get the bed flat, you are in for a massive amount of work. At that point, the geometry of the gears and lead screw might also be affected, as the carriage will sit lower on the bed.
What is “Stick-Slip” and why does it matter? Stick-slip is the jerky movement caused by static friction being higher than kinetic friction. In a lathe, this makes it impossible to make tiny, precise adjustments. Proper hand scraping (creating oil pockets) and using the right way oil eliminate this problem.
Do I need to scrape the underside of the carriage too? Yes. If you flatten the bed but leave the carriage worn and “hooked,” you will only have a small point of contact, which will lead to rapid wear. Both mating surfaces should be scraped to match the new geometry of the bed.
Is cast iron dust dangerous? While this guide doesn’t cover general PPE, it is important to note that you should always wipe away cast iron “chips” from scraping rather than blowing them with compressed air. The fine dust is abrasive and can get into the bearings of other tools in your shop.
How long does it take to scrape a 4-foot lathe bed? For a beginner, it can easily take 40 to 60 hours of active scraping and spotting. It is a slow process of incremental improvement. Don’t rush; the goal is accuracy, not speed.
What if my lathe bed is “hardened”? Some later vintage lathes (post-1950s) have flame-hardened ways. These are very difficult to scrape with standard carbon steel scrapers. You will need high-quality tungsten carbide blades and much more frequent sharpening to make any progress.
Can I use sandpaper on a flat block instead of a scraper? Sandpaper is generally discouraged for precision geometry. The grit can break off and become “embedded” in the soft cast iron, acting as a permanent abrasive that wears down the mating part. Precision stones or scrapers are much safer for the machine’s health.
(This article was written by one of our staff writers, Richard Beaumont. Visit our Meet the Team page to learn more about the author and their expertise.)